
Free Crochet Baby Bottle Amigurumi Pattern for Your Little One
Turn your creativity into something adorable with this free crochet baby bottle amigurumi pattern that’s fun and easy to try.
Do you remember how tiny and adorable baby bottles look in the hands of infants? Now think about capturing that same cuteness with soft yarn and turning it into a long lasting keepsake. This crochet baby bottle amigurumi pattern brings all the charm of a real bottle but in a miniature, squishy form that’s perfect for baby showers, play kitchens, or as a cute nursery decoration. With its simple yet detailed design, this pattern uses basic stitches like single crochet and clever techniques like increases, decreases, and working in the back loop only to add texture and structure. Once you master this, you can also use similar techniques to create other fun amigurumi items like cupcakes, carrots, or tiny plush animals.
Super Cute Free Crochet Baby Bottle Amigurumi Pattern

By following this pattern, you'll learn how to shape the baby bottle's distinct features: the rounded base, the slim neck, and the soft, dome like nipple. You’ll get to practice creating clean increases for a rounded look and learn how to work back loop only stitches for a beautiful raised edge. It's a beginner friendly way to advance your skills and get comfortable with working in continuous rounds while also focusing on details.
Pattern By Anerom
What’s great is that once you finish this project, you’ll have the confidence to explore more amigurumi items. These skills can translate into crocheting stuffed toys, food themed décor, or tiny seasonal ornaments, all cute and fun projects to try.

Crochet Baby Bottles Pattern
In today’s tutorial, I’ll show you how to crochet adorable baby bottles, one styled for boys in blue and one for girls in pink. The example shown in this tutorial uses blue acrylic yarn, but you can customize the colors as you like. The pattern is easy, and the only slightly tricky part is crocheting the teat, but with a bit of patience, it’s totally manageable. I’ve embellished mine with small bows, but you can decorate yours any way you fancy.
Quick Overview of Pattern
- Crochet baby bottles for decor or gifting.
- Features a detailed teat, bottle body, and optional bow for embellishment.
- Uses simple stitch techniques with a focus on clean shaping.
- Customizable in color to suit personal preferences.
- Perfect for baby showers or nursery decorations.
Notes
- The teat involves shaping with decreases and increases, requiring careful attention to placement.
- Use a tighter tension to achieve clean lines and firm shaping.
- All rounds are crocheted in continuous spirals unless stated otherwise.
- Embellishments are optional, and bows or other designs can be added based on your creativity.
Skill Level
Intermediate – Requires familiarity with:
- Magic ring technique.
- Single crochet (sc).
- Stitch increases and decreases.
- Working in back loops for texture effects.
- Basic sewing for assembly.
Materials
- Yarn:
- White acrylic yarn (base of the bottle).
- Blue acrylic yarn (body color, customizable).
- Cream or beige acrylic yarn (teat of the bottle).
- Crochet Hook: 2.5mm for tight, firm stitches.
- Stuffing: Polyfill or cotton for shaping the bottle.
- Ribbon: For decoration (optional).
- Scissors: For trimming yarn.
- Yarn Needle: For sewing and finishing.
- Glue: Optional for attaching ribbons or bows.
- Stitch Marker: To keep track of the start of each round.
Measurements / Sizing
- Completed bottle reaches approximately 10–15 cm tall, depending on tension and stuffing.
Gauge
Gauge is not critical, but tighter stitches are recommended for better shaping.
Stitch Abbreviations
- ch – Chain
- sc – Single crochet
- sl st – Slip stitch
- inc – Increase (2 sc in the same stitch)
- dec – Decrease (single crochet two stitches together)
- blo – Back loop only
Special Stitches
Magic Ring:
- Create a loop of yarn, insert the hook, pull up a loop, and crochet into the loop.
Working in Back Loops Only (blo):
- Insert the hook into the back loop of the stitch instead of both top loops.
The Crochet Pattern!
1. The Teat (Cream/Beige Yarn)
- Start with a Magic Ring:
- Work 6 sc inside the ring. Pull the shorter tail to close the ring.
- Round 1:
- Work 1 inc in every st (6 inc, total 12 sc).
- Rounds 2–4:
- Work 1 sc in each st (12 sc) for 3 rounds.
- Round 5:
- Work 6 dec consecutively to reduce to 6 sc.
- Round 6:
- Work 6 inc consecutively to increase back to 12 sc.
- Round 7:
- Alternate 1 sc, 1 inc around (18 sc).
- Round 8:
- Alternate 2 sc, 1 inc around (24 sc).
- Round 9:
- Work 1 sc in blo for each st around (24 blo sc).
- Round 10:
- Return to normal single crochet stitches by inserting into both loops. Work 1 sc around (24 sc).
- Finish the Teat:
- Work sl st in the next st, cut the yarn, and weave in ends securely.
- Stuff the teat lightly with polyfill.
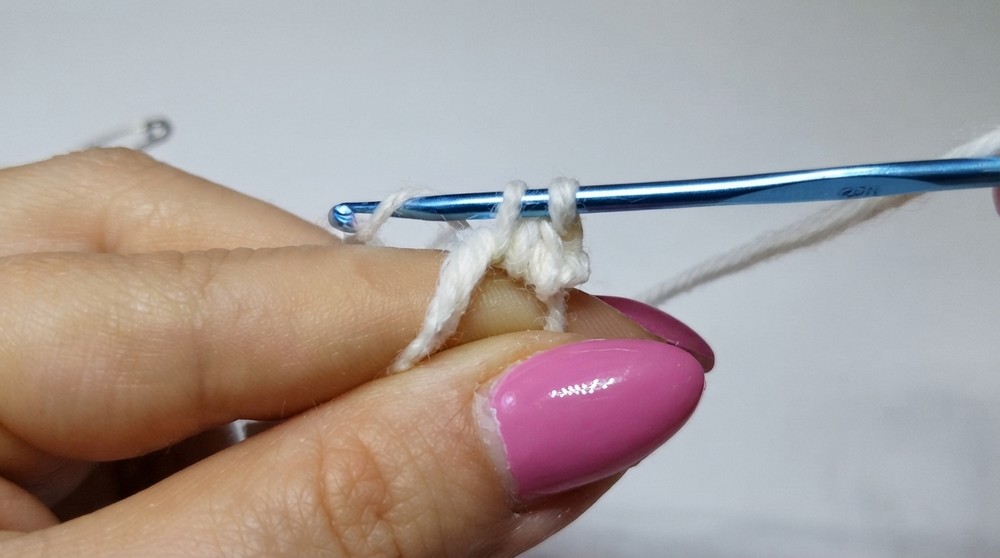

2. The Bottle Neck (Blue Yarn)
- Attach the Yarn:
- Join blue yarn in any st of the last round of the teat.
- Round 11:
- Work 3 sc, 1 inc around (30 sc) in continuous rounds.
- Round 12:
- Work 1 sc in blo for texture (30 blo sc).
- Round 13:
- Return to normal crochet stitches. Work 1 sc around (30 sc).
- Finish the Neck:
- Work sl st in the next st, cut the yarn, and weave in ends securely.

3. The Bottle Body (White Yarn)
- Attach White Yarn:
- Join white yarn in any st of the last round of the neck.
- Rounds 14–16:
- Work 1 sc in each st (30 sc) for 3 rounds.
- Round 17:
- Alternate 3 sc, 1 dec around (24 sc).
- Round 18:
- Work 1 sc in each st (24 sc).
- Round 19:
- Alternate 2 sc, 1 dec around (18 sc).
- Round 20:
- Work 1 sc in each st (18 sc).
- Round 21:
- Alternate 1 sc, 1 dec around (12 sc).
- Round 22:
- Work 6 dec consecutively to close the bottom (6 sc).
- Finish the Body:
- Cut the yarn, leaving a long tail, and use the yarn needle to sew closed the final hole.
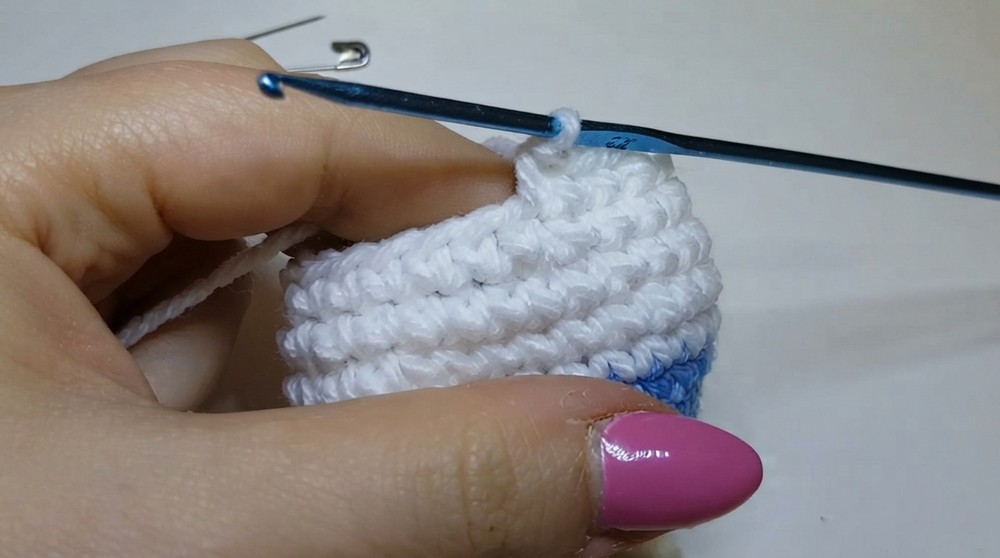
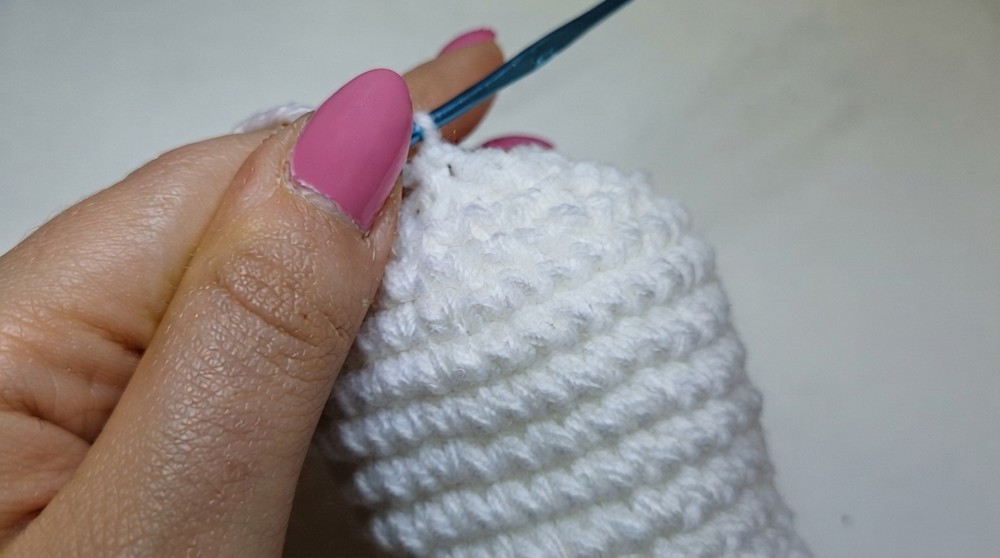
Assembly & Embellishment
- Shape the Bottle:
- Stuff the bottle firmly with polyfill, ensuring smooth shaping.
- Decorate:
- Use a ribbon to tie a bow around the neck of the bottle. Attach with glue if desired.
- Optional: Use contrasting yarn to embroider details.
Conclusion and Ending Words
Your crochet baby bottle is complete! These adorable bottles make wonderful decorations for nurseries, baby showers, or even thoughtful handmade gifts. Whether you make them in blue, pink, or any color you love, they’re sure to delight.