
Simple Steps to Crochet a Pretty Maple Leaf Pattern for Fall
Add autumn beauty to your home with this crochet maple leave, following this fun pattern to make unique and colorful seasonal décor.
A maple leaf is one of nature's most iconic shapes, and crocheting it brings its timeless beauty to life. This delicate leaf, full of charm and elegance, can brighten up any space with its soft texture and thoughtful details. The finished piece is ideal for autumn decorations, it’s perfect to adorn wreaths for your door, add cozy accents to your table décor, or even function as a unique coaster for your favorite cup of coffee. Its versatility and size make it a practical yet decorative item, not too small and not overly large, striking just the right balance.
How to Crochet an Easy Maple Leaf Pattern for Home Decorations
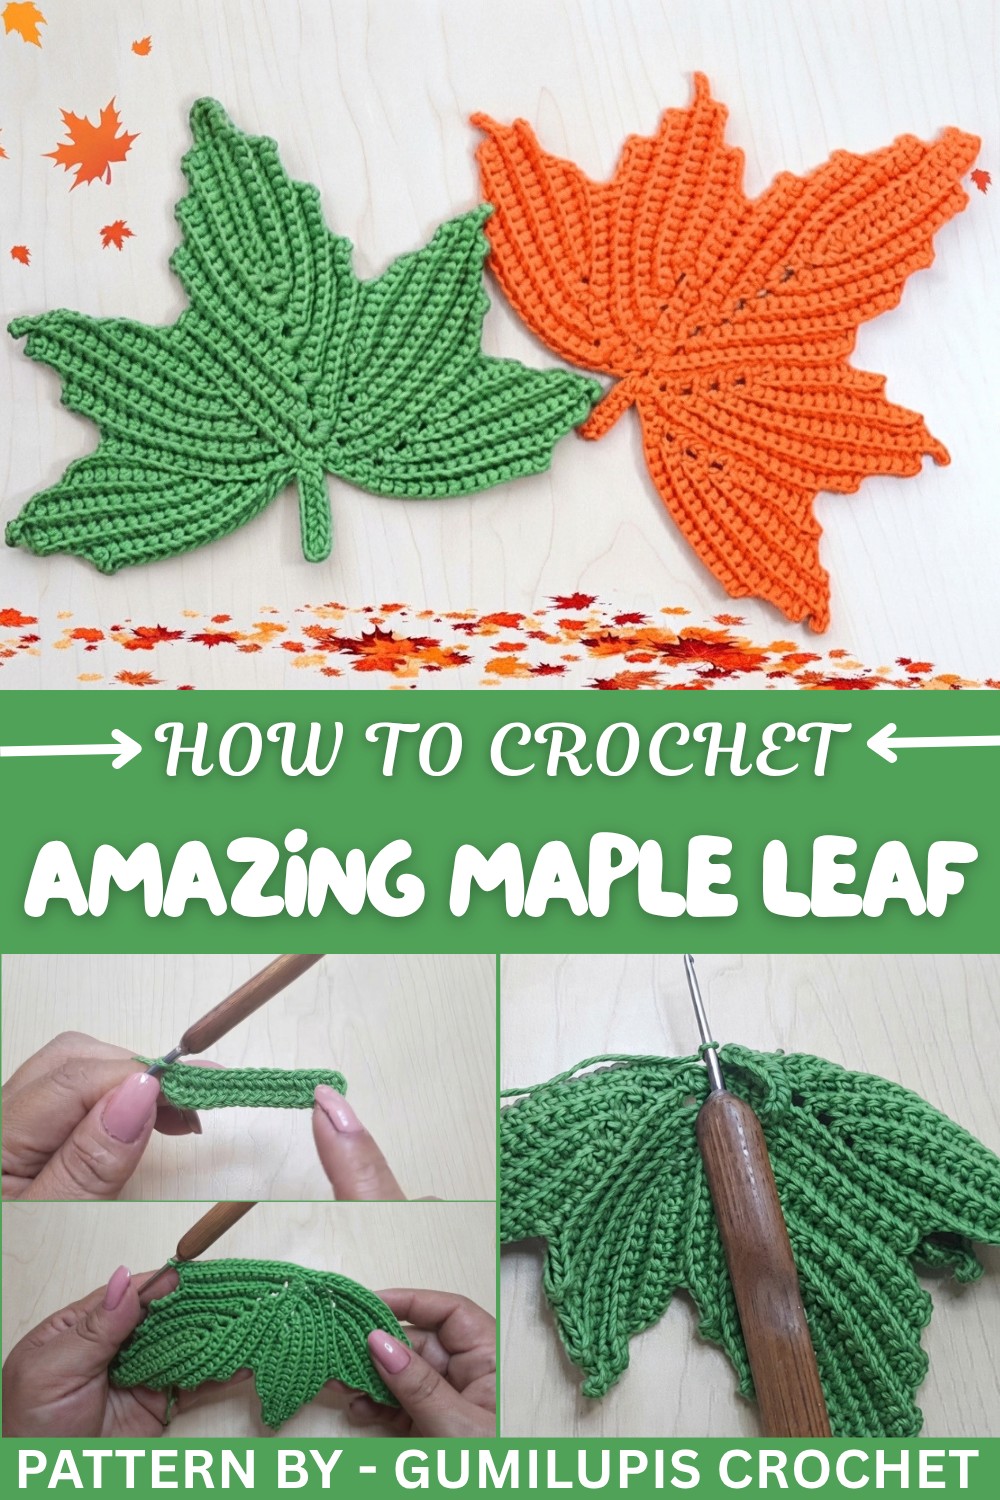
This pattern begins with simple chain stitches and works through the back loops to give the leaf texture that mimics the natural ridges of a real maple leaf. The most attractive feature of the design is its symmetrical lobes, which capture the essence of fall with dynamic shapes. You can create this in various colors, think about tones like vibrant orange, earthy brick, or calming shades of green, and even mix and match combinations to make an array of decorative leaves.
Pattern by
With just a size 2 crochet hook, cotton yarn, and a sewing needle, you’ll craft your own maple leaf effortlessly. Beginner friendly yet satisfying for experienced crocheters, this is an exciting project that anyone can try. Whether used for crocheting decorations, gifting, or brightening up a cozy corner in your home, these pretty maple leaves are enchanting pieces that celebrate the beauty and colors of the season.
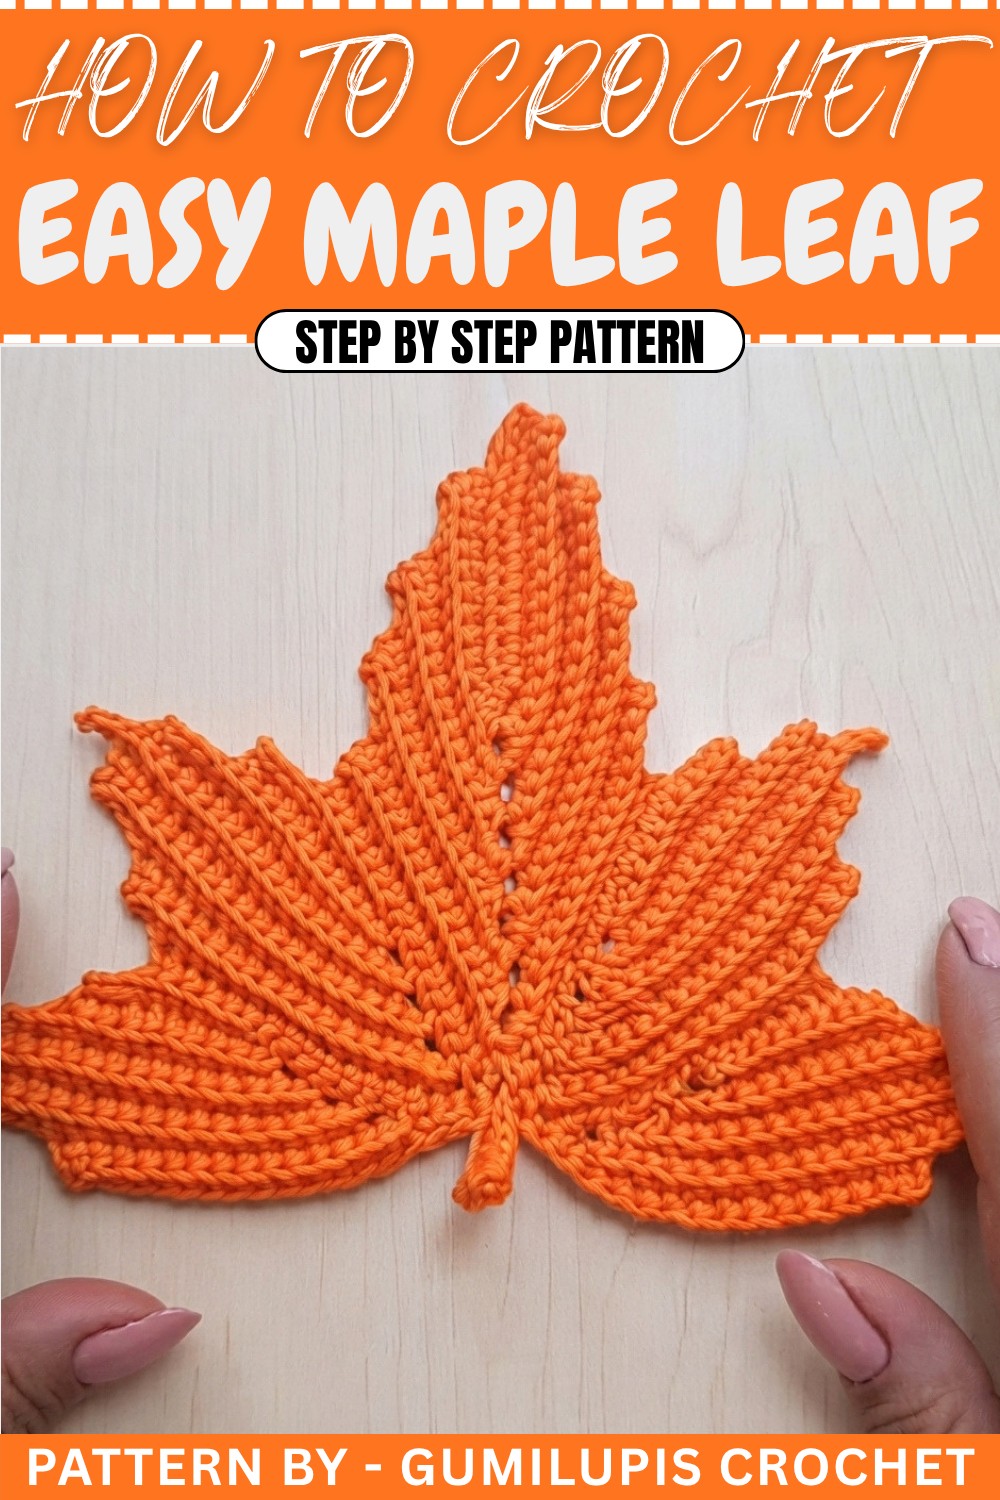
Crochet Maple Leaf Pattern
Today, I’m excited to share a tutorial to crochet a stunning Maple Leaf. Perfect for the autumn season, you can use this design in various ways, table décor, cup holders, wreaths, or wall decorations. In this guide, we’ll follow a step-by-step process to crochet this gorgeous leaf, with easy-to-follow instructions. Let’s create something beautiful.
Quick Overview of Pattern
- Project Name: Crochet Maple Leaf
- Purpose: Seasonal decorations, cup holders, and craft embellishments
- Key Features:
- Versatile fall-inspired design
- Easily customizable colors and sizes
- Great for decorating your home or gifts
- Construction: Worked in rounds with increases and decreases to form a realistic shape.
Notes
- This pattern uses back loop only (BLO) for texture and a realistic leaf effect.
- It’s highly customizable in size and color; use shades like green, orange, yellow, or brown for added variety.
- The pattern involves chains, single crochets, half-double crochets, and double crochets.
Skill Level
Intermediate. Some experience working with chained loops and back loop stitches is recommended.
Materials
- Yarn: Cotton yarn or worsted-weight yarn in fall-themed colors: orange, green, yellow, brick red, or brown.
- Hook: 2mm crochet hook
- Additional Supplies:
- Yarn needle for sewing
- Scissors
Measurements / Sizing
- Approximate Size: ~12–15cm wide and tall, depending on yarn and tension.
Gauge & Stitch Pattern
- Gauge: Not critical for this project; however, aim for firm stitches to maintain the structure of the leaf.
- Stitch Pattern: Single crochet, double crochet, and half-double crochet, worked primarily in the back loops of the stitches.
Stitch Abbreviations
- CH: Chain
- SC: Single Crochet
- HDC: Half Double Crochet
- DC: Double Crochet
- SL ST: Slip Stitch
- BLO: Back Loop Only
Special Stitches
- Back Loop Only (BLO):
Insert the hook into the back loop of the stitch (the loop farthest from you) and complete the stitch as usual.
The Crochet Pattern
Step 1: Base of Maple Leaf
- Create a slip knot with your chosen main color yarn (e.g., green or orange).
- Chain Foundation:
- CH 16.
- Row 1:
- Skip the last chain from the hook and SC into the second chain.
- SC into each chain across for a total of 14 SC.
- At the end of the chain, CH 3, and turn your work.
- SC into the first stitch of the opposite side of the chain. Work 14 SC along this side.
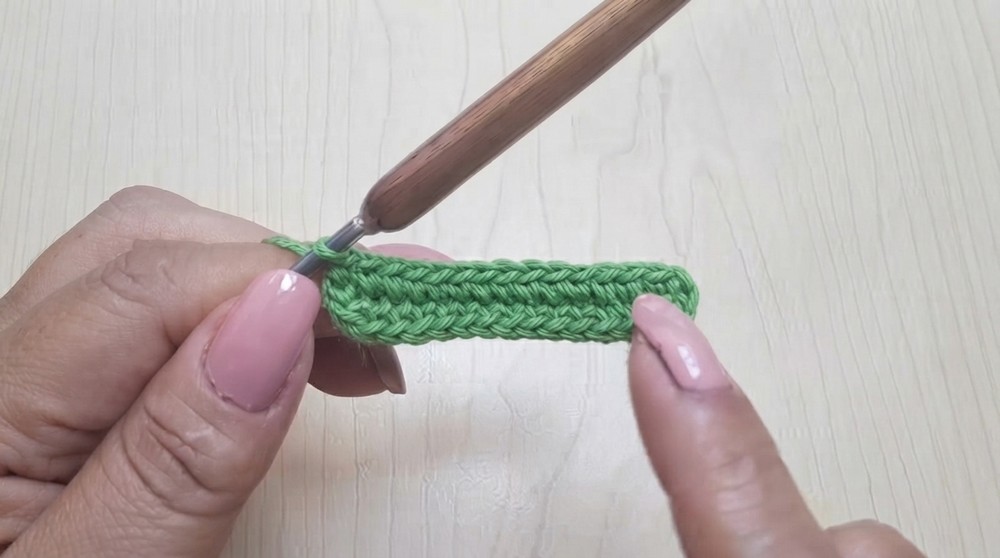
Step 2: Begin Leaf Shaping
- Row 2:
- CH 1 and turn the work. Enter the third stitch from the hook (counting the CH as the first stitch) and work into the BLO only.
- SC across the row for a total of 13 SC.
- At the end, reach the CH 3 space, and work:
- 2 SC, CH 3, 2 SC all in the same space to begin forming the tip of the leaf.
- Continue working into the BLO and make 11 SC on the opposite side.
- CH 1 and turn your work.
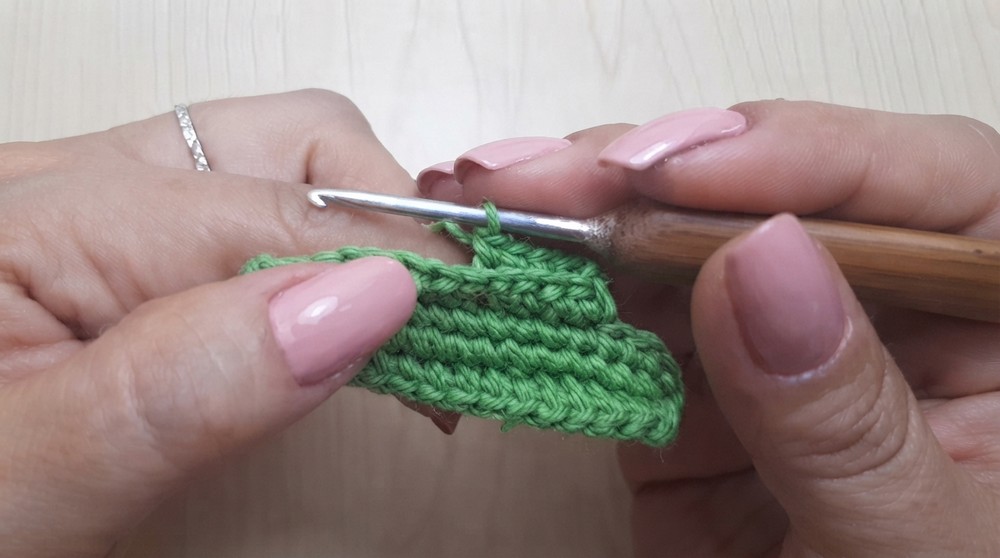
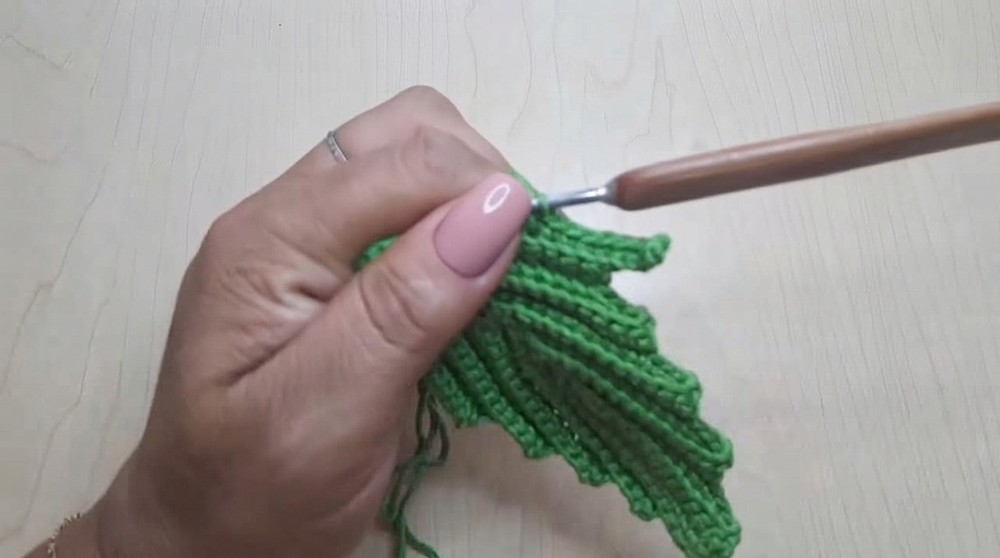
Step 3: Continue Leaf Structure
- Row 3:
- Skip the first chain and work into the back loop starting at the third stitch.
- Work 12 SC across and into the CH 3 space, repeat:
- 2 SC, CH 3, 2 SC into the tip.
- On the other side, continue with 12 SC in BLO.
- CH 1 and turn your work.
- Row 4:
- Skip the first 2 stitches, and begin working in BLO into the third stitch.
- Create 13 SC stitches across this row.
- Repeat the tip with 2 SC, CH 3, 2 SC in the CH 3 space.
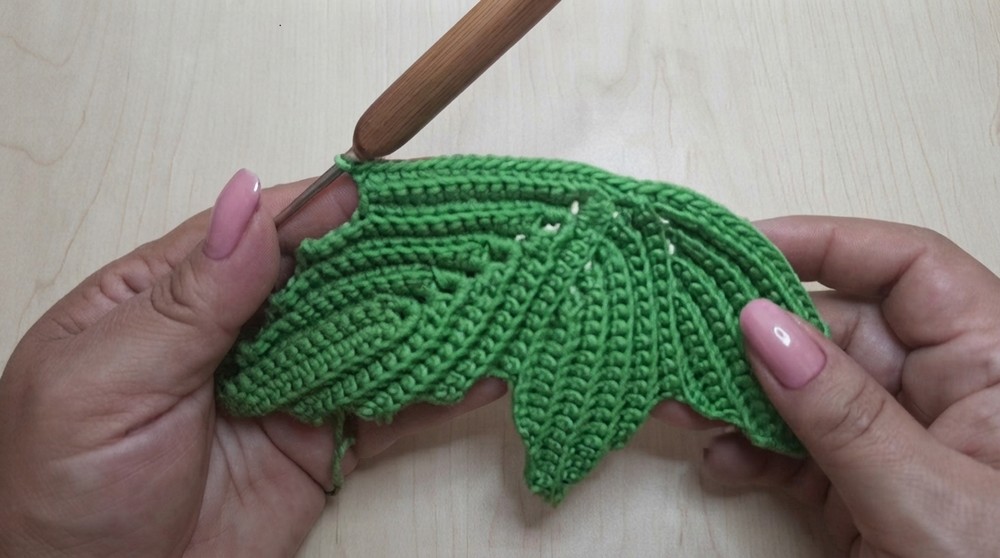
Step 4: Repetition for Final Leaf Sections
- Continue alternating rows of SC, with BLO texture throughout, following the pattern below:
- Row 5: 13 SC on the left, increase at the tip (2 SC, CH 3, 2 SC), and 12 SC on the right side.
- Row 6: 12 SC on each side. Increase again at the tip with 2 SC, CH 3, 2 SC.
- Row 7: Work 13 SC on the left. Increase with the tip sequence (2 SC, CH 3, 2 SC) and finish with 14 SC on the right. Fasten off this color.
Step 5: Adding Extra Leaf Modules
Start crocheting additional small leaf modules to give the maple leaf its characteristic design, following these rows:
- CH 5, skip the first two chains and work 8 SC into the next stitches to form the leaf edge.
- CH 1, skip one stitch, turn, and work 9 SC in the BLO for leaf texture.
- CH 4, turn the work, and crochet 12 SC into the BLO.
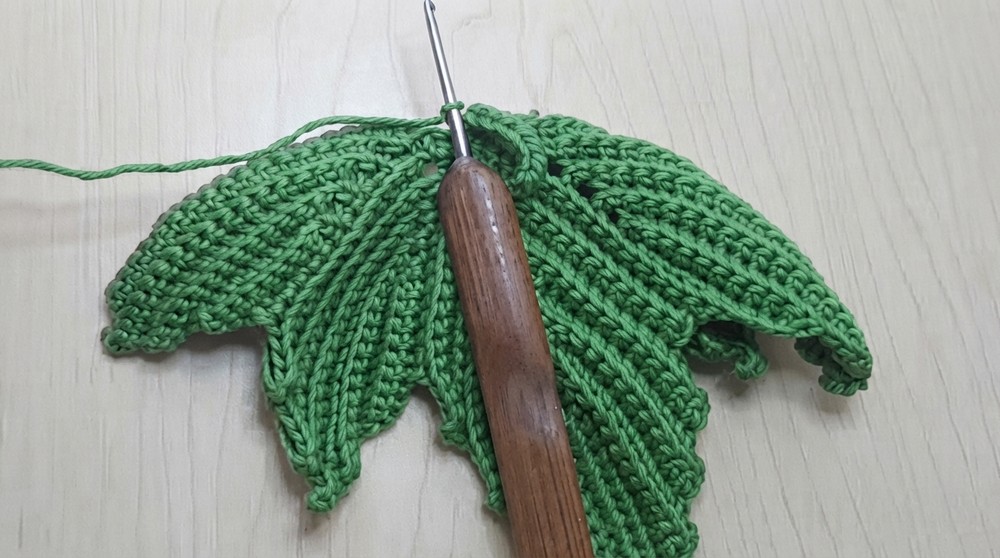
Step 6: Connecting the Leaf Modules
- Attach the modules at the designated points in the main central leaf using SL ST. Weave all loose ends into the back of the leaf for a neat finish.
Assembly & Finished Size
- Attach all completed parts together using a yarn needle for a seamless finish.
- Final size is approximately 12–15cm wide, depending on your tension and yarn thickness.
- Pair multiple leaves in autumn tones for variety and use them for decorating tables, windows, or walls.
Conclusion
Congratulations! You’ve crocheted a stunning maple leaf that’s perfect for brightening your home during the fall season or any special occasion. This versatile pattern can be customized in various colors and sizes, and is great for wreaths, coasters, or table decorations.