
Free Wall Organizer Crochet Pattern for Storage and Style
Make organizing fun with this free crochet wall organizer pattern that offers easy instructions to create a handmade and pretty piece for your home.
Ever thought about how you can turn everyday storage into something charming and handmade? This wall organizer doesn’t just hold your items, it’s a beautiful display that can bring warmth and personality to your space. Whether hung in a bathroom for essentials or in a cozy corner to keep your hobbies sorted, its appeal goes beyond functionality.
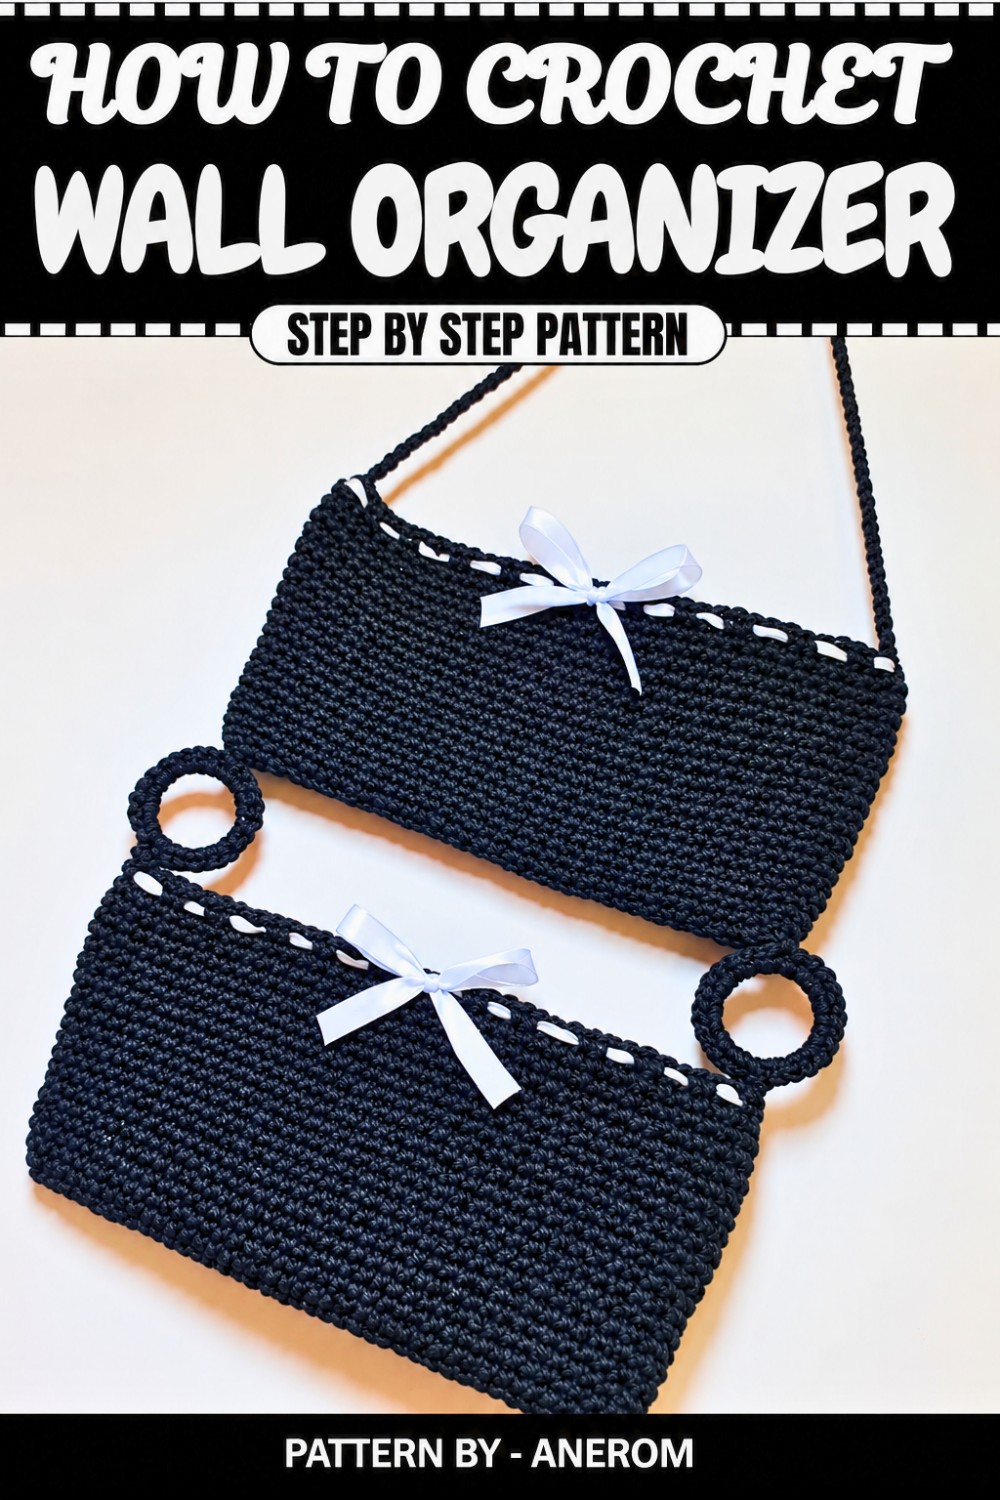
The organizer features small storage pouches connected by sturdy, smooth metal rings, a feature that not only holds everything together but looks sleek and refined. Add a ribbon or bow to the pouches, and you’ve got a piece that’s both useful and stylish. Plus, the dark blue yarn used by Anerom in the original tutorial offers a timeless look, though you can experiment with different shades to match your room’s vibe.
Free Crochet Wall Organizer Pattern for Every Home
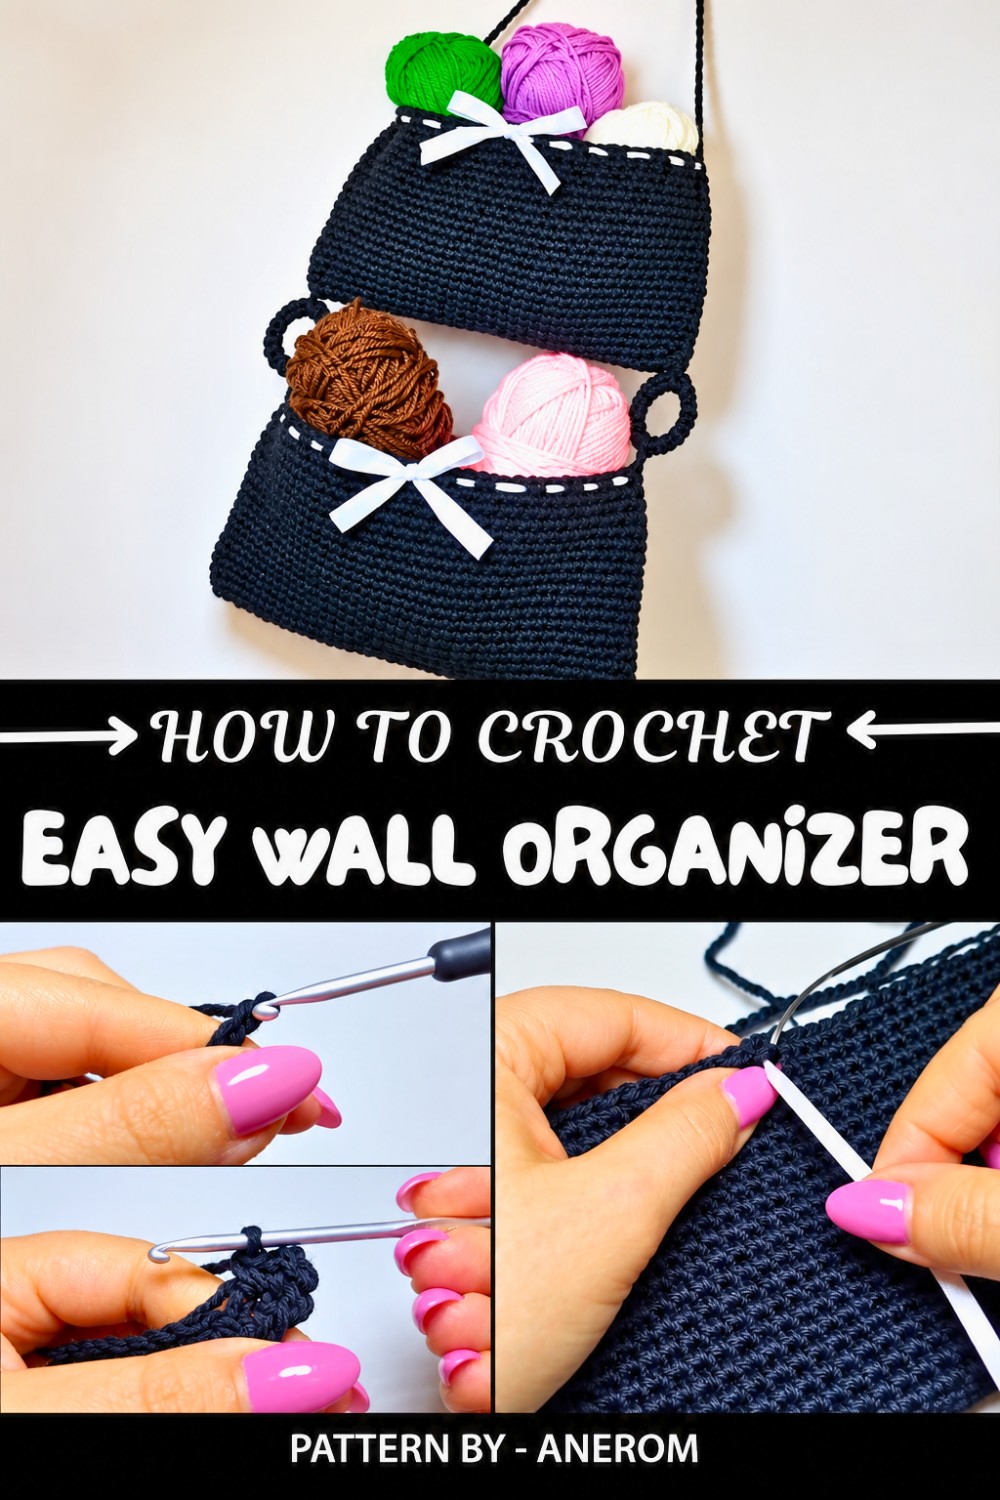
The method behind making this piece is as satisfying as watching it come together. Starting with a strong oval base, the pouches are worked in rounds, naturally taking shape as you go. It’s steady and straightforward, making it accessible even to those trying their hand at crochet for the first time. The handy loop for hanging adds the final touch, letting you display your finished piece neatly on a wall.
Once finished, it’s perfect for organizing small items, but you can also use the same ideas to crochet other handy pieces like pouches or hanging baskets. Functional doesn’t have to mean boring, and this project is proof of just that.
Crochet Wall Hanging Organizer Pattern
In this tutorial, I’ll show you how to create this simple and practical crochet wall organizer. This project is perfect for beginners: I’ve made two pockets, but once you understand the process, you can create more as desired. You can use the organizer for holding yarns, bathroom essentials, or other small items. The steps are straightforward, and I hope you find the instructions clear.
Quick Overview of Pattern
- Crochet wall organizer with pockets.
- Made in simple rounds of single crochet stitches.
- Includes a hanger loop and metallic rings for connecting multiple pockets.
- Customizable in size and color.
- Perfect for organizing items in craft rooms, bathrooms, or anywhere in your home!
Notes
- The base of each pocket is a long oval, created by working along both sides of the foundation chain.
- The body of the pocket is formed by crocheting in rounds around the base.
- For the hanger loop at the top, crochet chains and attach them securely to the organizer.
- The metallic rings are optional but help in connecting multiple pockets.
- This pattern allows customization in material choice and design details, such as adding ribbons or embellishments.
Skill Level
Beginner Friendly
You’ll need to know the following techniques:
- Single crochet (sc)
- Slip stitch (sl st)
- Working stitches along both sides of a chain
- Crochet in a continuous spiral
- Basic sewing techniques for assembly
Materials
- Yarn: Acrylic yarn, size #3 (suggested: dark blue for the pockets; color can be adjusted to your preference)
- Crochet Hook: 3mm crochet hook
- Ribbon: Thin decorative ribbon for adding details
- Metallic Rings: Two small metallic rings (like those used for keychains)
- Scissors
- Stitch Marker
- Yarn Needle
Measurements and Sizing
With acrylic yarn size #3 and a 3mm hook:
- Each pocket measures approximately 8 cm wide x 15 cm tall, but you can adjust the size by increasing or decreasing rounds.
- The number of pockets can vary based on your needs.
Gauge
While gauge isn’t critical for this project, achieving consistent tension ensures neatness and uniformity.
Approximate Gauge:
- 1 cm = 3 rows of single crochet.
- 1 cm width = 3 stitches of single crochet.
Stitch Abbreviations
- ch – Chain
- sc – Single Crochet
- sl st – Slip Stitch
- st – Stitch
Special Stitches
There are no special stitches required for this pattern — only basic single crochet and slip stitches are used.
The Crochet Pattern!
1. Pocket Base (Oval Foundation)
Foundation Chain:
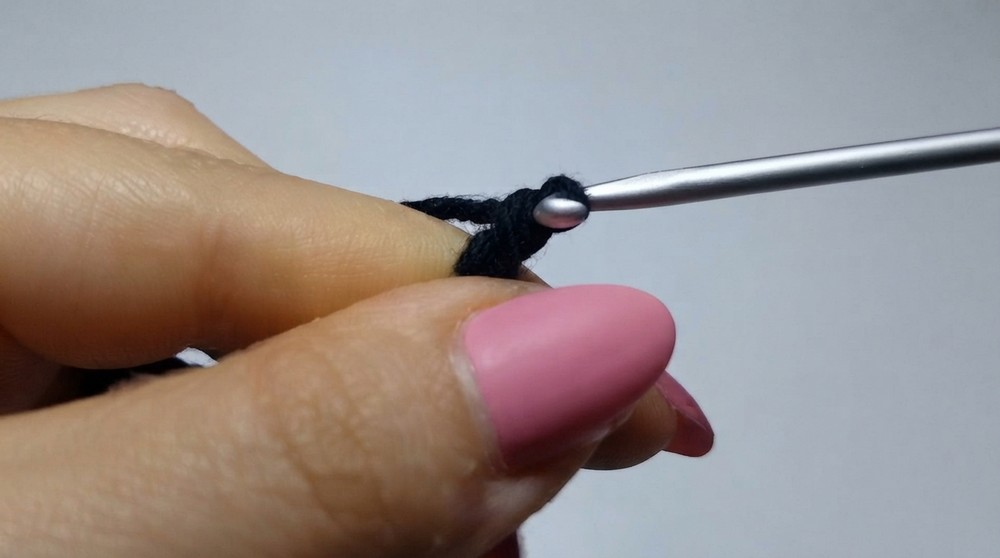
- Start with a slip knot and create 45 chains (ch).
Round 1:
- Work 1 sc into each chain along one side of the foundation chain.
- When you reach the end, turn the piece and work along the opposite side of the chain, inserting 1 sc into each chain. You’ll now have stitches on both sides of the chain, forming an oval.
Round 2:
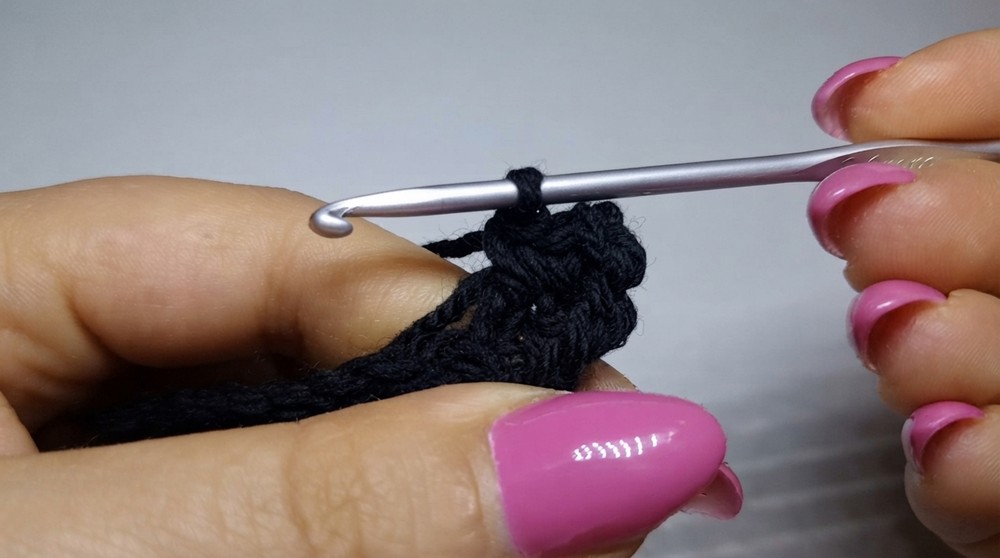
- Continue to crochet 1 sc in each stitch around the oval.
- Complete the round by working all the way back to the starting point.
- You should now have a neat and flat oval base.
2. Building the Pocket Body
Rounds 3–22:
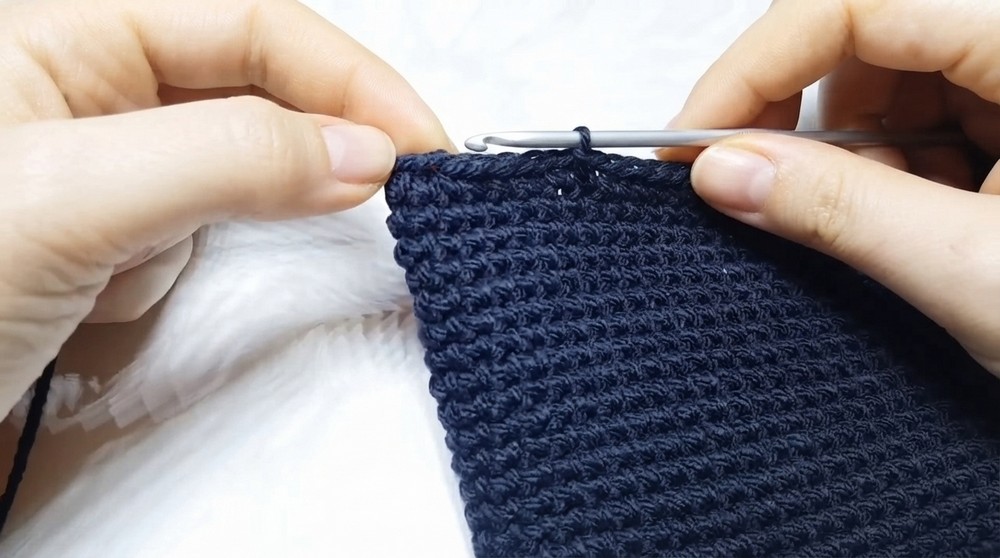
- Start working in continuous rounds.
- Single crochet into every stitch around the oval base, creating upright walls for the pocket.
- Use a stitch marker to mark the first stitch of each round.
Notes:
- Do not join at the end of each round; crochet in a spiral without slip stitches.
- As you work, you’ll notice the shape lifting and forming the sides of the pocket.
- Complete 20 rounds (from Round 3–22) in this way to achieve the desired height.
3. Forming the Loop for Hanging
At the End of Round 22:
- You should now be near one corner of the pocket.
Create the Loop:
- Work sl st in the next few stitches until you reach the designated corner for the loop.
- Chain approximately 15–20 chains (adjust based on the length of loop you prefer).
- Join the end of the chain back into the pocket with a sl st to complete the loop.
- Pull yarn through, cut it, and weave in the ends using the yarn needle.
4. Decorative Ribbon Addition
Adding a Ribbon to Embellish:
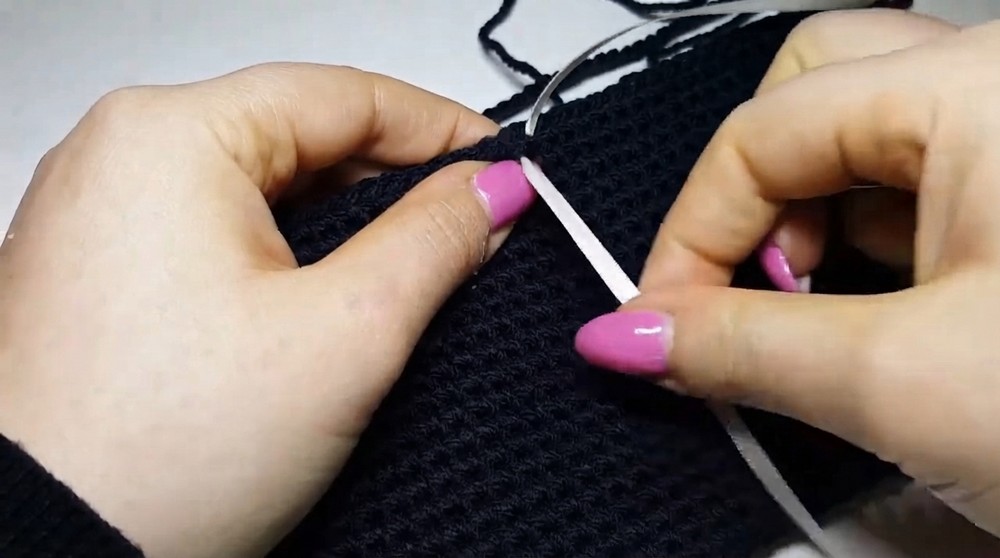
- Insert a decorative ribbon through the stitches of the pocket body.
- Work from the front side, threading the ribbon through every few stitches to create a pattern.
- Once it’s threaded all the way around, tie a bow at the front of the pocket.
Notes:
- You can experiment with different colors or sizes of ribbon for more variety.
- For smaller pockets, you can attach the ribbon securely with a knot or glue.
5. Covering the Metallic Rings
Metallic Ring Covering (Optional):
- Take one of the metallic rings.
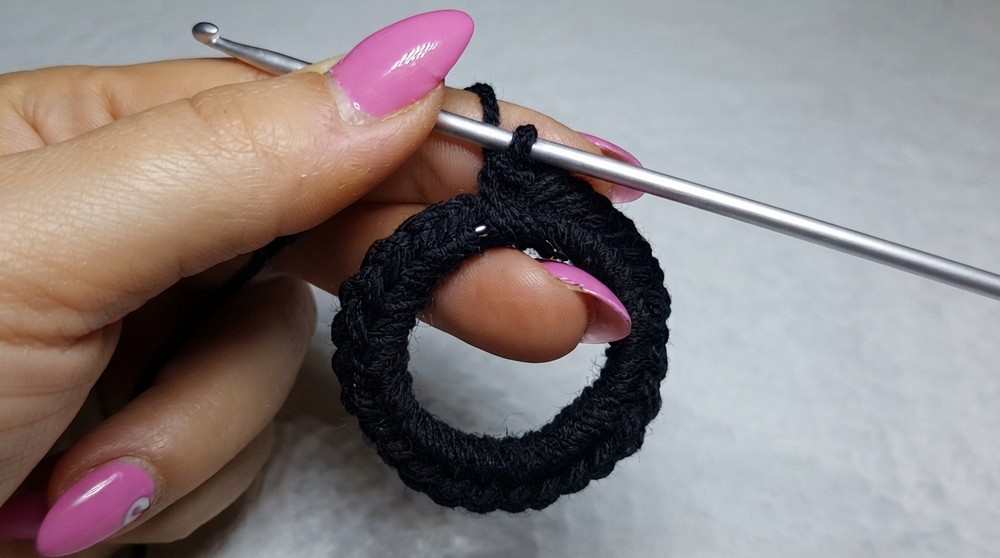
- Attach your yarn around the ring and crochet single crochet stitches all the way around the ring.
- Continue until the metal ring is completely covered with yarn.
- Finish with 1 sl st, cut the yarn, and leave a long tail for sewing the ring to the pockets.
Repeat the process for the second ring.
6. Assembly of Pockets
- Place the first pocket with the hanging loop at the top.
- Attach the metallic rings to the bottom corners using simple stitches with the yarn needle and yarn tails.
- Connect the second pocket to the metallic rings at its upper corners.
Assembly & Finished Size
Final Size:
- The organizer, with two stacked pockets, measures approximately 25–30 cm in height and 8 cm wide.
Customization Options:
- Add more pockets by repeating the pattern and connecting metallic rings for additional rows.
- Decorate the pockets with bows, flowers, or buttons for added charm.
Conclusion and Ending Words
Your crochet wall hanging organizer is complete. This easy and functional project is perfect for organizing small items in your home. Whether you use it in your craft room, bathroom, or kitchen, it’s sure to add practicality and style.