
Quick Free Crochet Donkey Teether Pattern Is Super Gentle
Give a newborn baby the gift of their very own adorable farm animal friend to cuddle and chew on with this delightful and completely free crochet donkey teether pattern.
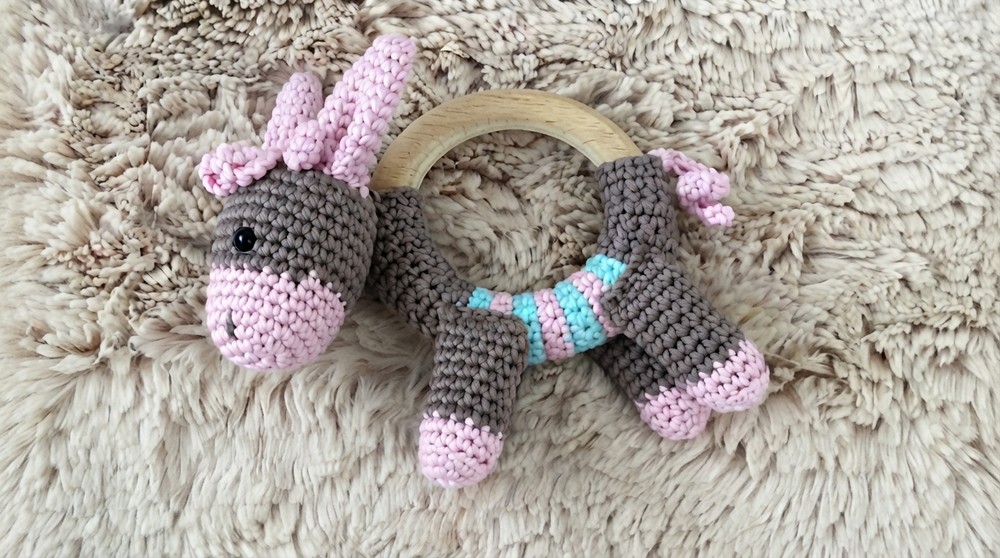
When it comes to handmade baby essentials, this adorable donkey teether is not only cute but also a meaningful gift. With its cozy texture, playful charm, and thoughtful design, it’s a practical yet creative way to give any teething baby some relief. The small details, like tiny ears, a soft mane, and a perfectly rounded body, make it irresistibly charming, while the lightweight structure makes it easy for babies to hold and chew on.
Stitch The Perfect Little Donkey Teether Pattern For Free
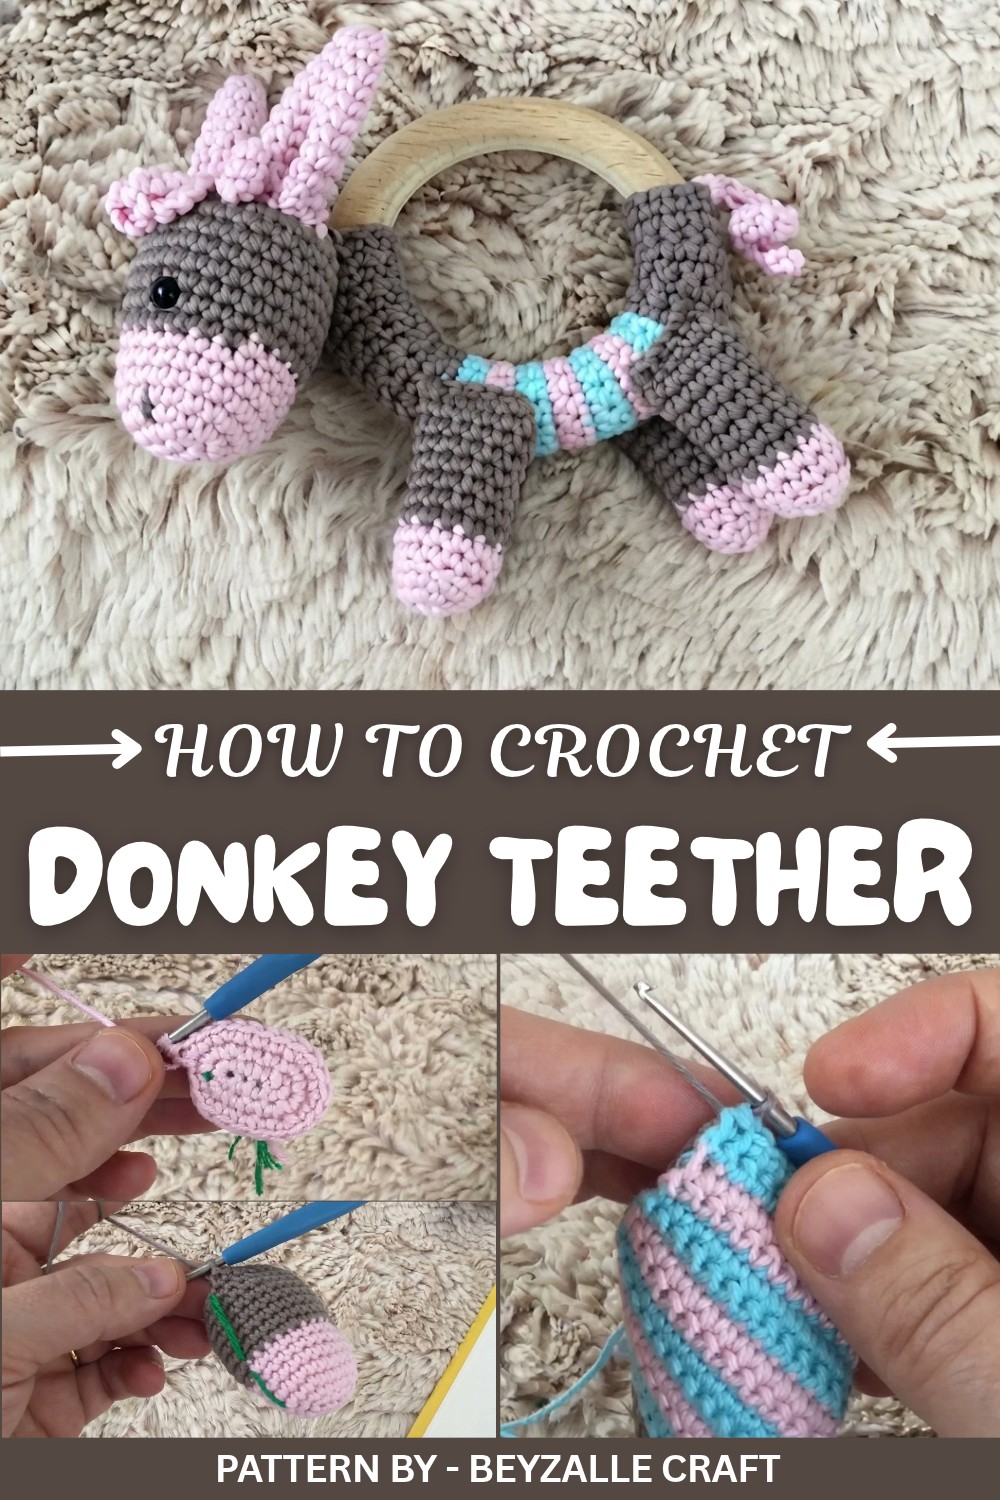
The beauty of this project is how versatile it is. Beyzalle CRAFT, known for its fun and easy to follow tutorials, walks you through every step with clarity and a touch of warmth. One of the standout points in the video is the flexibility to either use a teething ring or crochet your own soft, fiber stuffed base. This clever adaptation ensures everyone can make it, regardless of the supplies they have on hand.
The process itself is beginner friendly, relying on simple techniques like the magic ring, single crochet, and color changes. What makes it truly special is the opportunity to customize: you can use any cotton yarn in colors that suit your style. Cotton is perfect for this project since it’s safe for sensitive baby gums while ensuring the teether remains durable and washable.
From the gentle shaping of the legs to the adorable bangs added to the head, every piece comes together beautifully. This teether isn’t just functional, it’s a little work of art filled with love.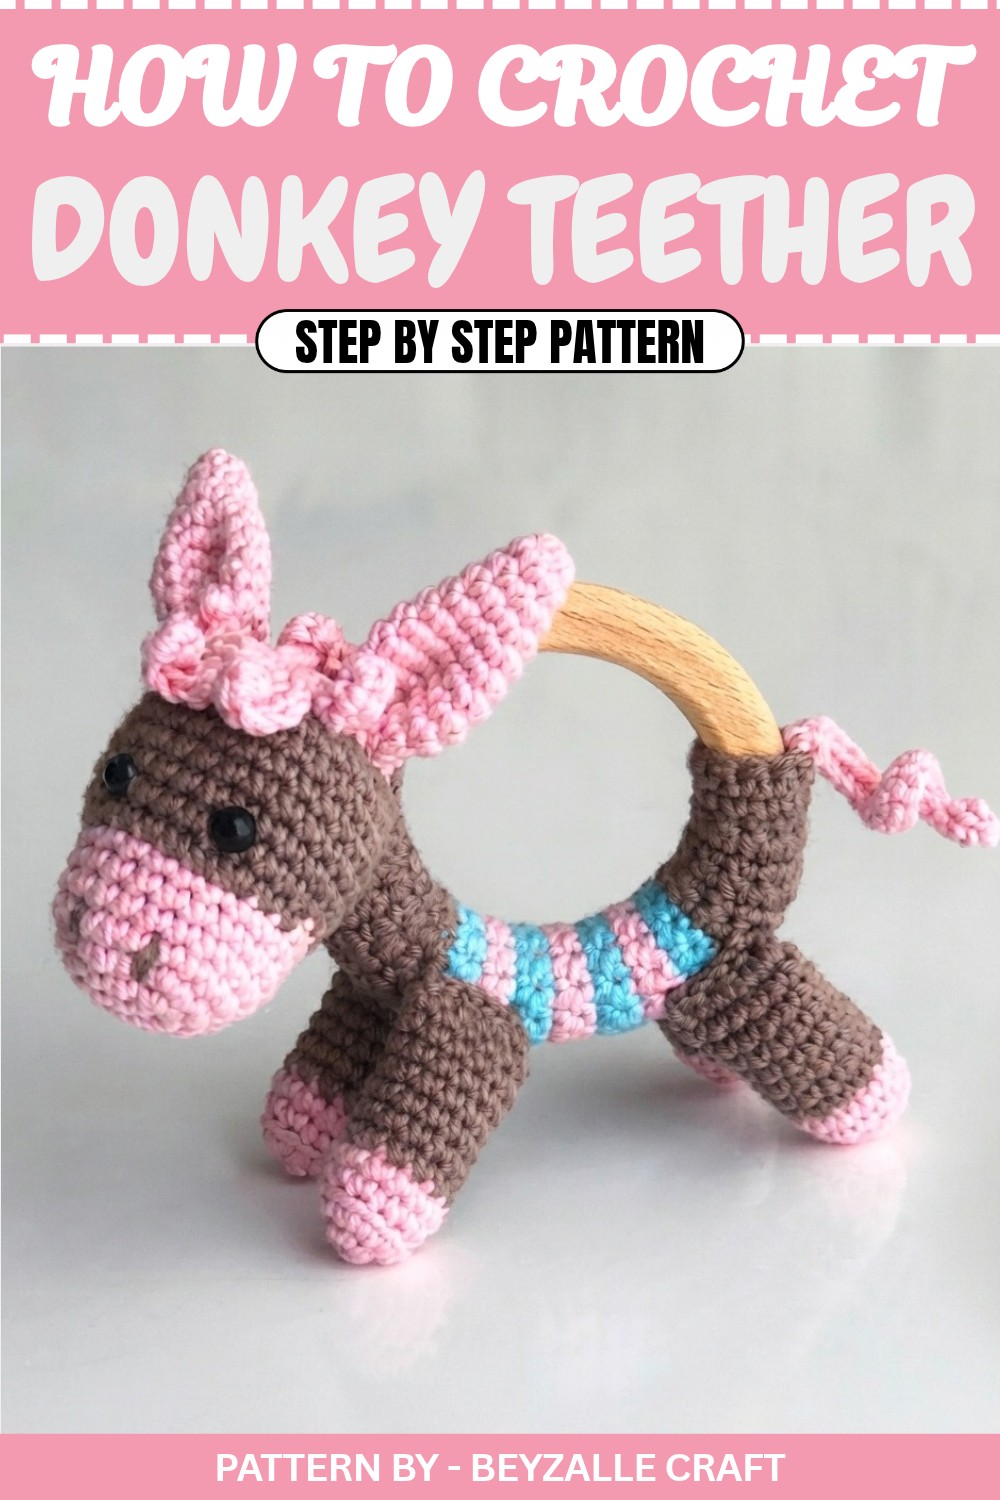
Donkey Themed Teether Toy Crochet Pattern
This pattern guides you through creating an adorable donkey themed teether toy, perfect for babies. The teether is safe, soft, and chewable when made with cotton yarn. Whether you choose to use a wooden teething ring or crochet your own, this guide ensures you’ll have a charming creation worthy of giving as a gift or keeping for your little one.
Quick Overview of the Pattern
- Project: Donkey themed teething toy with a flexible teether base.
- Difficulty Level: Beginner to Intermediate
- Key Features: Donkey head, legs, ears, tail, and a playful teething ring with a soft, baby safe design.
Notes and Tips
- Safety First: If you’re using safety eyes, secure them tightly, adding fabric glue if necessary for extra security. Babies may put the toy in their mouths, so ensure it is safe from choking hazards. Alternatively, use black embroidery thread to stitch eyes securely.
- Custom Size: You can adjust the size of the body/ring cover by adding or reducing the number of rows.
- Yarn Note: Cotton yarn is recommended for durability and safety.
Materials
- Yarn: 3–4 colors of cotton yarn (e.g. brown, blue, pink, and dark pink for details)
- Hook Size: 1.75 mm crochet hook
- Teether Ring: Wooden teether ring or yarn for crocheting a ring (instructions in the pattern)
- Safety Eyes: 7 mm size, or use black yarn for embroidery
- Fiberfill: Polyester stuffing for legs, head, and tail
- Tapestry Needle: For sewing and weaving ends
- Scissors: To cut yarn neatly
- Stitch Marker: To keep track of rounds (especially helpful in amigurumi projects)
Skill Level
This is a beginner to intermediate pattern, requiring knowledge of the following stitches:
- Magic Ring (MR)
- Chain (CH)
- Single crochet (SC)
- Increase (INC)
- Invisible decrease (DEC)
- Slip stitch (SLST)
Measurements
The finished donkey teething toy measures approximately 12–14 cm tall, depending on your tension and base choice.
The Crochet Pattern
Legs (Make 4)
- Round 1: Create a magic ring (MR), and work 6 SC into it. (6 stitches)
- Round 2: Make 2 SC in each stitch around (Inc in every stitch). (12 stitches)
- Round 3: Work in back loops only (BLO). Make 12 SC (no increases). (12 stitches)
- Round 4: Work 12 SC normally. (12 stitches)
- Rounds 5–11: Change color. Continue crocheting 12 SC in each round, creating a cylinder. (12 stitches per round for 7 rounds)
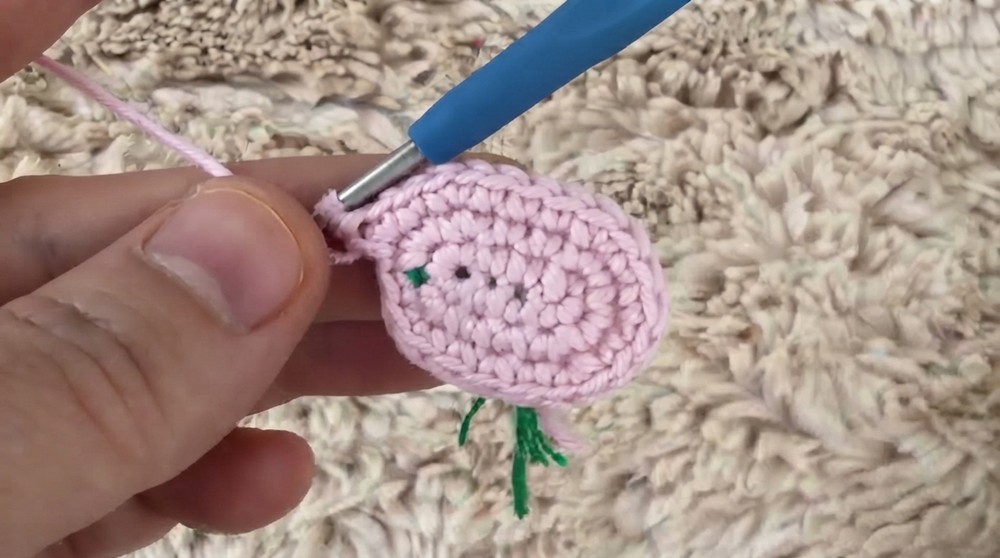
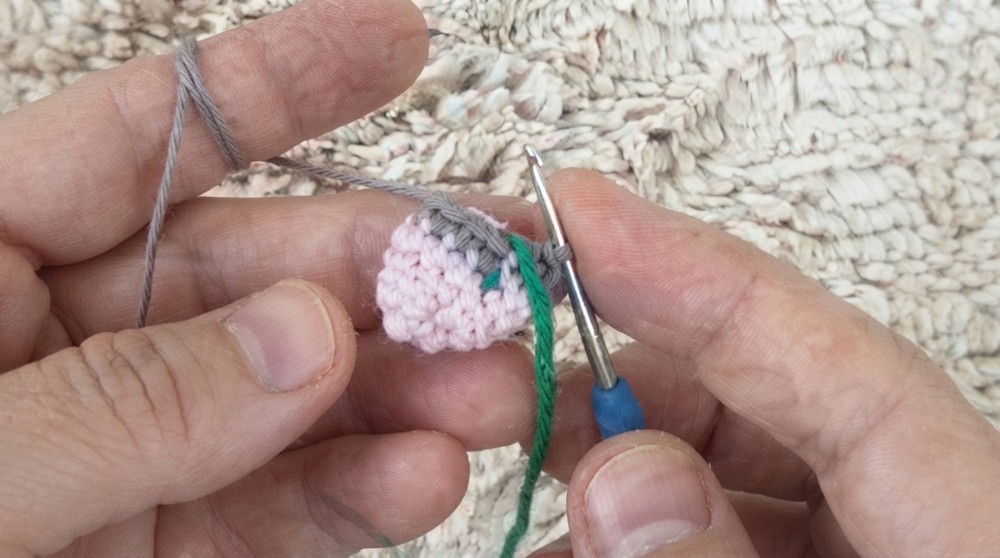
- Stuff the legs lightly, flatten them, and SC across 5 stitches to close each leg. Leave a yarn tail for sewing them onto the teether body later.
Head
- Round 1: Chain 5. Start from the 2nd CH chain from your hook. Work 3 SC, followed by 3 SC in the last CH. Work down the other side of the chain with 2 SC, and finish the round with 1 INC in the last stitch. (10 stitches total)
- Round 2: Work an INC, 2 SC, 3 INC, 2 SC, and 2 INC. (16 stitches)
- Round 3: Work 1 SC, INC, 3 SC, then repeat (1 SC, INC) x3, work 3 SC, and finally repeat (1 SC, INC) x2. (22 stitches)
- Rounds 4–7: Work 22 SC per round. Continue evenly.
- Round 8: Change to the next color and work increases: 2 SC, INC, 4 SC, INC, 2 SC, INC, 2 SC, INC, 4 SC, INC, 2 SC, INC. (28 stitches)
- Rounds 9–15: Work 28 SC in each round.
- Round 16: Begin decreases: (1 SC, DEC) x3, 4 SC, (1 SC, DEC) x3, 4 SC, 1 DEC, 2 SC. (22 stitches)
- Round 17: Continue decreases: (1 SC, DEC) x3, 3 SC, (1 SC, DEC) x3, 3 SC, 1 DEC, 1 SC. (16 stitches)
- Round 18: Final decreases: (2 SC, DEC) x4. (12 stitches)
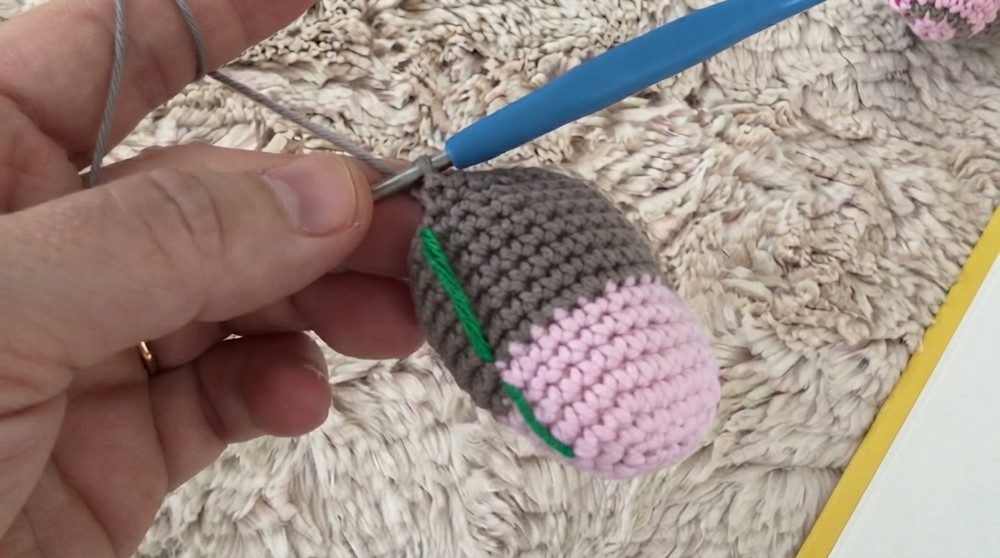
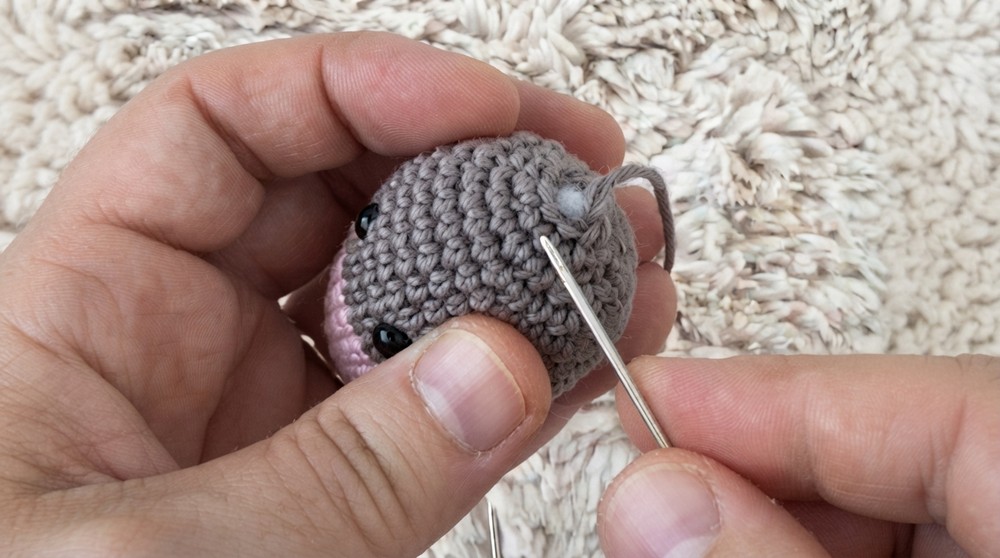
Stuff the head with fiberfill, sew the top closed with a tapestry needle, and set aside.
Ears (Make 2)
- Round 1: Start with an MR, work 6 SC into the ring. (6 stitches)
- Round 2: Work 6 SC in the round (no increases).
- Round 3: Work (1 SC, INC) x3. (9 stitches)
- Round 4: Work 9 SC (no increases).
- Round 5: Work (1 SC, INC) x4, and a final 1 SC. (10 stitches)
- Round 6: Work (2 SC, INC) x3, and finish with 1 SC. (12 stitches)
- Round 7: Work (3 SC, INC) x3. (15 stitches)
- Rounds 8–9: Work 14 SC (no increases).
- Round 10: Begin decreasing: Work (5 SC, DEC) x2. (12 stitches)
Fold each ear in half and SC 3 stitches through both layers to close. Leave a long yarn tail for sewing the ears to the head.
Mane and Bangs
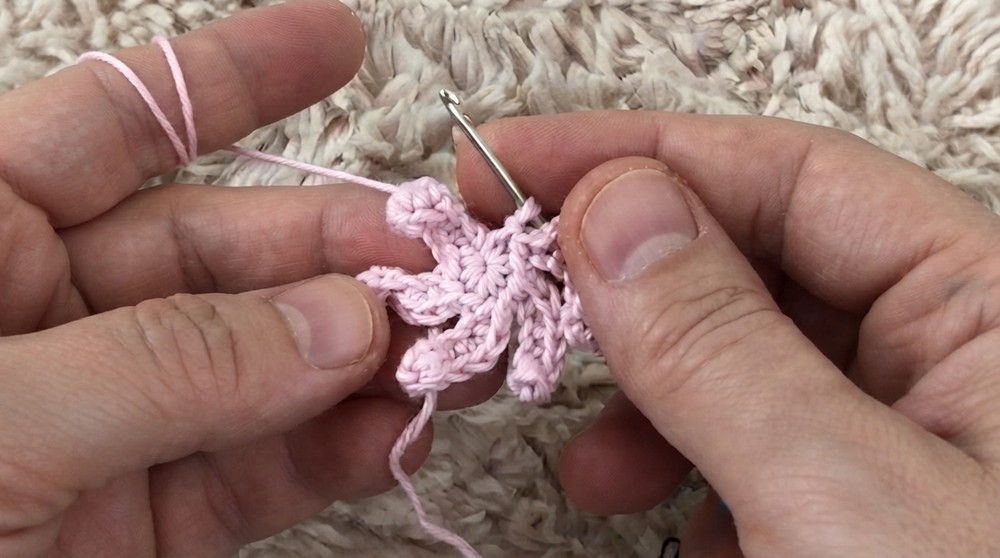
Mane:
- Begin with a magic ring. Chain 6, and from the 2nd chain, work: 1 SC, 1 INC, 1 SC, 1 INC, 1 SC. Slip stitch into the magic ring.
- Repeat this process 4 times to create more loops for the mane.
Bangs:
- For smaller fringe, chain 6, work 1 SC, then 3 chains, 2 SC, and slip stitch. Repeat the process 3 times for multiple strips.
Body/Teether Ring Cover
Option 1: Wooden Teether Ring
- Using your cotton yarn, crochet directly onto the ring. Work 12 SC stitches tightly around the ring. Adjust if needed for different ring sizes.
Option 2: Crocheted Teether Base
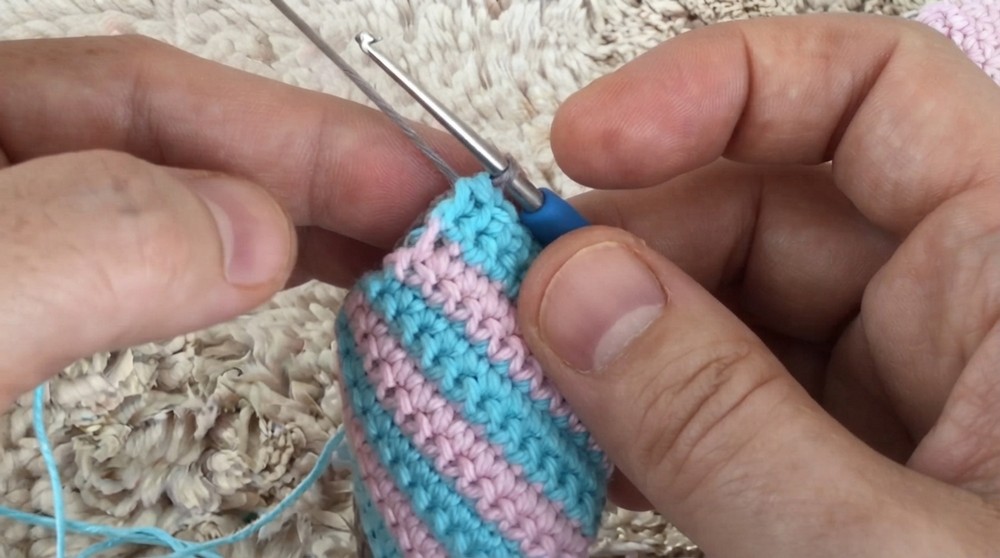
- Chain 13. Work back and forth with 12 SC stitches until you reach 8 rows.
- Create color blocks: Work 2 rows in blue, then 2 rows in pink, and finish with 11 rows in brown.
- Wrap the crocheted strip around into a circle. Stuff lightly with fiberfill, then sew the edges together using corresponding yarn colors.
Tail
- Chain 15. Start from the 2nd chain: Work (1 SC, 1 INC) x5, then finish with 4 SC.
- Attach the finished tail securely to the back of the base with a tapestry needle.
Assembly
- Head: Sew the head to the teether base. Center it at the top and be sure to secure it tightly.
- Ears: Sew the ears symmetrically on either side of the head.
- Mane and Bangs: Attach the mane along the back of the head, just behind the ears. Sew the bangs to the front of the head for a cute, layered look.
- Legs: Space the four legs evenly around the teether base and stitch them securely in place.
- Tail: Attach the tail to the back of the teether base.
Conclusion and Final Touches
Congratulations, You've created a beautiful, handmade donkey teething toy. This project is not only fun to create but also a sweet gift for any baby or toddler.