
Free Crochet Baby Romper Pattern for Little Ones
Dress your little one in comfort and charm with a Free Crochet Baby Romper Pattern that adds a cozy touch while keeping them stylish for any occasion.
I remember how special it felt to crochet tiny clothes for babies, knowing they would be both comfortable and cute. One project I really enjoy is making a soft romper that every little one can wear with ease. The free crochet baby romper pattern is perfect for creating a cozy outfit that keeps babies snug and stylish.
Easy Free Crochet Baby Romper Pattern You Will Love

This baby romper looks adorable with its gentle shape and smooth texture. It’s designed to be loose enough for babies to move freely but still warm and soft against their delicate skin. The romper often has cute buttons or bow that add charm and make it easy to put on and take off.
This project is good for beginners who know basic crochet stitches and want to try something new. The main stitch used in this pattern is the double crochet stitch, which creates a warm but flexible fabric. You’ll also work with chain stitches to shape the romper and make openings for arms and legs.

Crocheting a baby romper makes a wonderful gift for new parents and their babies. It’s not just a piece of clothing but a handmade treasure full of love, perfect for keeping babies comfortable and cute. Plus, it makes a lovely keepsake that families can cherish for years.
Customizable Crochet Romper Pattern
This pattern is freehand, designed for customization to fit any baby or child. I’ll provide the numbers I used, but the focus is on measuring your own child or desired recipient for a perfect fit. Let’s step into this adorable and versatile romper project.
Quick Overview Of Pattern
- Crochet the waistband in a ribbed pattern, single crocheting in back loops only.
- Join the waistband to form a circle.
- Add border and build the straps integrated into the waistband.
- Sew buttons to the front for convenient closure.
- Switch colors and work the main bottom body in half double crochets in the round.
- Shape the crotch and divide the piece into two legs, crocheting in the round with decreases at the corners.
- Add a tie belt for extra style and adjustability.
Notes
- This pattern is completely customizable; numbers are provided as a reference based on a small/newborn size.
- Adjust the waistband, main body, and strap lengths as needed—just try on or measure against the child.
- Color changes are optional and allow for yarn stash busting.
- For ribbing, single crochet through back loops only.
- Tutorial is written using US terminology.
Skill Level
Advanced Beginner (with Confidence in Basic Construction Techniques)
- Must be comfortable with foundation chains, back-loop-only stitches, joining pieces, and simple shaping.
Materials
- Medium weight (worsted/aran) acrylic or cotton yarn, one or two colors (e.g., Deep Purple)
- 4.5mm crochet hook
- Scissors
- Tapestry needle for sewing ends and attaching buttons
- 2 buttons (for strap closure)
- Stitch marker (optional, for marking rounds)
Measurements / Sizing
- Waistband (reference): Foundation chain of 7 for width; completed length ~60 rows for newborn, wrapping around the waist.
- Straps: Chain of 40 (or as needed to reach from back waistband, over the shoulder, to waist front).
- Completion: Designed for a newborn but easily upsized by increasing the number of rows for the waistband or adding stitches to the straps and leg openings.
Gauge
- Not provided due to the pattern’s customizable nature, but aim for even tension and firm but flexible fabric.
- If making for a specific child, measure waist and desired rise, then adjust foundation chains and rows accordingly.
Stitch Abbreviations
- CH – chain
- SC – single crochet
- HDC – half double crochet
- SL ST – slip stitch
- BLO – back loop only
Special Stitches
- SC BLO: Insert hook in back loop only of the stitch for ribbing.
- HDC Decrease: Yarn over, insert into first stitch, yarn over and pull up a loop (3 loops on hook), yarn over, insert into next stitch, yarn over and pull up a loop (5 loops on hook), yarn over and pull through all 5 loops. (Used for shaping crotch and leg openings.)
The Crochet Pattern
1. Waistband (Ribbed Band)
- Foundation Row:
- Create a slipknot.
- CH 7 (or desired width for waistband).
- Row 1:
- Starting in 2nd CH from hook, SC across (6 SC).
- Rows 2+:
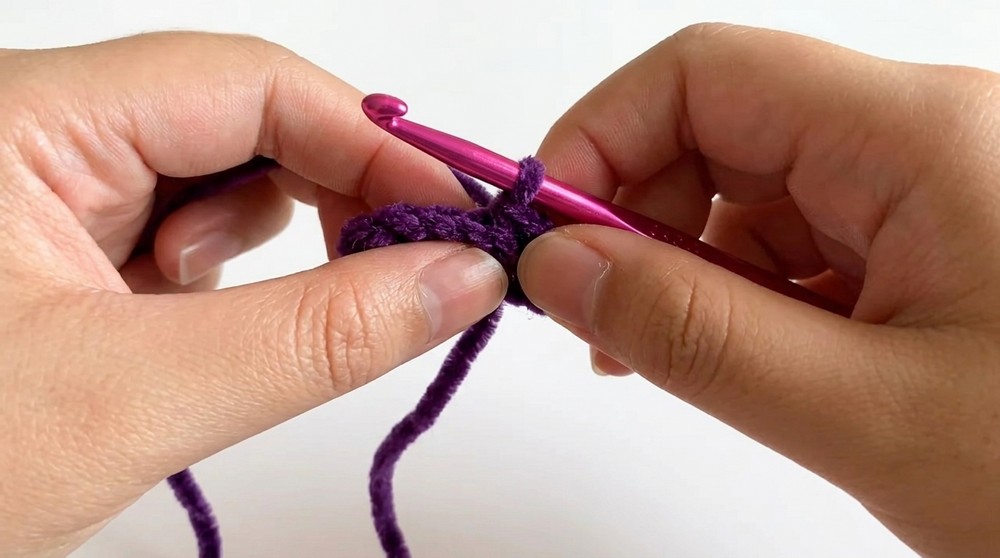
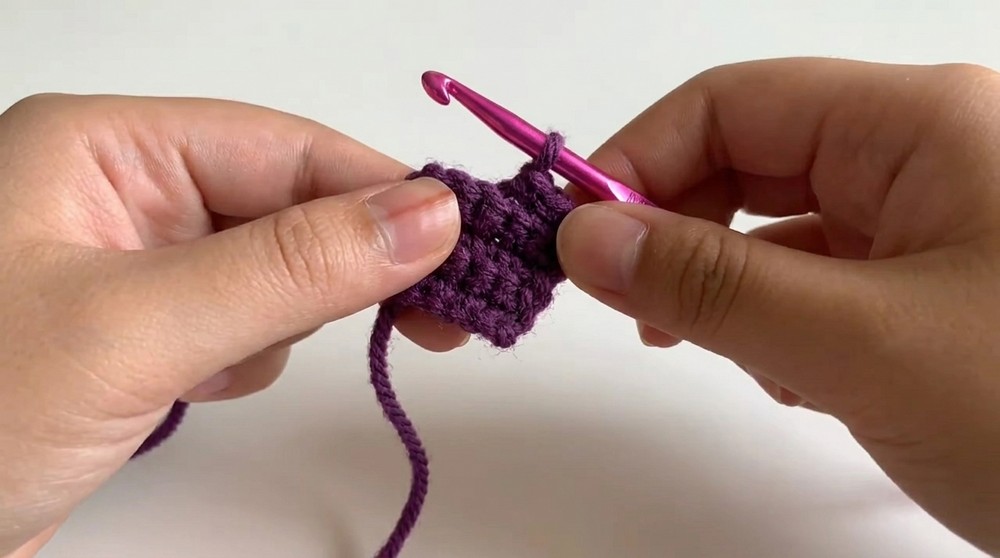
- CH 1, turn. SC BLO across each stitch (6 SC).
- Repeat to reach the waist circumference. For a newborn, approximately 60 rows.
- Join Band:
- Fold band in half, align ends.
- SL ST through both layers across to close. Do not fasten off.
- Turn band so seam is inside.
2. Waistband Border
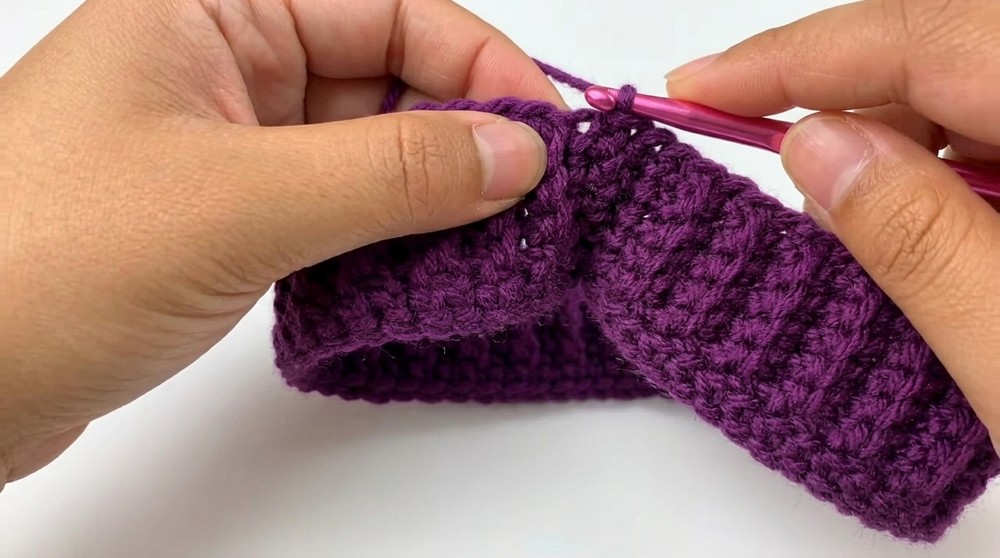
- Working along the long edge, CH 1, and SC evenly across the top edge to create a cleaner border.
3. Straps (Built as You Single Crochet Border)
- Begin at the back of the waistband, counting or folding band to the halfway point.
- From desired starting point for strap, SC 7 (or width of strap).
- CH 40 (or as long as needed to go over shoulder to opposite front waistband).
- Turn, SC in 2nd CH from hook and across the next 39 chains, then down initial 7 SC, anchoring to edge of band. You can go back and forth over this strap, repeating SC rows, until thickness is as desired—typically 2–3 SC rows.
- Secure end, weave in.
- Repeat for second strap, starting from proportional spot on opposite side of back.

4. Button Attachment
- Sew buttons to the front of waistband, positioned to align with straps for closure.
- Straps can be fixed permanently or left with the option to unbutton/remove.
5. Main Body (Shorts)
- Attach New Color (if switching):
- Attach yarn at seam or opposite side of waistband.
- Round 1:
- CH 1.
- HDC evenly around entire lower edge; join with SL ST to beginning.
- Following Rounds:
- CH 1 at start of each new round.
- HDC in each stitch around; SL ST to join.
- Place a stitch marker at the start of round if desired.
- Repeat for several rounds until piece reaches desired rise (try on, or hold up to a reference romper).
6. Crotch Decreases
- When shorts reach desired length, begin to decrease at corners to shape crotch.
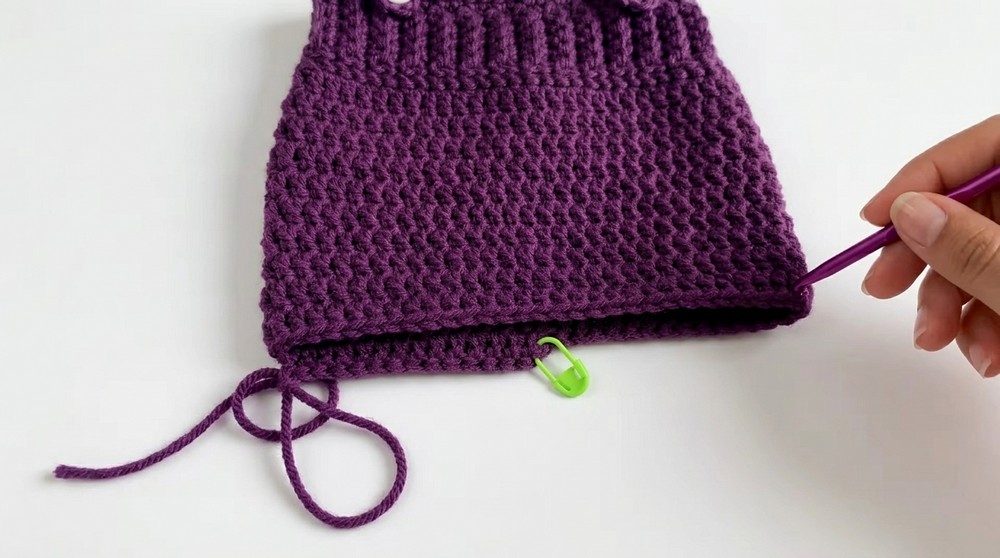
- At start of new round, HDC around to first corner; then work an HDC decrease (see special stitches).
- Continue HDC to the other side (opposite corner), then work another HDC decrease.
- Continue around, maintaining stitch count and working decreases at corners on subsequent rounds as needed.
7. Divide for Legs
- Count total stitches; divide by two.
- Work HDC from side seam (back) to center between legs, then finish off.
- Rejoin yarn at center front for the other leg.
- For each leg, HDC in the round, working decreases as needed at inside of legs to form gentle curves.
- Try the piece; add more rounds or decreases for preferred fit and length.
8. Finishing Leg Openings
- Once you’re satisfied with the leg length, fasten off yarn and weave in ends.
- Repeat the process on the remaining leg.

9. Optional Belt
- Using your chosen color, CH to fit the waist (approx. 60–70 chains or enough to wrap and tie a bow).
- Weave belt through waistband at even intervals.
Assembly & Finished Size
- Try on to check torso and leg lengths, straps, and waistband fit.
- Sew on any final buttons.
- WEAVE IN all ends for a neat finish.
Conclusion
Your customizable crocheted romper is now complete! This project showcases creativity and personal fit, making it perfect for gifts or your own child. You can adjust the design with more colors, decorative buttons, or add a ruffled edge.