
How to Free Crochet Bag Pattern for Perfect Everyday Style
Eco-Friendly Crochet Bag Pattern for Elegant Accessories
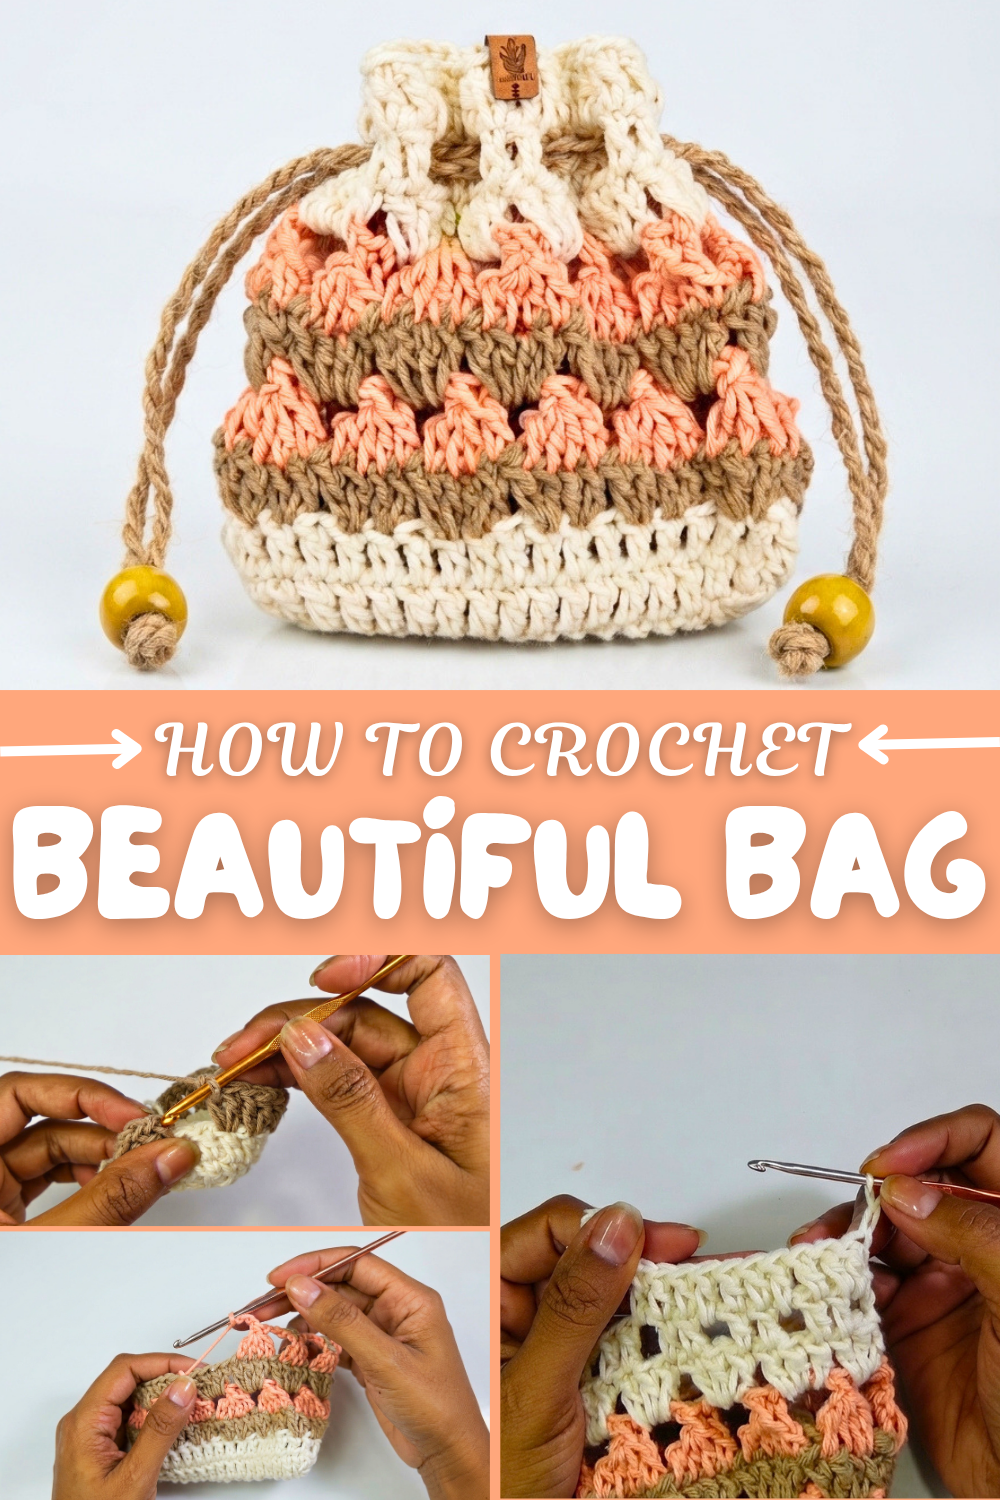
Starting with a loose chain foundation to keep the opening roomy, this pattern grows with consistent double crochet rows, giving it strength and durability. Working through the back loop creates a subtle ribbed texture that helps the bag stretch just enough to open without hassle, yet stay securely closed when pulled shut. Color changes can be added effortlessly to make the piece pop or coordinate with themes. Topping off with a drawstring cord and optional decorative beads or labels adds personality without complexity. This pattern welcomes beginners, offering satisfying progress and a beautiful result whether you crochet as a relaxing hobby or a thoughtful gift-maker.
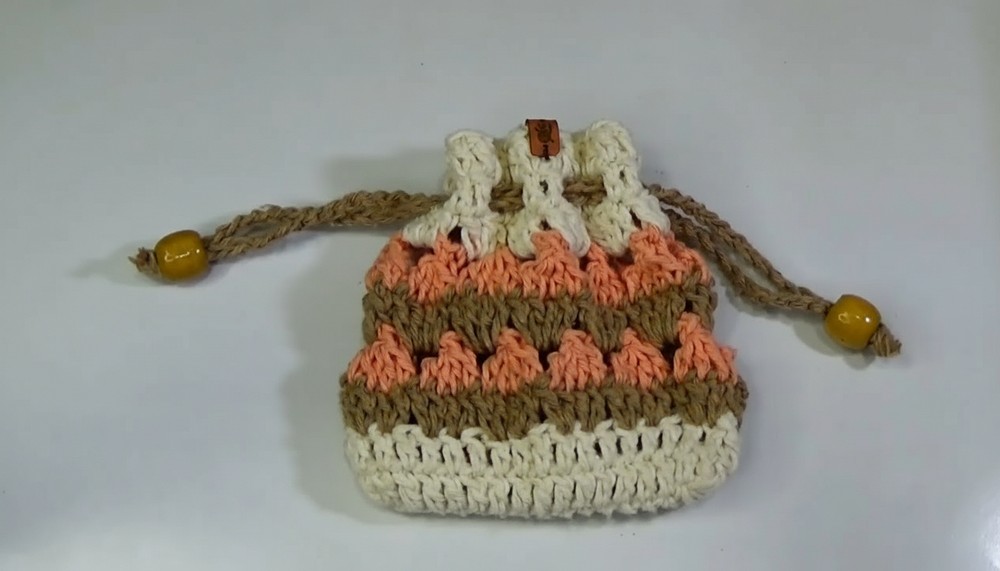
Christmas Party Favor Crochet Bag – Step-by-Step Pattern
This crochet party favor bag is a beautiful, small handmade gift idea perfect for storing soaps, chocolates, or little trinkets. It's a quick and easy project, making it ideal for festive seasons like Christmas, birthdays, or other celebrations. Best of all, it's cost-effective and perfect for using leftover yarn!
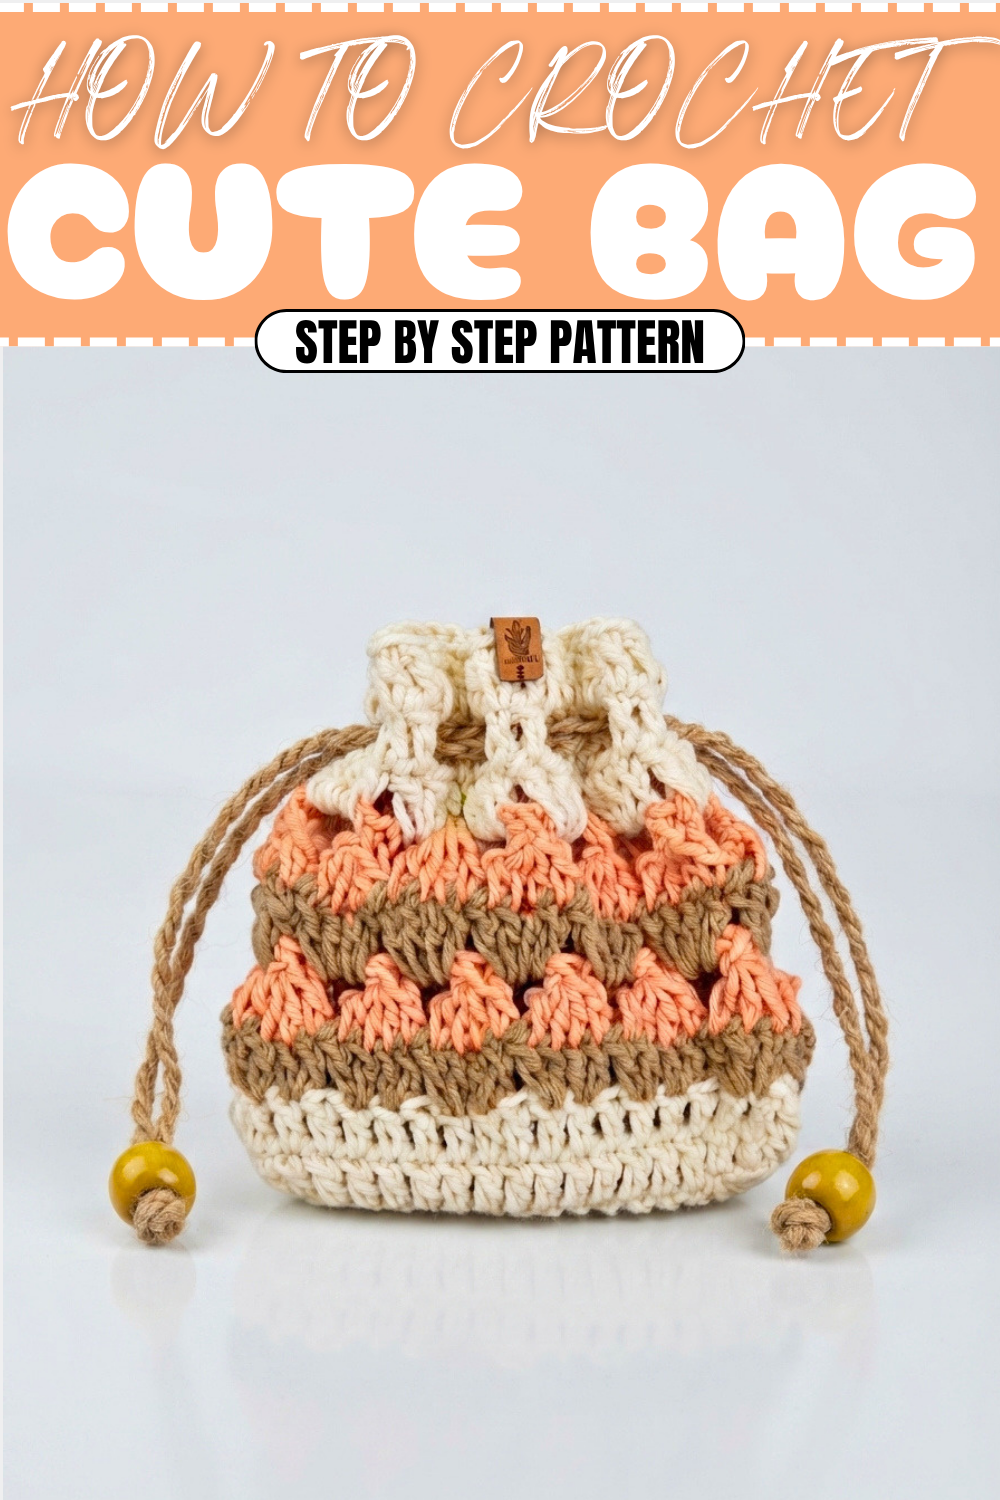
Uses of This Pattern
- Gift favors for Christmas, birthdays, weddings, or other occasions.
- Small packaging for gifts like soaps, candles, or chocolates.
- A thoughtful handmade add-on to accompany larger handcrafted gifts such as bags, clothing, or décor sets.
This project requires minimal supplies and can be adapted to different colors and sizes to suit your personal style or occasion.
Skill Level & Terminology
- Skill Level: Beginner
- Terminology: US Crochet Terms
This pattern uses basic stitches: Chains (ch), Double Crochet (dc), Single Crochet (sc), and Slip Stitch (sl st). The project is perfect for beginners looking to enhance their skills while creating functional and decorative items.
Materials & Tools
- Yarn:
- Approximately 50g of size 6 cotton yarn or any other string-like or bulky yarn.
- Three colors (as used in this pattern): Main color, Accent color 1, and Accent color 2.
- Hook: 3.5 mm crochet hook.
- Wooden Rings or Decorative Beads (optional): For finishing the drawstring.
- Scissors: For cutting yarn.
- Tapestry Needle: For weaving in ends.
Gauge
Gauge is not critical for this project. Ensure your foundation chain and subsequent rows are loose enough for soft edges. The finished piece should measure approximately 12 cm x 12 cm (4.7" x 4.7").
Abbreviations (US Terms)
| Abbreviation | Meaning |
|---|---|
| ch | Chain |
| sl st | Slip Stitch |
| sc | Single Crochet |
| dc | Double Crochet |
| yo | Yarn Over |
Special Stitch Instructions
Back Loop Only (BLO) dc:
- Insert hook into the back loop of the stitch (farthest from you), leaving the front loop free, and work a dc. Creates a ribbed or textured effect.
Finished Size
- Width: 12 cm (4.7")
- Height: 12 cm (4.7")
Note: Size can easily be adjusted by changing the foundation chain length or adding more rows.
What You’ll Learn from This Pattern
- Mastering the foundation chain and creating soft, square edges.
- How to work a textured back loop only pattern for layering.
- Creating zones for decorative drawstring threading.
- Finishing techniques with optional labels or embellishments.
Why I Love This Pattern
The charm of this little bag lies in its simplicity and flexibility. With a tightly stitched structure and a festive design, it's a beautiful example of how small touches (like color changes and decorative accents) can transform a modest crochet project into something unique and perfect for gifting.
The Pattern Itself
The pattern is separated into three main sections: the crocheted bag, the drawstring cords, and the finishing details.
Part 1 – Foundation and Bottom Panel
Step 1: Create the Foundation Chain
- Start with a slip knot and chain 19 stitches.
- Keep the stitches loose for easy working.
- Row 1:
- Yo, skip the first 3 chains, and work 1 dc in the 4th chain.
- Work 1 dc in each chain across for a total of 16 dc. (The skipped 3 chains count as the first dc.)
- You’ll have 2 chains left at the end of this row—do not work into these chains yet.
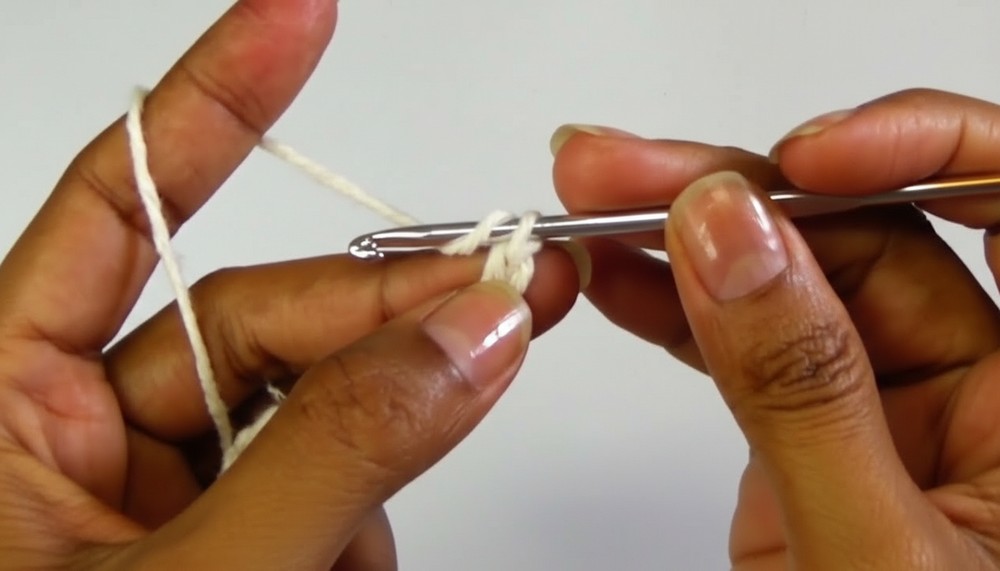
This forms the base of the bag, giving it a structured rectangular shape.
Step 2: Working Around the Base for the Oval Shape
- In the last chain, work 3 dc to create a rounded corner.
- Move to the other side of the foundation chain:
- Work 1 dc in each chain along the opposite side (15 dc).
- In the final chain (the same chain used for the first corner):
- Work 2 additional dc to complete the second rounded corner.
- Join with a sl st to the top of the starting ch-3.
- Fasten off to complete this phase.
By working around the foundation chain, you create an oval base that will form the bottom of the bag.
Part 2 – Building the Body of the Bag
Step 1: Attach your main color yarn to the top-right corner of the base (anywhere).
- Work dc stitches evenly around the edge:
- Place 1 dc in each stitch for a clean border.
- Join with a sl st at the end of the round.
- Next Round: Repeat 1 dc in each stitch around for a total of 2 full rows of dc stitches.
Step 2: Switch to Accent Color 1 for decorative zigzag texture.
- In any starting position, work 2 dc in the same stitch and move to the next stitch.
- Alternate between *skipping 1 stitch and 2 dc in each of the next two stitches.
- You’ll create small blocks of stitches for visual contrast.
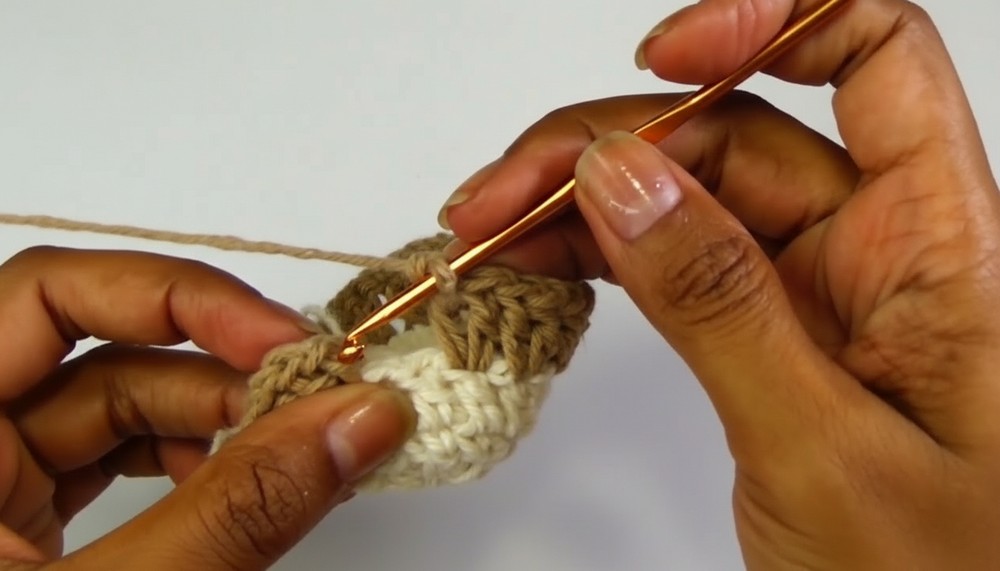
Repeat this decorative pattern all around the perimeter of the bag.
Part 3 – Top Border and Drawstring Loops
Step 1: Add Accent Color 2:
- Work 4 rows of sc in BLO (back loop only) to form soft lines near the rim.
- At the end of all rows, finish with sl st and fasten off securely.
Step 2: Make two drawstring cords:
- Chain 50 stitches with any color.
- Fasten the thread, leaving a short tail for securing.
- Thread one cord through the zigzag openings made in Accent Color 1.
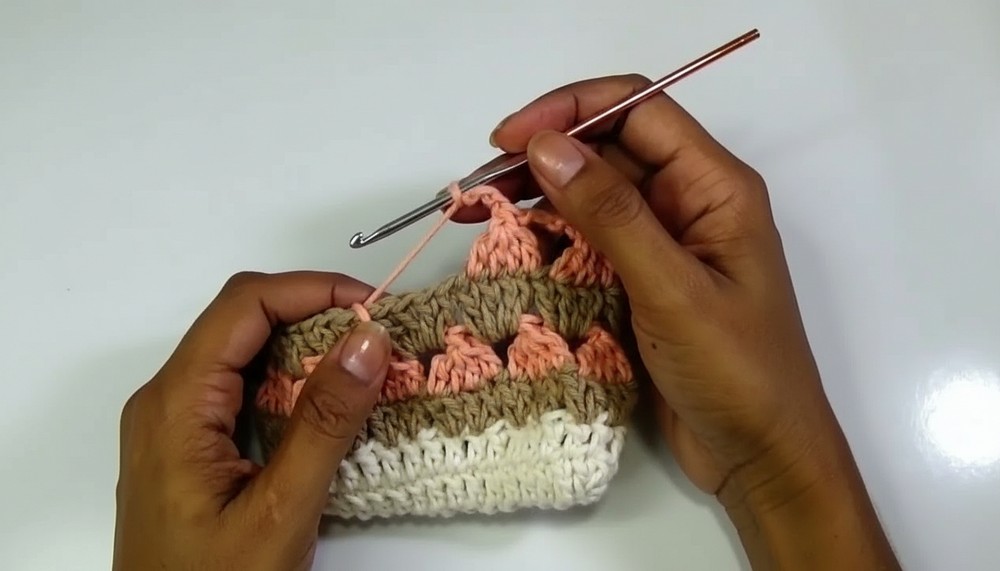
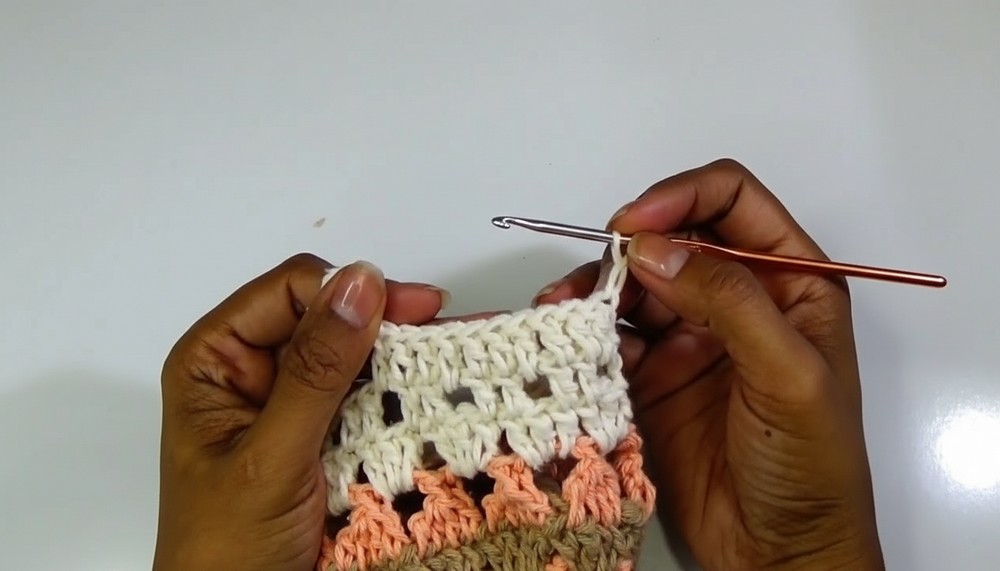
The cords pull the bag closed with a simple tug, making it easy to use!
Assembly & Finishing
- Attach Embellishments
- Tie wooden beads or decorative charms to the ends of your drawstring cords for flair.
- Optional Label:
- Securely sew or glue a small customizable label to add a personalized touch.
- Finish Cord Ends:
- Use a tapestry needle to ensure the cord ends are weaved securely, preventing them from unraveling.
Final Thoughts
This charming holiday bag makes for the perfect party favor or small gift holder. It requires minimal yarn, making it a sustainable project for using scraps. Its cute design adds whimsy and beauty to your holiday preparation list. Use it to gift family, friends or sell it as a craft to celebrate the season!
Tutor’s Suggestions
- Beginner-Friendly Stitches: If you're new to crochet, use simple stitches like single crochet or half-double crochet to keep the process easy.
- Experiment with Textures: Intermediate crocheters can try patterns like the puff stitch, shell stitch, or other textured designs for added flair.
- Use Durable Yarn: Cotton or blended yarns are highly recommended for bags as they are sturdy and hold up well over time.
- Reinforce with a Lining: For added strength, sew a fabric lining inside the bag.
Why You’ll Love This Pattern
This customizable crochet drawstring bag uses simple stitches to produce a delightful, functional project that can be completed in a short time. It’s perfect for showcasing your crafting skills and inventing lively color combos. Whether it’s a standalone gift or a fancy wrapper for another surprise, these bags reflect the care and creativity of their maker.