
Free Crochet Amigurumi Lifebelt Pattern that Pops
Stitching adorable coastal nursery decor is super easy when you follow this free crochet amigurumi lifebelt pattern to make soft plush wall hangings today.
Bright pops of orange paired with clean white stripes give the amigurumi lifebelt a cheerful, coastal vibe that feels like summer all year round. This adorable miniature is perfect for bringing a touch of nautical charm to your home or gifting it as a thoughtful keepsake. Think about it hanging as a keychain, adding personality to your bag, or adorning shelves in a beach themed room.
Style tote bags with Free Crochet Amigurumi Lifebelt Pattern
With simple guidance, stitching crisp stripes of orange and white feels approachable and fun. The pattern makes every step easy to follow, showcasing how to create balanced increases and decreases that give the lifebelt its rounded, lifelike shape. Whether you're swapping yarn colors or working on the fine details, the tips provided make the process smooth and enjoyable.
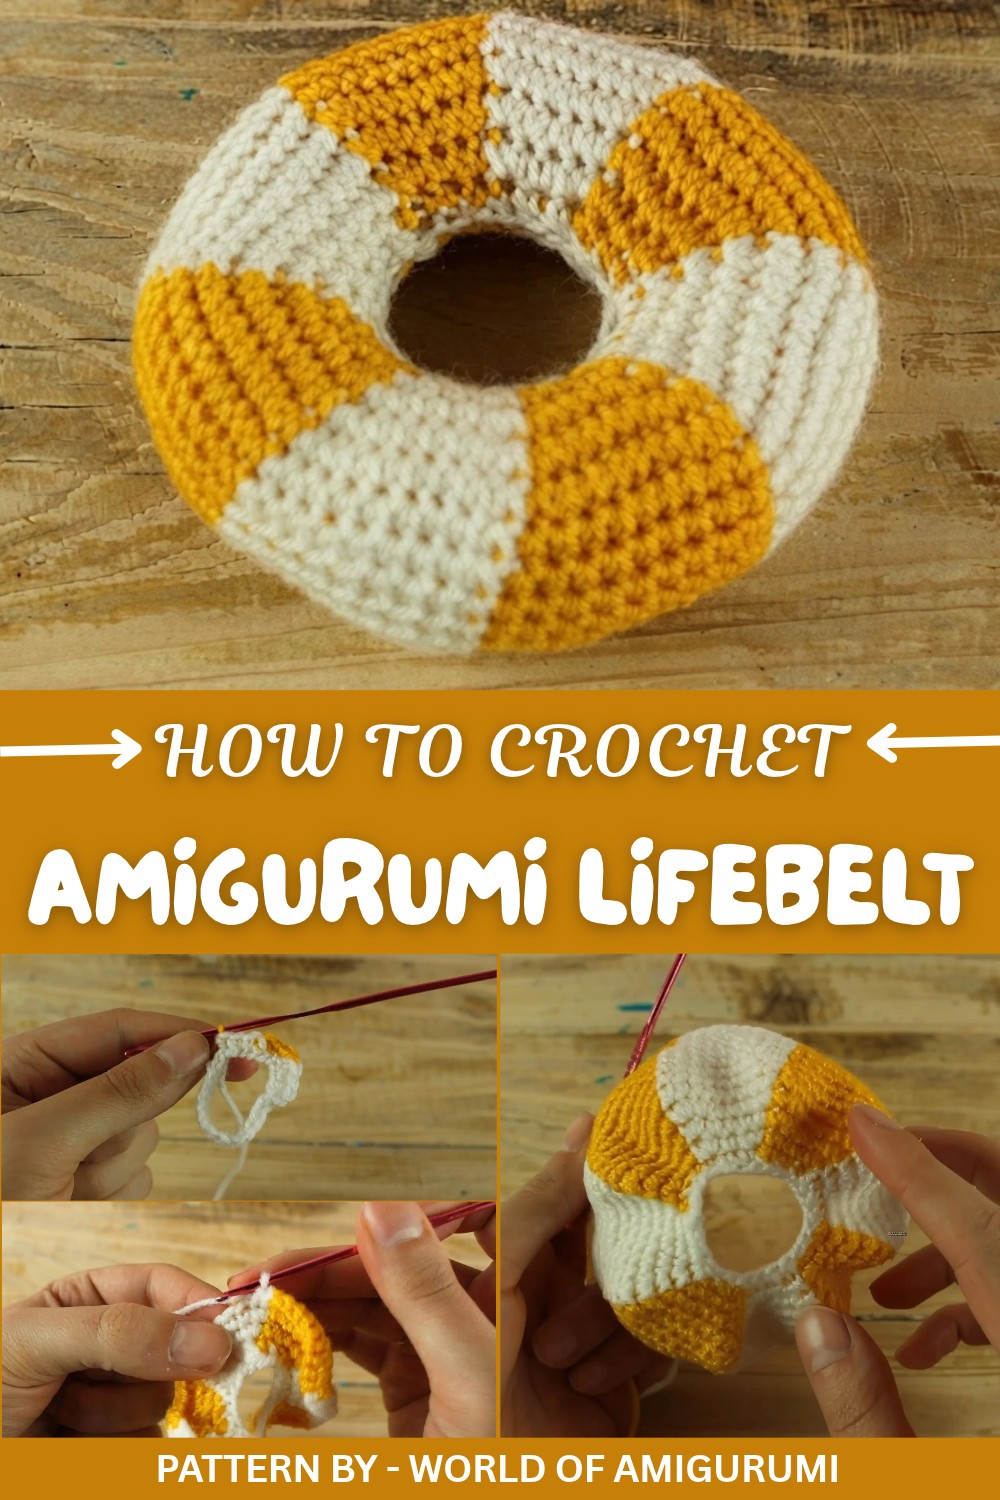
What makes the lifebelt truly stand out, aside from its bold colors, is its realistic yet playful charm. Its compact size adds to its allure, small enough to carry or display but eye catching enough to grab attention. The circular shape, combined with alternating yarn hues, creates a textured masterpiece that feels both nostalgic and modern.
Fans of amigurumi will find this lifebelt project a pure joy to complete. The video tutorial makes it possible for anyone, beginner or experienced, to achieve professional looking results. Dive into the fun with World Of Amigurumi and turn simple materials into something that radiates seaside happiness.
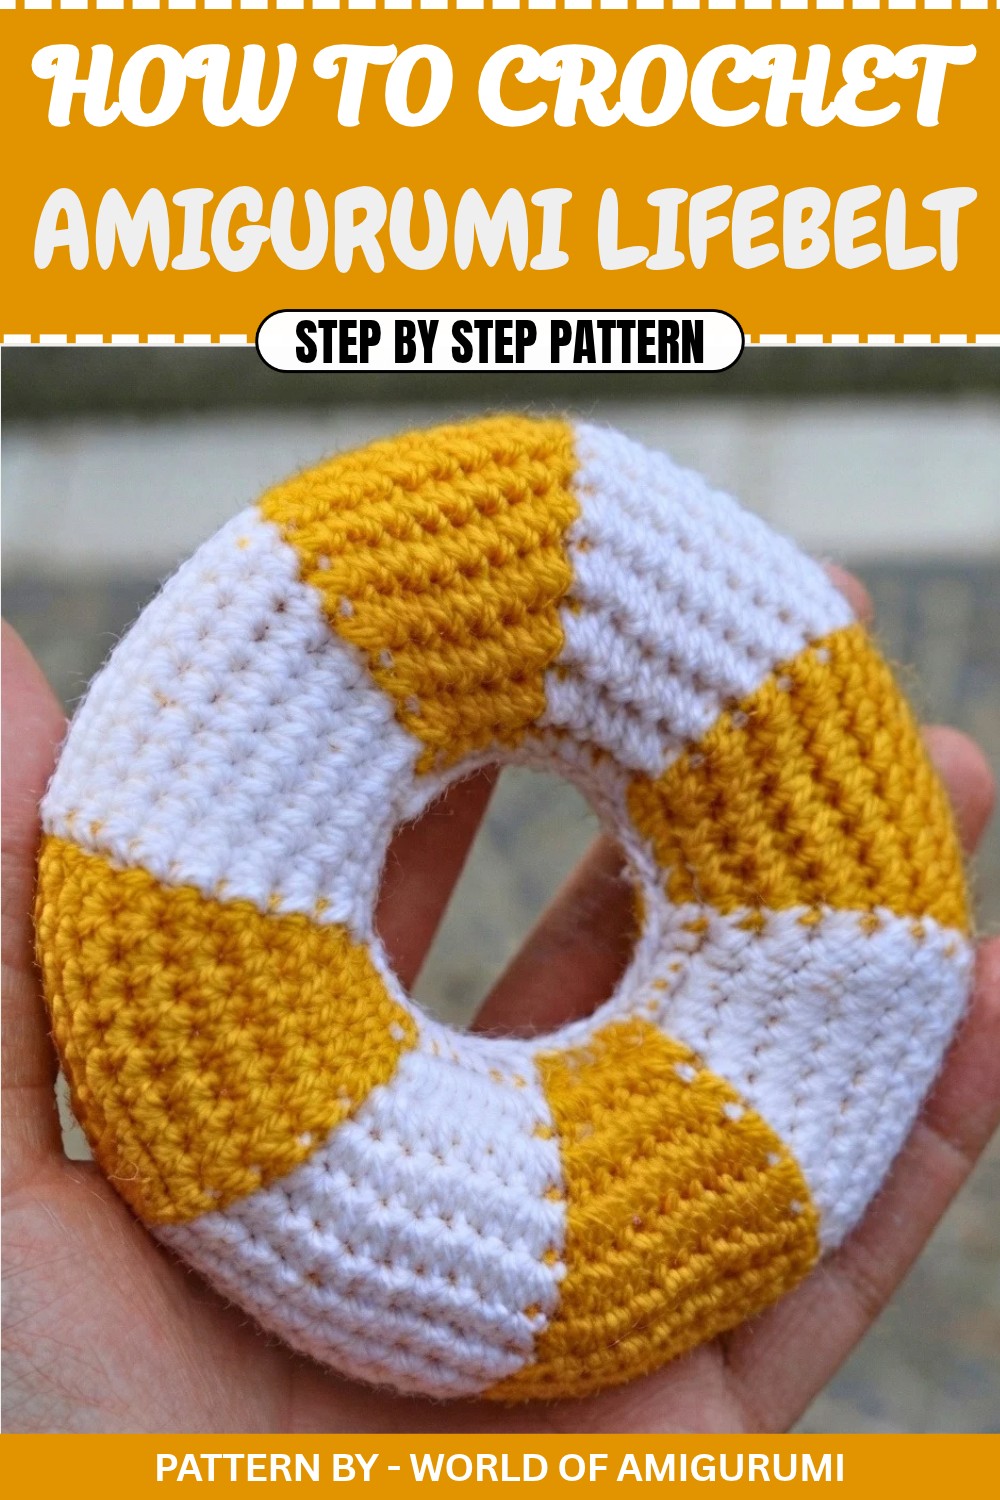
Crochet Pattern: Amigurumi Lifebelt
Quick Overview of Pattern
- Project Name: Amigurumi Lifebelt
- Design Style: Round and striped lifebelt using two colors (orange and white).
- Purpose: Great as a playful accessory, decoration, or even as part of an amigurumi theme.
- Ease of Project: Beginner friendly with some experience in working with rounds and color changes.
Notes
- Always make sure to switch yarn colors before finishing the last loop of the stitch to achieve a clean color change.
- Use a stitch marker to track the beginning of rounds and ensure precision when working.
- Stuff the lifebelt evenly, ensuring a firm and smooth finish. Avoid overstuffing, as it may distort the shape.
- Try to maintain consistent tension throughout the project for an even appearance.
Skill Level
Beginner to Intermediate
This project works well for crocheters who are familiar with basic stitches (e.g., single crochets and slip stitches) and want to practice techniques like increasing, decreasing, and changing colors.
Materials
- Hook: Size 3 mm crochet hook.
- Yarn:
- Orange acrylic yarn (medium weight).
- White acrylic yarn (medium weight).
- Stitch Marker: To keep track of the first stitch in a round.
- Scissors: For cutting yarn ends.
- Needle: Tapestry needle for sewing ends and closing the lifebelt.
- Stuffing Material: Polyester fiberfill or any soft stuffing material.
Measurements/Sizing
The finished lifebelt will measure approximately 8–10 cm in diameter depending on your yarn and hook size.
Gauge
Gauge is not critical for this project, but to achieve a similar size, use a 3 mm hook with medium weight yarn.
Stitch Abbreviations
- Ch: Chain
- Sc: Single Crochet
- Sl St: Slip Stitch
- Inc: Increase (2 single crochet in the same stitch)
- Dec: Decrease (single crochet two stitches together)
Special Techniques
Color Change
To switch colors, work your single crochet stitch as usual but stop just before completing the final loop. Drop the current working yarn, pick up the new color, and pull it through the loops to finish the stitch. Tightly pull the previous color to secure the transition.
The Crochet Pattern
Foundation
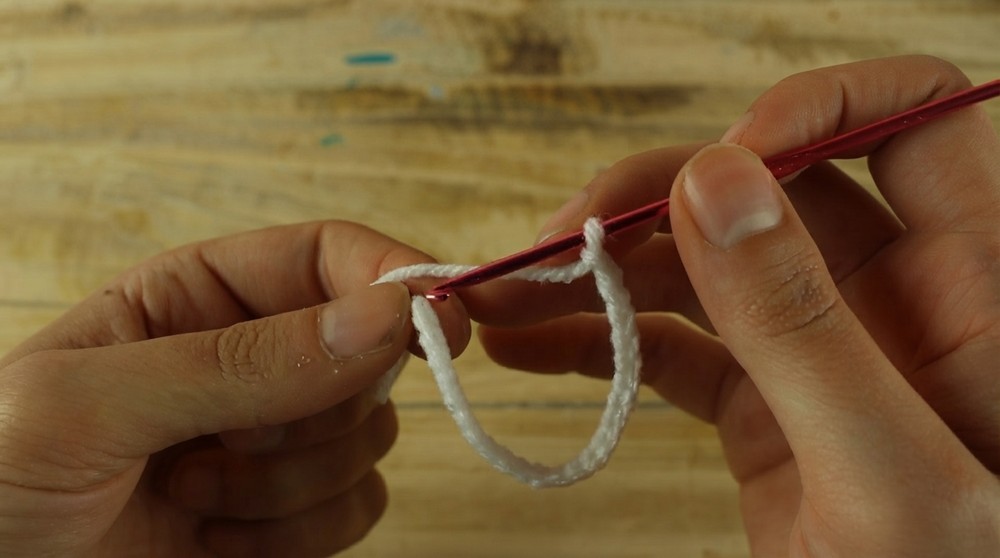
- Using orange yarn, chain 24 CH.
- Connect the last chain to the first chain with a Sl St, forming a ring.
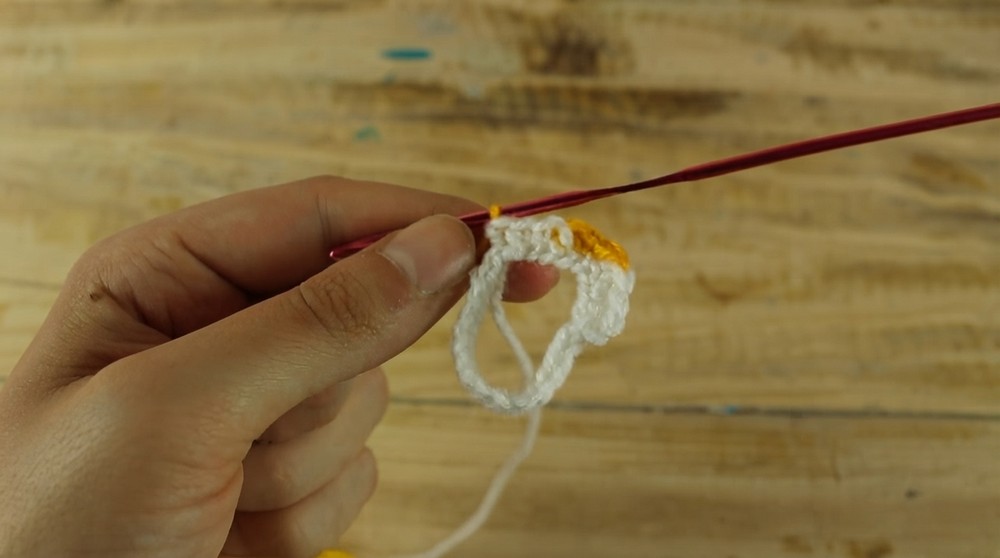
Round 1: Color Change and First Round
- Work 1 CH (this does not count as a stitch).
- In the same stitch, make 1 SC, then make 1 SC in the next stitch.
- In the third stitch, start an SC but do not close. Switch to orange yarn to complete this stitch.
- Work 3 SC with orange yarn in the next three stitches. On the third SC, change back to white.
- Work in a pattern of 3 white SC followed by 3 orange SC, switching yarns on the last loop of every third SC.
- Continue this alternating pattern until you have 24 SC in the round with even color segments.
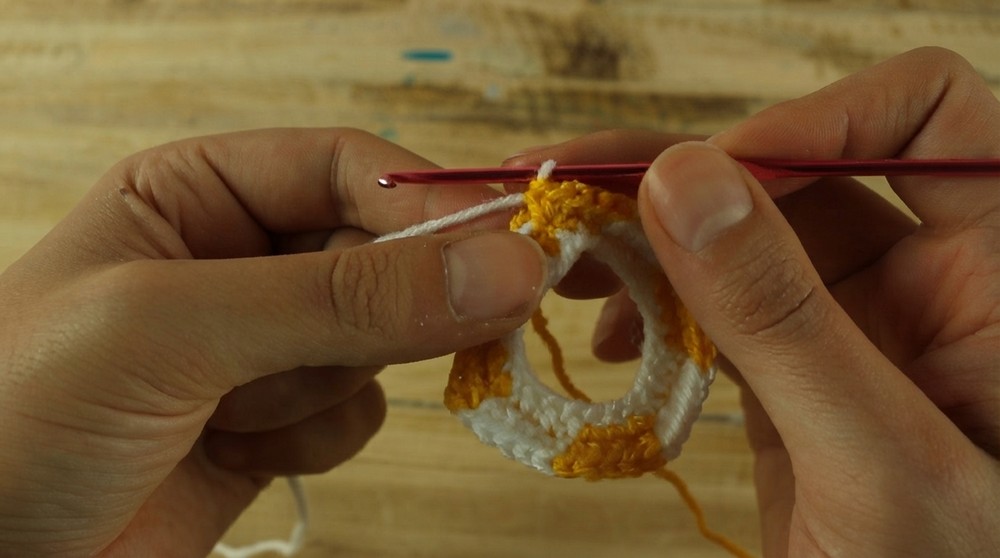
Rounds 2 to 4: Increasing Rounds
(Expanding the diameter of the lifebelt)
- Round 2: Start in the first orange stitch:
- Work 1 Inc in the first orange stitch (2 SC in the same stitch).
- Work 1 SC in the second stitch, and then work 1 Inc in the third stitch.
- On the last orange stitch, do not close it with orange yarn—switch to white as the color change.
- In the white section, repeat the same pattern:
- 1 Inc in the first stitch, 1 SC in the second, and 1 Inc in the third.
- On the last white stitch, switch color to orange before completing the stitch.
- Rounds 3–4: Continue increasing the diameter following the same color sequence and increase logic:
- Round 3: Work 1 Inc, 2 SC, 1 Inc in each color section.
- Round 4: Work 1 Inc, 3 SC, 1 Inc in each color section, alternating between orange and white.
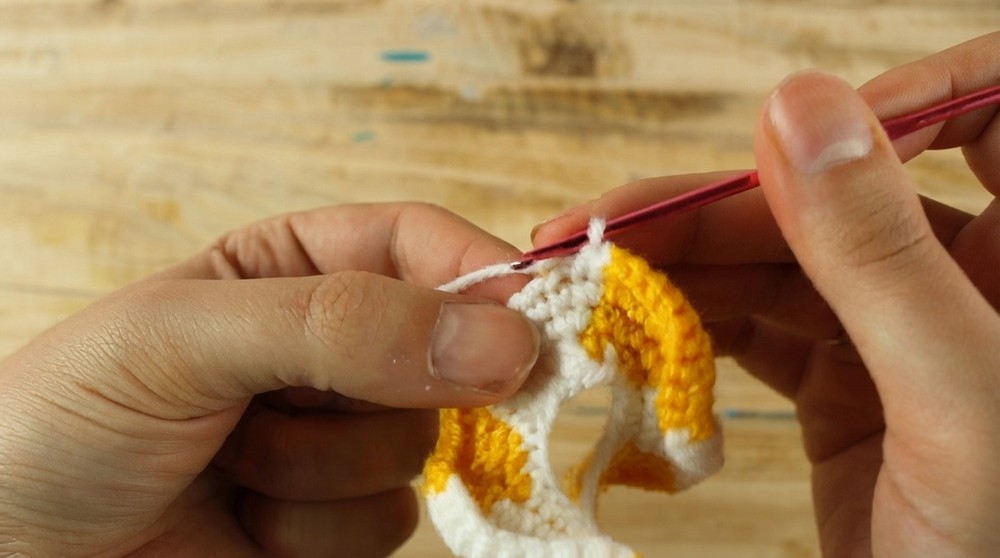
Rounds 5–14: Building the Body
- Work 10 rounds of single crochet without any increases.
- Follow the existing color changing pattern of 3 white SC followed by 3 orange SC.
- Make 1 SC in each stitch in the segment and change colors on the last SC as in previous rounds.
- Use a stitch marker to mark the first stitch of each round for easier tracking.
- Continue until 10 rounds of SC are complete.
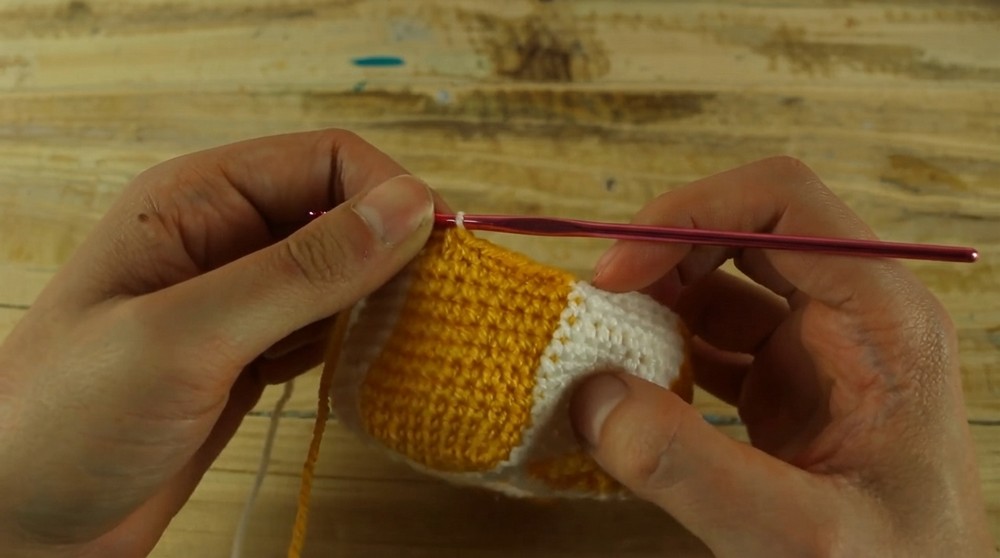
Rounds 15–17: Decreasing and Shaping the Lifebelt
- Start the decrease rounds to gradually close the shape.
- For each round:
- Work 1 Dec (crochet 2 SC together) at the start of each color segment.
- Then, crochet 1 SC in each stitch of the segment.
- In the final 2 stitches of the segment, work 1 Dec, and close the second SC with the opposite color.
- Repeat this pattern for both orange and white segments: decrease the width of each color by working decreases at the start and end of every segment, maintaining the alternating color pattern.
- Complete 3 rounds of decreases, ensuring the lifebelt narrows evenly.
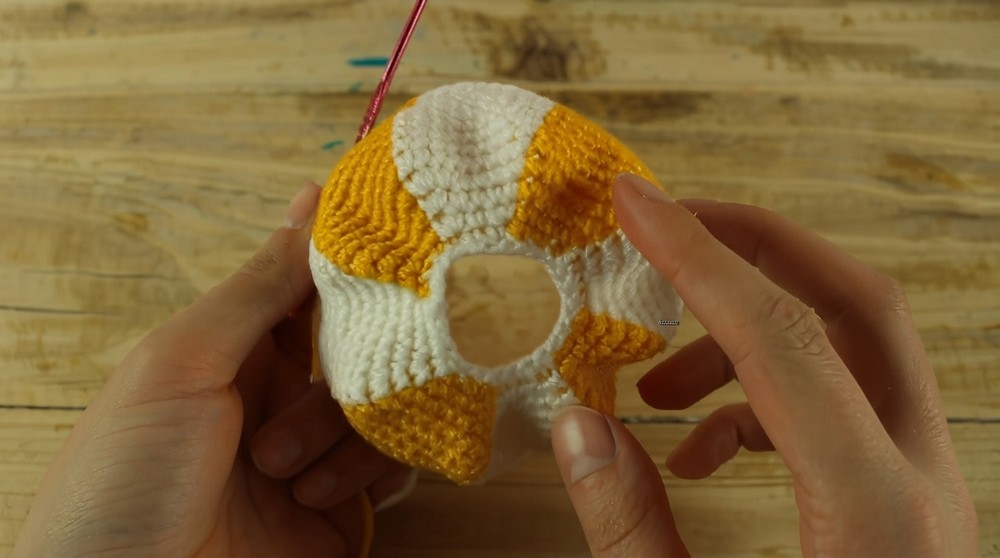
Finishing Steps
- After completing the third round of decreases, close the round with a Sl St. Cut your yarn, leaving a long tail for sewing.
- Use the needle to weave through the remaining stitches. Pull tightly to close the small opening at the center of the lifebelt.
- Before fully closing, stuff the lifebelt firmly:
- Add small amounts of stuffing into the opening and shape it evenly to maintain the spherical form.
- Once the lifebelt is firmly stuffed, secure the last round with the tail, weaving it into the stitches.
Assembly & Finished Size
- After finishing and closing, the final Amigurumi Lifebelt should measure approximately 8–10 cm in diameter (depending on materials and tension).
- Ensure that the lifebelt is evenly stuffed and retains its circular shape. You can also attach a hanging loop if using it as a decoration.
Conclusion
Congratulations! Your beautiful Amigurumi Lifebelt is complete and ready to use. This project is not only fun but also an excellent way to practice new skills like increasing, decreasing, and color changes. Whether used as a cute holiday ornament, kid's toy, or charming decoration, the lifebelt is sure to delight and impress.
Feel free to get creative by trying out different color combinations or even embellishing your lifebelt with beads or small appliqués.