
Fresh Summer Free Crochet Bandana Pattern for Loose Hair
Tie a little color into your day with the Free Crochet Bandana Pattern for a pretty hair accessory that pairs with jeans or a summer dress on sunny outings.
Pattern By 𑣲 Chinami Crochet 𐙚
The warm days of summer call for something light, breezy, and fun to wear, and that’s where this crochet project steps in. Think about a small accessory that not only adds freshness to your outfit but also lets you show off your creative skills. This summer, you can make a lovely crochet bandana using simple stitches and bright yarn. It’s like carrying a touch of summer sunshine right on your head.
Pretty Weekend Free Crochet Bandana Pattern for Day Trips
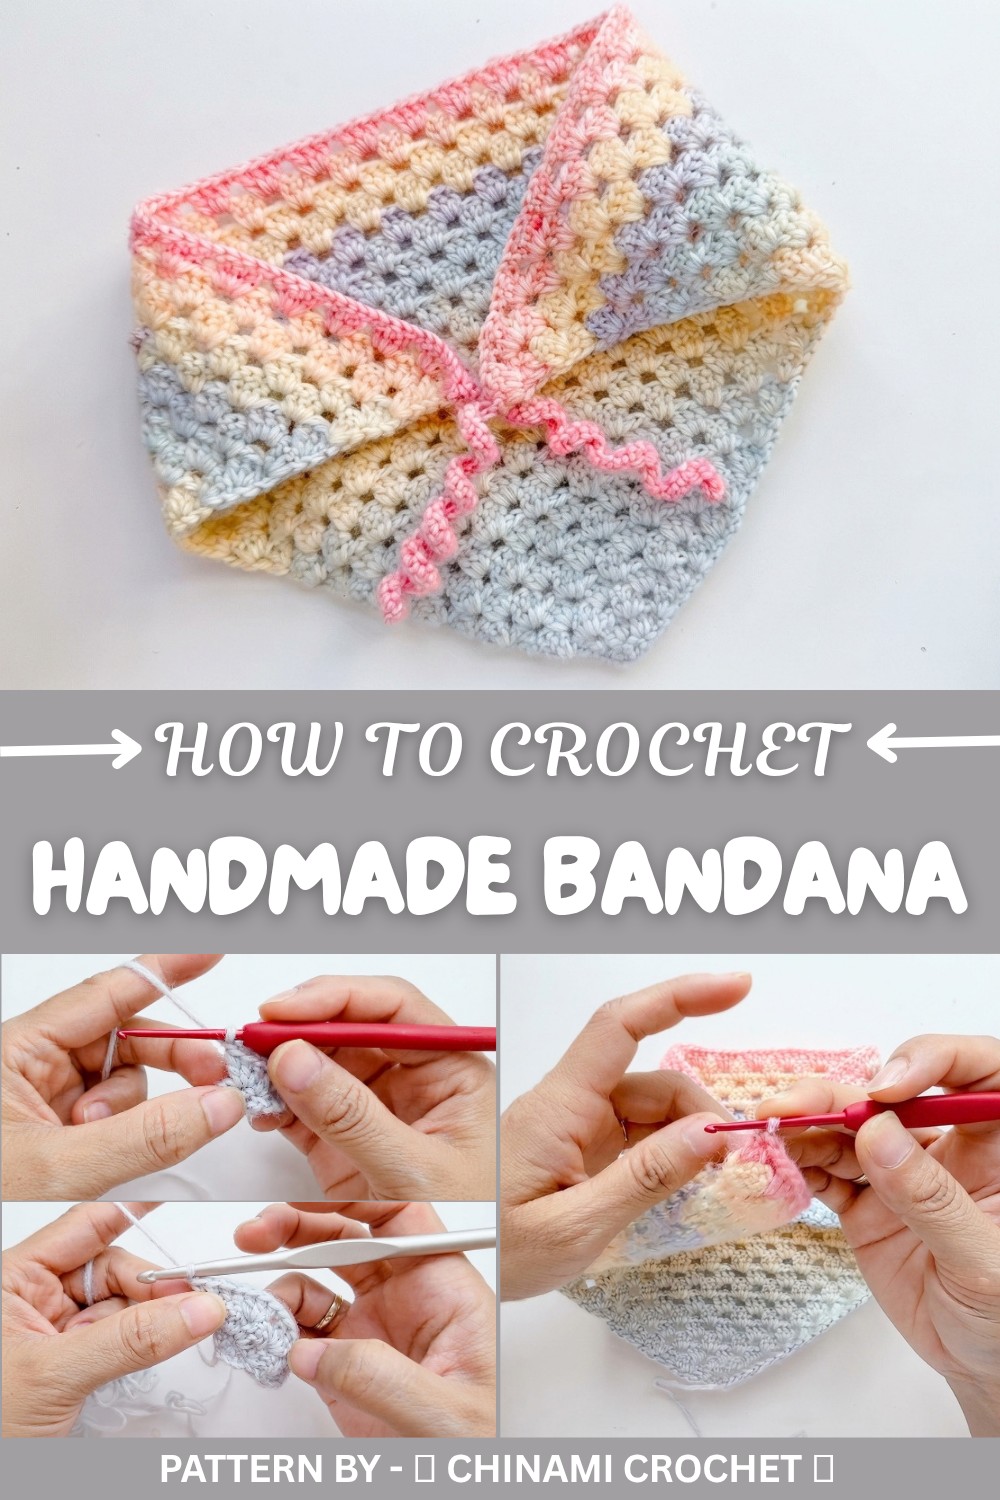
This project is beginner friendly and uses the classic double crochet (DC) stitch along with chain stitches. These are some of the most basic and useful stitches in crochet, so if you're new to crocheting, it’s a perfect place to start. What makes the bandana extra special is the way the stitches come together to form a triangle shape, giving it that classic bandana look. You can experiment with yarn colors like soft pastels, bright tropical vibes, or even cool neutrals, it’s up to your style. This bandana is perfect for holding back your hair on a windy day, adding flair to your wardrobe, or even as a cute neck accessory.
By working through this pattern, you’ll learn new crochet skills like shaping a triangle using increases, working evenly through rows, and creating a lightweight, functional design. It’s an excellent introduction to growing your confidence in crochet, whether you’re a total beginner or brushing up on your skills.
Here’s the really fun part: the same stitches you’ll use to make this bandana can be used for other creative projects too. Think triangle scarves, lightweight shawls, or even granny square inspired projects like bags and pillow covers. This simple yet versatile technique gives you plenty of room to express your creativity and make unique items for yourself or as beautiful handmade gifts.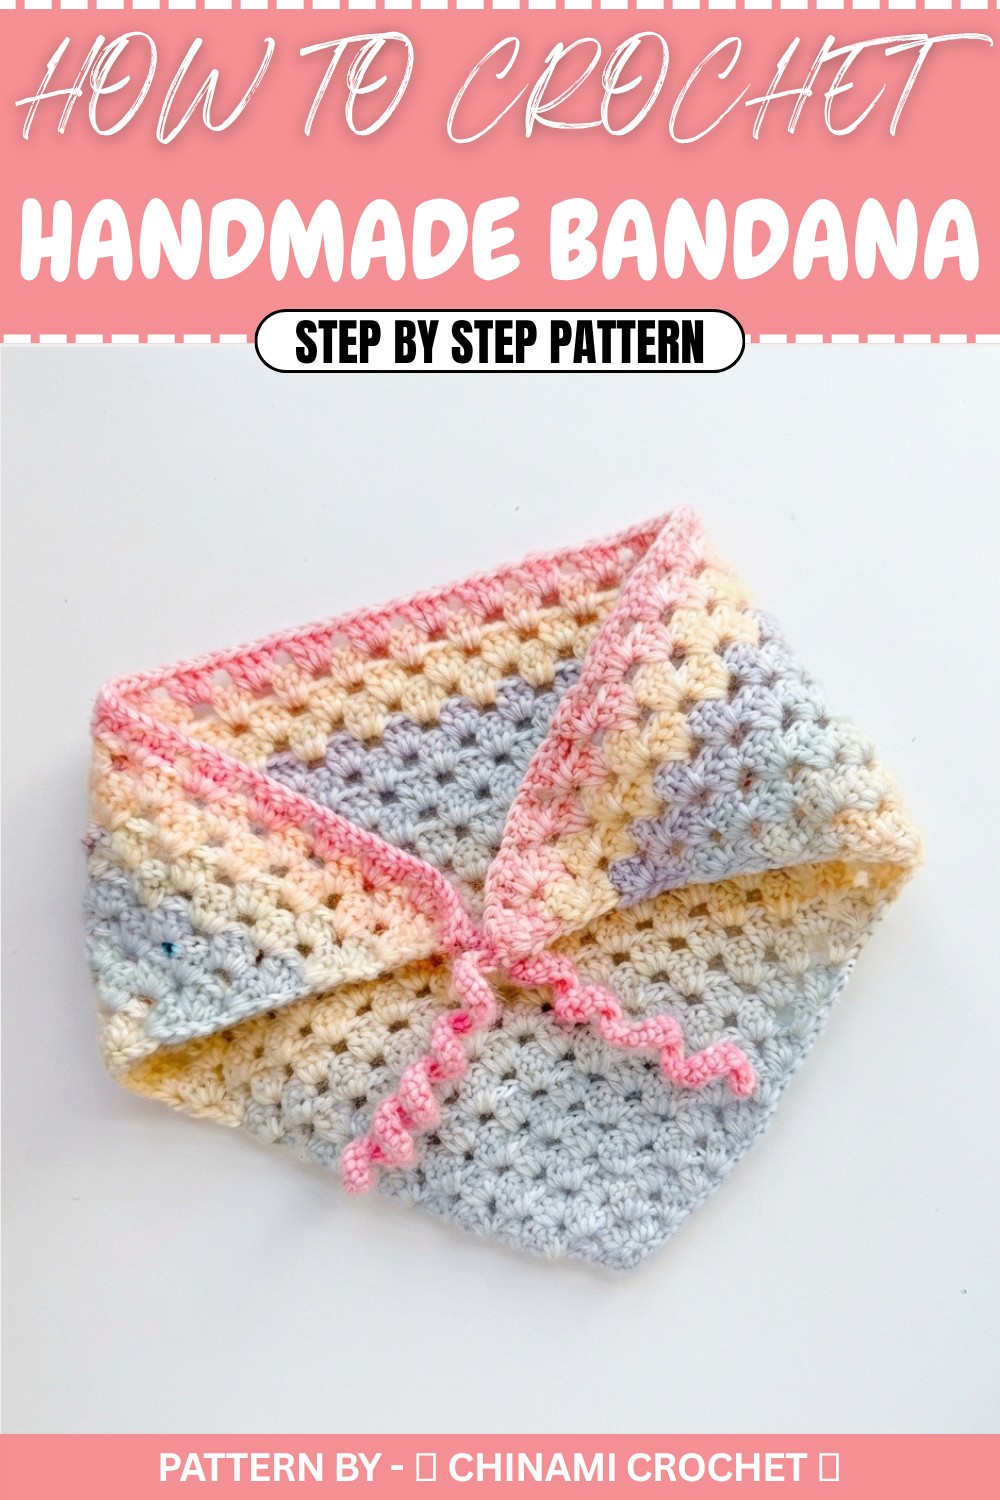
Crochet Pattern: Summer Bandana
This guide provides clear and accurate instructions to crochet a stylish summer bandana based on the provided tutorial. Follow every step to complete your project successfully.
Materials Needed
- Yarn: Milk cotton yarn (soft and breathable, ideal for summer).
- Crochet hook: 2.5 mm.
- Other tools:
- Scissors for trimming.
- Yarn needle for weaving in loose ends.
Skill Level
- Beginner friendly: Perfect for new crocheters looking to practice basic stitches and small scale projects.
Measurements
- Finished dimensions:
- Width: Approximately 42–43 cm.
- Height: Approximately 20 cm.
- Number of rows: Approximately 26 rows for the main triangle body.
- You can adjust the size by adding or reducing rows to suit your preference.
Gauge
Gauge is not critical for this project. Adjust the stitch tension as needed to achieve a uniform look.
Stitch Abbreviations
- Ch: Chain stitch
- Sc: Single crochet
- Dc: Double crochet
Special Stitches
- Double crochet cluster: A group of three double crochets worked into the same stitch, followed by one chain space to create the triangular body of the bandana.
The Crochet Pattern
Step 1: Foundation Chain
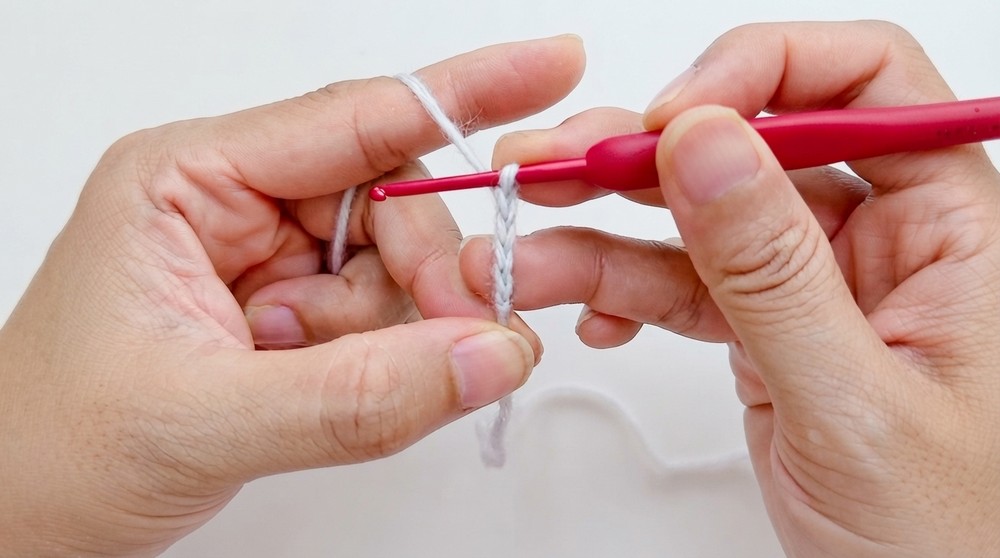
- Create a slip knot: Wrap the yarn around your fingers, pull the yarn through to form a small loop, and place it on your crochet hook. Adjust the loop snugly on the hook.
- Chain 4 to begin:
- Yarn over and pull through to create the first chain.
- Repeat three more times for a total of 4 chain stitches.
Step 2: Row 1 – Small Triangle Base
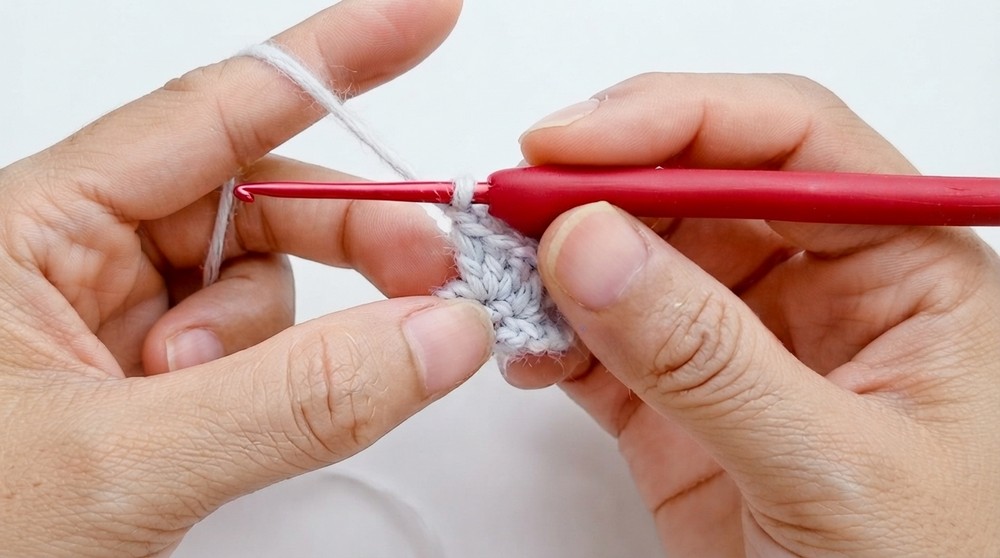
- Insert the hook into the first chain stitch from the foundation chain.
- Work 3 double crochet stitches into the same chain:
- Yarn over, insert the hook into the first chain, pull up a loop (3 loops on the hook).
- Yarn over, pull through 2 loops. Yarn over again, pull through the remaining 2 loops.
- Repeat this process two more times into the same chain space to form the base cluster.
- You now have a small triangle shaped base to build upon.
Step 3: Row 2 – Increasing the Triangle
- Chain 2 and turn your work. This prepares the row for increases.
- Insert your hook into the center space created in Row 1, and work:
- 3 double crochets, chain 1, and then 3 double crochets into that same center space.
Step 4: Row 3 – Expanding the Triangle
- Chain 2 and turn your work.
- Insert your hook into the first space:
- Work 3 double crochets into the gap.
- Chain 1. Move to the center gap (created in the previous row's chain space):
- Work 3 double crochets, chain 1, and then move to the final gap.
- Work 3 double crochets into the final gap.
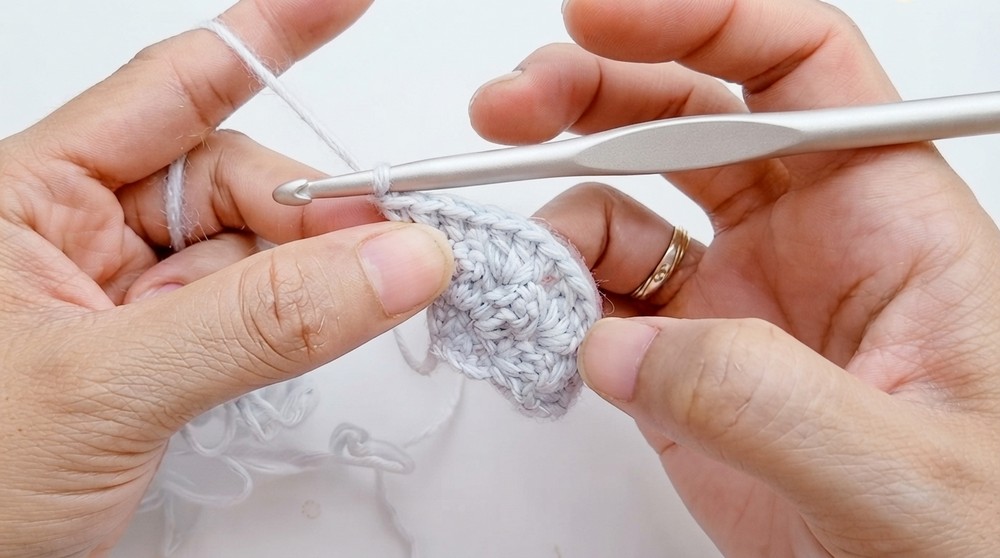
Step 5: Continuing Rows – Building the Triangular Body
- Repeat the pattern for each new row:
- Start with chain 2 and turn your work.
- Work 3 double crochets into every chain space created in the previous row. Use chain 1 between each cluster to maintain the spacing.
- Continue repeating this row structure, increasing by one cluster of double crochets in every row.
- Stop once the main triangular body reaches about 26 rows, resulting in a width of 42–43 cm and a height of 20 cm.
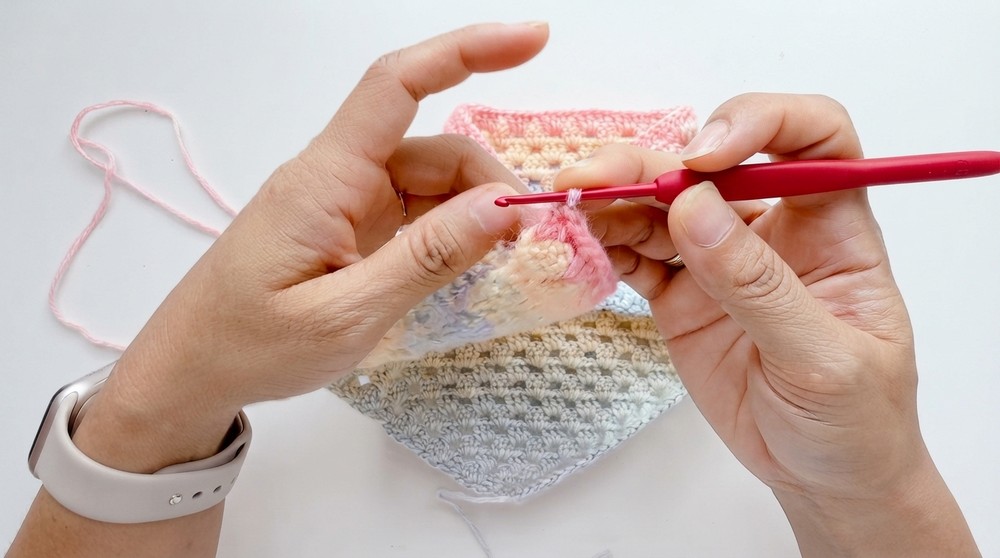
Step 6: Adding Tie Strings
- First Tie String:
- At the end of the last row, chain 40 stitches to form the first tie string.
- Turn your work and crochet back along the chain with single crochet stitches:
- Insert the hook into the second chain from the hook, yarn over, pull through a loop (2 loops on hook).
- Yarn over and pull through both loops to complete a single crochet stitch.
- Repeat this process for each chain.
- Second Tie String:
- Attach yarn to the opposite corner of the bandana. Chain 40 stitches, turn, and crochet back along the chain with single crochet stitches, as described above.
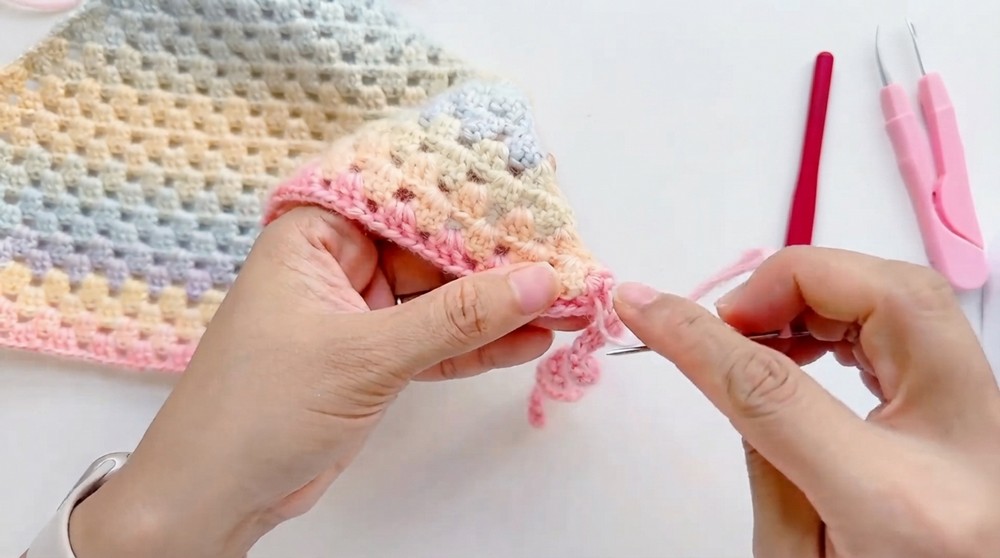
Step 7: Finishing
- Weave in Loose Ends:
- Use a yarn needle to secure the loose ends of both the triangular body and tie strings.
- Weave the ends into the matching yarn color for a seamless finish.
- Check the bandana for loose or uneven stitches and adjust if necessary.
Assembly & Finished Size
Final Dimensions
- The completed bandana will measure:
- Height: 20 cm
- Width: 42–43 cm
- Tie strings: Approximately 40 stitches long each.
This triangular bandana is lightweight, breezy, and perfect for summer wear.
Conclusion and Ending Words
Congratulations on completing your summer bandana. This project is beginner friendly and versatile, making it perfect for beach outings, casual wear, or travel. The clean, triangular design is stylish yet functional, while the tie strings allow you to adjust the fit easily.