
Love this Free Crochet Christmas Bow Pattern for Garlands
Top your holiday present boxes with handmade festive charm by following this free crochet christmas bow pattern to impress your entire family on christmas morning.
Making festive bows during the holidays is one of the simplest yet loveliest ways to add a handmade touch to your celebrations. The crochet bow design featured by the Anerom channel is stunningly simple and versatile, making it a perfect addition to your Christmas crocheting. With its elegant shape, clean edges, and customizable size, this bow brings a charming vibe to gift wrapping, garlands, or even ornaments. The ability to crochet it in various colors makes it adaptable for different holiday themes, whether you're going for a classic red and green palette or something unique like gold and silver.
Free Crochet Christmas Bow Pattern for Festive Hair Clip
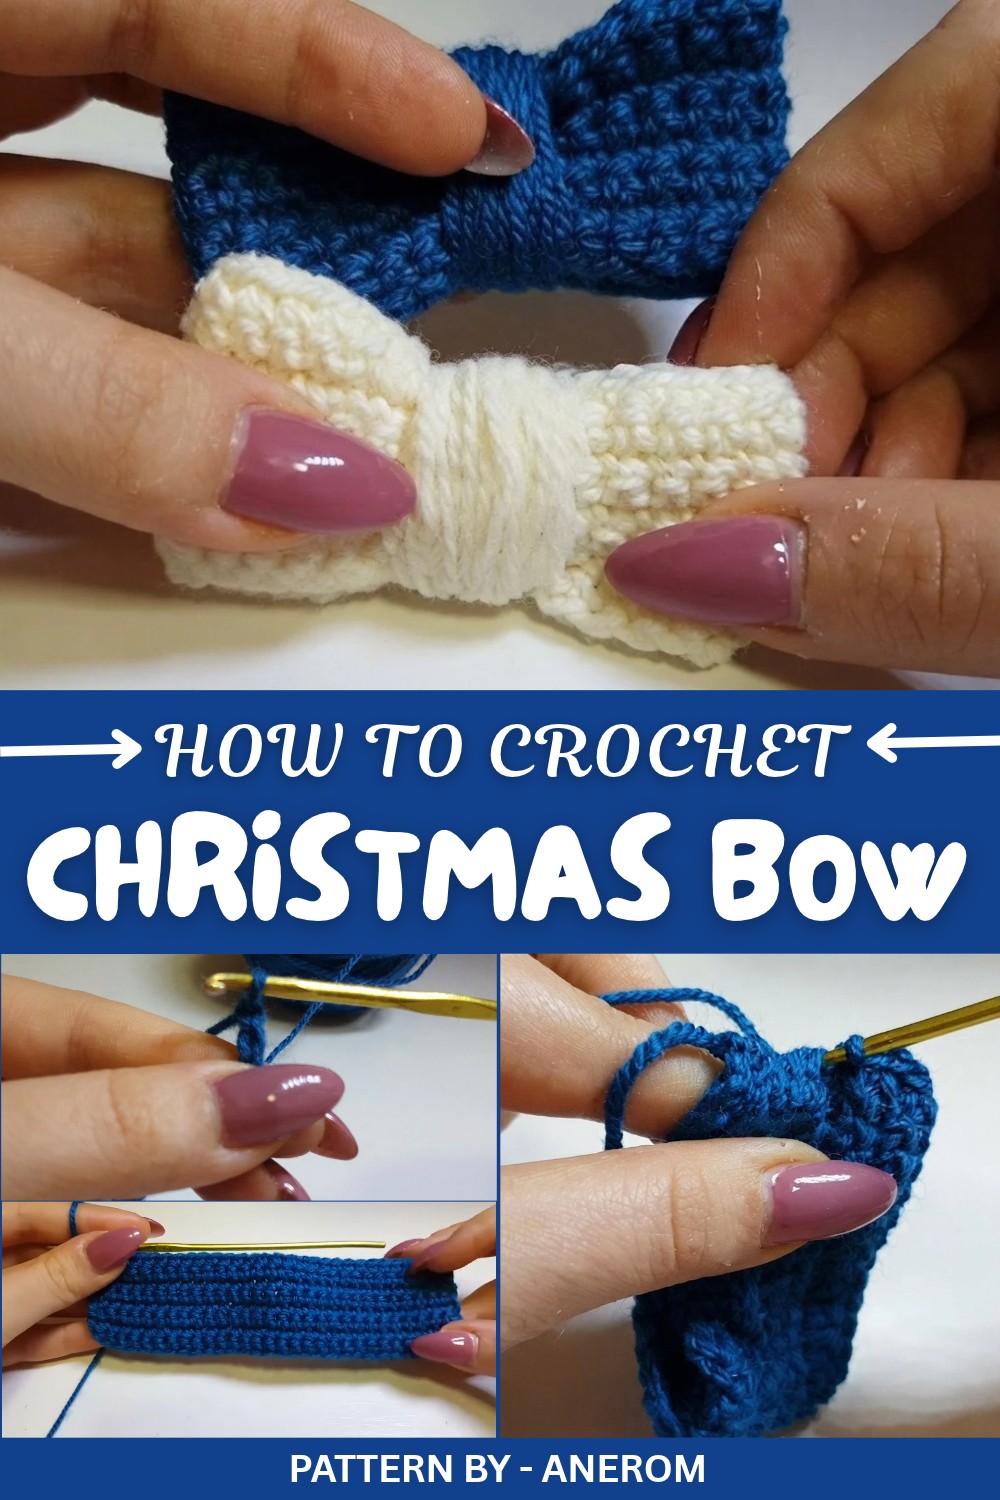
The working style for this pattern is straightforward and beginner friendly. You start by creating a flat rectangular strip using simple single crochet rows. It’s then folded and wrapped to form the bow’s classic shape. The inclusion of glue to secure the bow adds an interesting touch, ensuring your creation holds its form beautifully. The final appearance has a soft, knitted texture that matches perfectly with the warmth of the holiday season.
What makes this bow truly stand out is its timeless design. Its clean, symmetrical shape is both dainty and bold, perfect for decorating packages, hanging on the Christmas tree, or even turning into wearable accessories like brooches or hair clips. The video by Anerom also highlights the flexibility of this pattern, encouraging viewers to experiment with different colors and sizes to suit their individual style.
Simple Crochet Bow Pattern
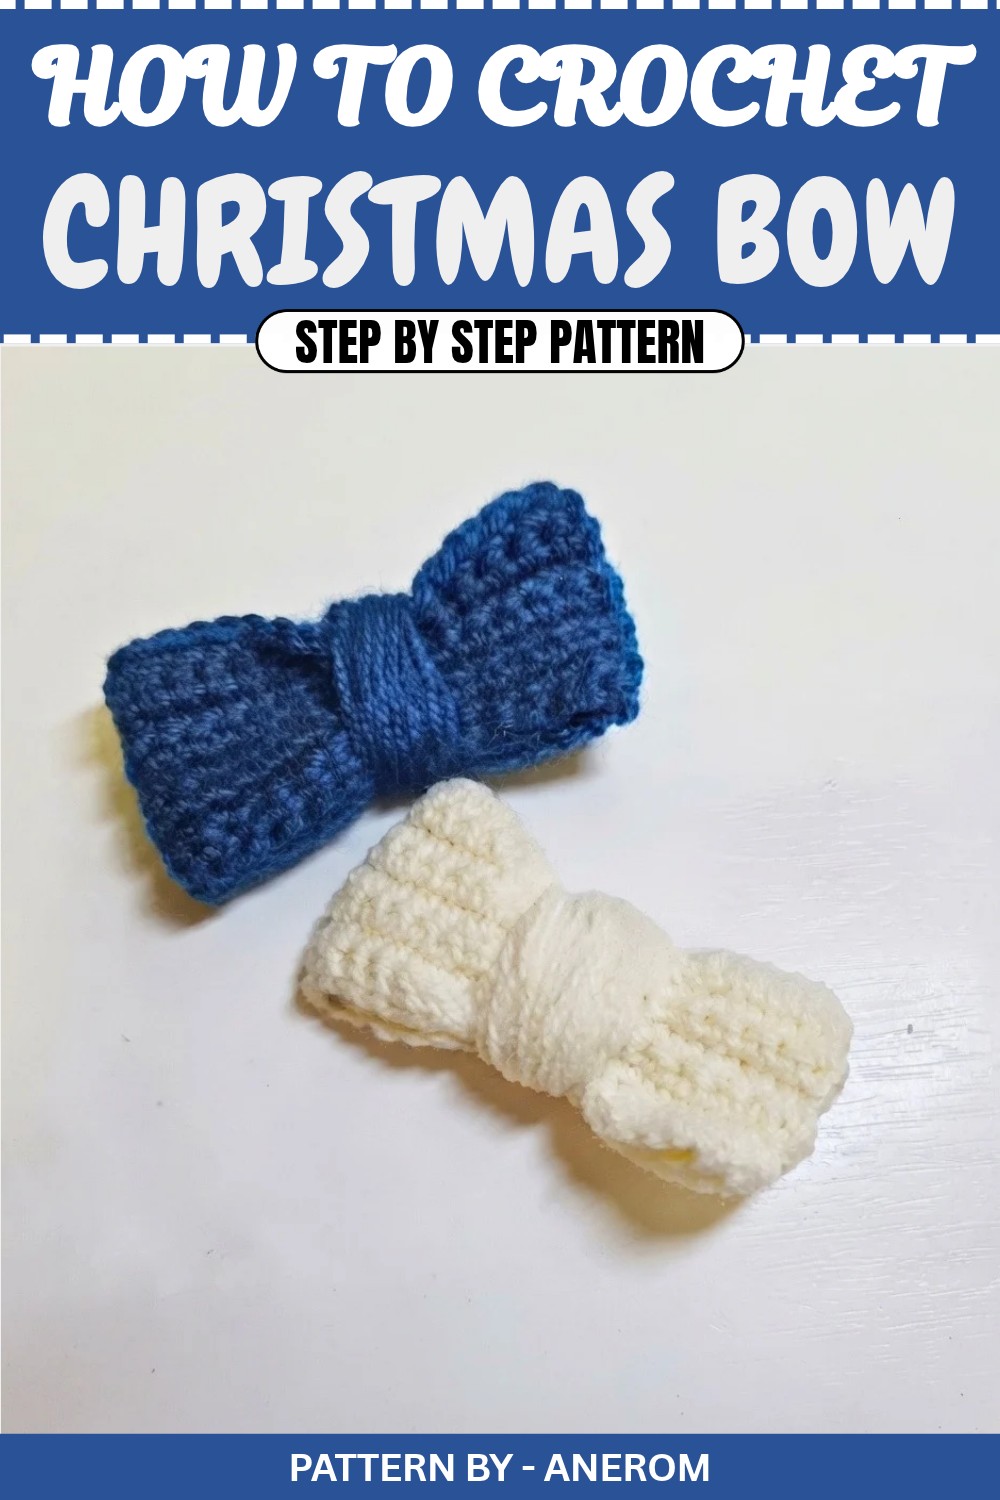
In this pattern you’ll learn how to create a simple and adorable bow using basic crochet techniques. These crochet bows are versatile, stylish, and can be made in no time, making them perfect for decorating gifts, embellishing accessories, or even as hair ornaments. This project is beginner friendly, requiring minimal materials and only a few crochet stitches to complete. Let’s jump right into the tutorial to create this beautiful bow.
Quick Overview of Pattern
- Project Name: Simple Crochet Bow
- Design Style: Flat, minimalistic bow
- Purpose: Suitable for gift decorations, children’s accessories, or as part of a larger design
- Ease of Project: Fully customizable in size, color, and style
- Finish Options: Secured with glue for a polished and sturdy look
Notes
- The bow is worked in rows, creating a rectangular fabric that is folded and cinched to form a bow shape.
- A hot glue gun, Pattex glue, or regular fabric glue can be used to secure the final shape.
- Use bright or bold colors for gift accents or softer shades for delicate aesthetic touches.
Skill Level
Beginner Friendly. The project uses only basic stitches such as chains, single crochets, and slip stitches.
Materials
- Yarn: Size 3 acrylic yarn (used in the tutorial). You may use cotton yarn for smaller, finer results.
- Hook: Crochet hook size 2.5 mm or 3 mm (depending on yarn weight).
- Scissors: To cut the yarn.
- Glue: Fabric glue, hot glue, or any transparent adhesive, such as Pattex glue.
- Yarn Needle: For weaving in ends.
Measurements / Sizing
- Finished bow size: Approximately 6 x 3 cm when using size 3 yarn and a 3mm hook.
- Bow size will vary if using finer or bulkier yarns or modifying the chain count.
Gauge
Gauge is not essential for this pattern since the size of the bow is flexible and customizable.
Stitch Abbreviations
- ch: Chain
- sc: Single Crochet
- sl st: Slip Stitch
Special Stitches
This pattern doesn’t use advanced techniques—all you need are chains, single crochets, and slip stitches!
The Crochet Pattern
Step 1: Foundation Chain
- Begin with a slipknot on your crochet hook.
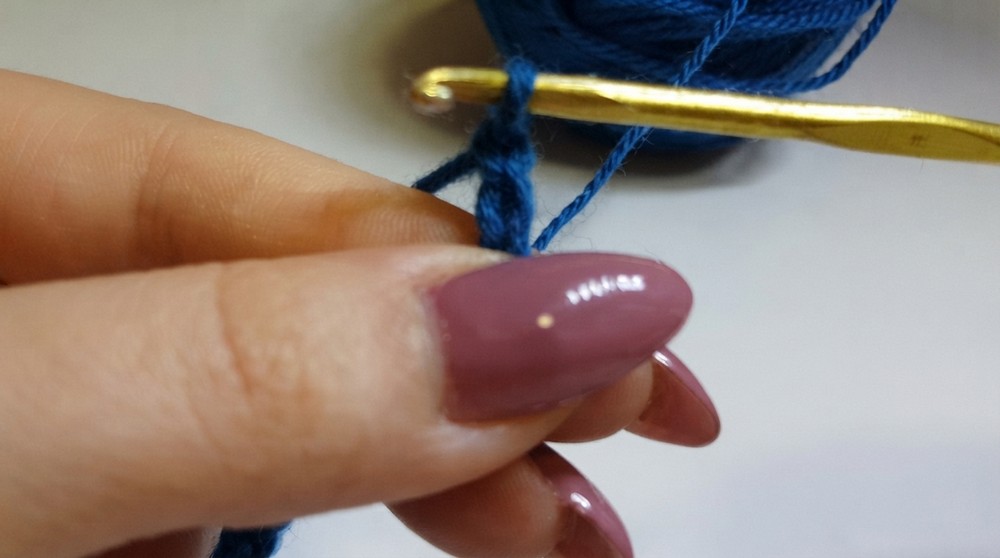
- Chain 30 (ch 30) to create the base length of the bow. If you wish to make a larger or smaller bow, simply adjust the number of chains.
- Add 1 more chain (ch 1) for turning.
Step 2: First Row
- Skip the first chain from your hook (this is the turning chain).
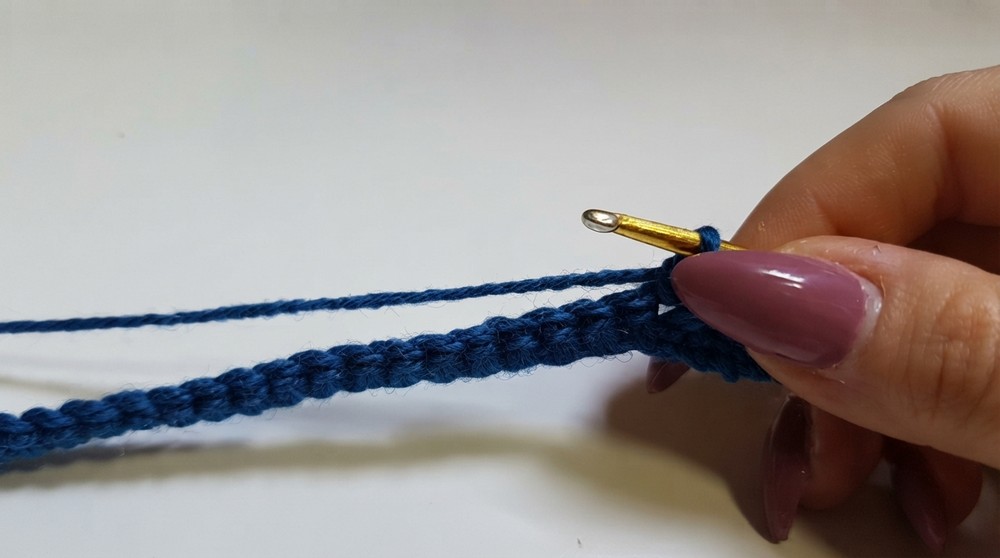
- Work 1 sc into the second chain and in every chain across the row.
- You will have 30 single crochets when the row is complete.
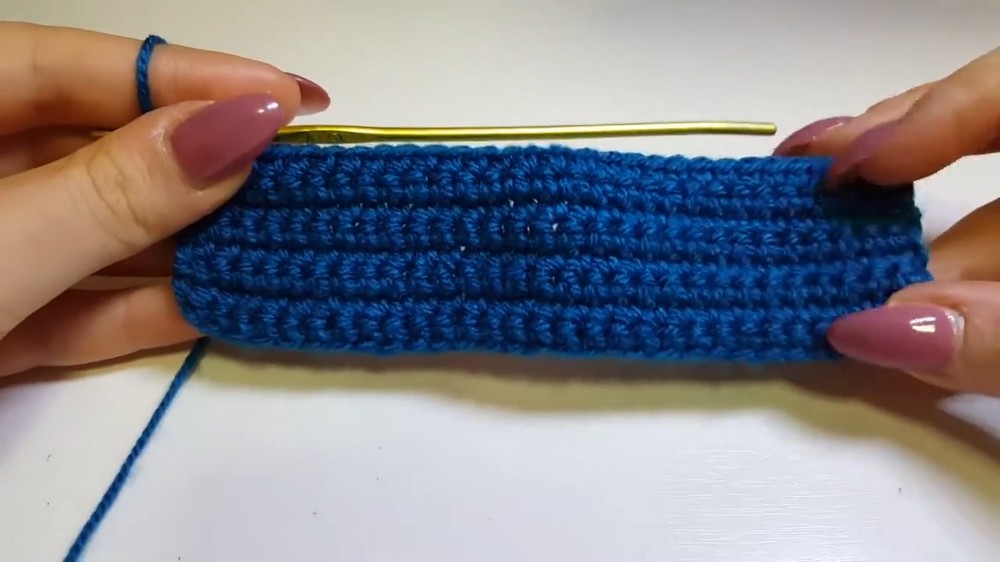
Step 3: Building the Fabric Base
- Chain 1 (ch 1) and turn your work.
- Work 1 sc into every stitch across.
- Repeat this step for 8 total rows, including the first row. This creates a neat rectangular piece of fabric.
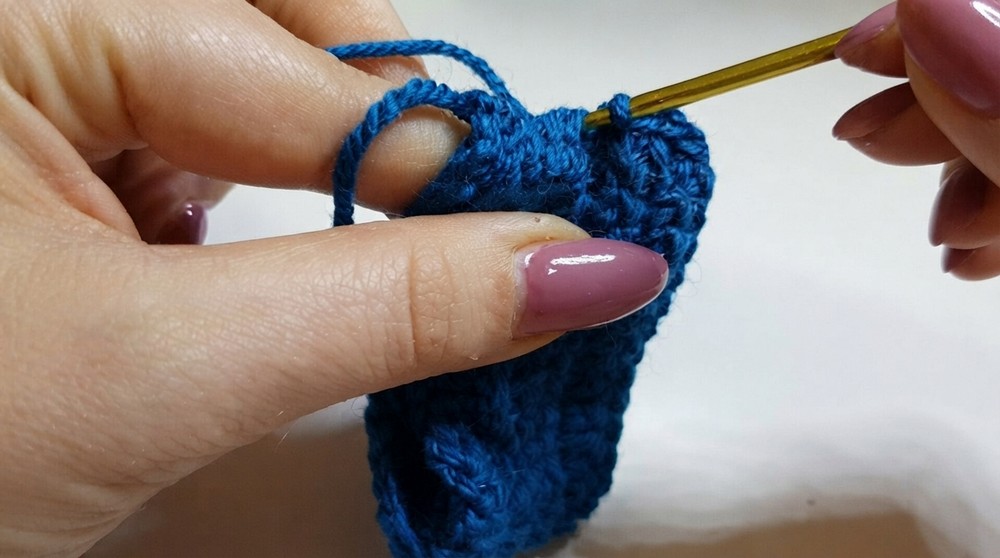
Step 4: Joining the Edges
- Fold the crocheted rectangle in half, aligning the short edges together.
- Insert your hook through both layers at the first stitch (one from each side).
- Work a sl st to join the edges. Continue slip stitching through both sides as evenly as possible until the edges are joined, forming a loop or band.
- Fasten off and leave a long tail for sewing or wrapping.
Assembly & Finished Size
Step 1: Creating the Bow Shape
- Turn the loop you just created so that the seam is on the inside or back of your bow.
- Position the band vertically with the seam facing the back.
- Pinch the center of the fabric to form the classic bow shape with two loops on each side.
Step 2: Wrapping the Center
- Thread a long strand of yarn through a needle (or use the leftover tail).
- Place the yarn over the center of the bow (where you pinched) and begin wrapping it tightly and evenly around the middle to secure the bow shape. Wrap multiple times until the center is firm and visually appealing.
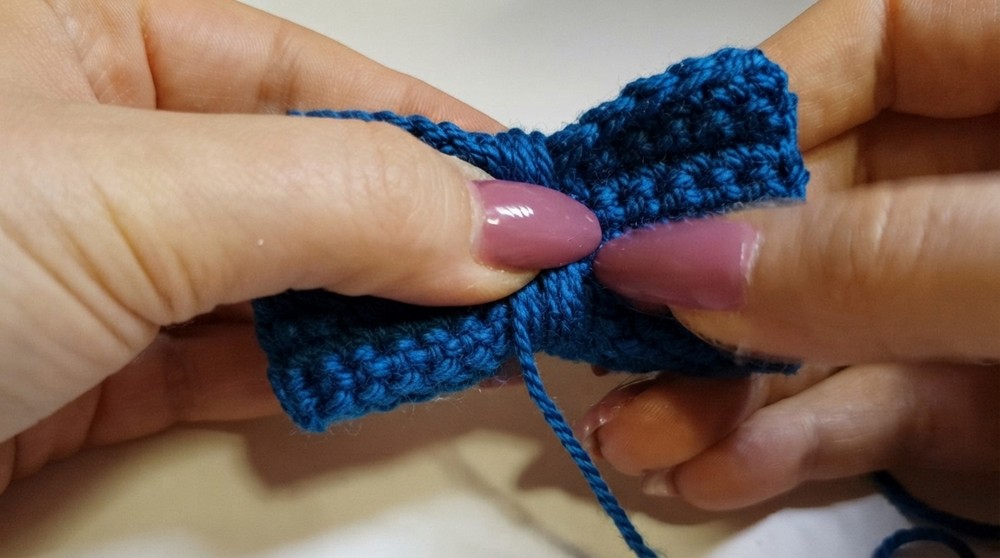
Step 3: Securing the Wrap
- Once satisfied with the appearance, tie a tight knot at the back of the bow to secure the yarn.
- Trim the excess yarn tails or, if needed, weave them into the wrapped center.
Step 4: Adding the Finishing Touches
- To reinforce the bow and make sure it holds its shape, apply a small dab of glue to the back knot. Flatten the glue lightly and let it dry as per the adhesive instructions.
- If desired, you can add embellishments like beads, rhinestones, or small appliqués to the center of the bow for some extra flair.
Conclusion
This simple crochet bow is an excellent project for beginners and seasoned crafters alike. The straightforward pattern can be adjusted for various sizes and colors, making it an ideal embellishment for gifts, accessories, or even home décor. With a touch of glue for stiffening and finishing, your crochet bow is ready to dazzle.