
Cute Crochet Elephant Amigurumi Free Pattern to Decorate a Nursery
Bring home a Crochet Elephant that adds charm and warmth to any space, making it a cuddly and delightful gift loved by all ages.
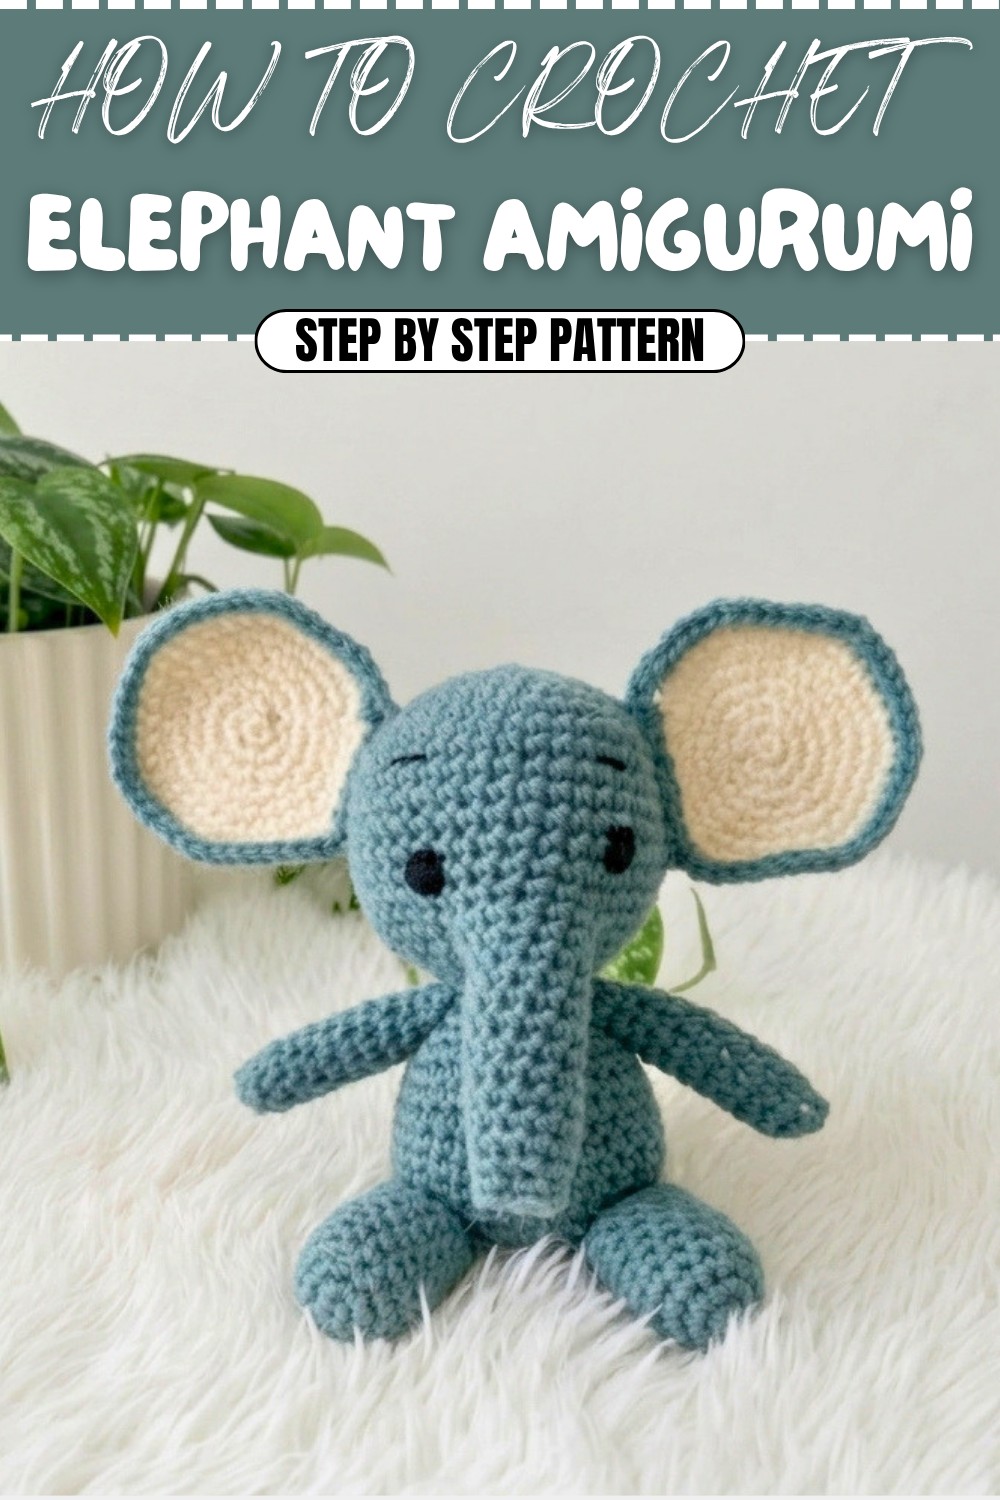
Hold a tiny elephant that feels warm and friendly. The Crochet Elephant Amigurumi is a sweet, small toy with big ears and a gentle expression that almost seems alive. Because of its cute look, it easily becomes a lovable companion or a special gift for anyone.
Playful Crochet Elephant Amigurumi Free Pattern That Kids Will Love
Soft colors like grey, pastel blue, or light pink add to the elephant’s charm. Simple details such as small black eyes or a curved trunk add personality and make it feel more human-like. These touches help give the elephant a lively and heartwarming presence. Besides being pleasant to work on, this project helps improve fine motor skills and patience, especially with the tiny stitches involved.
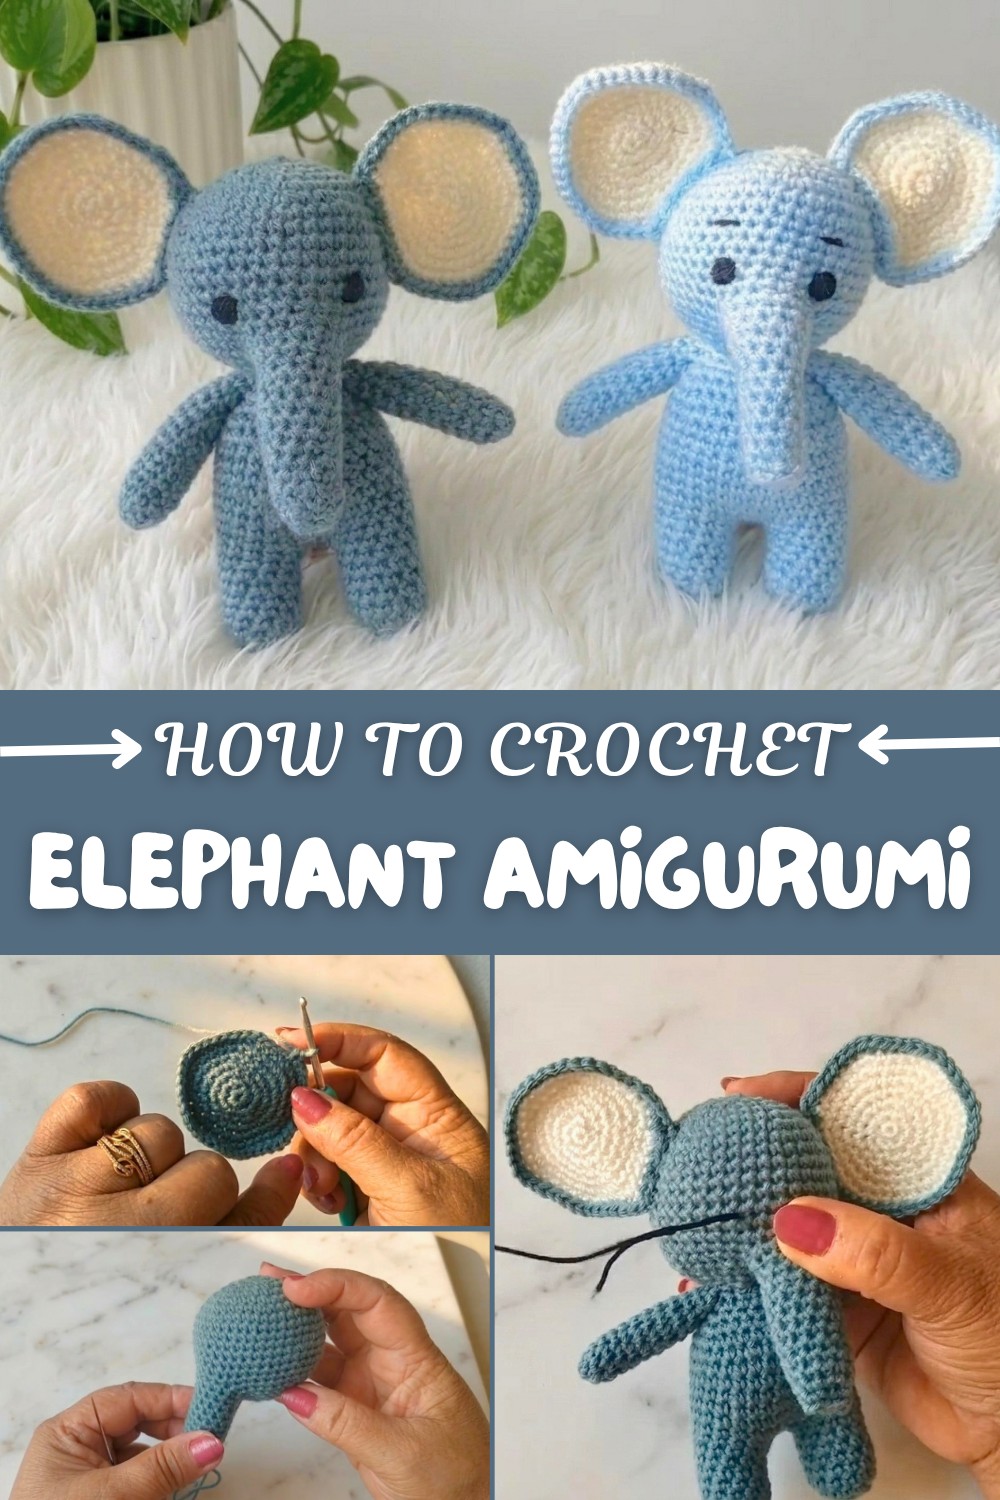
The soft yarn used feels gentle to the touch, making the finished elephant suitable for children or as a cozy decoration. Its lightweight nature makes it easy to carry or place anywhere.
Suitable for beginners, the Crochet Elephant Amigurumi starts with basic forms and allows adding details gradually. This small elephant combines an adorable look, soothing colors, and a calm process, resulting in a charming handmade companion.
Uses of Crochet Elephant Amigurumi:
- A cuddly toy for children
- A decorative item for nursery or living space
- A thoughtful handmade gift for friends or family
- A comforting object for stress relief
- A collectible item for amigurumi lovers
Crochet Elephant Toy – Step-by-Step Pattern
In this pattern, you’ll learn to make a soft, safe, and plastic-free crochet elephant, perfect for children and made with love. This elephant is crocheted with basic shapes, assembled into an adorable, huggable toy. Not only is it hygienic and safe for little ones, but also fun to create and customize with your favorite colors.
Quick Overview Of Pattern
- The elephant is created in sections: head (with trunk), body, arms, legs, and ears.
- Each part is crocheted separately and then sewn together.
- Eyes are embroidered for a safe, plastic-free finish.
- The pattern uses basic amigurumi techniques and is suitable for beginners.
Notes
- This project is worked in the round using continuous spirals unless indicated otherwise.
- Place a stitch marker in the first stitch of each round to keep track.
- Stuff each piece firmly as you go.
- The pattern uses US crochet terminology.
Skill Level
Beginner – Easy
If you know basic stitches (single crochet, increase, decrease), you’ll be able to complete this pattern.
Materials
- 3 colors of 4-ply acrylic yarn (main color + two accents for ears/border)
- 3 mm crochet hook
- Fiberfill stuffing
- Tapestry/yarn needle for assembly and embroidery
- Scissors
- Ruler or measuring tape (for guidance)
- Stitch marker
- Embroidery thread or leftover black yarn (for the eyes)
Measurements / Sizing
- Finished height: approx. 18–20 cm (7–8 inches)
- Width (ear to ear): approx. 14–16 cm (5.5–6.5 inches)
Gauge
Gauge is not critical for this project, but keep stitches tight so stuffing does not show through.
Stitch Abbreviations
| Abbreviation | Meaning |
|---|---|
| MR | Magic Ring |
| ch | Chain |
| sc | Single crochet |
| inc | Increase (2 sc in one stitch) |
| dec | Decrease (sc 2 stitches together) |
| sl st | Slip stitch |
Special Stitches
- Invisible decrease (dec): Insert hook into front loop of each of next two stitches, yarn over, pull through first two loops (2 remaining), yarn over, pull through both loops.
Compelete Crochet Pattern
Head (with Trunk)
Rnd 1:
- MR, 6 sc in ring. (6)
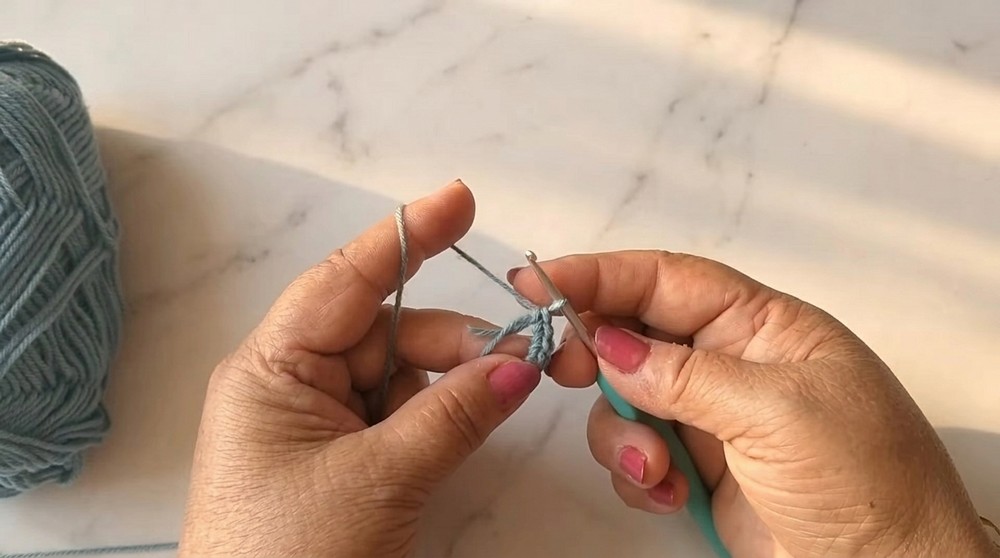
Rnd 2:
- Inc in each st around. (12)
Rnd 3:
- (Sc in next st, inc) around. (18)
Rnd 4:
- (Sc in next 2 sts, inc) around. (24)
Rnd 5:
- (Sc in next 3 sts, inc) around. (30)
Rnd 6:
- (Sc in next 4 sts, inc) around. (36)
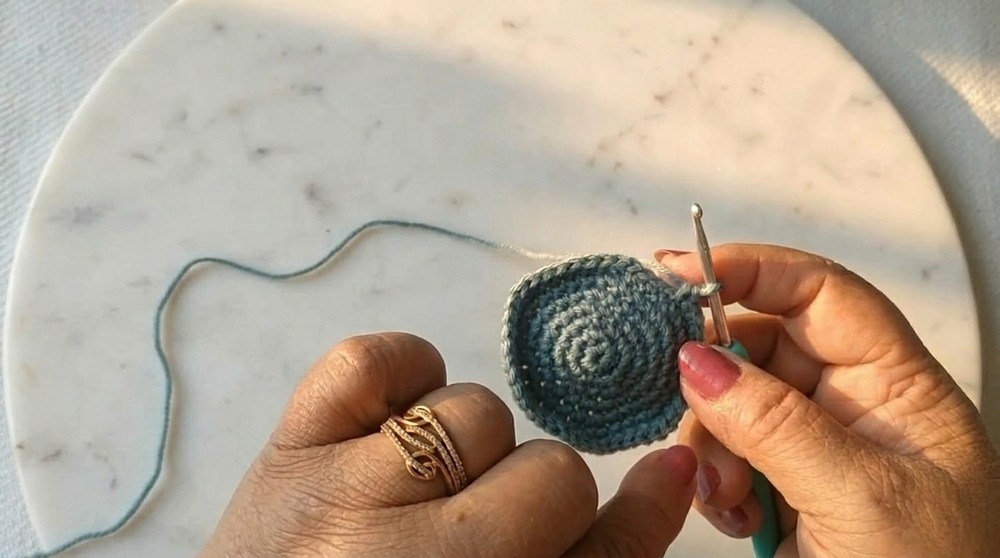
Rnd 7:
- (Sc in next 5 sts, inc) around. (42)
Rnds 8–15:
- Sc in each st around. (42)
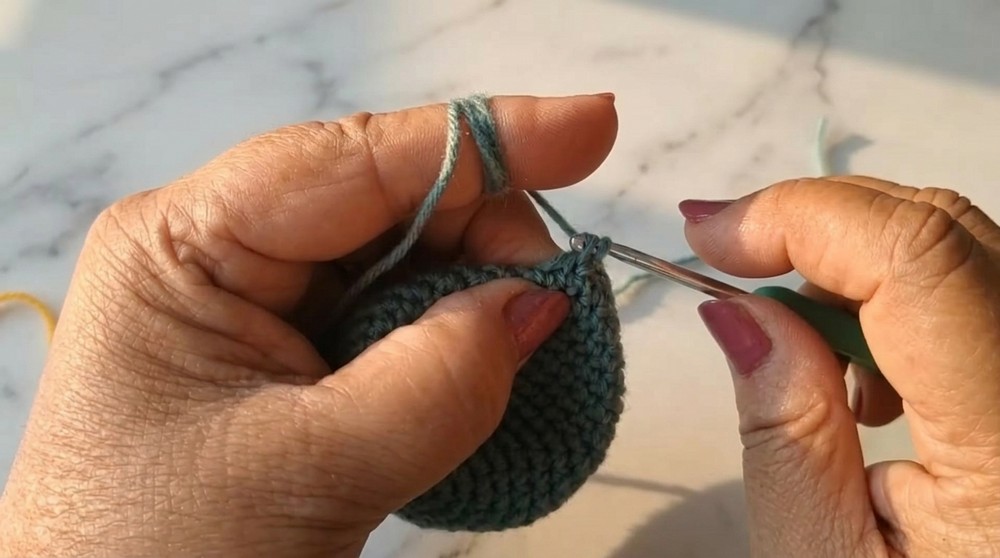
TRUNK FOUNDATION:
- Ch 6 from next st on head.
- Work sc across the 6 chains (1 sc in each ch) to form the trunk base.
Continue on trunk:
- Work sc around the trunk and continue on the head, connecting round at marker.
Start Decreasing Trunk (Shaping Trunk):
- From next round: Sc dec at trunk base, then work remaining sc as needed until the round is complete.
- Reduce trunk in steps (5 sc at trunk base, dec; then 4 sc, dec; 3 sc, dec; 2 sc, dec), always skipping one st and sc in next until trunk tapers.
- After each shaping round, decrease by 6 around head.
- Continue decreasing at trunk each round (5, 4, 3, 2…), pattern example:
Decrease rounds:
- Sc in next 5 at trunk, dec, repeat around
- Sc in next 4 at trunk, dec, repeat around
- Down to Sc in next 1, dec (end trunk)
End trunk:
You should have 18 sc at the end. Fasten off, leaving a long tail for sewing.
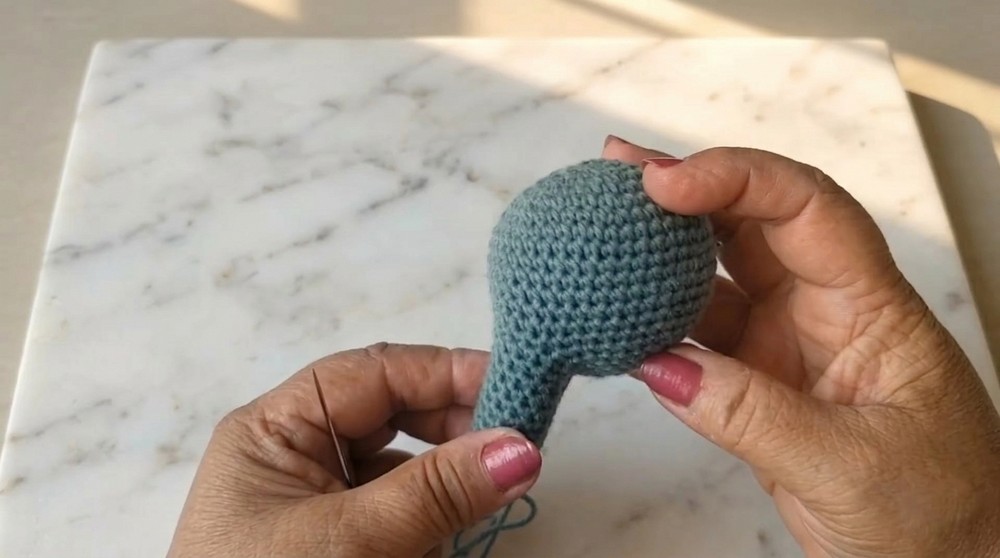
- Stuff head and trunk well with fiberfill.
Ears (make 2)
Rnd 1: MR, 6 sc. (6)
Rnd 2: Inc in each st. (12)
Rnd 3: (Sc, inc) around. (18)
Rnd 4: (Sc in next 2 sts, inc) around. (24)
Rnd 5: (Sc in next 3 sts, inc) around. (30)
Rnd 6: (Sc in next 4 sts, inc) around. (36)
Rnd 7: (Sc in next 5 sts, inc) around. (42)
BORDER: Change to accent color (e.g. gray):
Sc in each st around for a neat edge. Fasten off, leave tail for sewing.
Body
First Leg:
Rnd 1: MR, 6 sc. (6)
Rnd 2: Inc in each st. (12)
Rnds 3–8: Sc in each st (12).
Fasten off.
Second Leg:
Repeat as above, but do not fasten off.
Ch 3, join to first leg with sc.
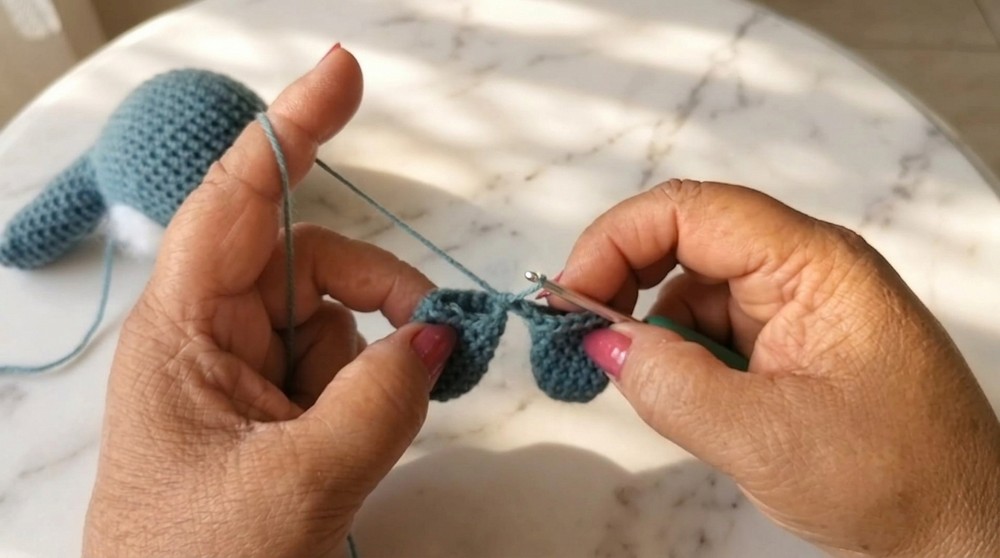
Sc in remaining 12 st of first leg, sc across 3 ch, sc in remaining 12 st of second leg, sc across 3 ch on opposite side. (30 sc total)
Body Rounds:
Rnds 1–18: Sc in each st around. (30)
Shaping Body (Tapering):
- (Sc in next 3, dec) around. (24)
- (Sc in next 2, dec) around. (18)
Neck:
Rnds 1–6: Sc in each st around. (18)
Fasten off, leaving a long tail for joining. Stuff well.
Arms (make 2)
Rnd 1: MR, 4 sc. (4)
Rnd 2: Inc in each st. (8)
Rnds 3–12: Sc in each st. (8)
Fasten off, leaving a tail for sewing. Stuff lightly.
Assembly & Finished Size
- Stuff all pieces firmly.
- Sew trunk securely to face, ensuring it’s centered.
- Attach body to head at the opening.
- Sew arms to sides at shoulder height.
- Sew legs to bottom of body.
- Attach ears so they are symmetrically placed—flatten them before attaching.
- Embroider eyes just above the trunk with black yarn using small “X” or lines for cute expression.(Insert safety eyes if desired, but this version is plastic-free for child safety.)
- Weave in all ends securely.
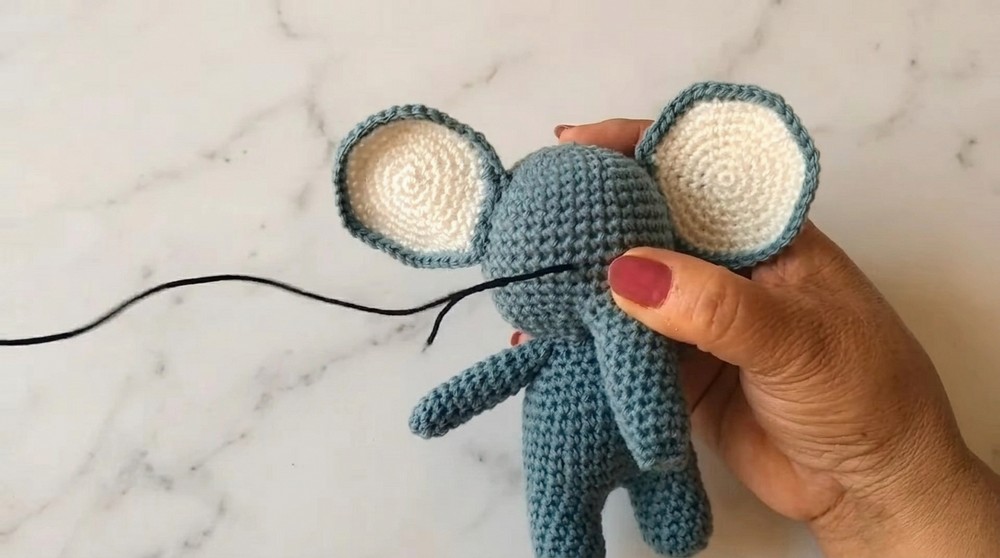
Finished size: Approx. 18–20 cm (7–8 in) tall.
Conclusion and Ending Words
Congratulations! Your cuddly crochet elephant is now complete: a wonderful, safe, and adorable toy for children, or as a heartfelt gift. With its plastic-free design and soft build, it’s perfect for all ages. Feel free to customize colors or add accessories as desired. We hope you enjoyed making this elephant—remember to share and spread the joy of crochet!