
Free Crochet Rose Bag Pattern That Gives Jeans Floral Flair
Skip the usual birthday present with the Free Crochet Rose Bag Pattern that becomes a heartfelt gift when crocheted in your friend’s favorite colors, creating lasting joy.
Flowers have a way of brightening up any space, and nothing captures their charm quite like roses. Now think about carrying their beauty with you in the form of a gorgeous handmade rose bag, it’s both elegant and practical. The easy instructions make this project a joy to work on, especially with the intricate rose petals that give the bag its standout style.
This bag is more than just an accessory it's a statement piece that combines functionality and artistry. The circular base provides strength and balance, while the soft, layered petals are stitched to perfection for an exquisite 3D effect. The thoughtful use of contrasting yarns, such as blue for the base and vibrant red for the petals, adds an extra touch of sophistication, though you can always choose colors to match your own preferences.
Free Crochet Rose Bag Pattern as a Sweet Treat for Mom
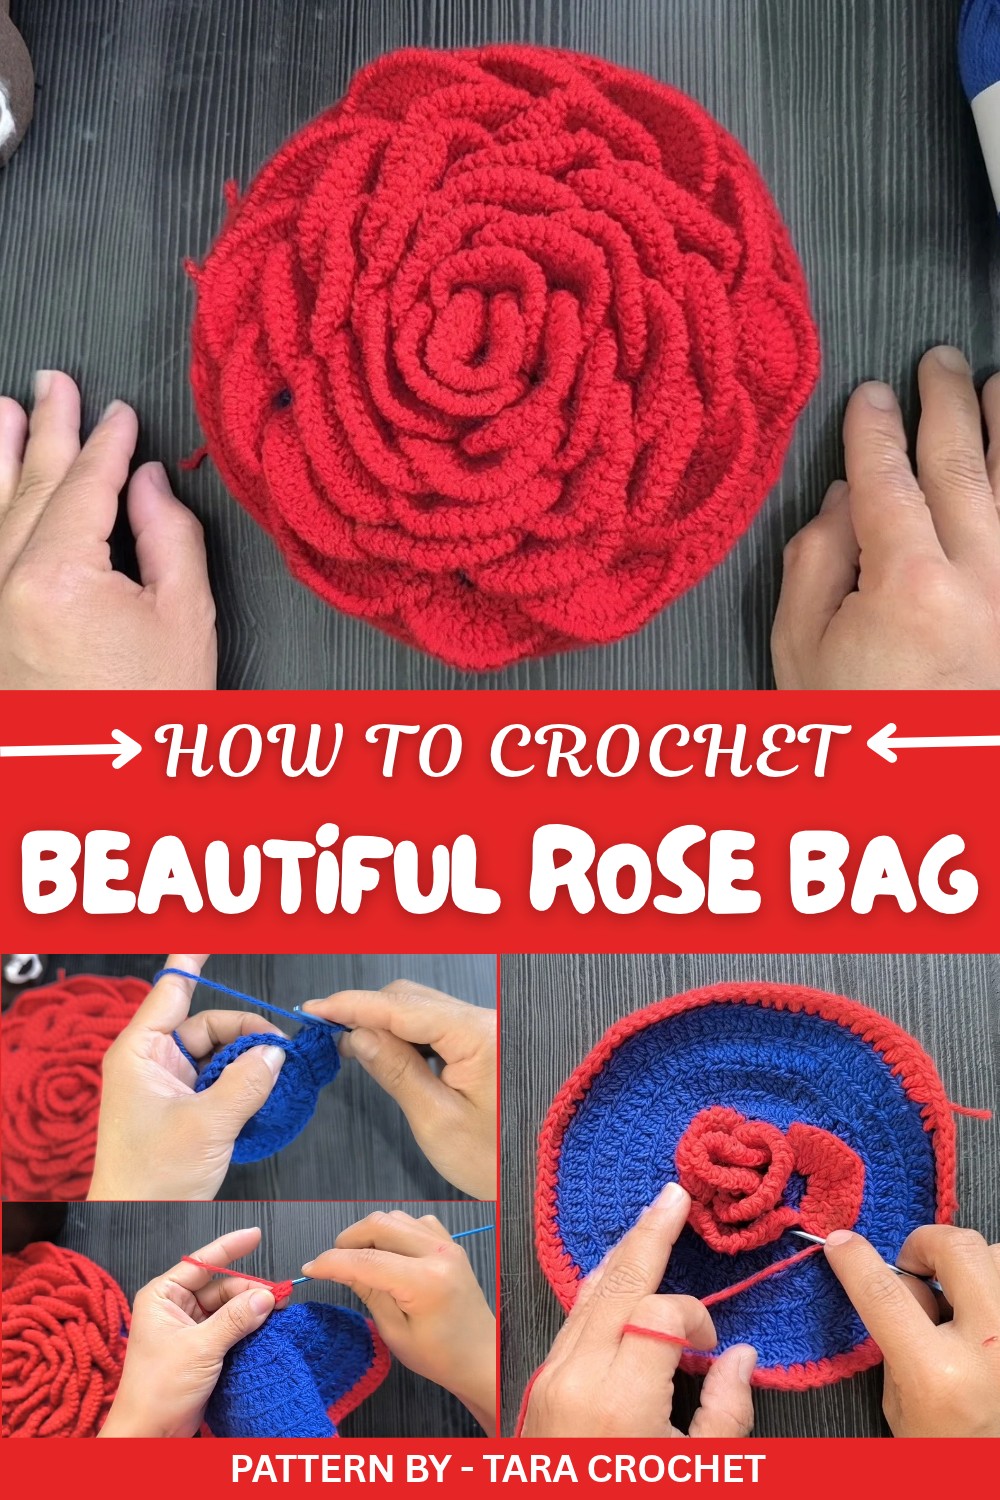
Whether it’s a handy lightweight bag for daily use, a stylish purse for special occasions, or a thoughtful handmade gift, this rose bag fits every purpose with ease. The added option of embellishing the strap with pearls adds even more charm to its final look.
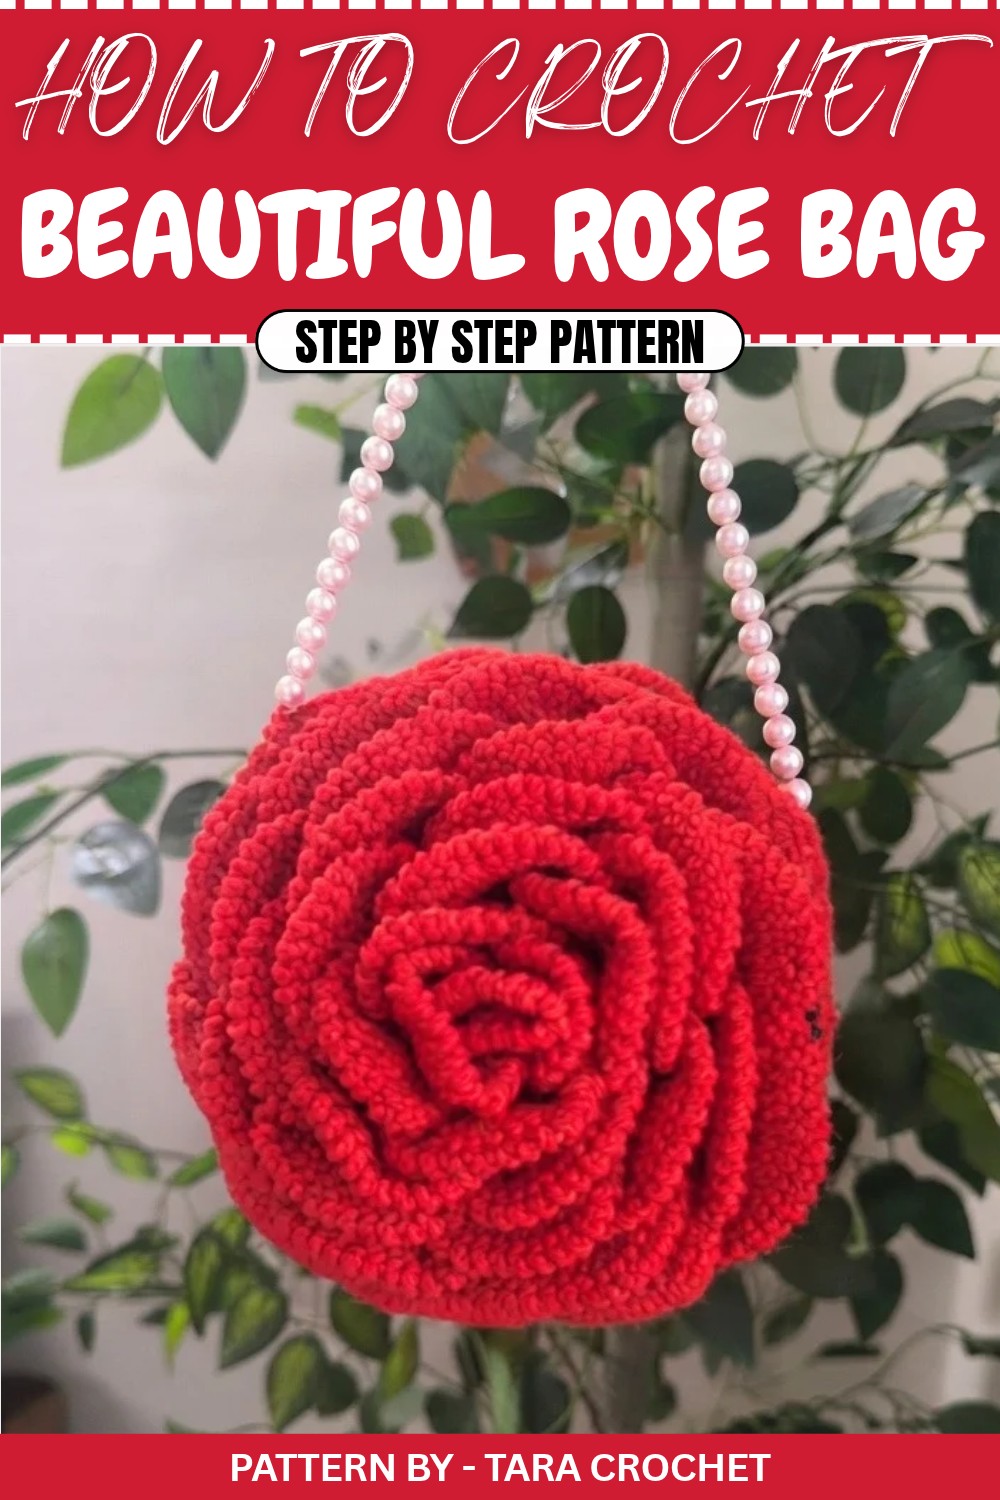
On Tara Crochet’s channel, each stitch is explained with care, making this project accessible to beginners while still satisfying experienced crocheters. Her tutorials are perfect for those who enjoy relaxing projects that deliver intricate results. Give this rose bag a try and bring a timeless floral beauty into your life, it’s sure to turn heads and spark compliments wherever you go.
Crochet Rose Bag Pattern
In this project, we will combine simple yet elegant crochet techniques with layered patterns to create a beautiful bag adorned with rose like petals. Each side of the bag forms with intricate rounds, progressing in detail and color for a striking final product.
Quick Overview of the Pattern
- Project: Crochet Rose Bag
- Purpose: A decorative and functional design perfect for everyday use or gifting.
- Structure: The bag features layered petal-like flower designs and is assembled for durability.
- Techniques Used: Magic Ring, Double Crochet (Dc), Slip Stitch (Sl St), Reverse Single Crochet (Crab Stitch), and Working in Back Loops Only (blo).
- Customization: Change yarn colors for unique floral arrangements, or modify strap length as needed.
Notes
- Petals are created by working in back loops only and layering Double Crochets (Dc) across rounds.
- Adjust yarn color in specific rounds for a multi-tone rose effect.
- The number of stitches per round increases progressively—refer to the detailed pattern section for accurate counts.
- Keep count of your stitches using a stitch marker.
Skill Level
Suitable for advanced beginners. Knowledge of Magic Ring, Double Crochet (Dc), and Slip Stitch (Sl St) is recommended.
Materials
- Yarn:
- Olivia 100% Acrylic Yarn, 3 ply weight. Colors used:
- Blue (Base)
- Red (Petals and edges)
- Olivia 100% Acrylic Yarn, 3 ply weight. Colors used:
- Crochet Hook: 2.5 mm.
- Tapestry Needle: For weaving ends and stitching panels.
- Scissors: For cutting yarn.
- Stitch Markers: To mark your rounds.
Measurements / Sizing
- Width: Approximately 26–28 cm.
- Height: Approximately 15–18 cm.
- String Length: Adjustable, approximately 70–80 cm.
Gauge
8 rows of double crochet in 5 cm. Gauge isn’t critical for this project as slight size differences won’t affect the outcome.
Stitch Abbreviations
- Ch: Chain
- Sl St: Slip Stitch
- Dc: Double Crochet
- blo: Back Loop Only
- MR: Magic Ring
- Reverse Sc: Reverse Single Crochet
- St: Stitch
Special Stitches
Magic Ring (MR)
Wrap yarn around your fingers to create a loop, insert hook into the loop, pull up a loop, and complete a slip stitch to secure the ring.
Reverse Single Crochet (Crab Stitch)
Work short, textured stitches backward by inserting the hook into the previous stitch, pulling up a loop, and completing a regular single crochet.
Step by Step Pattern
Step 1: Base/Flower Foundation (Circular)
The bag begins with a circular base, worked in rounds.
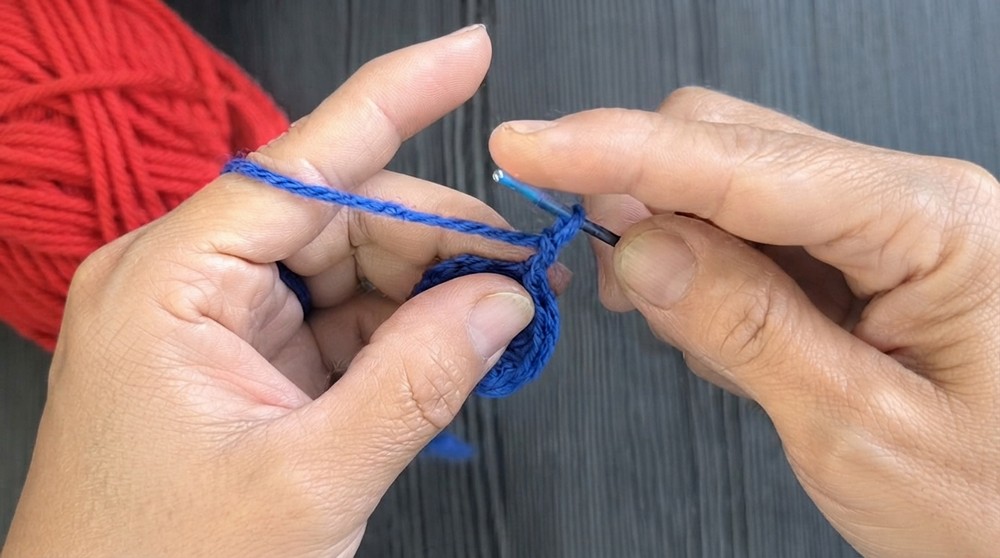
Round 1: Magic Ring
- Start with a magic ring and chain 2 (counts as the first double crochet - DC).
- Into the ring, make 11 DC for a total of 12 stitches.
- Pull the magic ring tight to close the circle.
- Join with a Slip Stitch (Sl St) into the top of the initial Chain-2.
Round 2: Back Loop Only (Increase Round)
- Chain 2.
- Work 2 DC into the back loop only (blo) of every stitch from the previous round. This creates a total of 24 stitches.
- Slip Stitch to the top of the Chain-2 to close the round.
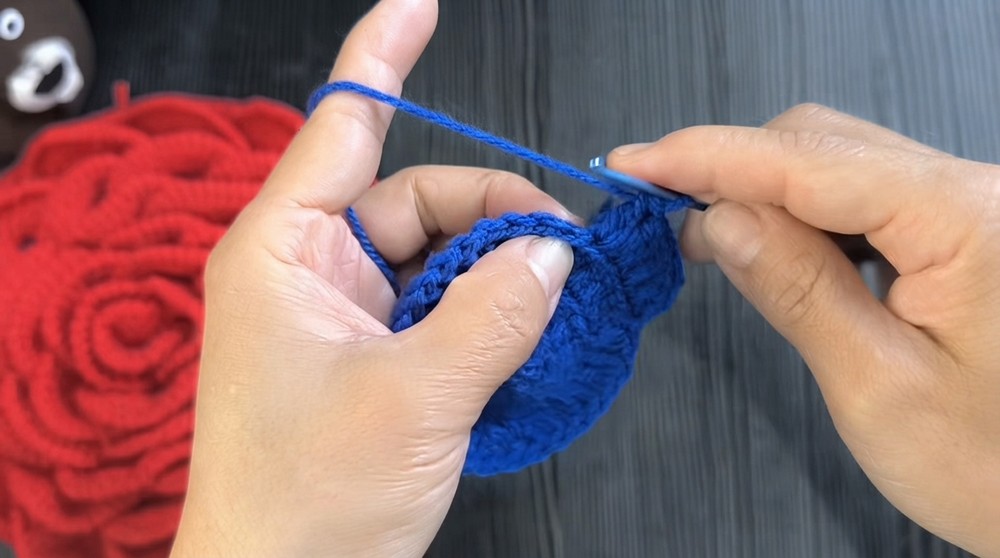
Round 3: Alternating Increases (Back Loop Only)
- Chain 2.
- Work:
- 2 DC in the first stitch, then 1 DC in the next stitch.
- Repeat the pattern [2 DC, 1 DC] around, working into the back loops only.
- You should now have 36 stitches.
- Close the round with a Slip Stitch.
Round 4: Incremental Progression
- Chain 2.
- Work:
- 2 DC in the first stitch, followed by 1 DC in the next 2 stitches.
- Repeat the pattern [2 DC, 1 DC, 1 DC] around.
- Finish with 48 stitches.
- Join with a Slip Stitch.
Continuing Rounds (Rounds 5–8): Gradual Increases
- Each round increases the number of single stitches worked between the 2 DC increases:
- Round 5: [2 DC in one stitch, 1 DC in next 3 stitches] → Total 60 stitches.
- Round 6: [2 DC, 1 DC in next 4 stitches] → Total 72 stitches.
- Round 7: [2 DC, 1 DC in next 5 stitches] → Total 84 stitches.
- Round 8: [2 DC, 1 DC in next 6 stitches] → Total 96 stitches.
Tip: Ensure your circle lies flat. If it curls or ripples, adjust stitch tension or the number of increases.
Step 2: Creating Rose Petals
The iconic 3D rose petals are built layer by layer using front loops left unworked from previous rounds.
Petal Foundation
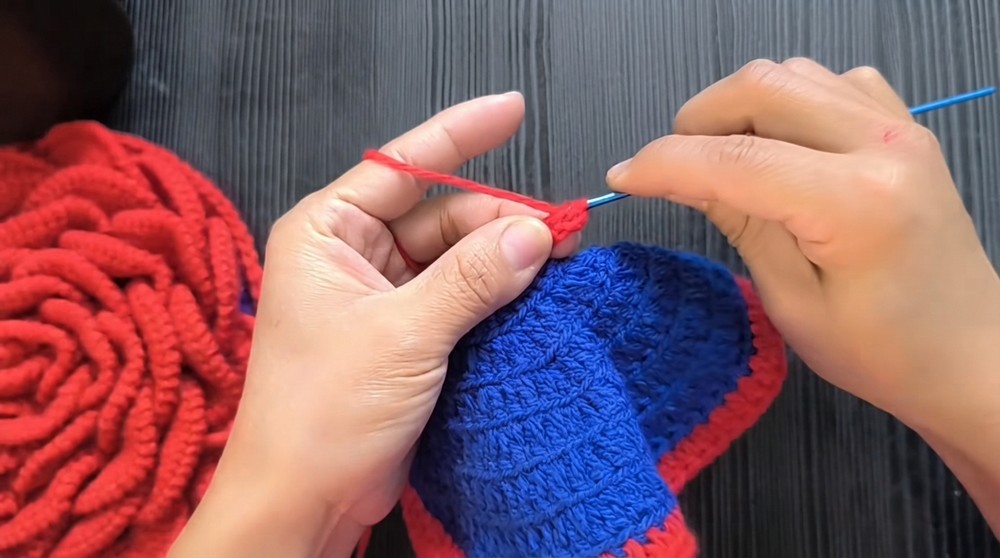
- Attach contrasting colored yarn (e.g., red) to any front loop from earlier rounds with a Slip Stitch.
- Chain 2, then work 3 DC into the same front loop.
- Continue working 3 DC into each subsequent front loop from the round. Each group of stitches forms the curved petal base.
Petal Growth
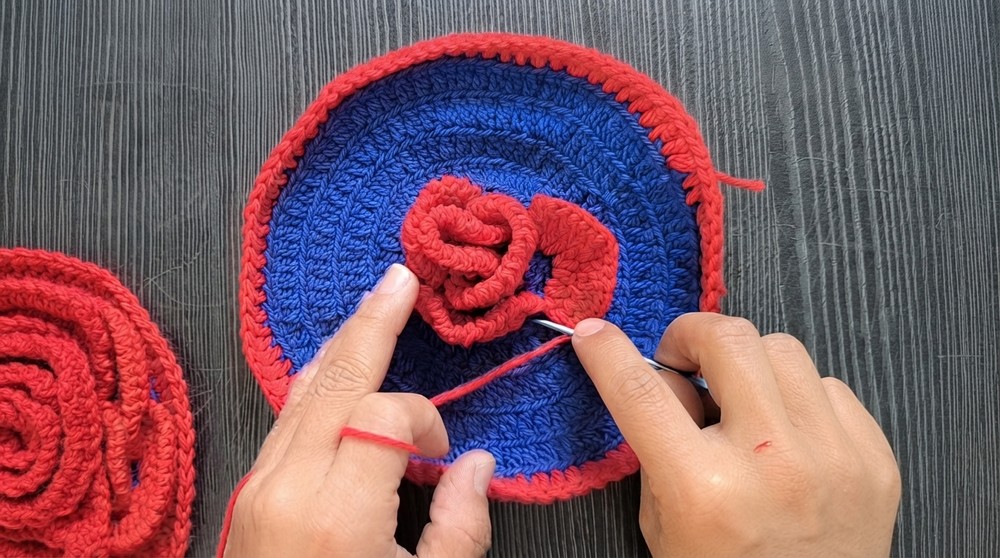
- After completing the foundation round, Chain 2 and turn your work.
- Expand each petal by working 2 DC into every stitch of the petal base. This creates fuller, more rounded petals.
Securing the Petals
- Slip Stitch into a skipped front loop of the round below to anchor the petal.
- Skip 3 loops and secure with a Slip Stitch in the 4th loop.
Edge Finishing: Crab Stitch (Reverse Single Crochet)
- Work a decorative Reverse Single Crochet (Crab Stitch) along the edge of each petal.
- This stitch moves backward, creating a rope like textured edge.
Repeat for Additional Layers
- Use the next set of front loops from earlier rounds to create the next petal layer.
- Follow the same process (foundation → growth → securing → edge finishing).
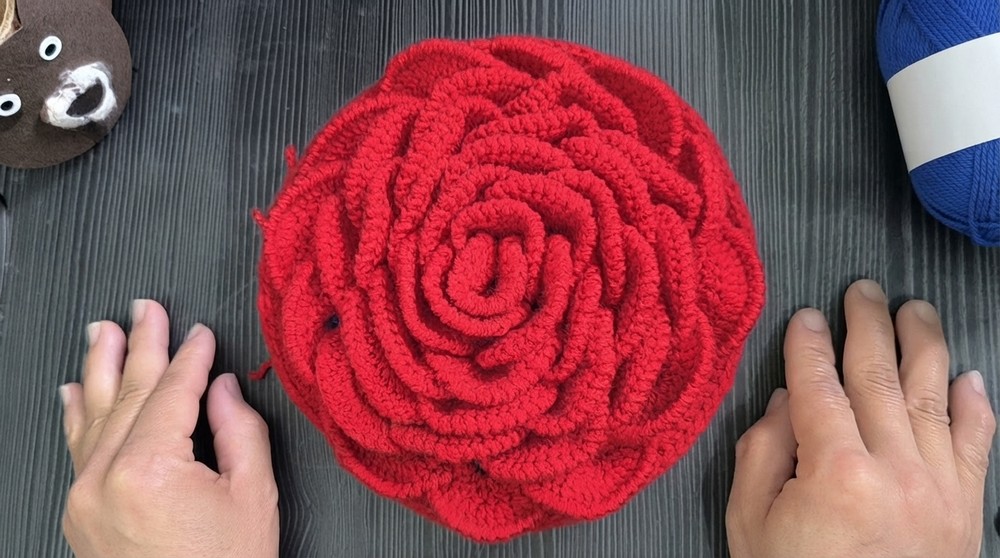
- Continue adding petals until every set of front loops has been worked, creating a striking 3D rose effect.
Step 3: Assembly & Finishing
Making Two Sides
- Follow Steps 1 and 2 twice to create two identical panels for the bag.
Joining the Panels
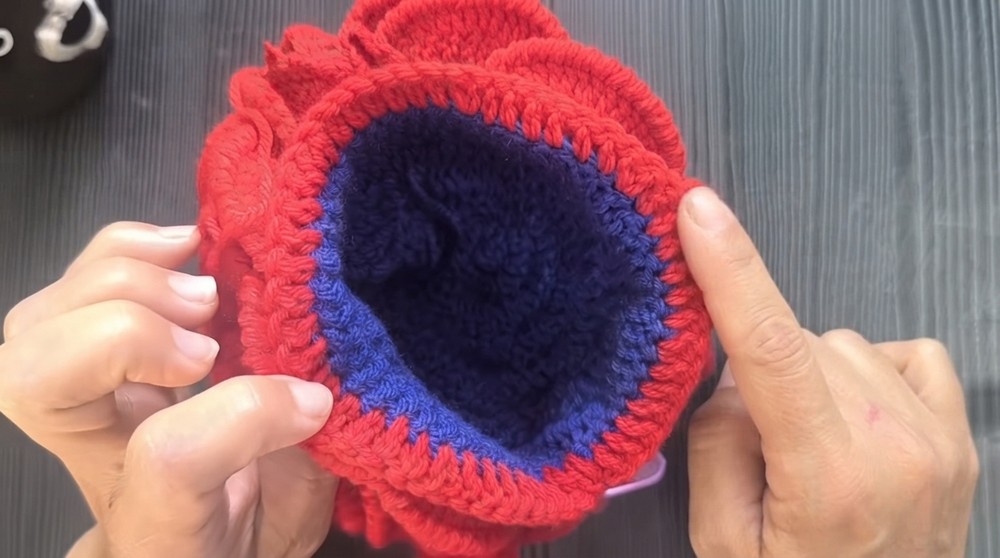
- Place the two panels together with wrong sides facing each other.
- Use your hook and yarn to Slip Stitch along three sides of the panels, leaving 30 stitches unstitched at the top opening to form the bag.
Top Edge
- Create a clean, solid edge by working a single round of Single Crochet (Sc) around the bag’s opening.
Step 4: Strap and Embellishment
Creating the Strap
- Use two strands of yarn for durability.
- Work a chain to your desired length (approximately 70–80 cm).
- Optionally, use a tapestry needle to thread pearls or beads along the strap for a decorative touch.
Attaching the Strap
- Securely attach the ends of the strap to either side of the bag’s opening using a sturdy stitch.
- Ensure even placement for proper weight distribution.
Assembly & Finished Size
- Finished Diameter (Base): Approximately 26–28 cm.
- Finished Height: 15–18 cm.
- Strap Length: Adjustable, around 70–80 cm depending on user preference.
Conclusion
Congratulations on completing your 3D Crochet Rose Bag. This beautiful and functional project is perfect for special occasions or as a unique handmade gift. The artful layering of petals creates an eye-catching floral design that’s sure to draw compliments. Customize your bag with different colors, embellishments, or strap styles to make it uniquely yours.