
How to Perfect Crochet Mesh Pouch Pattern for Beginners
Simplify daily carry while staying on trend through this free crochet mesh pouch pattern designed for function and flair.
There’s a special kind of satisfaction in turning simple yarn into a lightweight, stylish pouch that’s as practical as it is beautiful. This project uses an airy mesh stitch pattern created by combining double crochet stitches with chain spaces, giving the pouch a delicate net-like texture. This stitch combination makes the fabric breathable yet durable, perfect for carrying small essentials or using as a gift bag.
Free Crochet Mesh Pouch Pattern for Quick and Easy Projects
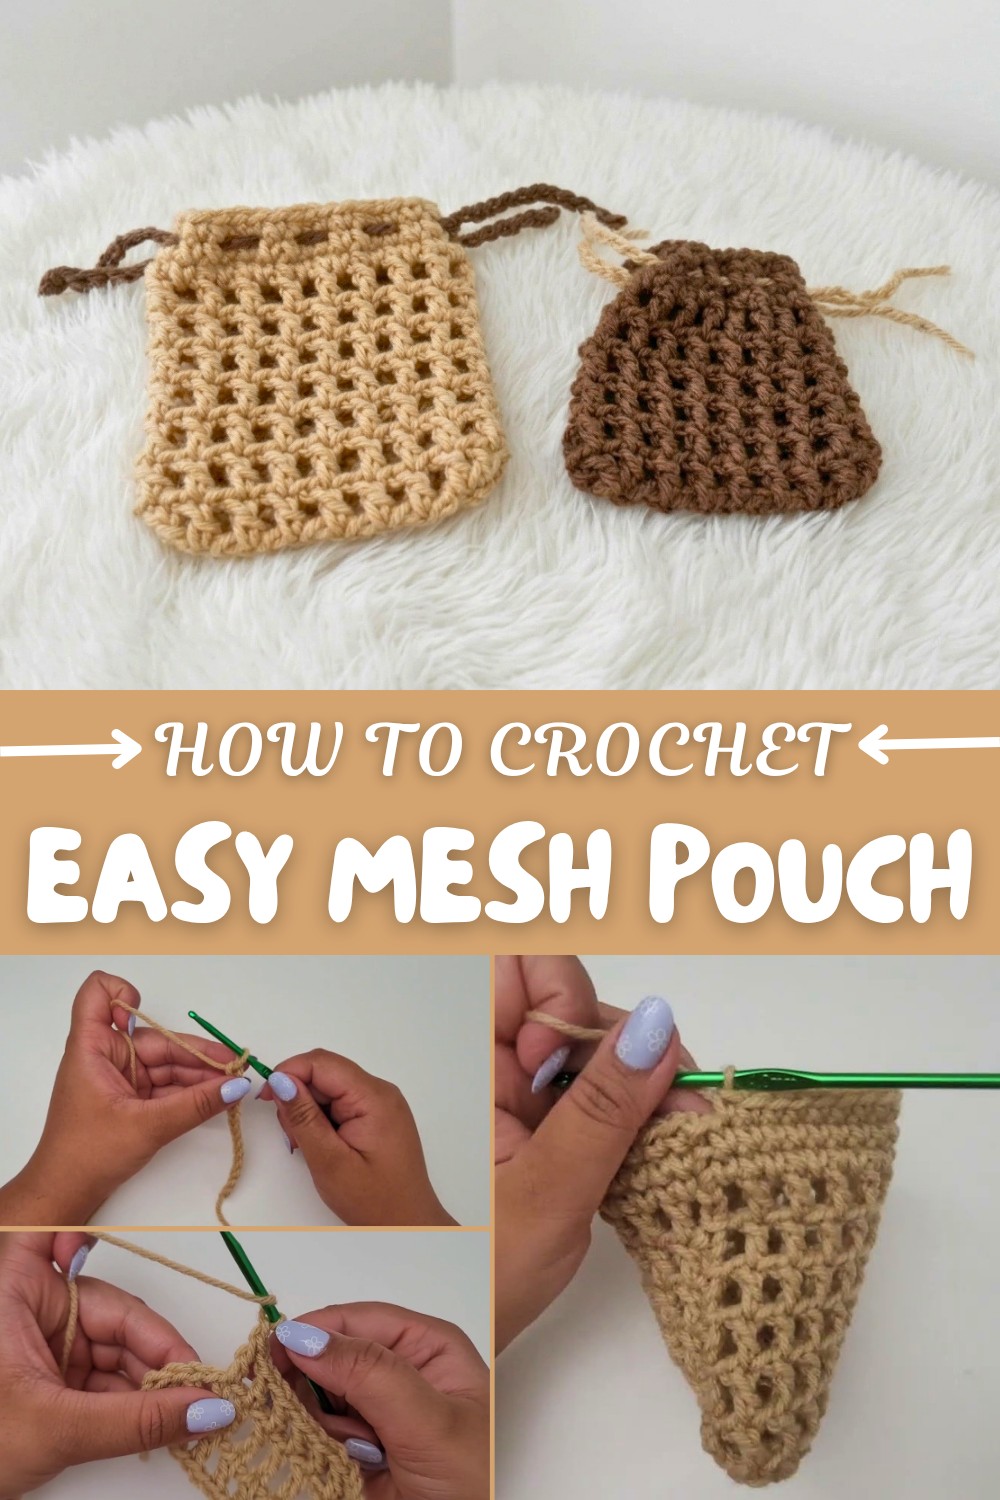
The pattern starts with a foundation chain that sets the size, followed by a sequence of skipping stitches and chaining to form the open mesh design. The edges are nicely finished with rounds of single crochet stitches, which provide a sturdy border and support for the drawstring closure. The drawstring is made with two separate chains woven through the mesh openings, allowing you to adjust the opening from both sides and secure your items safely. Because the size can be easily customized, this pouch is flexible for many uses, from a small coin holder to a larger reusable bag.
This stitch pattern isn’t limited to pouches. It’s perfect for creating airy market bags that stretch to hold produce, stylish beach totes that dry quickly, or even light summer scarves and shawls. The mesh fabric’s open texture also works well for gift wraps or decorative covers. Once comfortable with this pattern, the possibilities expand to many creative and useful crochet projects that combine texture, style, and function effortlessly.
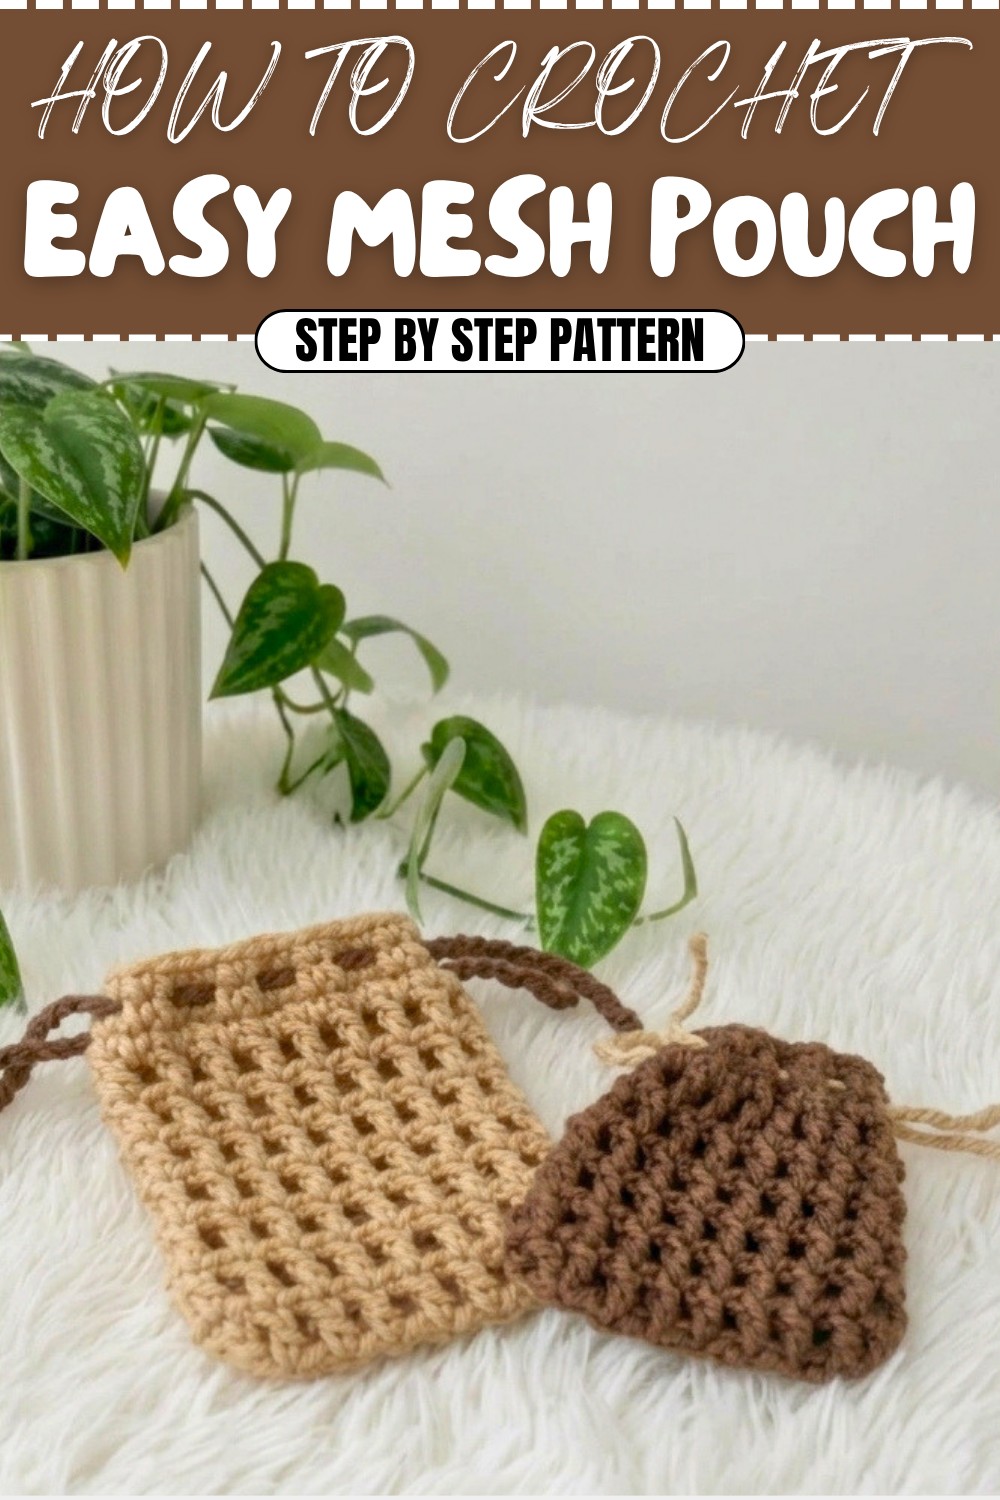
Crochet Pattern: Mini Drawstring Pouch
This Mini Crochet Drawstring Pouch is a versatile and adorable addition to your crochet repertoire. Perfect as a small bag for accessories, coins, or gifts, this pouch can be customized to suit your size preferences and choice of yarn. The simplicity of the mesh-like design paired with the drawstring closure makes it both functional and visually appealing.
This pattern uses basic stitches and repeats, making it beginner-friendly. By the end, you’ll have a stylish handmade pouch that you can personalize further with embellishments or stripes.
What You’ll Learn from This Pattern
- Creating a mesh design with double crochet and chains.
- Shaping a pouch by working in the round.
- Adding structure with a single crochet border.
- Creating functional drawstrings that can be adjusted easily.
Skill Level & Terminology
- Skill Level: Beginner
- Terminology: US Crochet Terms
The pouch is created using double crochet (dc), chains (ch), and single crochet (sc) stitches. The repetitive nature of the pattern makes it perfect for both beginners and seasoned crocheters looking for a quick and enjoyable project.
Materials & Tools
- Yarn: Category 4 yarn of your choice (approximately 50-70 yards depending on size).
- Crochet Hook: 4 mm (or appropriate size for your yarn).
- Other Tools:
- Scissors.
- Sewing/tapestry needle.
- Optional: Stitch marker (helpful for beginners).
Gauge
Gauge is not critical for this project since the pouch size is customizable. The key is maintaining consistent tension.
Abbreviations List
| Abbreviation | Meaning |
|---|---|
| ch | Chain |
| dc | Double Crochet |
| sc | Single Crochet |
| sl st | Slip Stitch |
| st | Stitch |
Special Stitch Instructions
- Double Crochet (dc):
- Yarn over, insert your hook into the stitch.
- Yarn over again and pull up a loop (3 loops on hook).
- Yarn over, pull through 2 loops (2 loops left).
- Yarn over, pull through the remaining 2 loops.
- Slip Stitch (sl st):
Insert your hook into the stitch, yarn over, and pull through both loops on the hook.
Finished Size
When worked as written, the pouch measures approximately 7 cm wide x 10 cm tall. However, size varies based on the chain length and desired height.
What Stitches Are Used in This Pattern?
The pattern relies on beginner-level stitches:
- Double Crochet (dc): To create the mesh-like main body.
- Single Crochet (sc): For the sturdy border.
- Slip Stitch (sl st): To join rounds and ensure a smooth finish.
The Pattern Itself
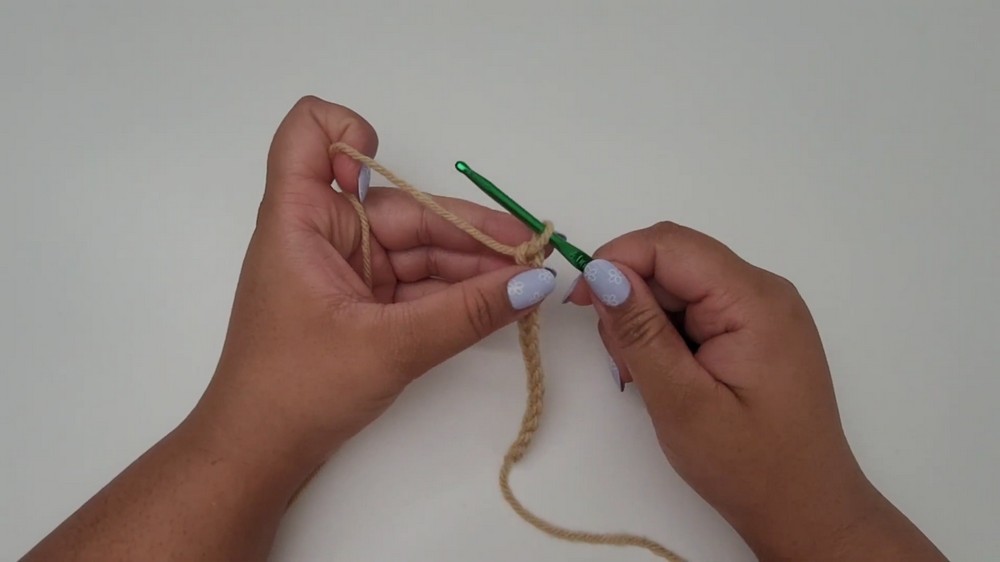
Step 1: Foundation Chain
- Start with a slipknot on your hook.
- Create a foundation chain the length of your desired pouch width. For reference, the tutorial uses 13 chains.
- Add an additional 5 chains to begin the mesh pattern (total: foundation chain + 5).
Your foundation chain is the base of your pouch. Adjust the length to make the pouch wider or narrower.
Step 2: Bottom Row (Foundation Mesh)
- Double Crochet in Sixth Chain:
- Locate the sixth chain from your hook and work 1 dc into it.
- Create the Mesh Pattern:
- Ch 1, skip the next chain, and work 1 dc into the following chain.
- Repeat this sequence (ch 1, skip 1, dc) across the foundation chain.
- At the End of the Row:
- When you reach the last chain of the row, work 3 dc into the last chain, with ch 1 between each dc.
This corner increases the row into a round and allows you to begin working on the other side of the foundation chain.
- Work Along the Opposite Side:
- Turn your work to the other side of the foundation chain.
- Ch 1, and work 1 dc into each stitch or space where a double crochet was made earlier.
- End the Row:
- After working along the opposite side, chain one and slip stitch into the third chain from the starting chain.
3: Building the Mesh Rounds
- Start Round 2:
- Chain 4 (this counts as 1 dc + ch 1).
- Work 1 dc into the next dc from the previous row.
- Ch 1, and continue the pattern of 1 dc into each dc and ch 1 between until you reach the corners.
- Corners:
- In each corner space (where 3 dc were worked from the previous round):
- Work 1 dc, ch 1, and 1 dc into each double crochet from the previous round.
- In each corner space (where 3 dc were worked from the previous round):
- Finishing the Round:
- End the round with ch 1 and slip stitch into the third chain from your starting chain.
- Continue Repeating the Rounds:
- Repeat this pattern until the pouch reaches your desired height.
- Each round begins with a chain of 4 and follows the mesh pattern of dc and ch 1.
The repetitive design is easy to follow, and the pouch starts taking shape as you complete more rounds.
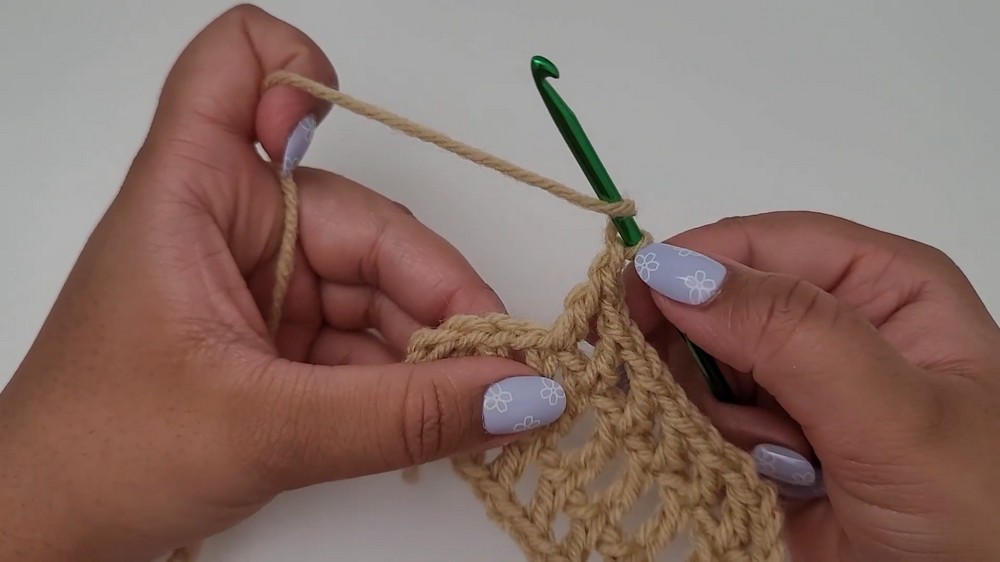
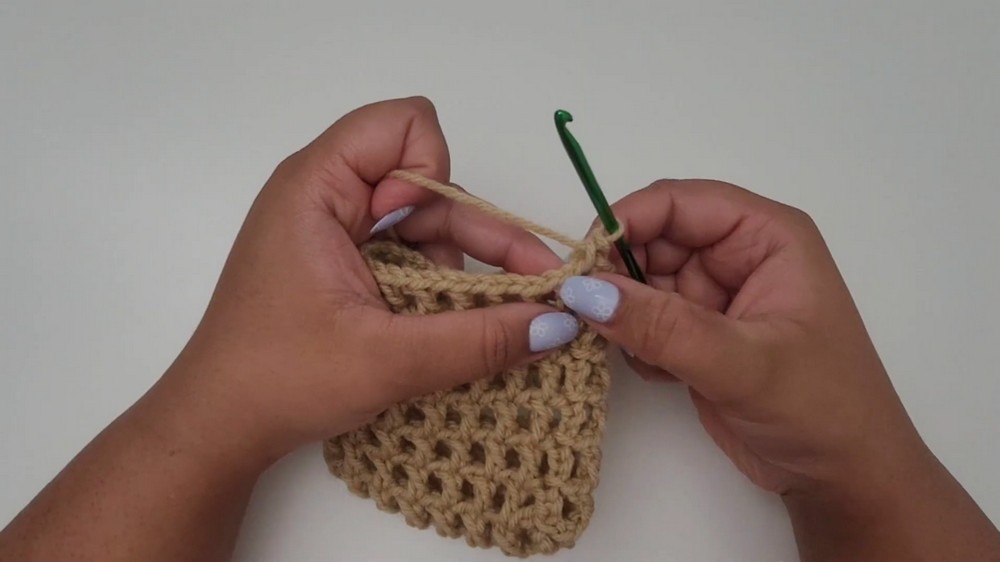
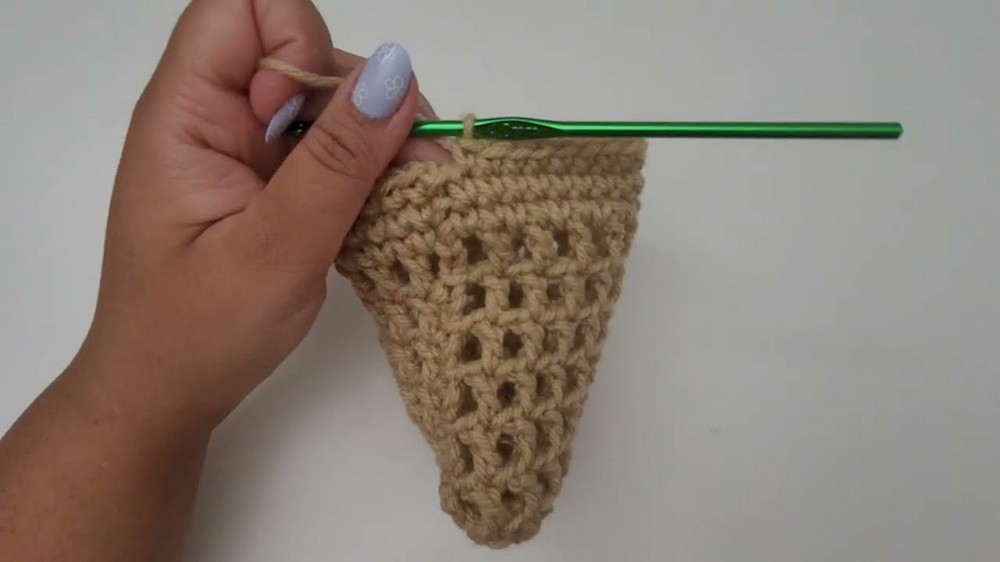
4: Single Crochet Border
- First Round of Single Crochet:
- Once the desired height is reached, sl st into the third chain of the final round, and ch 1.
- Work 1 sc in each space and 1 sc in each stitch around.
- Second and Third Rounds:
- Work 2 more rounds of sc, making one single crochet in every stitch.
- Slip stitch to the first sc at the end of each round and chain 1 to begin the next.
The single crochet border provides structure to the top of the pouch, making it more durable for the drawstring.
5: Drawstring
- Create the Drawstring:
- Make a slipknot and crochet a chain long enough to fit around the pouch opening. For a more decorative touch, you can create two chains to cinch from both sides.
- The exact chain length depends on your pouch size.
- Weaving the Drawstring:
- Turn the pouch so the single crochet border is facing you.
- Insert your hook or a sewing needle into a stitch space from the inside and begin threading the chain in and out of the stitches.
- Optional:
- Make a second chain and weave it through starting from the opposite side of the pouch.
Step 6: Finishing Touches
- Weave in all loose ends using a tapestry needle.
- Pull the drawstring tight and tie it into a bow or a knot.
The final product is a practical and customizable pouch. You can add tassels, beads, or even embroidery to personalize it further!
Assembly & Finishing
After completing the pouch, ensure all ends are neatly woven in, and your drawstring is adjusted as desired. Check the bottom seam for snugness, and your pouch is ready for use!
Why I Love This Pattern
This mini drawstring pouch is an ideal project for crocheters of all levels because of its simplicity and versatility. I love how easily you can adjust the size, colors, and embellishments to suit your style or purpose. It’s perfect for gifting, organizing, or even turning into seasonal decorations!