
Free Strawberry Handbag Pattern for Fun Crochet Decor
Turn ordinary yarn into a fun conversation starter purse that carries your daily essentials using this completely free crochet strawberry handbag pattern.
Who wouldn’t love a handbag that looks like a giant, sweet strawberry? This cheerful accessory is sure to bring smiles wherever it goes, with its playful shape and detailed design. It’s not just a treat for the eyes; it’s a functional little bag perfect for carrying small treasures, serving as a gift for kids, or even adding a touch of charm to doll accessories. Its vibrant texture and fun accents, like the leafy top and bumpy "strawberry skin," make it stand out in the best way possible.
Crochet the Cutest Strawberry Handbag with Free Pattern
The project starts with simple techniques that build the base and shape of the bag. The body showcases cluster stitches that create the signature strawberry texture, while the green leaves at the top add a whimsical touch. The handle is sturdy yet flexible, making it easy to carry or hang up as a decorative piece. For those who enjoy personalizing their work, little seed like embellishments can be added for an extra pop of detail. It’s a fantastic way to learn new skills while creating something adorable and functional.
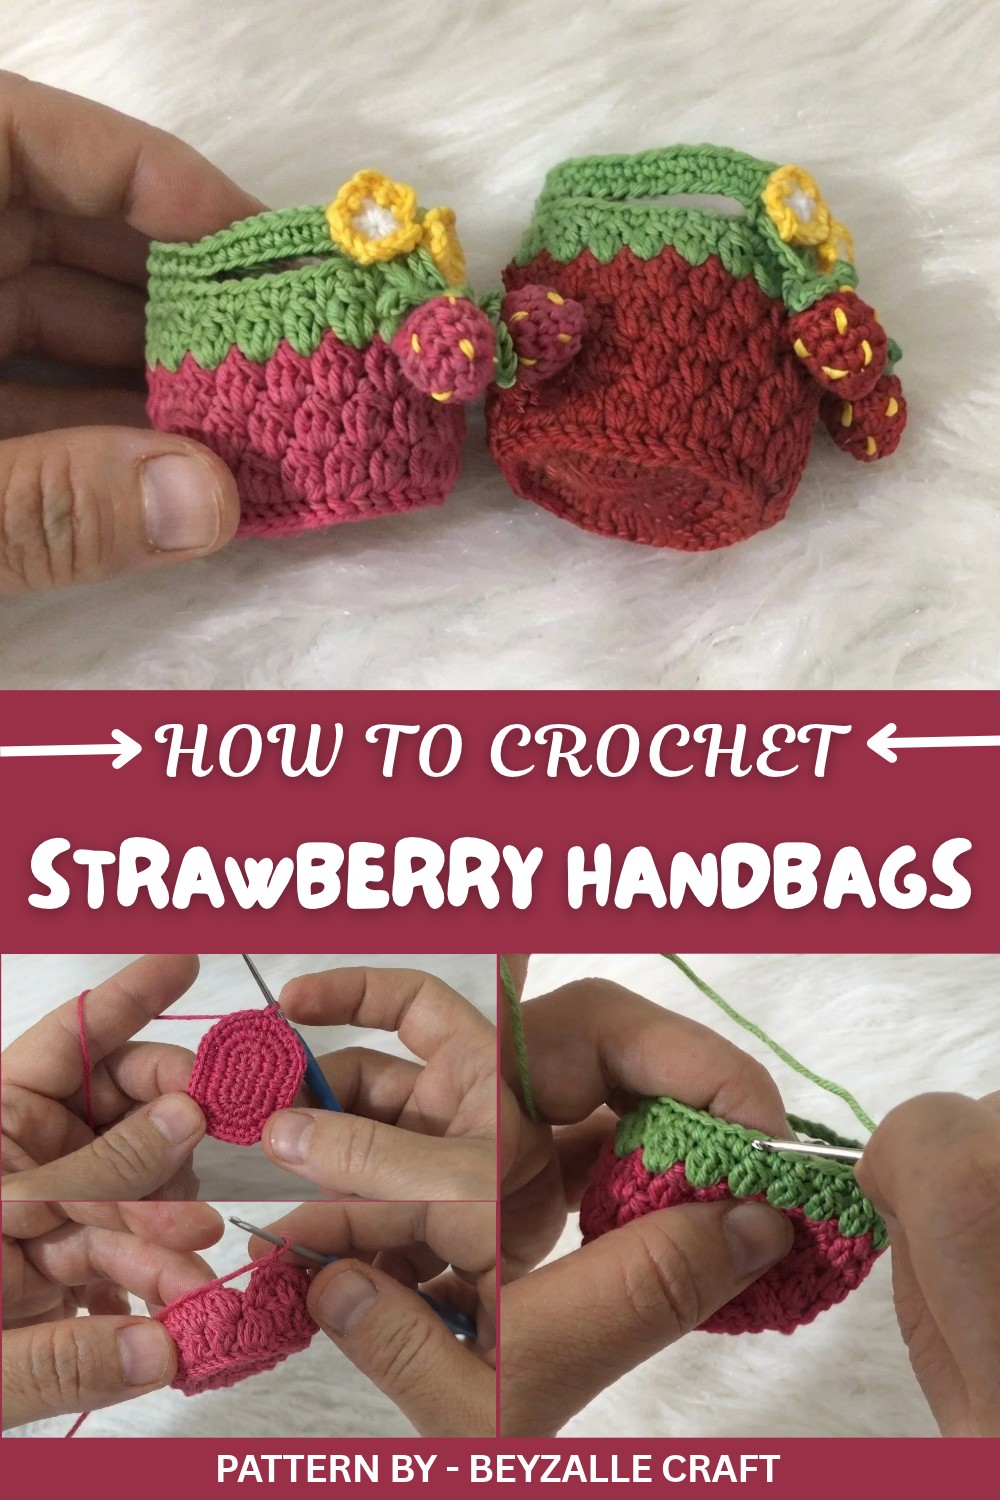
One of the highlights of this idea comes from Beyzalle CRAFT on YouTube, a channel known for making crochet projects simple and fun to follow. With clear instructions and visuals, even beginners can pick up the basics quickly and enjoy the process without feeling overwhelmed. This strawberry handbag isn't just about practicality; it’s a charming project that users will be proud to show off or gift to loved ones.
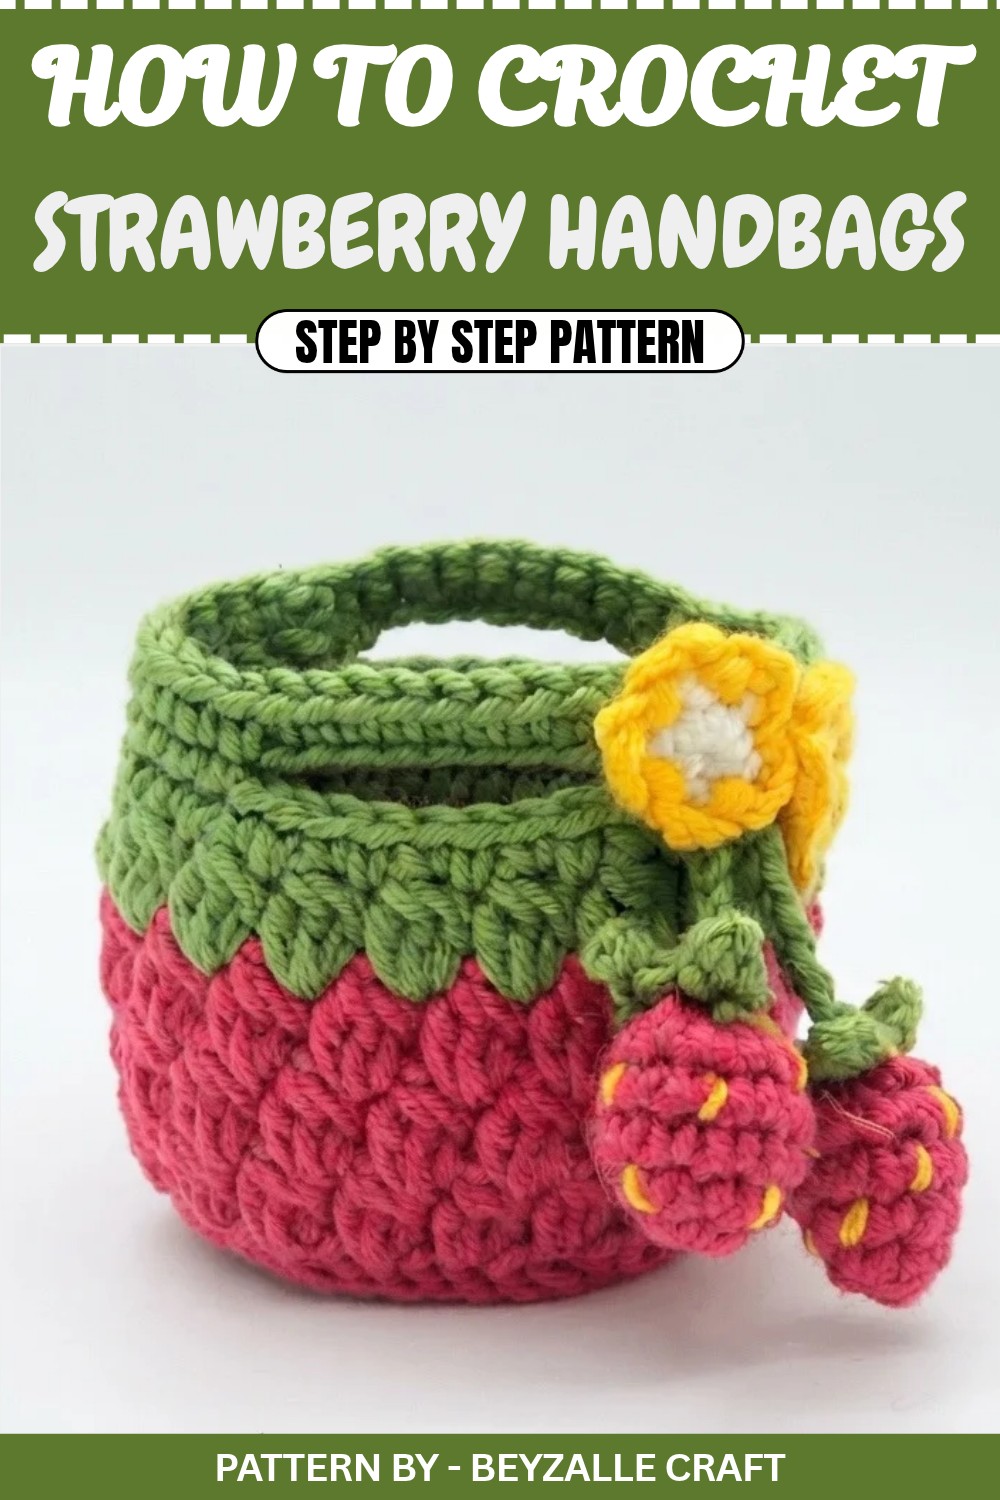
Crochet Strawberry Bag Pattern
This pattern creates a charming strawberry shaped bag, complete with a strap and decorative elements. Ideal for amigurumi dolls or as a small child’s accessory, the pattern allows for customization in size and style. Follow the detailed instructions below for a fun and easy project.
Materials
- Yarn: Cotton yarn in red, green, white, yellow, and extra green for decorations.
- Hook: 1.75 mm crochet hook.
- Scissors: For trimming yarn ends.
- Tapestry Needle: For sewing and weaving in ends.
- Stuffing: Small amount, optional for strawberry decorations.
Stitches Used
- ch: chain
- sc: single crochet
- inc: increase (2 single crochets in the same stitch)
- sl st: slip stitch
- dc cluster: double crochet cluster (3 double crochets pulled together into one stitch)
- reverse sc (crab stitch): single crochet worked backward for a textured effect
Step by Step Instructions
Bag Base (Strawberry Foundation)
Foundation (Chain):
- Chain 5.
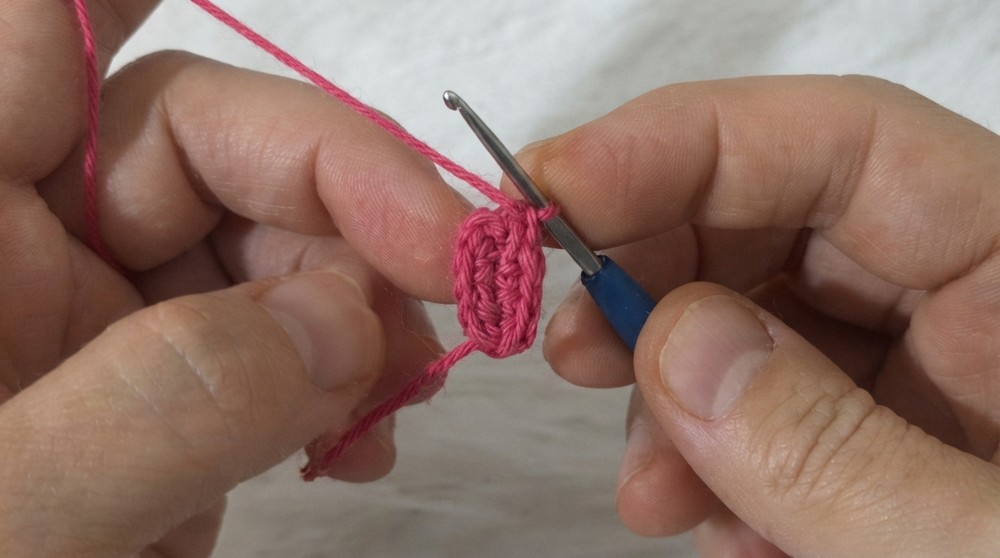
Row 1:
- Begin in the 2nd chain from the hook.
- Work 1 increase in the first stitch, 2 single crochets (SC) in the next two stitches, and 4 single crochets (SC) in the last chain (to form a rounded edge).
- Now work along the other side of the chain, making 2 single crochets and 1 increase in the final stitch.
- Total Stitches: 12 single crochets.
Row 2:
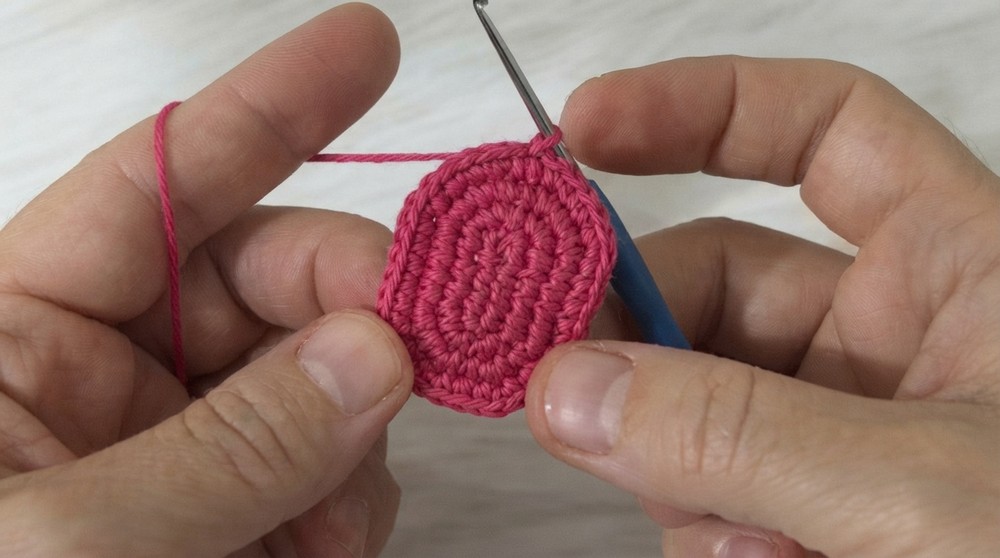
- Chain 1.
- Work the following sequence: 2 increases, 2 single crochets, 4 increases, 2 single crochets, and 2 increases.
- Join to the first stitch with a slip stitch.
- Total Stitches: 20 single crochets.
Row 3:
- Chain 1.
- Work as follows: (1 single crochet, 1 increase) two times, 3 single crochets, (1 single crochet, 1 increase) four times, 3 single crochets, (1 single crochet, 1 increase) two times.
- Join with a slip stitch.
- Total Stitches: 28 single crochets.
Row 4:
- Chain 1.
- Work this sequence: (2 single crochets, 1 increase) two times, 4 single crochets, (2 single crochets, 1 increase) four times, 4 single crochets, (2 single crochets, 1 increase) two times.
- Join with a slip stitch.
- Total Stitches: 36 single crochets.
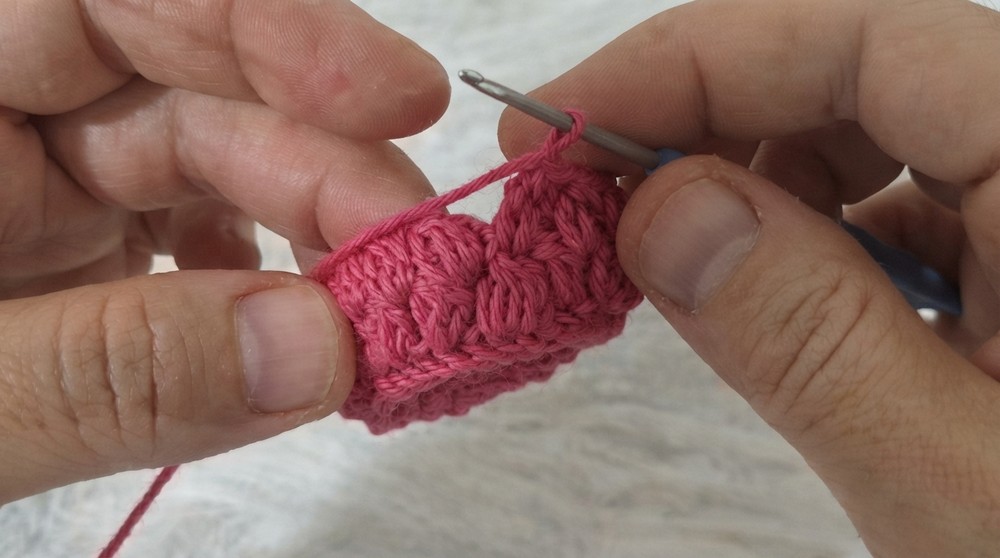
Bag Body
Row 5 (Reverse SC):
- Work 36 reverse single crochets into the back loops of the previous row to form the edge of the bag.
- Join with a slip stitch.
Main Body Pattern:
- Chain 2.
- Work a 3-stitch double crochet cluster into the same space where the chain starts.
- Yarn over, insert hook, draw up a loop, yarn over, pull through two loops (leave the last loop on the hook). Do this twice more until you have 4 loops on the hook, then yarn over and pull through all 4 loops to complete the cluster.
- Chain 1, then skip one stitch and repeat the double crochet cluster. Repeat this around the row for a total of 18 clusters.
- Join with a slip stitch to the top of the first cluster.
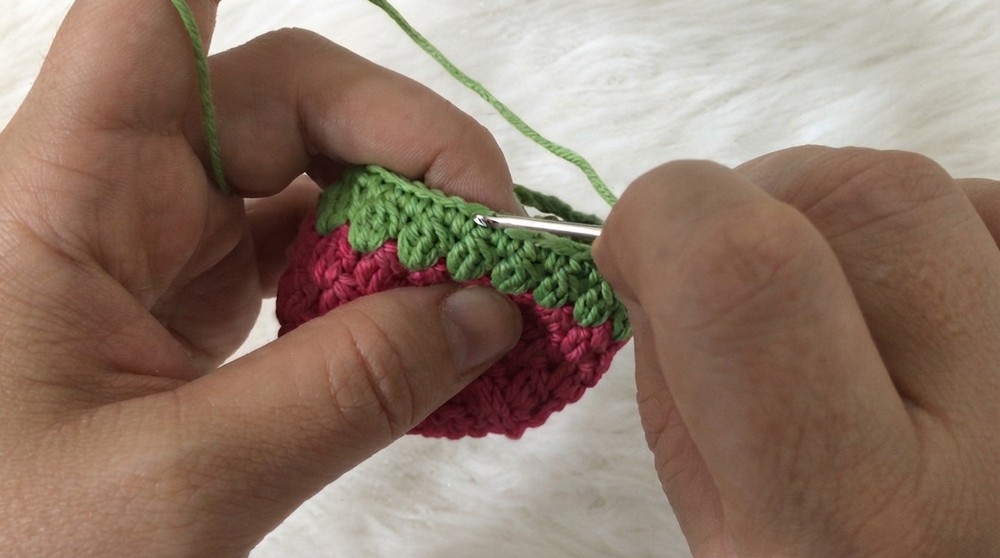
Continue Rows:
- Repeat the above cluster row pattern for 3–4 rows. Switch to green yarn for the final row, following the same pattern.
Top Edge:
- Chain 1.
- Work 1 single crochet into each cluster space and 1 single crochet on top of each cluster.
- Total: 36 single crochets.
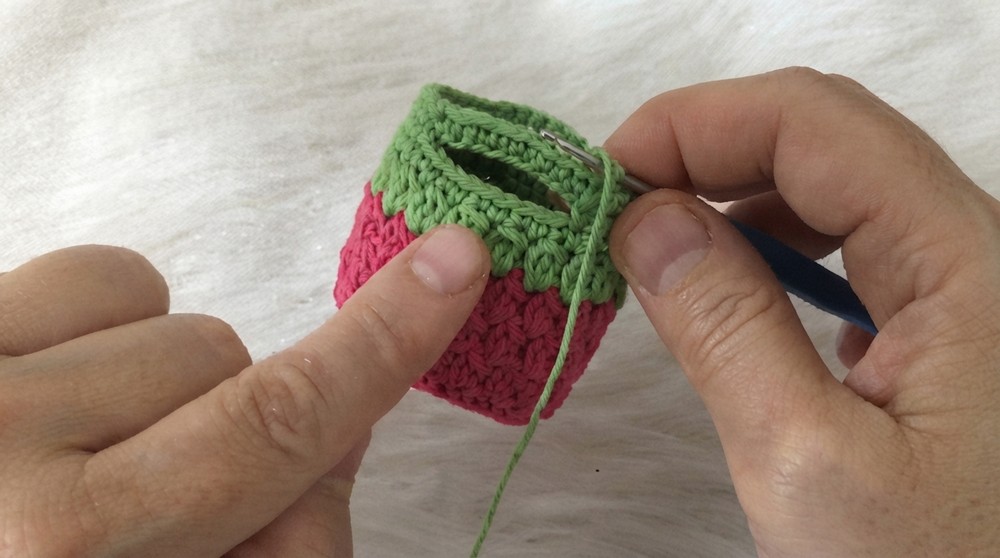
Strap
Strap Base:
- Attach yarn to one side of the bag. Count 9 stitches from the edge, then chain 9 to form the handle.
- Attach the chain to the other side with a slip stitch.
Strap Strengthening:
- Work 9 single crochets across the chain to make the strap durable.
- Chain 9 again for the second attachment and repeat the process.
Final Strap Row:
- To create the final finish, work 1 single crochet into every stitch around the bag, including the strap attachments.
- Total: 36 single crochets.
Strawberry Decorations
Berry Body:
- Start with a magic ring and make 6 single crochets into the ring.
- Pull the ring tightly closed.
Row 2:
- Work 2 increases, 2 single crochets, and 2 increases.
- Total: 8 single crochets.
Row 3:
- Work (1 single crochet, 1 increase) two times, then 3 single crochets, 1 increase, and 2 single crochets.
- Total: 10 single crochets.
Rows 4–5:
- Work 10 single crochets in each row without any increases or decreases.
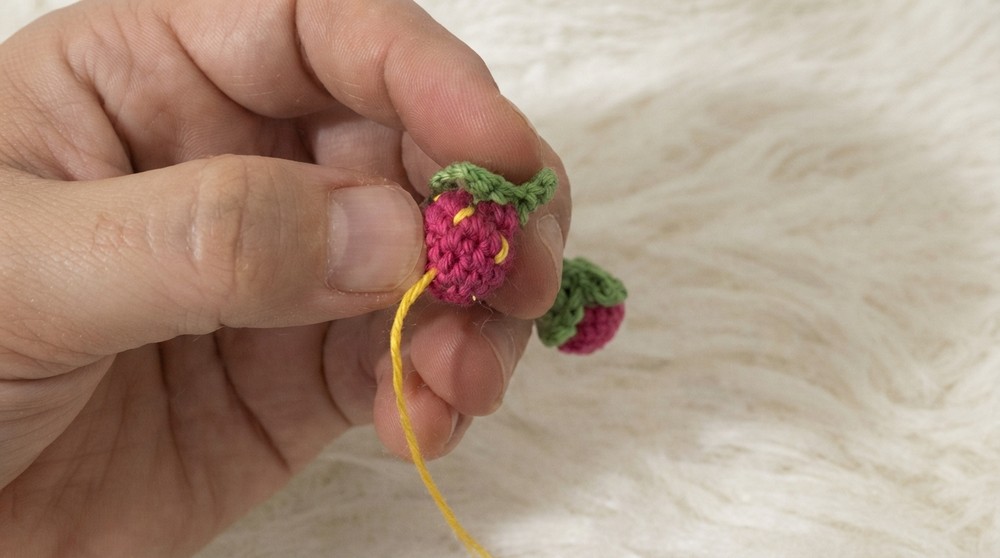
Finishing:
- Lightly stuff the strawberry with filling.
- Use a needle to pick up the front loops of the last row and pull them together to close the gap.
Stem and Leaf:
- Chain 18 stitches, leaving a tail to sew the decoration onto the bag.
- Make 3 small leaves along this chain:
- Chain 3, then slip stitch into the 2nd chain, single crochet into the next chain, and slip stitch back into the base chain. Repeat for all 3 leaves.
Assembly
- Use the tapestry needle and yarn tails to attach the strawberries and stems to the bag.
- Position the strawberries near the top edge of the bag or clustered along one side.
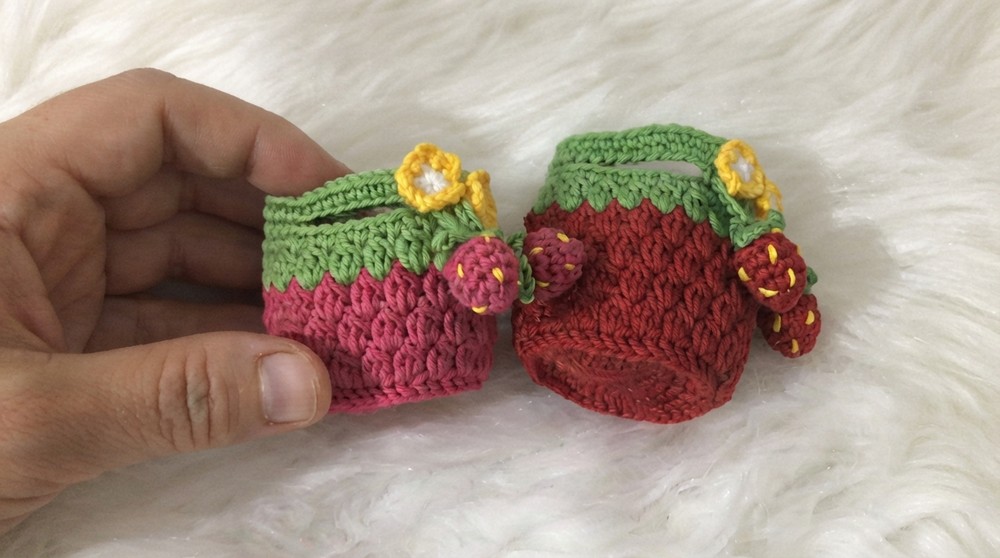
Finished Size
- Small Bag: Approximately 10 cm tall.
- Large Bag: Approximately 15 cm tall. Adjust size by increasing the number of rows in the body section of the bag.
Conclusion
Congratulations on completing your crocheted strawberry bag! With its playful design, detailed structure, and fun strawberry decorations, this bag is sure to impress. Adjust the colors, size, and decorations to fit your creative vision.