
Amigurumi Voodoo Doll Free Crochet Pattern with Easy Instructions
Create your own adorable and spooky crochet amigurumi voodoo doll with this free pattern, perfect for adding fun and charm to your handmade collection.
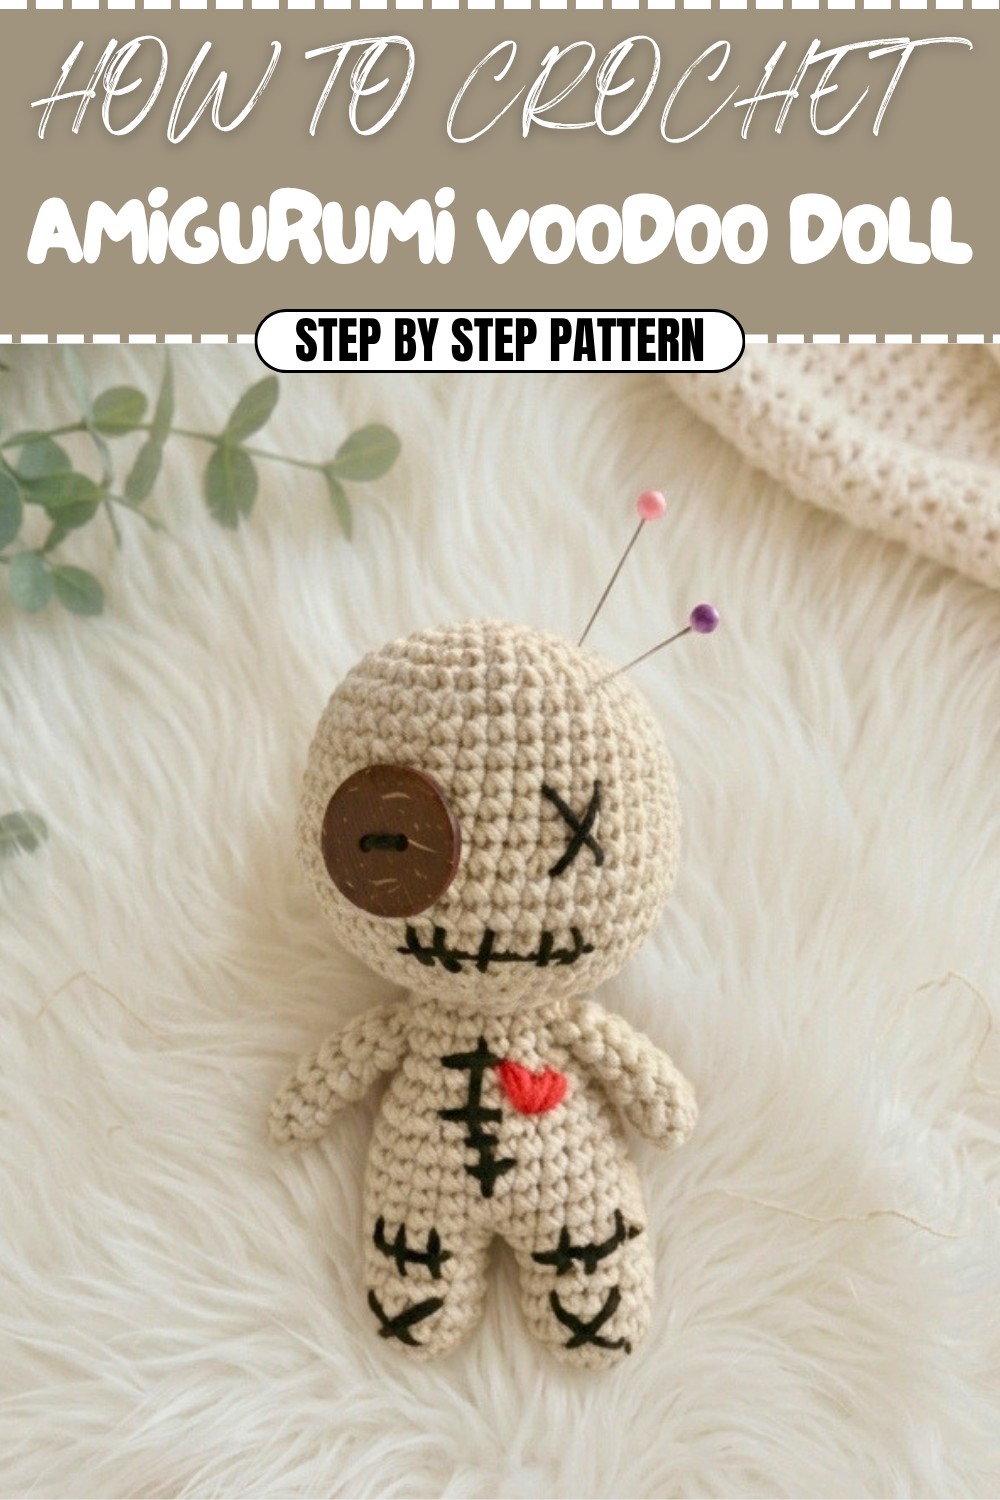
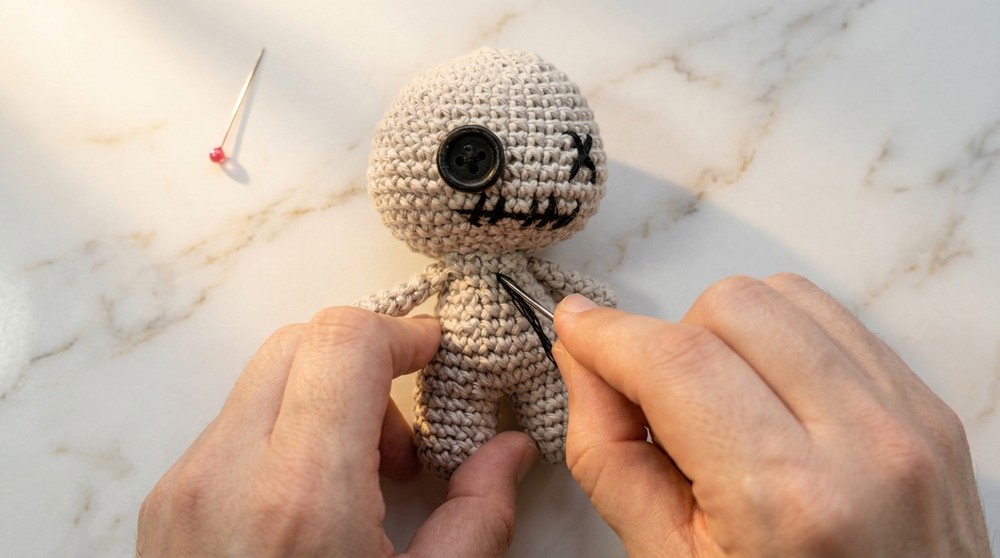
A fun and creative addition to any crochet project, the amigurumi voodoo doll pattern combines a rounded shape with playful details that make each finished piece stand out. Button eyes, a stitched mouth, and simple “X” marks on the body give the doll a cute and slightly unusual personality.
This project is easy to customize. You can pick your favorite yarn colors, try different types of eyes, and add your own extra stitching, making every doll feel unique. The instructions use basic stitches, so both beginners and experienced crafters can enjoy making it without any trouble. It’s also a great way to use up leftover yarn or spare buttons you might have at home.
Free Crochet Amigurumi Voodoo Doll Pattern for Handmade Toys

The finished amigurumi voodoo doll is perfect as a desk or shelf decoration, can become a keychain by adding a simple loop, and makes a thoughtful handmade gift. Its small size and simple steps make it a quick and satisfying project for anyone looking to add something special to their crochet collection.
Crocheters appreciate how simple and creative this pattern is. Whether you use the doll as a decoration or a cute surprise for friends, each one brings a bit of character and charm wherever it goes.
Voodoo Doll Amigurumi — Step-by-Step Crochet Pattern
Welcome to this spooky and delightful pattern for a mini amigurumi voodoo doll—perfect for a Halloween accessory, a keychain, or as a playful decoration! This doll is worked in simple shapes and stitches, making it both accessible for ambitious beginners and enjoyable for more experienced crocheters. All doll components are worked individually and sewn together, with finishing touches like stitched scars, a heart, and button “eye” for extra character. At the end of each section, tips for beginners are included to help you if you’re not used to reading patterns. Let’s conjure up some crochet magic!
Skill Level & Terminology
Skill Level: Confident Beginner (suitable for intermediate crafters, too!)
Terminology: US Crochet Terms
Materials & Tools
- Yarn (cotton or acrylic):
- Main color for body (light beige, tan, gray, or preferred base)
- Black (scars, X-eye, embroidery)
- Red (heart)
- Pink (optional, for bow/accent)
- Hook: 2.5mm (or size appropriate for your chosen yarn)
- Stuffing: Polyester fiberfill
- 1 button: For the eye (dark brown or black is recommended)
- Notions: Tapestry/yarn needle, scissors, stitch marker, hot glue or craft glue (for button and bow/heart)
Gauge
Gauge is not critical but ensure stitches are tight so stuffing does not show through; approx. 8 sc per 1 inch using 2.5mm hook and cotton yarn.
Abbreviations List
| Abbreviation | Meaning |
|---|---|
| MR | Magic Ring |
| ch | Chain |
| sc | Single Crochet |
| inc | Increase (2 sc in st) |
| dec | Decrease (sc2tog) |
| sl st | Slip Stitch |
| FO | Fasten Off |
| st(s) | Stitch(es) |
Special Stitch Instructions
- Magic Ring (MR):
Make a loop, crochet the designated number of single crochets into loop, then pull tail tight to close. - Increase (inc):
Work two single crochets into the same stitch. - Decrease (dec):
Insert hook in next st, YO, pull up loop, insert hook in next st, YO, pull up loop, YO and draw through all loops (decreasing by one stitch). - Slip Stitch (sl st):
Insert hook, YO, pull through both loops on hook.
Finished Size
Approx. 9–10 cm (3.5–4 in) tall using recommended yarn and hook.
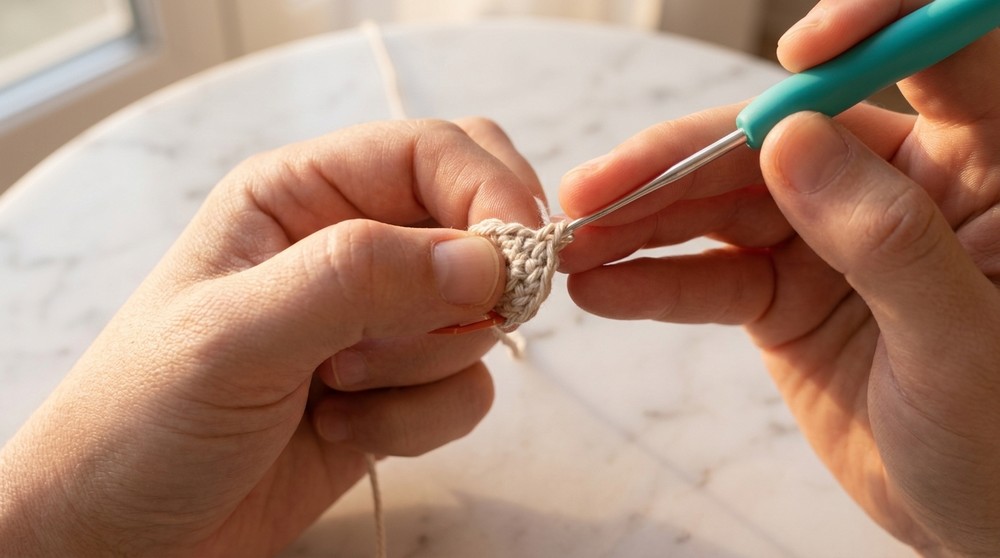
How to Start & Stitches Used
Begin each part with a magic ring for a neat, closed start. Most pieces use only single crochet in spirals, with increases and decreases for shaping. Assembly includes sewing with a tapestry needle and simple embroidery.
The Pattern
A. Legs (Make 2)
- Round 1: With main color, MR, 6 sc in ring. (6)
- Round 2: 6 inc (2 sc in each st). (12)
- Rounds 3–7: sc in each st around. (12)
- FO first leg only. Do not FO second leg.
For beginners:
You’re crocheting two small tubes. Finish off the first, but keep going on the second—this will help you join for the body.
B. Body
- Join Legs:
With yarn still attached to the second leg, sc in next st of first leg to connect. Place marker in this first joined stitch. - sc in next 11 sts of first leg (12 total), then sc in 12 sts of second leg (24 sts for round).
- Rounds 2–4: sc in each st around. (24)
- Round 5: (sc 2, dec) repeat around. (18)
- Round 6: sc in each st. (18)
- Round 7: (sc 2, dec, sc 3, dec) twice. (14)
- Rounds 8–9: sc in each st. (14)
- Sl st to close, FO with a long tail for sewing later. Stuff firmly.

For beginners:
Attach the legs and keep crocheting up to shape a soft tube; this will form the torso. Add stuffing before finishing.
C. Arms (Make 2)
- Round 1: MR, 6 sc. (6)
- Rounds 2–6: sc in each st around. (6)
- FO, leave a long tail for sewing.
For beginners:
The arms are tiny tubes, like the legs—no increases or decreases.
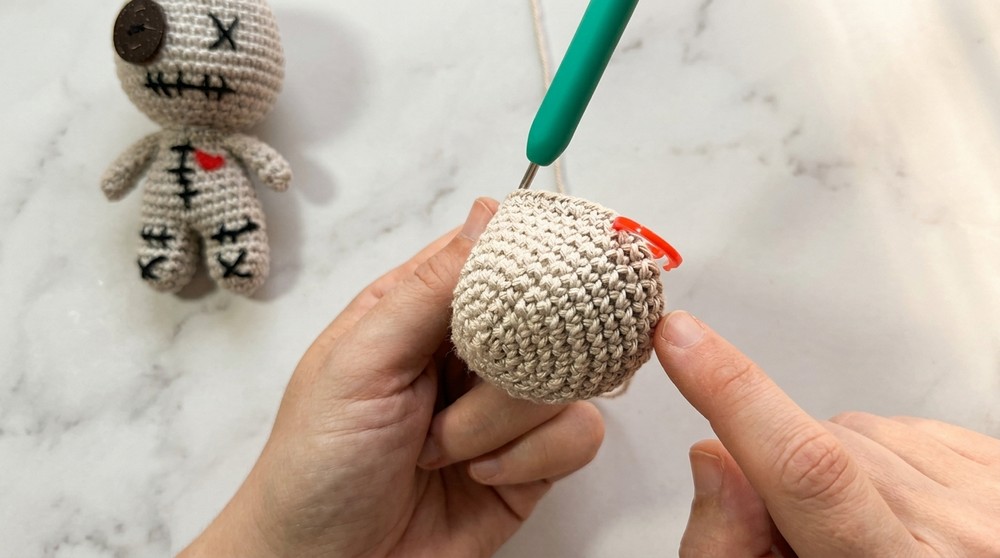
D. Head
- Round 1: MR, 6 sc. (6)
- Round 2: 6 inc. (12)
- Round 3: (sc, inc) repeat around. (18)
- Round 4: (sc 2, inc) repeat around. (24)
- Round 5: (sc 3, inc) repeat around. (30)
- Round 6: (sc 4, inc) repeat around. (36)
- Rounds 7–11: sc in each st around. (36)
- Round 12: (sc 5, inc) repeat around. (42)
- Rounds 13–15: sc in each st. (42)
- Round 16: (sc 4, dec) repeat around. (35)
- Round 17: (sc, dec), (sc 3, dec) x6, sc 2 (28)
- Round 18: (sc 2, dec) repeat around. (21)
- Round 19: (sc, dec) repeat around. (14)
- Stuff head firmly.
- Sl st to close, FO with long tail for sewing.
For beginners:
You're making a ball: increase to widen, make a few even rounds, then decrease and stuff for a round, smooth head shape.
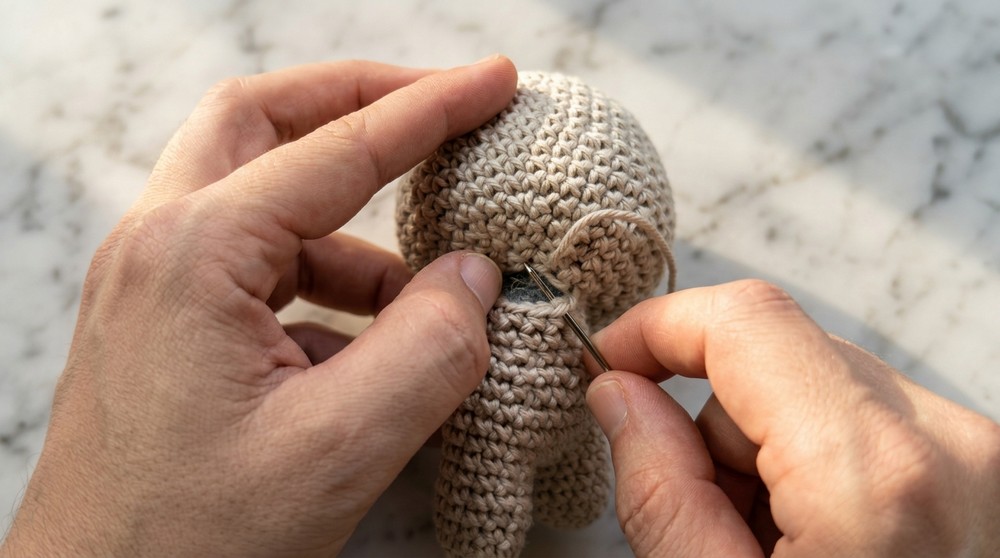
E. Assembly
- Sew Head to Body: Use long tail and tapestry needle, sew head securely to body top, making multiple passes.
- Sew Arms: Attach arms to the sides of the body beneath the neck (use last round as guide).
For beginners:
Sewing is done with a yarn needle, going in and out of both pieces for a tight seam. Take time to place arms and head evenly.
F. Face & Embellishments
1. Button Eye:
- Sew/glue a button between rounds 11–12, slightly to one side of the head.
2. Embroidered X-eye:
- On the opposite side, embroider an X for the other eye with black yarn/floss.
3. Mouth & Scars:
- With black yarn/floss, embroider a wavy mouth with short vertical “scar” lines crossing it, then add additional random scar lines on head/body/legs.
4. Heart:
- Use red thread/yarn. On the chest, embroider a small, plump triangle with repeated satin stitches, or make two passes diagonally each way for a stylized heart.
5. Bow (Optional):
- With pink (or any color):
- MR, ch 4, 4 dc into ring, ch 4, sl st into ring, repeat to make two loops for bow.
- Pull MR tight, sew or glue to head near an ear.
For beginners:
Decorate using a large-eye needle and contrasting yarn. The X and mouth use simple back stitches and crossing lines. The heart is just a plump stitched triangle.
Assembly & Finishing
- Weave in all yarn tails securely.
- Stuff any remaining soft areas as needed.
- Double check that all pieces are securely attached for durability (especially if for children).
- If desired, attach a keyring or a hanging loop.
Conclusion
Bravo! Your voodoo doll amigurumi is ready, complete with scars, a whimsical face, a bright red heart, and (optionally) a dainty bow. This pattern used magic rings, simple shaping through increases/decreases, and basic embroidery. Feel free to personalize with color choices, extra embellishments, or variety of button eyes to create your own spooky style.