
Cute Crochet Bee Free Pattern That Makes a Lovely Handmade Gift
Bring a touch of sweetness with this Crochet Bee featuring yellow and black stripes perfect as a playful toy keychain or charming decoration.
Bring joy into your day with a small, happy creation. The Crochet Bee looks like a tiny bee with soft, rounded shapes. It is a simple and fun project that anyone can enjoy making.a
Free Crochet Bee Pattern That Adds Charm to Any Toy Collection
Besides being lovely to look at, the Crochet Bee has many uses. You can make it into a keychain, a small toy, or a charming decoration for your room or workspace. It is also a thoughtful handmade gift that brings a smile to anyone’s face. In addition, because it is small and lightweight, you can carry it around easily or use it to brighten up bags and backpacks. Its cheerful appearance makes it a great addition to parties, classrooms, or even as a comforting little companion for kids.
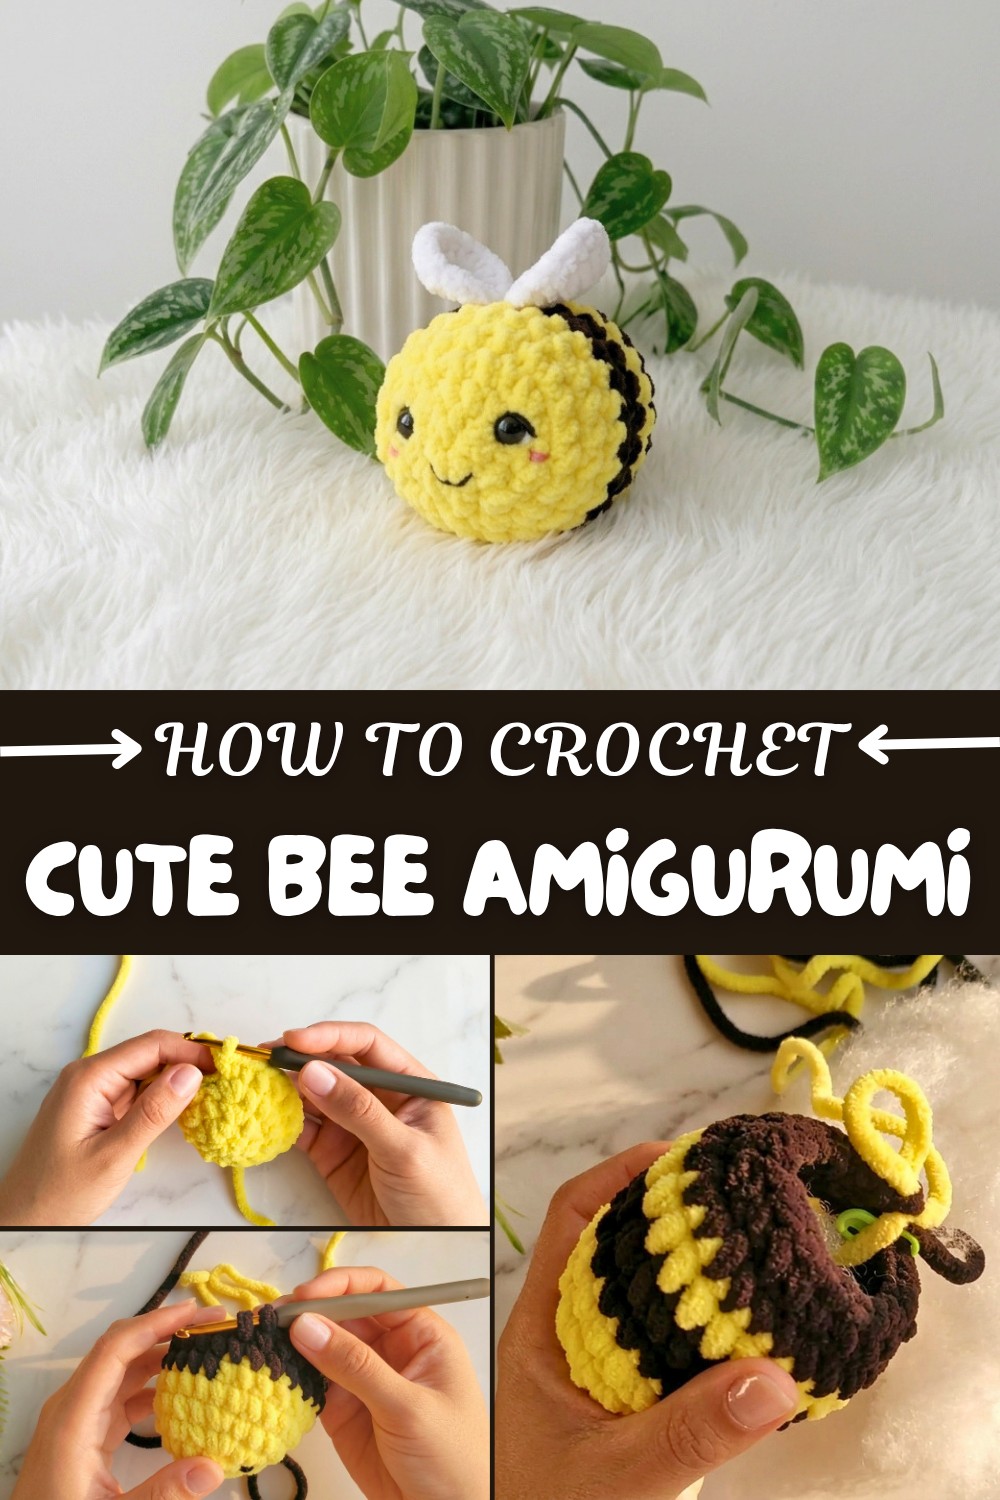
Its body usually has bright yellow and black stripes, just like a real bee. The eyes are big and friendly, giving it a cute, playful face. Sometimes, it even has tiny wings made from light-colored yarn, which adds a nice touch. Moreover, it is durable because of the thick yarn, so it can last a long time.
In addition, making a Crochet Bee helps calm the mind. Many people find crocheting to be a peaceful activity that reduces stress. Therefore, it brings both creativity and relaxation.
Overall, the Crochet Bee is a sweet, simple project. It looks cheerful, is fun to make, and offers many uses. Why not try creating one today and add a little buzz of happiness to your life?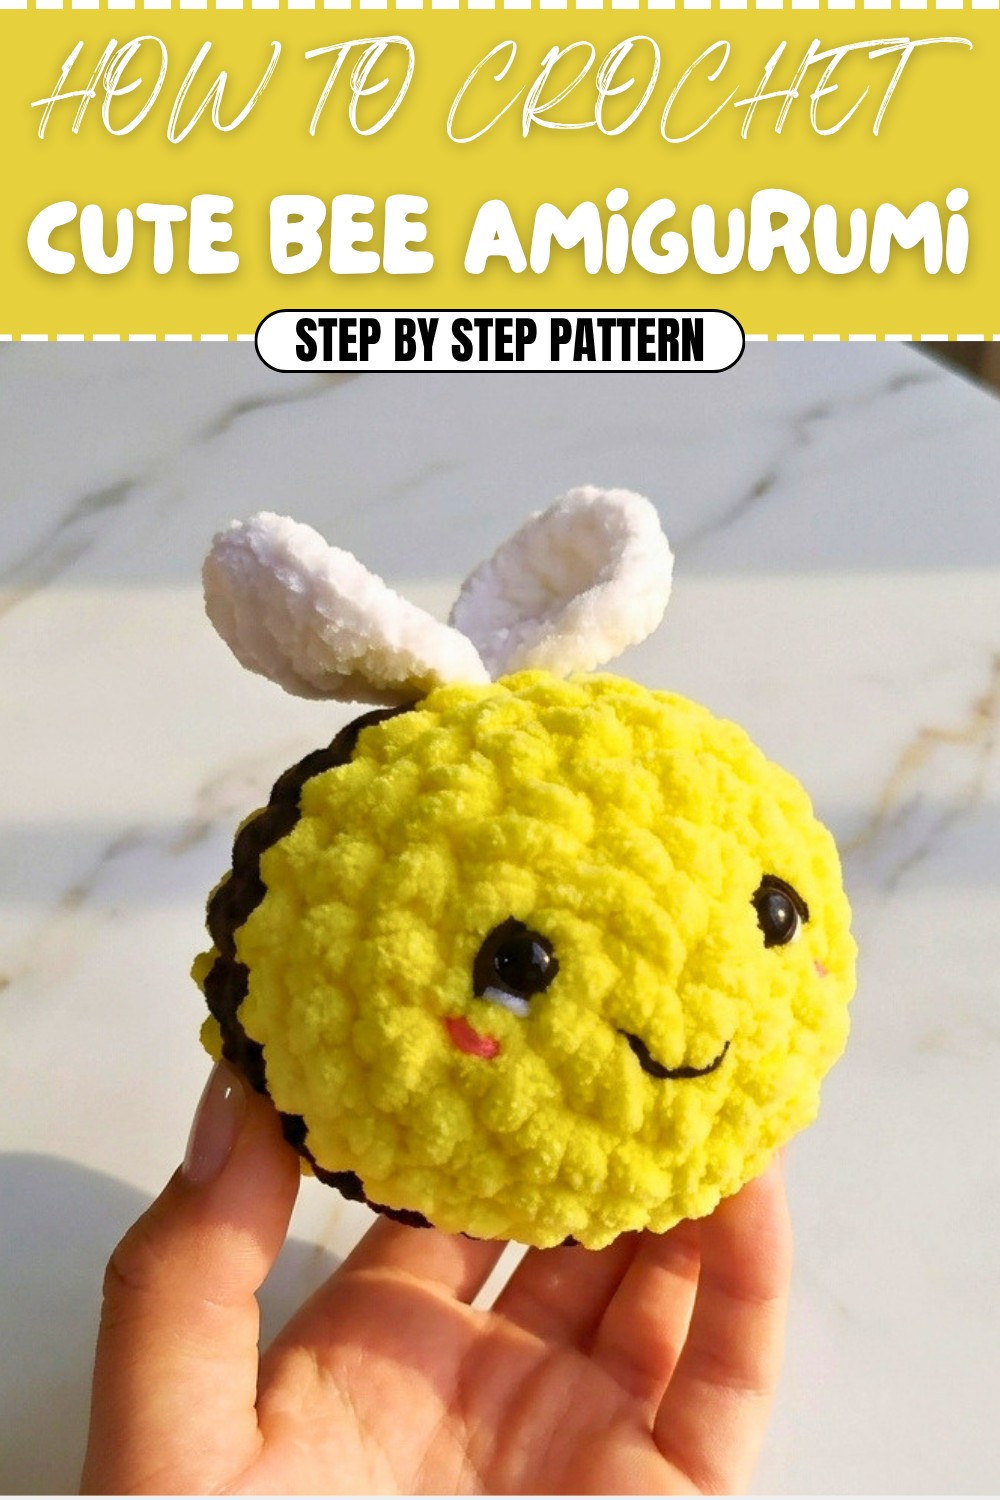
Amigurumi Bee – Crochet Pattern
In this tutorial, you’ll learn to crochet an adorable amigurumi bee. The result is a cheerful plush bee that’s fun, quick, and easy—perfect for beginners and crocheters of all levels. Just follow each step, and you’ll soon have a delightful handmade bee to keep or gift.
Quick Overview Of Pattern
- The bee is crocheted in a continuous spiral, with simple rounds of increases and decreases to achieve the shape.
- The classic black and yellow stripes are created by changing yarn colors while working the body.
- Small safety eyes give the bee personality, and simple felt or embroidered details can add facial expressions.
- Separate wings are made, then sewn securely onto the body.
Notes
- This is a seamless amigurumi worked in the round—do NOT join unless otherwise specified.
- Use a stitch marker at the beginning of each round.
- Change colors carefully as directed for neat stripes.
- Stuff firmly but don’t overfill; maintain a round shape.
- The wing yarn is fuzzy, handle it gently to avoid fraying when attaching.
Skill Level
Beginner/Advanced Beginner
Comfortable with single crochet, basic increases/decreases, and working in the round.
Materials
- Yarn:
- Yellow (main body)
- Black (stripes/body, finishing)
- White (wings)
- Crochet hook: 4 mm
- Safety eyes: 2 pieces, 4 mm
- Tapestry/blunt needle
- Stuffing: Synthetic fiberfill or cotton
- Stitch marker
- Scissors
Measurements / Sizing
- Finished bee approx. 7–9 cm (3–3.5 in) long, depending on yarn, hook, and tension.
Gauge
Gauge is not critical for amigurumi, but stitches should be tight enough to keep stuffing from peeking out.
Stitch Abbreviations
| Abbr. | Meaning |
|---|---|
| MR | Magic ring |
| sc | Single crochet |
| inc | Increase (2 sc in same stitch) |
| dec | Decrease (sc 2 together) |
| sl st | Slip stitch |
| ch | Chain |
Special Stitches
- Invisible Decrease (dec): Insert hook in front loop of next 2 stitches, yarn over and pull through (3 loops on hook), yarn over and pull through remaining loops
Invisible decrease is a crochet technique used to reduce stitches without leaving noticeable gaps or holes. Unlike regular decreases, invisible decreases create a smooth, seamless reduction, maintaining the fabric's texture. This method is often used in amigurumi and detailed crochet work where a polished, neat finish is essential. To perform an invisible decrease, you insert the hook through the front loops only of two stitches, then complete the stitch as usual. This results in a less visible join between stitches, enhancing the overall appearance of the project. Mastering invisible decreases helps create professional-looking crochet pieces with clean shaping.
- Color Change: At end of round, before completing final stitch, yarn over with new color and pull through to complete stitch.
Follow the Crochet Pattern
Body (Work in Spiral Rounds, Begin with Yellow)
Rnd 1:
- MR, 6 sc (6)
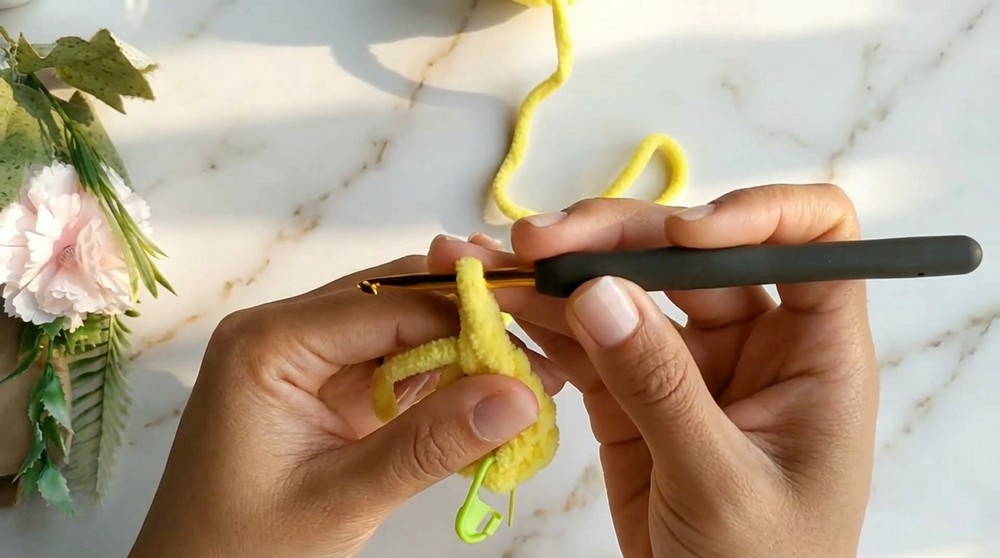
Rnd 2:
- inc in each st around (12)
Rnd 3:
- (sc 1, inc) x6 (18)
Rnd 4:
- (sc 2, inc) x6 (24)
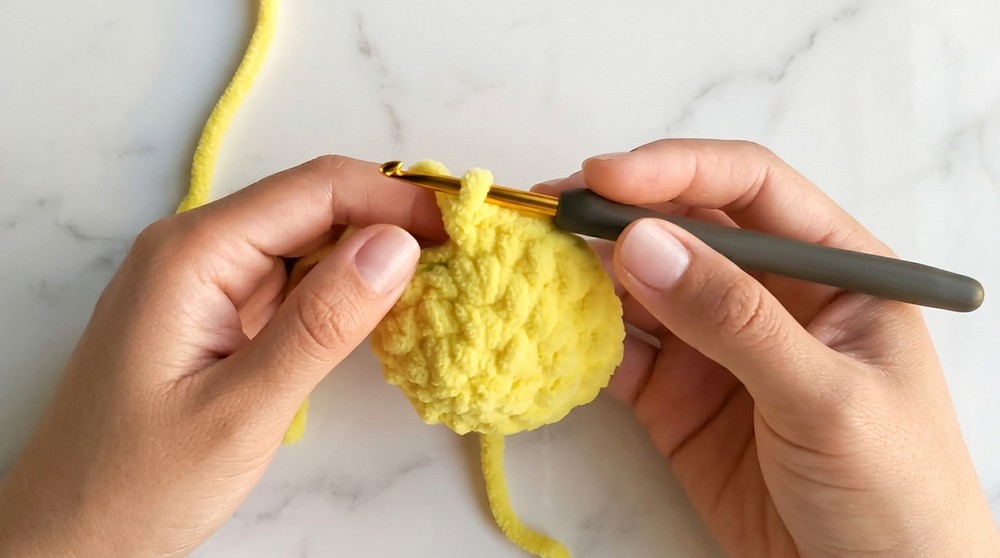
Rnds 5–6:
- sc in each st around (24)
Change to Black (do not cut yellow; carry up if you prefer):
Rnds 7–8:
- sc in each st with black (24)
Add Safety Eyes:
- Insert eyes between Rnds 2 & 3, evenly spaced (as desired).
Change to Yellow:
Rnd 9:
- sc in each st with yellow (24)
Change to Black:
Rnd 10:
- sc in each st with black (24)
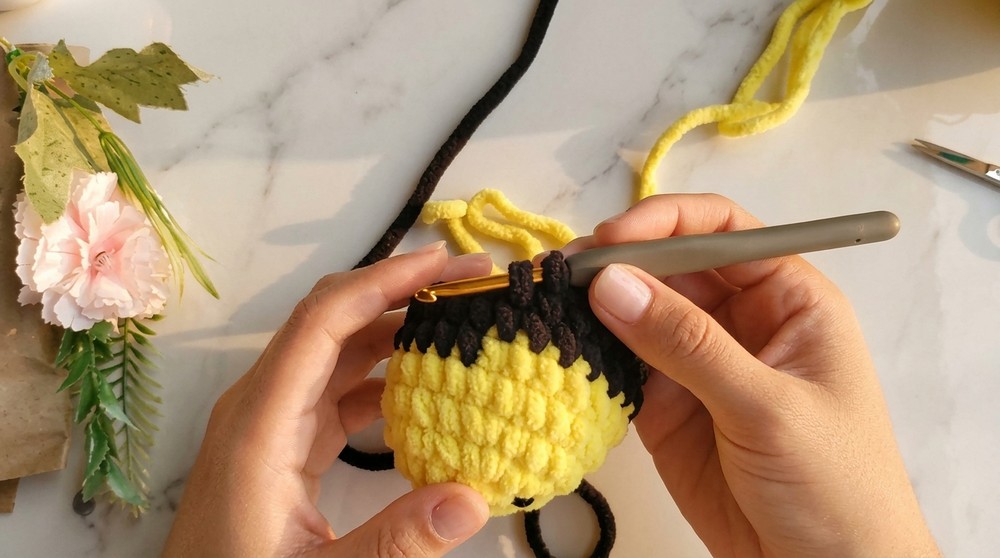
Change to Yellow:
Rnd 11:
- sc in each st with yellow (24)
Begin Decreases (Stuffing as you go!):
Rnd 12 (in black):
- (sc 2, dec) x6 (18)
Change to yellow:
Rnd 13:
- (sc 1, dec) x6 (12)
Change to black:
Rnd 14:
- dec x6 (6)
- If needed, finish stuffing before closing in this last round.
- Cut yarn, leaving a tail for finishing.
- Use a tapestry needle to thread tail through front loop of each remaining st, pull tight to close. Weave in the yarn securely.
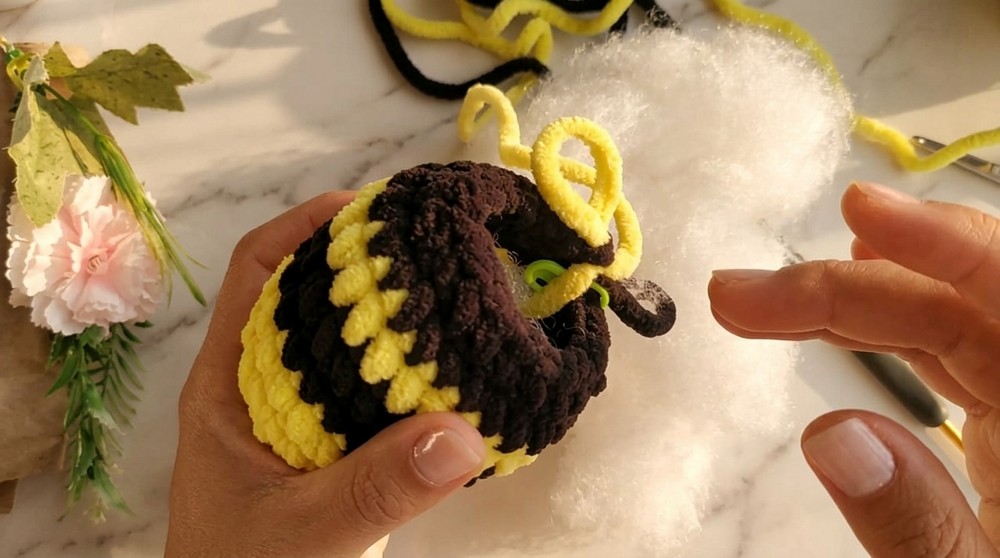
Wings (Make 2, with White Yarn)
Rnd 1:
- MR, 6 sc (6)
Rnd 2:
inc in each st around (12)
Rnd 3:
- (sc 1, inc) x6 (18)
- Cut yarn, leaving a long tail for sewing.
- Pull MR closed tightly.
Assembly & Finished Size
Sew the wings:
- Place each wing on top of the bee’s body, along the “spine” centered on the black stripes.
- Sew securely. Hide yarn tails inside.
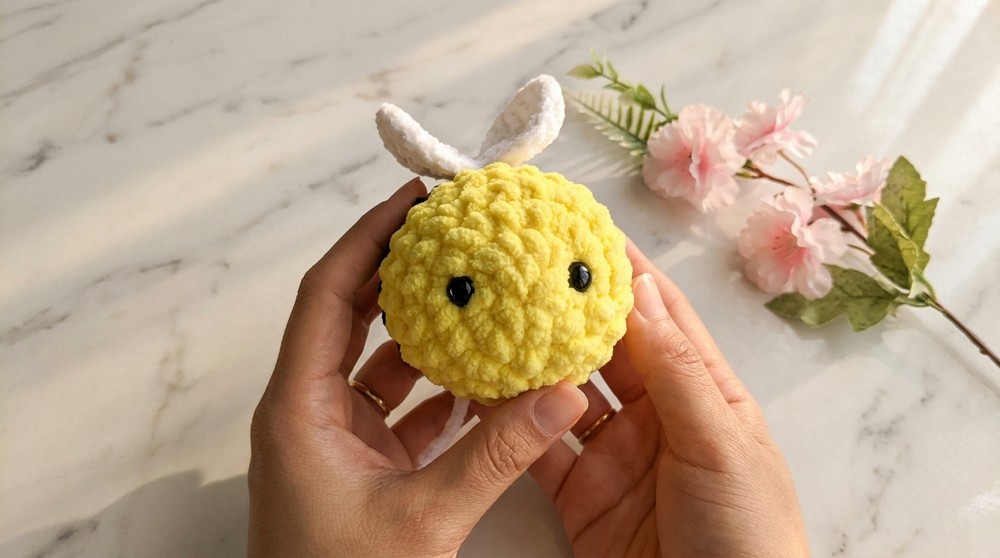
Finishing:
- Embroider or applique a sweet smile and cheeks if desired.
- The finished bee should measure about 7–9 cm long.
Conclusion and Ending Words
This amigurumi bee crochet pattern guides you step-by-step to create a cute, beginner-friendly bee toy. Working in spirals, you make a striped yellow and black body, add safety eyes, and shape the bee with simple increases and decreases. The wings are crocheted separately in white, then sewn onto the bee for a finished look. Using basic stitches like single crochet, increase, and decrease, plus easy color changes, you’ll craft a bee about 7–9 cm long. The result is an adorable, handmade bee plush—perfect as a gift, decoration, or small project for learning new skills.