
Adorable Crochet Honey Bee Amigurumi Pattern for Beginners
Brighten your creative projects with a free crochet honey bee amigurumi pattern, perfect for cute accessories and adorable decor ideas.
Making small, adorable creatures by hand brings joy not only to the maker but also to those who receive them. This charming honey bee amigurumi pattern is a delightful project that’s suitable for beginners and experienced crocheters alike. It’s created using single crochet stitches worked in rounds starting from a magic ring, which allows you to easily shape the bee’s body with neat increases and decreases. The combination of yellow, black, and white yarn gives it the classic honey bee colors, and simple embroidery adds personality with cute eyes and a sweet smile.
Learn this Crochet Honey Bee Amigurumi Pattern for Cute Gift Ideas
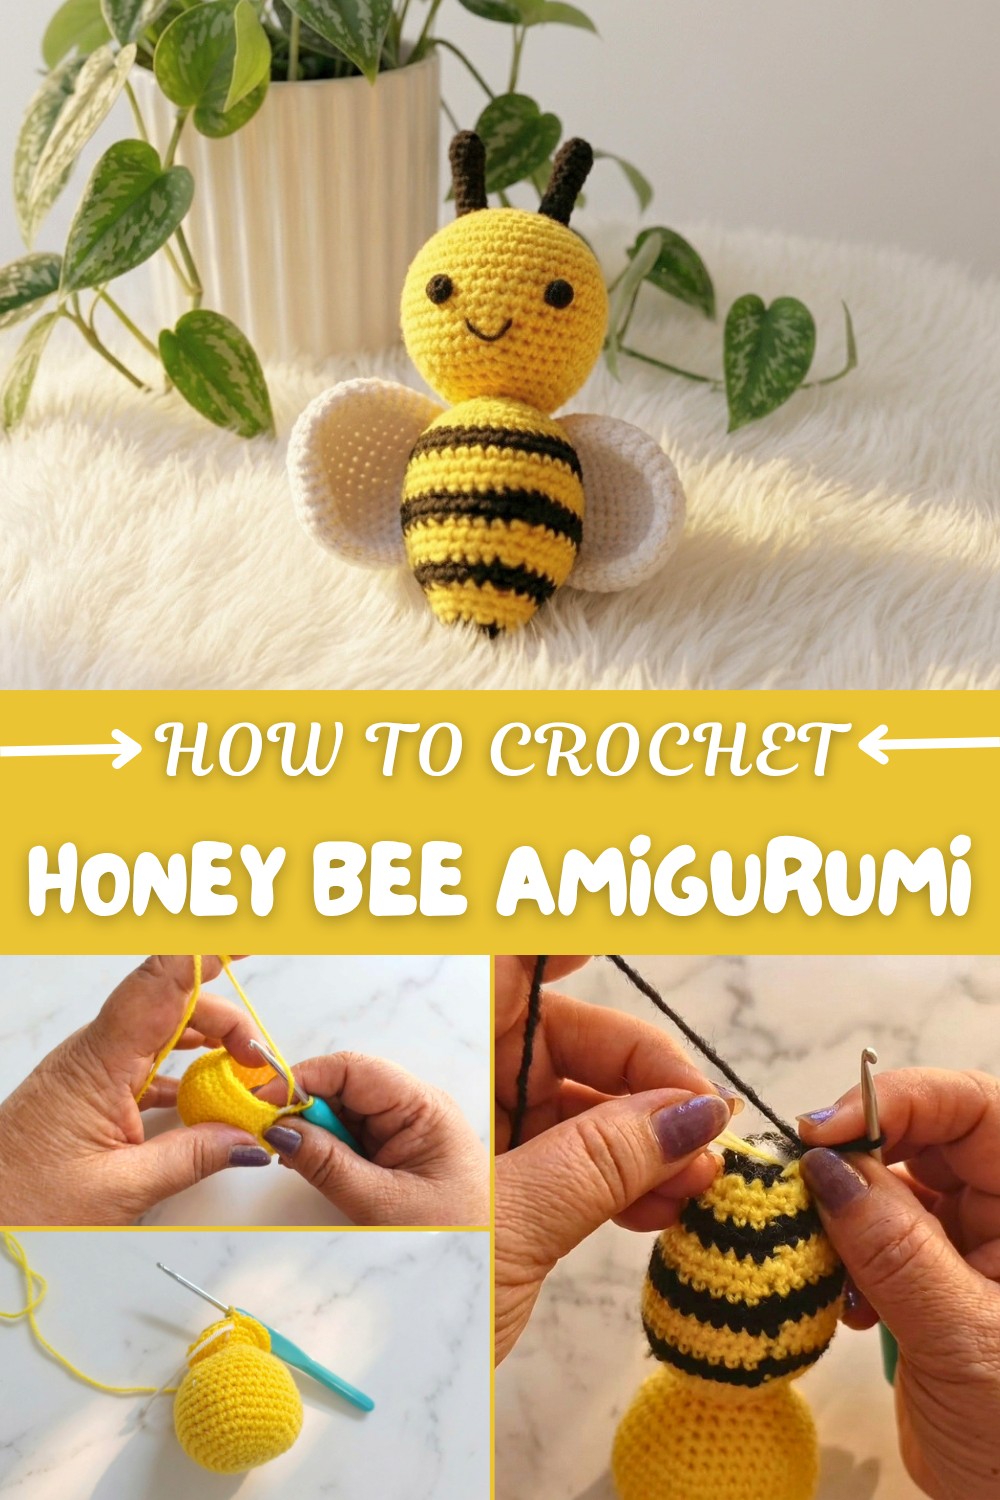
The crochet involves building up the body with increasing stitches to form a rounded shape, then decreasing again to close it, giving a three-dimensional form that feels soft and squeezable due to the stuffing. You’ll also make little wings and antennas separately and then sew them on to bring the bee to life. The fun part is seeing the bee take shape row by row, and even beginners can follow along by counting stitches carefully.
This honey bee amigurumi pattern can be used in many creative ways. Attach a string to turn it into a car hanging accessory, use double-sided tape to decorate your home or car, or give it as a thoughtful handmade gift. It’s also a charming item to sell if you’re considering starting a small crochet business. Beyond this pattern, mastering the magic ring and working in rounds with single crochet opens many possibilities. These stitches form the basis for various amigurumi animals, small toys, and even functional objects like keychains or ornaments. This project builds confidence and skills that are a wonderful foundation for exploring the vast world of crochet creativity.
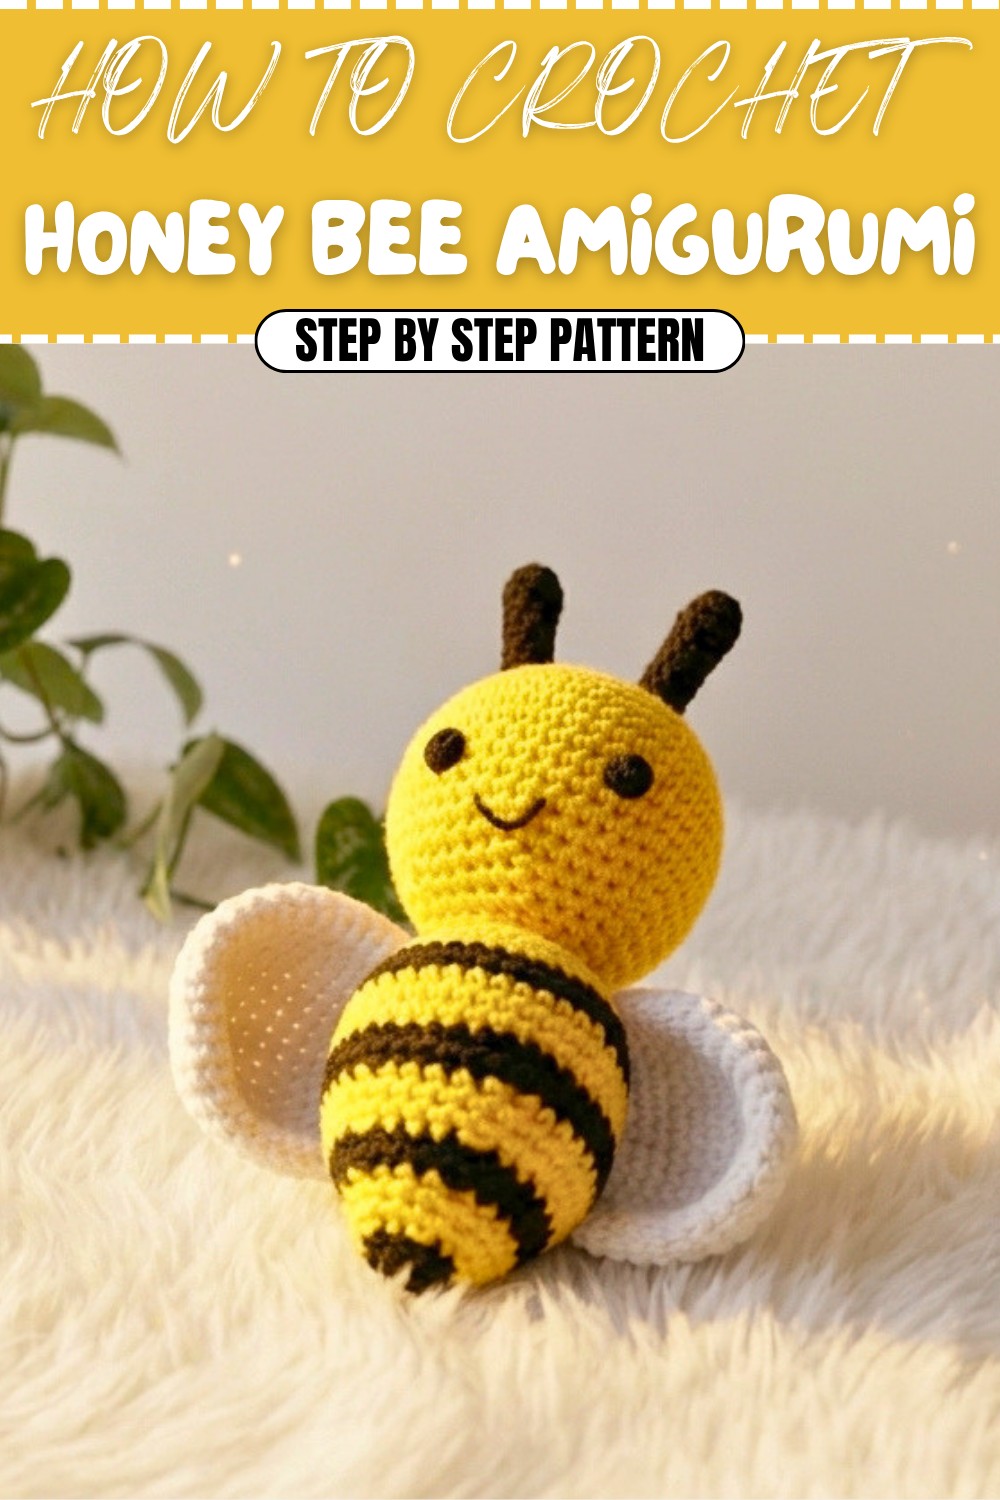
Crochet Pattern: Honey Bee Amigurumi
This Honey Bee Amigurumi project is perfect for gifts, car décor, nursery decorations, or even as a fun hanging ornament. Designed for beginners and seasoned crocheters alike, this pattern exclusively uses single crochet stitches, and it involves simple shaping with increases, decreases, and finishing touches like embroidered eyes and smiley faces.
Whether you plan to sell your honey bee creations, gift them, or keep them as personal décor, you’ll love making this cute little friend.
Skill Level & Terminology
- Skill Level: Beginner
- Terminology: US Crochet Terms
This pattern uses basic techniques, such as:
- Single Crochet (SC)
- Increases (Inc)
- Decreases (Dec)
- Working in the round and basic embroidery.
Materials & Tools
- Yarn:
- 4-ply acrylic yarn in yellow, black, and white.
- Hook:
- 3 mm crochet hook.
- Stuffing:
- Fiberfill stuffing for body and wings.
- Other Tools:
- Scissors.
- Tapestry needle for sewing.
- Stitch markers (optional, for tracking rounds).
Gauge
Gauge is not critical for amigurumi. However, for reference:
With a 3 mm hook and 4-ply yarn: 6 SC x 6 rows = 1 inch
Abbreviations List
| Abbreviation | Meaning |
|---|---|
| ch | Chain |
| sc | Single Crochet |
| inc | Increase (2 SC in the same stitch) |
| dec | Decrease (joining 2 stitches into one) |
| sl st | Slip Stitch |
| mr | Magic Ring |
Special Stitch Instructions
Magic Ring (MR):
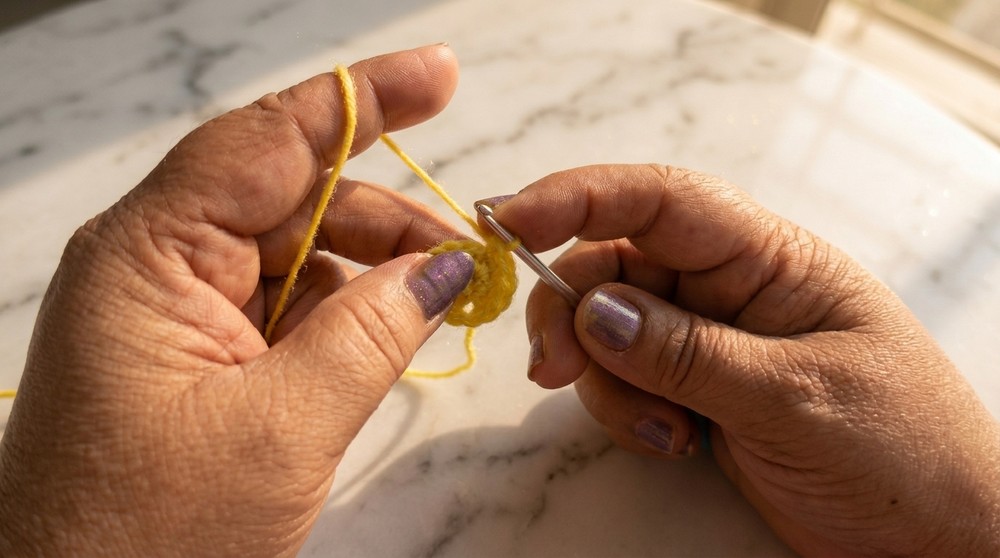
Wrap yarn around two fingers to form a loop. Insert hook under the front loop, pull through, and chain 1 to secure the loop. Work the indicated number of SC into the loop. Pull the yarn tail to close tightly.
Finished Size
- Height: 3.5–4 inches.
- Width: Approximately 2 inches (with wings extended).
What You'll Learn from This Pattern
- How to create basic spherical shapes with increases and decreases.
- Changing yarn colors seamlessly for striped effects.
- Adding finishing details, such as embroidered features, wings, and antennae, to give the honey bee personality.
The Pattern Itself
Step 1: Honey Bee’s Body
Yarn Colors: Use yellow and black. Begin with yellow yarn.
Body Rounds:
Round 1:
- Create a magic ring with 6 SC. (6 sts)
Round 2:
- Inc in each stitch around. (12 sts)
Round 3:
- 1 SC, inc in the next stitch. Repeat [1 SC, inc] around. (18 sts)
Round 4:
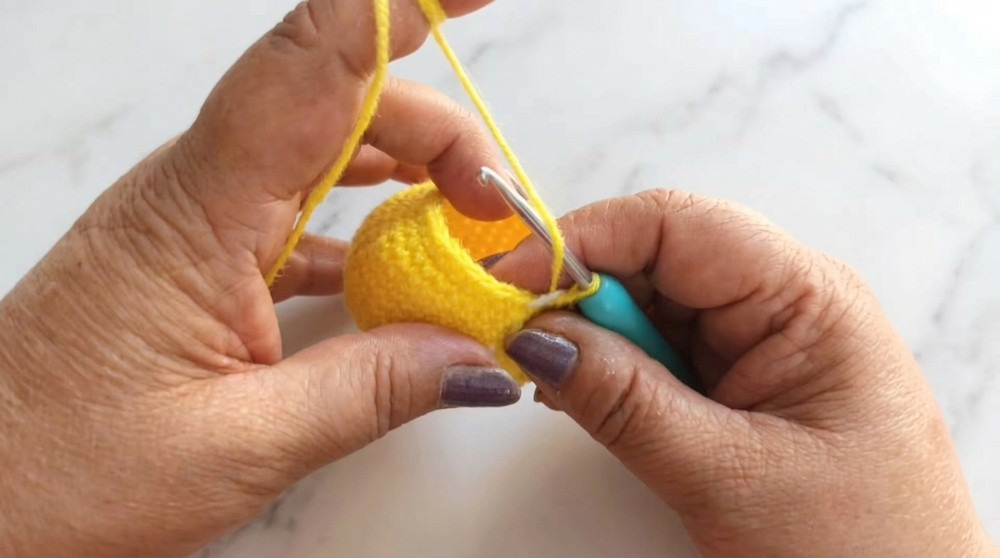
- 2 SC, inc in the next stitch. Repeat [2 SC, inc] around. (24 sts)
Round 5:
- 3 SC, inc in the next stitch. Repeat [3 SC, inc] around. (30 sts)
Round 6:
- 4 SC, inc in the next stitch. Repeat [4 SC, inc] around. (36 sts)
Rounds 7–15:
- Work 1 SC in each stitch (maintaining 36 sts in each row).
Switch yarn colors as follows:
- Rounds 8–9: Black
- Rounds 10–12: Yellow
- Rounds 13–14: Black
This forms the bee’s striped body. Be sure to carry the yarn not in use along the inside for a smooth transition.
Step 2: Closing the Body
Start Decreasing:
Round 16:
- 4 SC, dec. Repeat [4 SC, dec] around. (30 sts)
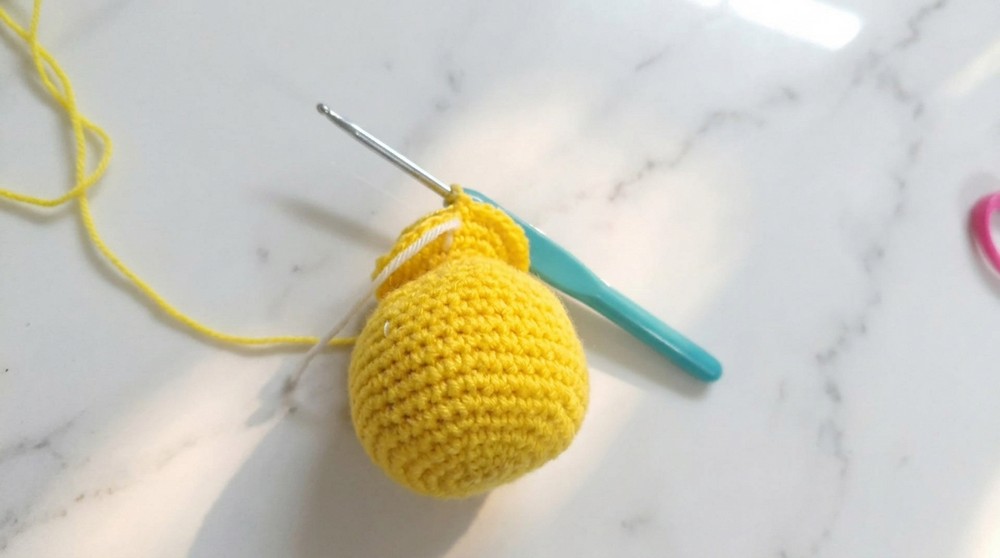
Round 17:
- 3 SC, dec. Repeat [3 SC, dec] around. (24 sts)
Round 18:
- 2 SC, dec. Repeat [2 SC, dec] around. (18 sts)
Add Stuffing:
- Use fiberfill to stuff the body firmly but gently so it holds its shape.
Round 19:
- 1 SC, dec. Repeat [1 SC, dec] around. (12 sts)
Round 20:
- Dec around. (6 sts)
Fasten off and close the hole by weaving through the remaining stitches with the tapestry needle.
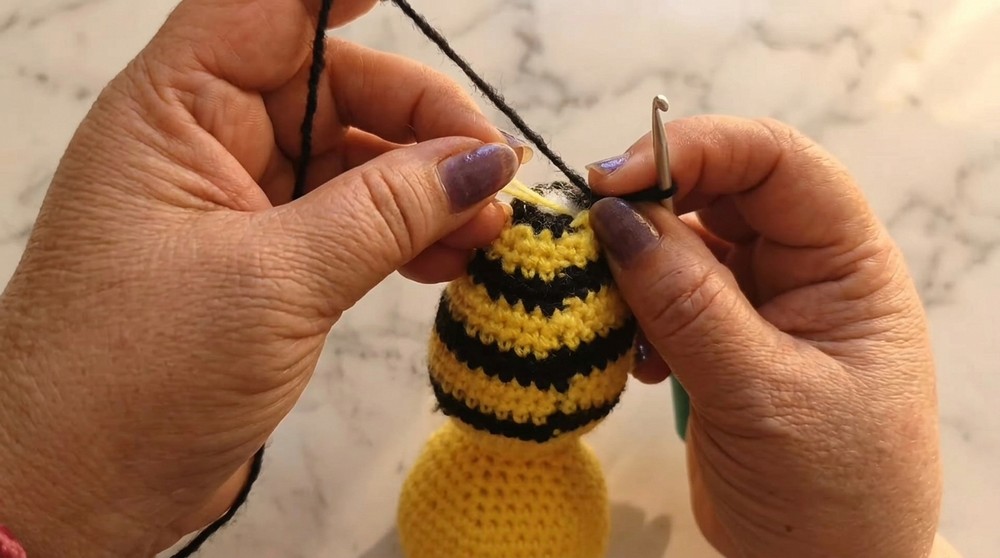
Your honey bee’s body is complete! The transitions between yellow and black form cute stripes that bring the bee to life.
Step 3: Antennae
Yarn Color: Black
Make 2 pieces, as follows:
- Create a magic ring and work 6 SC into it. (6 sts)
- Work 1 SC in each stitch for 6 rounds to form a narrow tube.
- Fasten off, leaving a long tail for sewing.
The antennae give the bee its signature look. Sew them securely to the top of the head.
Step 4: Wings
Yarn Color: White
Wing Rounds:
Round 1:
- Create a magic ring with 6 SC. (6 sts)
Round 2:
- Inc in each stitch around. (12 sts)
Round 3:
- 1 SC, inc in the next stitch. Repeat [1 SC, inc] around. (18 sts)
Round 4:
- 2 SC, inc in the next stitch. Repeat [2 SC, inc] around. (24 sts)
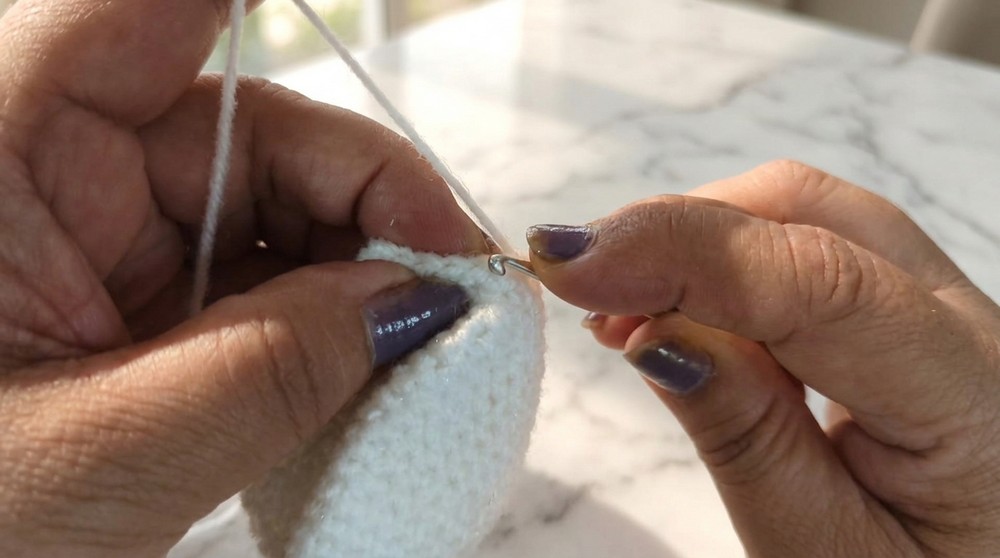
Fasten off, leaving a long tail for sewing. Make 2 wings.
Attach the wings symmetrically on both sides of the honey bee using a needle and white yarn. Position them near the first black stripe for balance.
Step 5: Face Embroidery
- Use black yarn to embroider small eyes just below the antennae, aligning them symmetrically.
- For a cute smile, use black yarn to create a small U-shape in the center below the eyes.
- Optional: Add blush under the eyes with pink yarn or paint for added character.
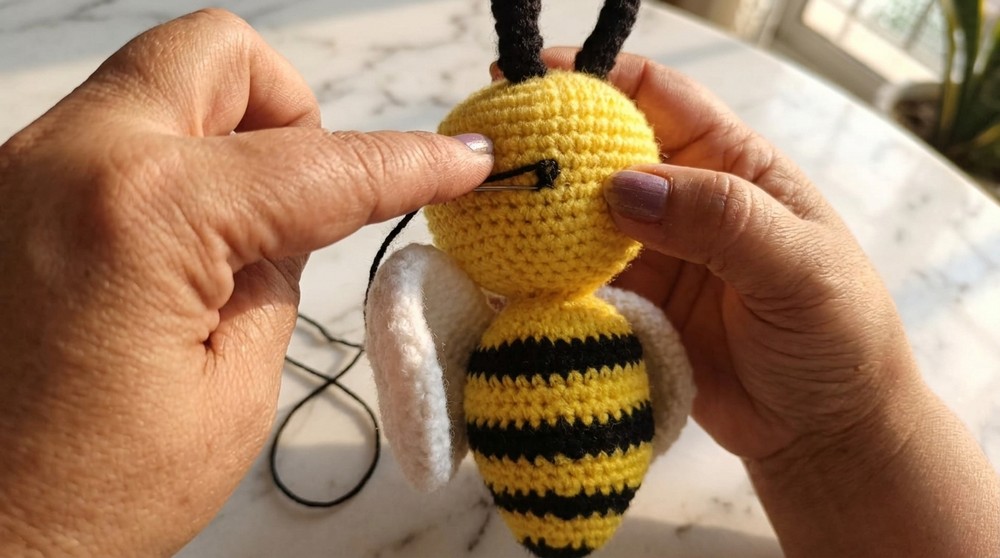
This step personalizes the honey bee, making it sweet and expressive.
Step 6: Assembly
- Attach the Antennae: Sew the black antennae on top of the head, positioned symmetrically.
- Sew the Wings: Securely stitch both wings to the body, near the top black stripe.
- Weave in Ends: Use a tapestry needle to hide all yarn tails within the body for a clean finish.
By carefully attaching the wings and antennae, the honey bee takes its final shape.
Assembly & Finishing
- Ensure all pieces are securely sewn to avoid detachment during use.
- Add optional embellishments—like hanging strings, safety eyes, or beads—to fit the theme of your décor or project.
Why I Love This Pattern
This Honey Bee Amigurumi is irresistibly cute, beginner-friendly, and fun to make. I love how the tiny stripes and expressive features bring the bee to life, making it versatile enough for gifts or decorations. It introduces fundamental amigurumi techniques, and the quick assembly means you can finish multiple bees in no time!