
Budget-Friendly Free Crochet Bag Pattern for Functional Beauty
Learn How to Crochet a Bag Pattern for Modern Looks
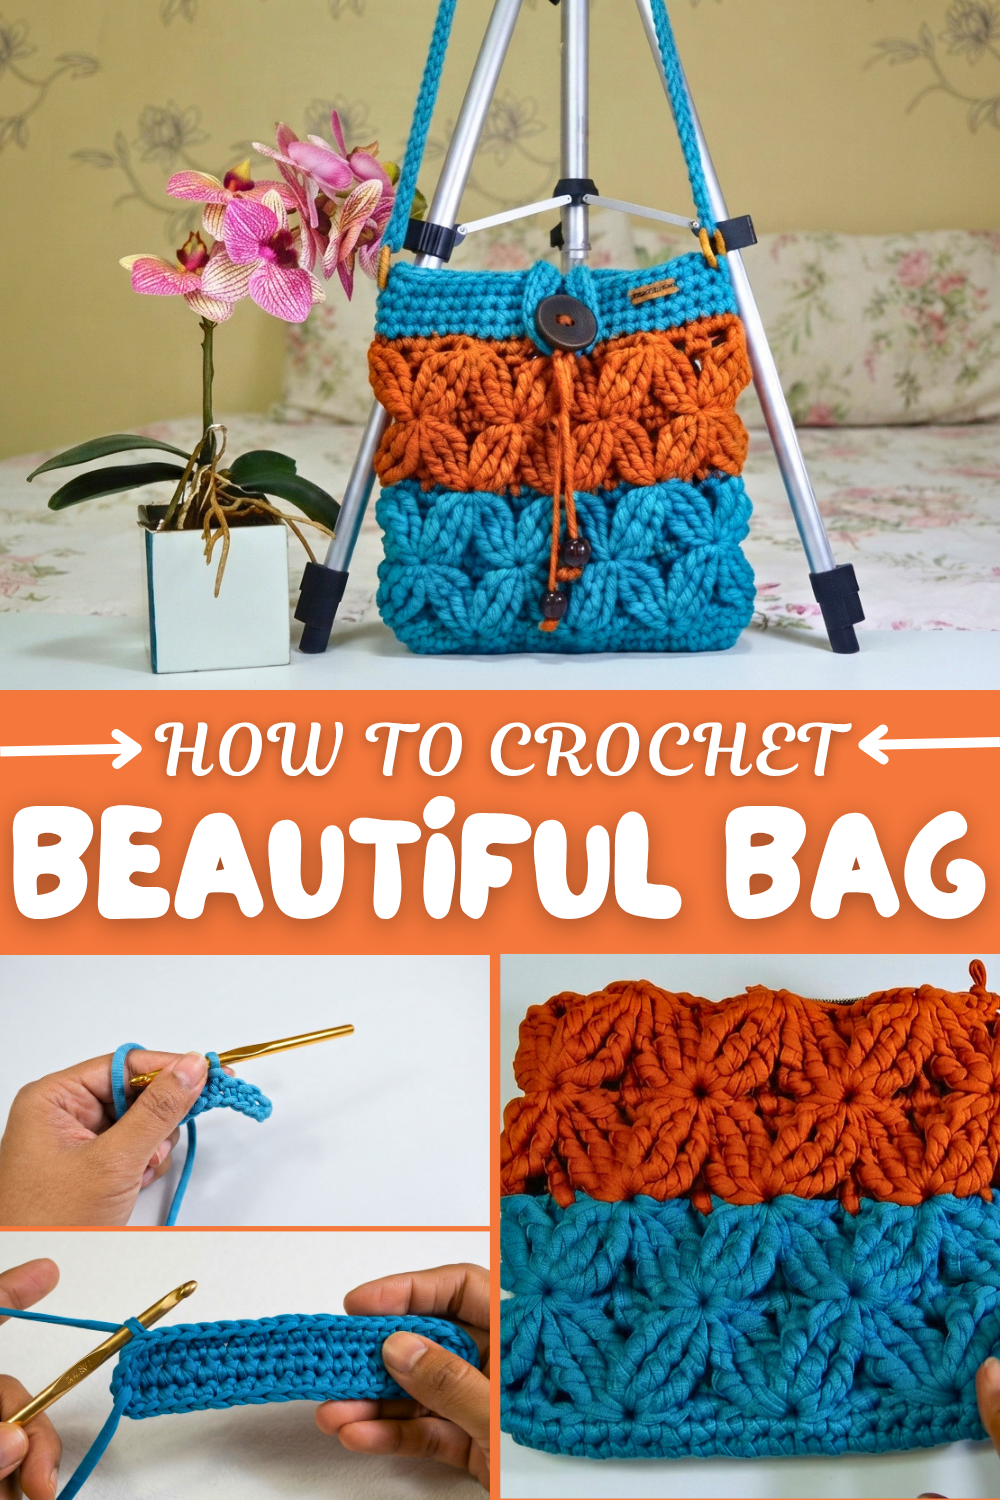
The stitch pattern is built on chains that are multiples of six plus two, forming a solid but flexible base. Working with jersey yarn adds a unique stretch and softness, making this bag stand out from typical crochet projects. The fans create decorative layers, giving extra dimension without overwhelming complexity. Practical details like the neat edging and a sturdy, easy-to-make strap complete the piece, making it accessible even for beginners who want a stylish, functional project.
Other Fun Projects to Try
This stitch combination and yarn choice lend themselves to more than just bags. Consider making slim headbands, soft phone or makeup pouches, or even comfortable slippers that carry the same textured appeal. By playing with colors and yarn thickness, scarves or cushion covers come to life with a lovely stretch and pattern. Each piece offers a chance to personalize your crochet skills and enjoy versatile, everyday designs.
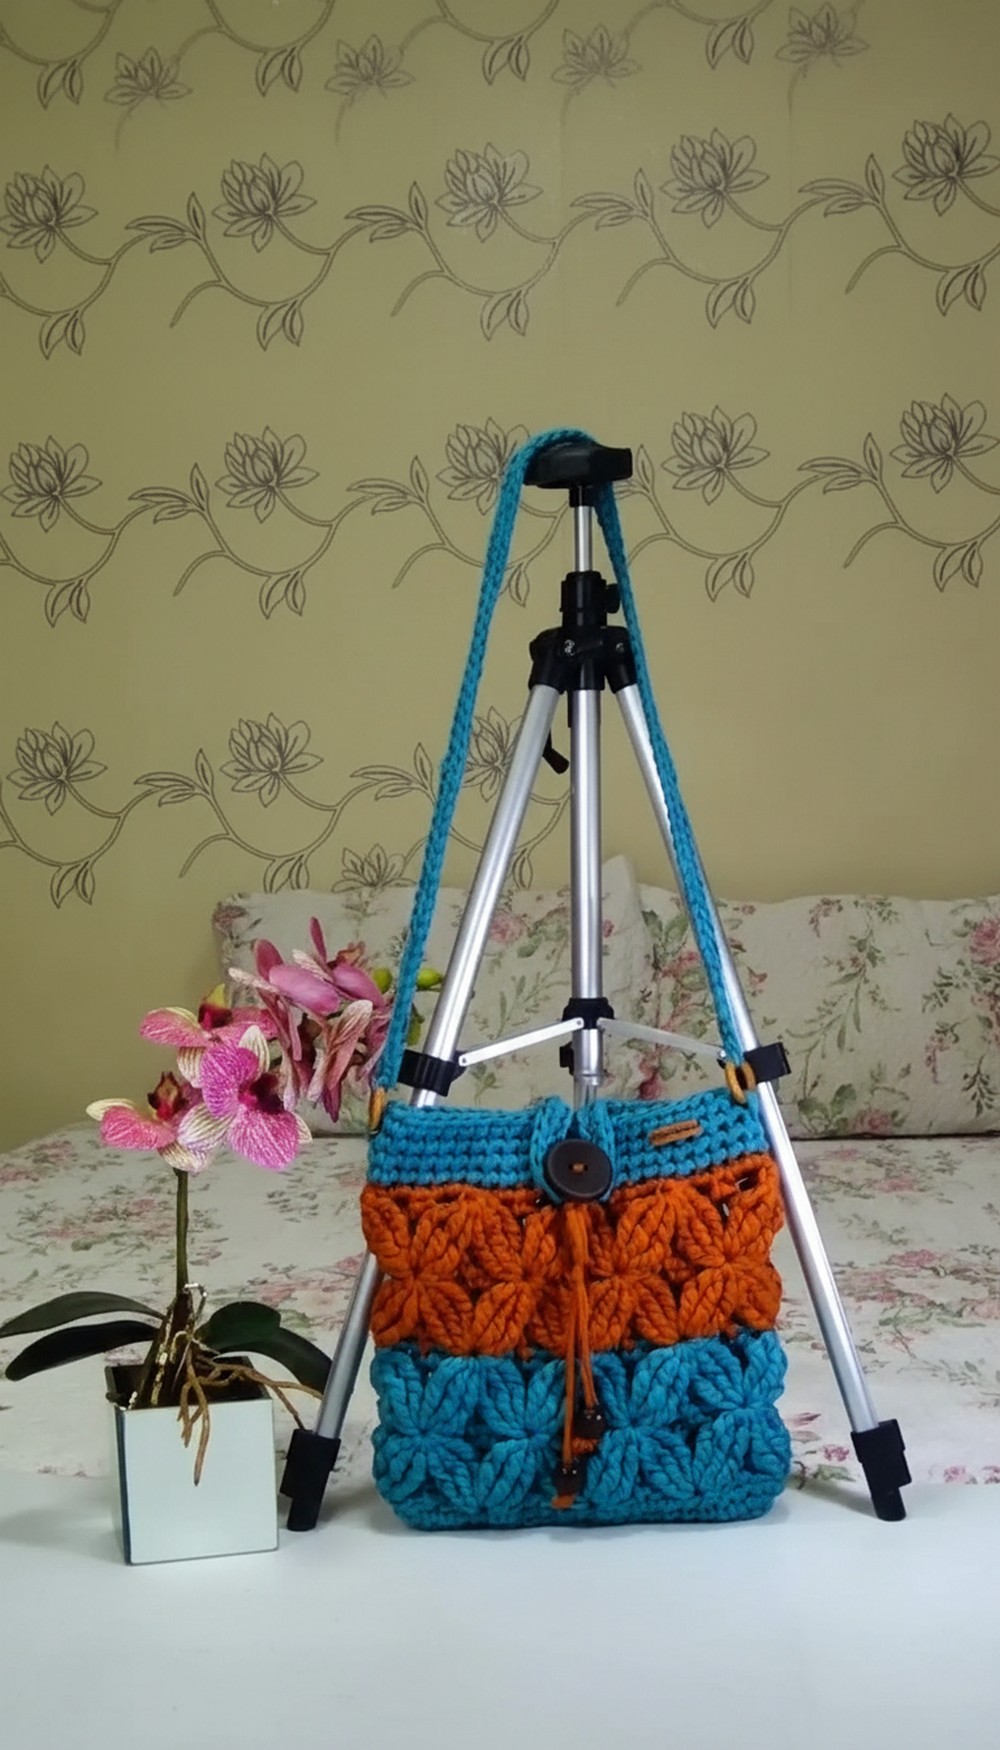
Crochet Jersey Yarn Bag – Step-by-Step Pattern (US Terms)
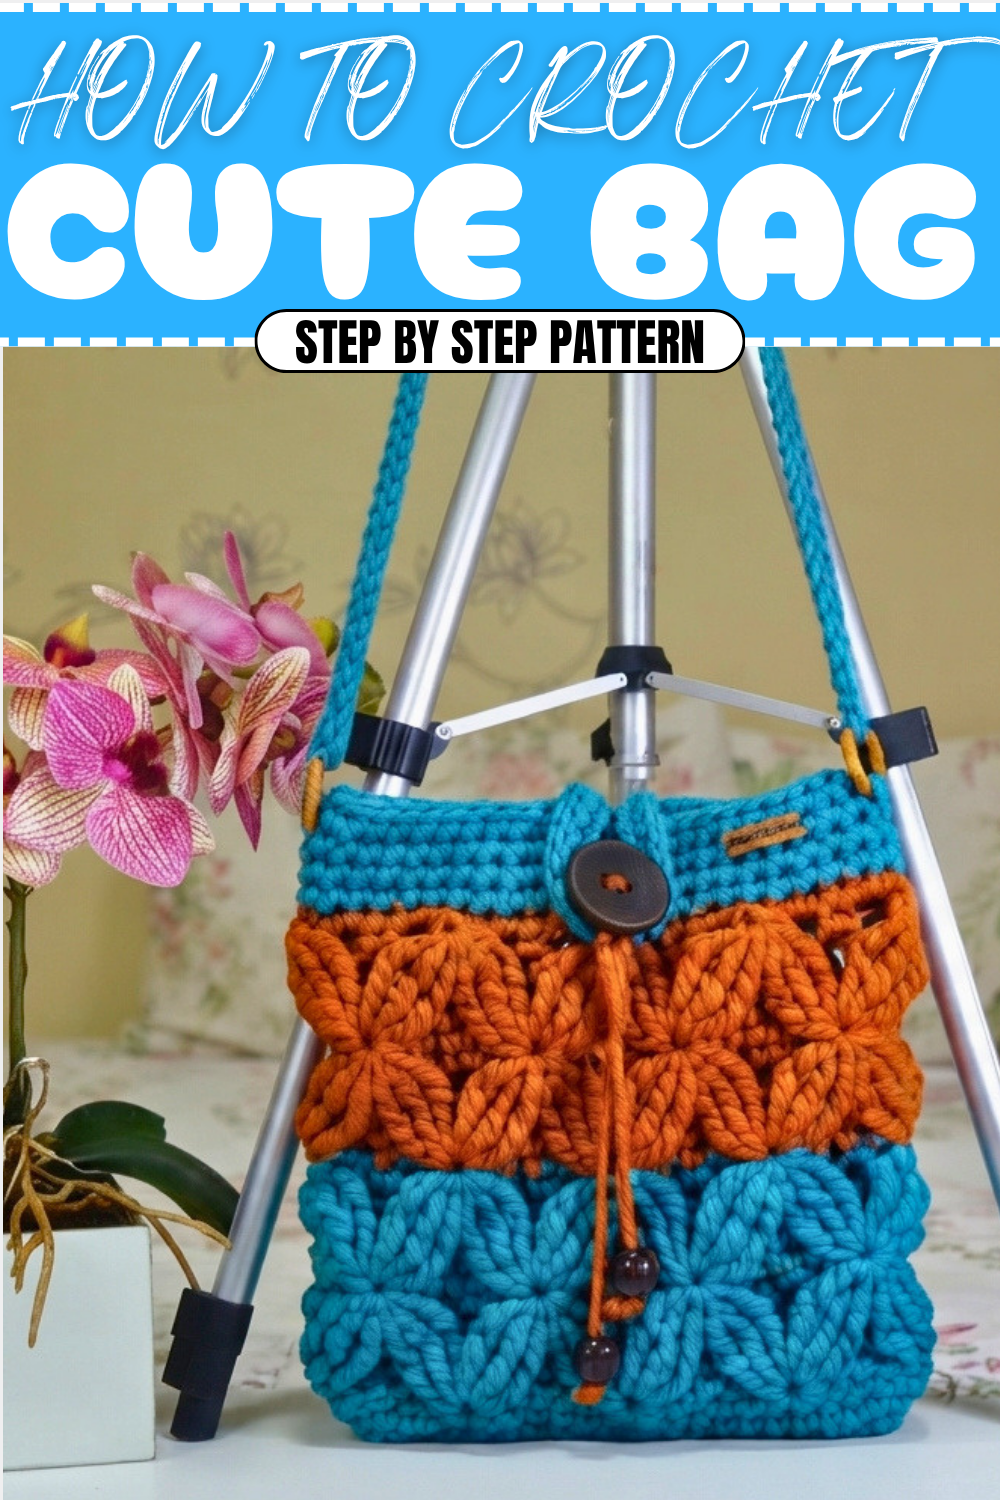
This beautiful crochet bag project, made with jersey yarn, features a fan stitch pattern with a rich texture. It’s finished with a sturdy strap and optional decorative details, making it perfect for everyday use. Lightweight yet sturdy, this pattern is fully adjustable to different sizes and materials, such as jersey or cotton yarn. Use this pattern to create a fashionable and functional accessory, fit for any season.
Uses of This Pattern
- Everyday purse or shoulder bag
- Stylish accessory with a custom strap length
- Handmade gift for loved ones
- A foundation project to experiment with fan stitch patterns
Skill Level & Terminology
- Skill Level: Intermediate (due to fan stitches and shaping)
- Terminology: US Crochet Terms
This pattern involves stitches such as Chains (ch), Single Crochets (sc), Double Crochets (dc), and Treble Crochets (tr/dtr). You'll also learn to create textured surfaces and join rows seamlessly.
Materials & Tools
- Yarn:
- Jersey yarn or equivalent (sample: 340 g of jersey yarn).
- If substituting yarns, ensure to adjust hook size based on material thickness.
- Hook: 5 mm crochet hook.
- Optional Embellishments:
- Wooden beads or decorative buttons (if desired) to finish off drawstrings or accents.
- Scissors: For cutting yarn.
- Tapestry Needle: For sewing and weaving ends.
Gauge
Gauge is not critical for this project because of its adjustable size.
Abbreviations (US Terms)
| Abbreviation | Meaning |
|---|---|
| ch | Chain |
| sl st | Slip Stitch |
| sc | Single Crochet |
| dc | Double Crochet |
| tr | Treble Crochet (yarn over twice) |
| yo | Yarn Over |
Special Stitch Instructions
Fan Stitch:
- A combination of 3 tr, ch 3, 3 tr, all worked into the same stitch or space. This creates a decorative fan shape for the body of the bag.
Treble (tr/dtr):
- Yarn over twice, insert the hook into the designated stitch, yo, pull through (4 loops on the hook).
- Yo, pull through 2 loops (3 loops remain on the hook).
- Yo, pull through 2 loops again (2 loops remain).
- Yo, pull through remaining loops.
Finished Size
- Width: 24 cm (9.4 inches)
- Height: 23 cm (9 inches)
- Strap Length: Approximately 70 cm (27.5 inches)
What You’ll Learn from This Pattern
- Creating a flat foundation base for bags.
- Working the Fan Stitch to build a textured body.
- Joining rows cleanly for seamless designs.
- Adding decorative closures (like buttons and beads).
- Crocheting a strap that matches your design.
Why I Love This Pattern
The fan stitch pattern gives this bag a timeless and elegant feel, while the jersey yarn ensures durability and structure. It's a versatile project that’s simple to customize by adjusting the size and strap length. The step-by-step process provides the perfect opportunity to practice creating texture and combining functionality with design.
The Pattern Itself
This pattern is divided into these main sections:
- Foundation and Base
- Building the Bag Body with Fan Stitch
- Top Border
- Strap and Attachments
Part 1 – Foundation and Base
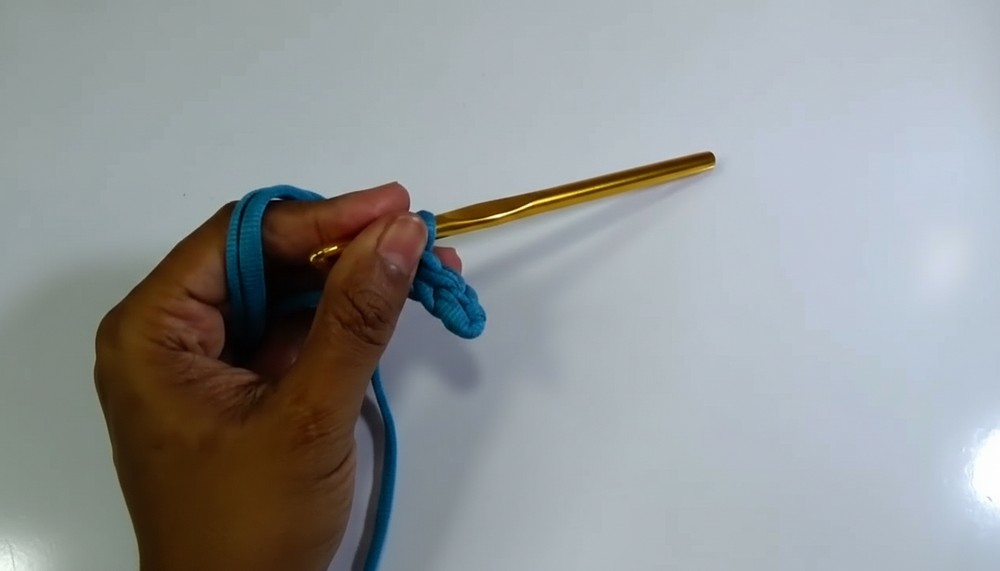
Step 1: Foundation Chains
- Begin with 20 chains.
- The stitch count should be multiples of 6 + 2, so adjust if making a larger or smaller base.
Step 2: Work the Base Panel
- Row 1:
- Skip the first 3 chains (counts as 1st dc), then work 1 dc into the 4th chain.
- Continue with 1 dc in each ch across (18 dc total, including the starting ch-3).
- Round 1 (Working Around the Chain):
- Turn the chain at the end. Into the last chain, work 2 dc to create a rounded corner.
- Work along the opposite side of the foundation chain: 1 dc in each chain.
- Into the last chain at this end: work 2 more dc (you now have an oval base).
- Round 2:
- Work 2 sc in each corner stitch, and 1 sc in each stitch along the straight sides.
- Tip: Use stitch markers to track the 3 corner stitches where increases will occur.
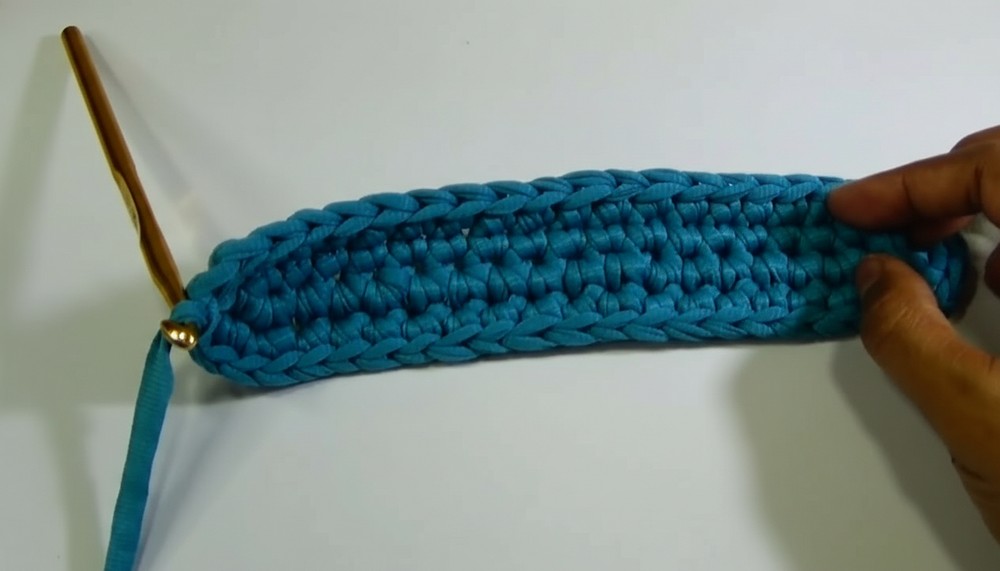
Explanation:
You’re creating a sturdy oval-shaped base by crocheting around the foundation chain and gradually increasing at the corners.
Part 2 – Building the Bag Body with Fan Stitch
- Row 1 (First Fan Row):
- Start by working 3 ch (counts as first tr) into the center stitch of one edge.
- Place 2 additional tr in the same stitch (this forms half of the first fan).
- Follow with:
- 1 ch, skip 2 stitches, 1 sc into next point.
- 1 ch, skip 2 stitches, and work a complete fan into the next stitch (3 tr, ch 3, 3 tr in the same space).
- Continue around:
- Add fans and sc in alternating intervals.
- At the end of the round, join the incomplete fan (the first one you started with) by working it fully into the top of the starting fan.
- Row 2 (Joining Fans):
- Ch 3 and start the round by working fans into every other fan space from the previous row.
- Between fans: Use relief stitches to connect adjacent fans.
- Gather the 3 tr on opposite sides by looping through them onto your hook, yo, and pull through all.
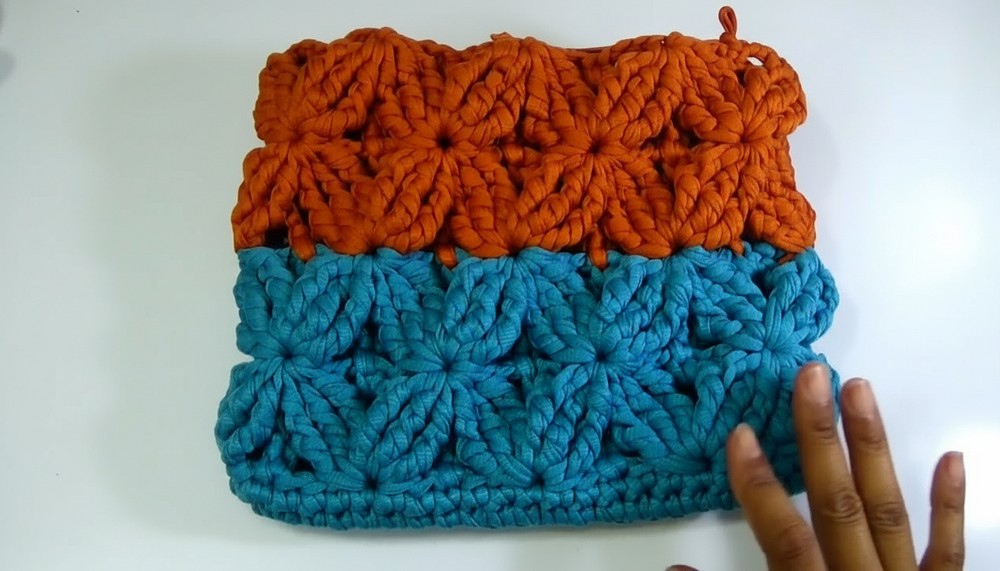
Explanation:
The fans are staggered and joined to create a consistent texture. The relief stitches between fans ensure the fabric stays cohesive.
Part 3 – Top Border
Step 1: After completing the desired fan body height (in the example, it’s 8 rows):
- Switch to sc rows.
- Work 2 sc rows at the top border to give the bag clean edges.
Step 2 (Optional):
- Add a decorative button loop by chaining enough to create a loop that fits your button and attaching it securely to the top center of the bag.
This border provides stability to your bag and creates an edge for the strap attachment.
Part 4 – Strap & Attachments
Step 1: Start with one of the side rings for the strap.
- Join yarn into the ring, make single crochet stitches around the first side.
Step 2: Using a "single loop strap method", crochet a slender, tightly woven strap:
- Pull yarn through each previous loop, creating a dense strap.
- Continue until the strap measures your desired length (sample: 70 cm).
Step 3: Connect the strap to the opposite ring:
- Insert the strap end through the ring and secure with slip stitches or sewing.
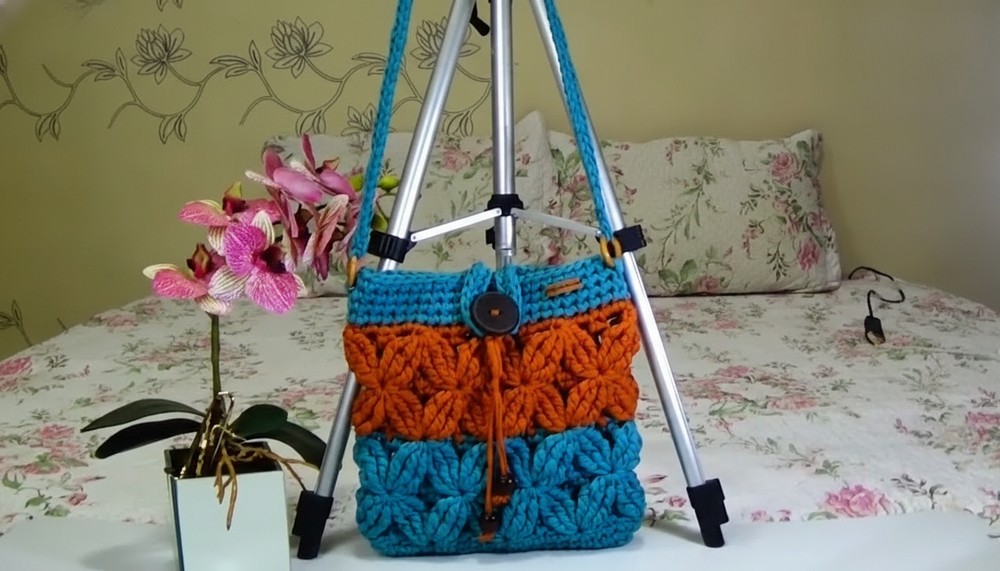
Explanation:
This strap design ensures durability, especially with jersey yarn. The rings simplify attaching the strap while adding a handy shape for holding.
Assembly & Finishing
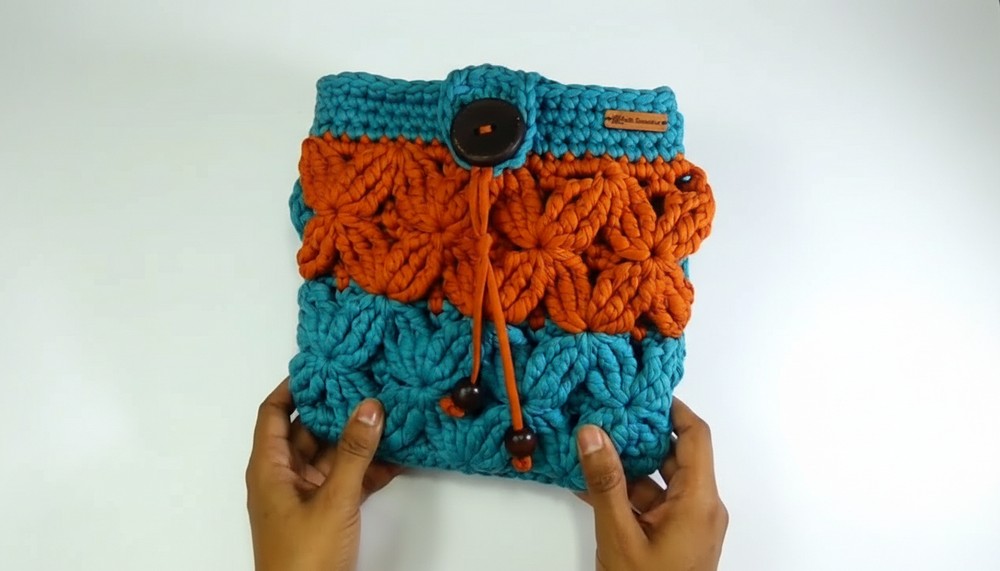
- Attach the Button or Decorative Beads:
- Secure wooden beads or any decoration on the drawstrings with tight knots, ensuring they hold firmly.
- Clean Up Loose Ends:
- Use a tapestry needle to weave in all yarn tails to preserve the bag’s neat finish. Add a bit of glue for extra durability, especially on the strap ends.
Final Thoughts
This jersey yarn bag is a stylish and eco-friendly project, perfect for everyday use or as a thoughtful gift. The fan stitch pattern creates a timeless, textured design that stands out, and the optional embellishments allow for plenty of customization. You'll love the versatility and elegance this piece adds to your crochet repertoire.
Tutor's Suggestions
- Maintain consistent tension while crocheting to prevent the bag from becoming uneven.
- Try using a stitch marker to mark the beginning of each round, especially for beginners working in rounds.
- Relax and be patient, as creating even stitch