
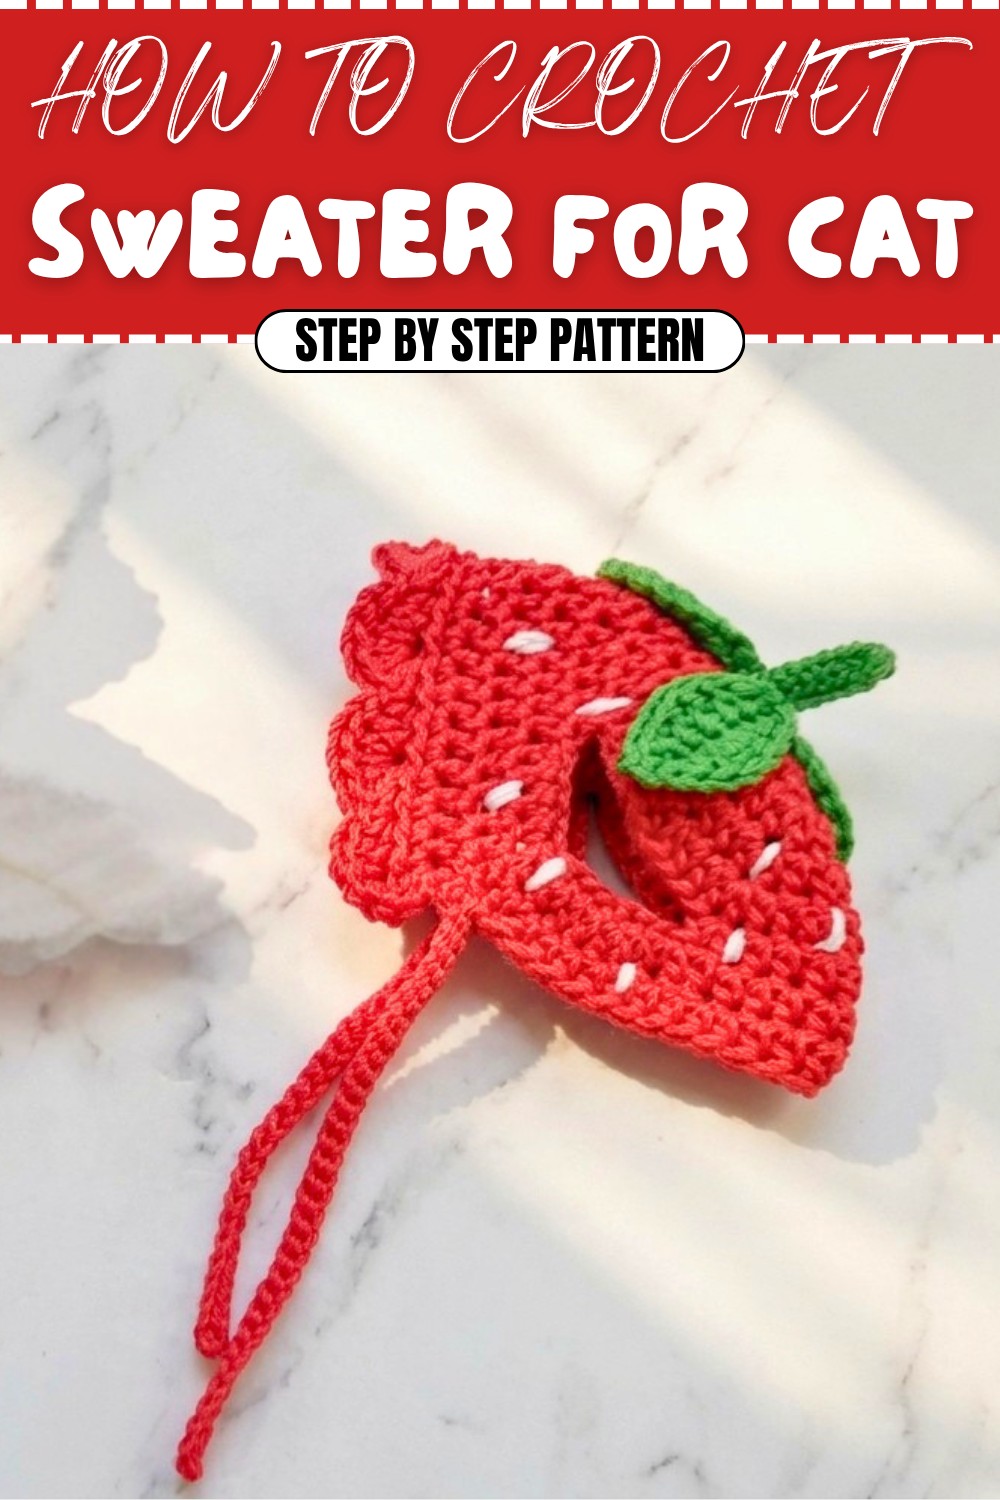
Free Crochet Strawberry Cat's Hat Pattern with Simple Instructions
A crochet Strawberry Cat’s Hat is one of the most adorable and creative projects you can make for your furry friend. Your cat wearing a cute little bonnet shaped and styled like a bright red strawberry, complete with sweet green leaves and a charming little stem on top. This hat brings so much joy not just to your pet, but to everyone who sees them. The simple color palette of classic red and green makes the hat stand out beautifully, easily reminding you of a fresh, juicy strawberry right from the garden.
How to Crochet a Strawberry Cat's Hat—Free Pattern
Lightweight and comfortable, it is designed to fit perfectly on your cat’s head, keeping them feeling cozy while looking extra charming for photos, playtime, or even just a cute accent for lounging around at home. The added touches, such as little white seeds on the outside, make the strawberry appearance even more realistic and whimsical, turning your pet into an irresistible character.
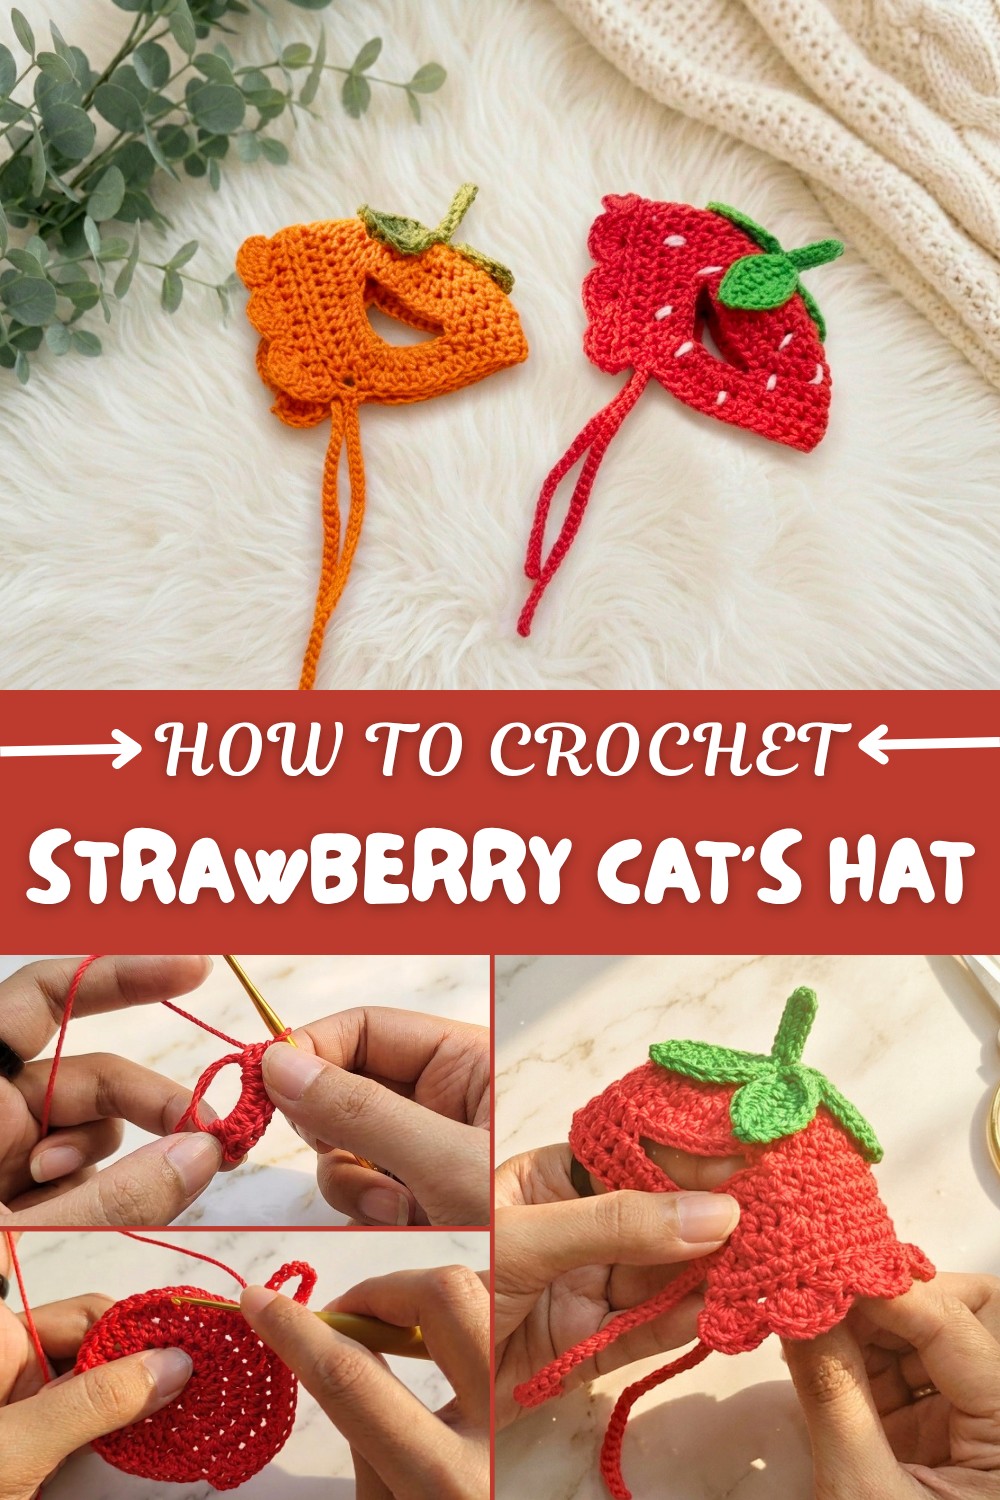
You’ll appreciate how beginner-friendly this pattern is, using just basic stitches like chains, half double crochets, double crochets, and slip stitches. The instructions are easy to follow, guiding you through each step from making a magic ring to creating the layered leaves and sturdy little stem on top.
All you need is some polycherry yarn, a size 3 hook, and a bit of hot glue to attach the decorative leaves at the end. Not only do you get a playful, decorative hat for your cat, you also learn several key crochet techniques in a project that finishes up quickly.
It’s surprising just how versatile this pattern becomes once you try it. You can use what you learn to make fruit-themed hats like citrus bonnets, or create matching accessories for kittens, small dogs, or even dolls and plushies. This project is all about fun, creativity, and practicing crochet skills in a delightful way.
Customization Tips
Color Choices
- Swap classic red for other shades to suit your cat's personality—pink, purple, or even yellow for a unique fruit theme
- Change the leaf colors to lighter or darker greens, or even add little embroidered flowers for extra charm
Size Adjustments
- Easily modify the hat’s size by increasing or decreasing the initial magic ring and number of stitches
- Add extra rows for larger cats or scale down for kittens and other small pets
- Adjust strap length and placement to fit comfortably and securely on different head shapes
Cat Fruit Bonnet Hat – Strawberry/Orange Style
Create a delightful fruit-themed bonnet hat for your cat, adorned with playful leaves and an adjustable chin tie. This whimsical accessory is perfect for photos and comfortable enough for cuddly cats. Featuring basic crochet construction, decorative leaf work, and a fun artistic finish, the project is well-suited for intermediate crocheters comfortable with shaping and embellishments.
Skill Level & Terminology
- Skill Level: Intermediate
- Terminology: US Crochet Terms
Materials & Tools
- Yarn: Polycherry yarn or other worsted weight (category 4) cotton/acrylic yarn; approx. 30g main color (red/orange), 10g contrast (green for leaves, white for ‘seeds,’ optional).
- Hook: 3.0 mm crochet hook
- Other Notions: Yarn needle, stitch markers, hot glue gun (or sewing needle for attachment), scissors, lighter (for melting/sealing thread if needed; use with caution).
- Optional: Extra color for decorative seeds; blocking mat for shaping; measuring tape
Gauge
Gauge is not critical for this accessory. If you want to check, 10 hdc x 8 rows ≈ 2" x 2" (5cm x 5cm).
Abbreviations
- ch: chain
- sl st: slip stitch
- sc: single crochet
- hdc: half double crochet
- dc: double crochet
- inc: increase (2 sts in same st)
- sk: skip
- rep: repeat
- st(s): stitch(es)
Special Notes
- The hat fits a typical adult cat. Adjust by increasing or decreasing initial crown rounds.
- Magic Ring: Make an adjustable ring to begin.
- All rounds are joined with a sl st unless otherwise noted.
Finished Size
Fits a typical adult cat’s head (crown diameter about 5.5"/14cm, adjustable by adding/removing rounds and increasing/decreasing chin tie length).
The Pattern Itself
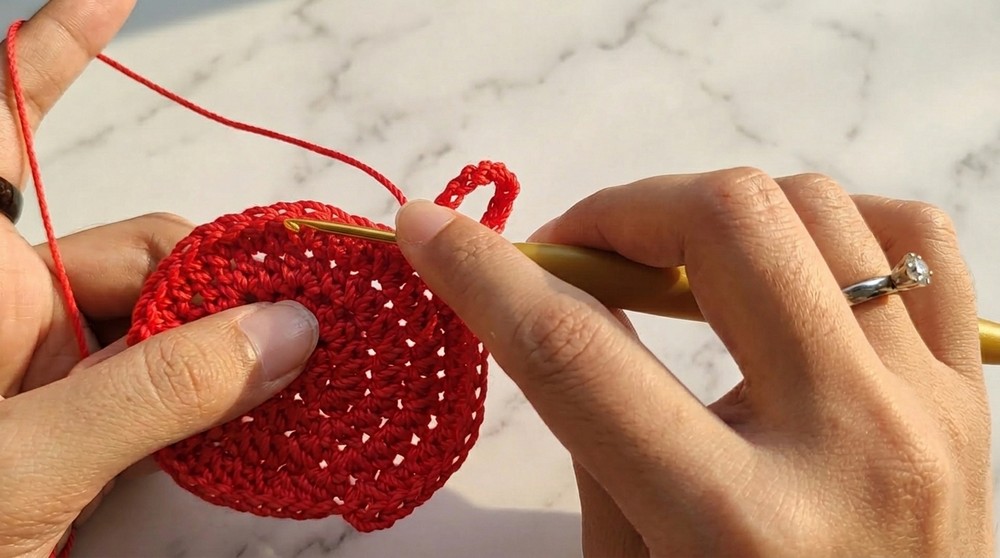
1. Hat Crown & Body
With main color (red for strawberry or orange for orange):
- Round 1:
- Make a magic ring, ch 2 (does not count as a st), 9 hdc into ring (10 sts with ch-2 as a ‘faux’ st).
- Pull tight and sl st to 2nd ch.
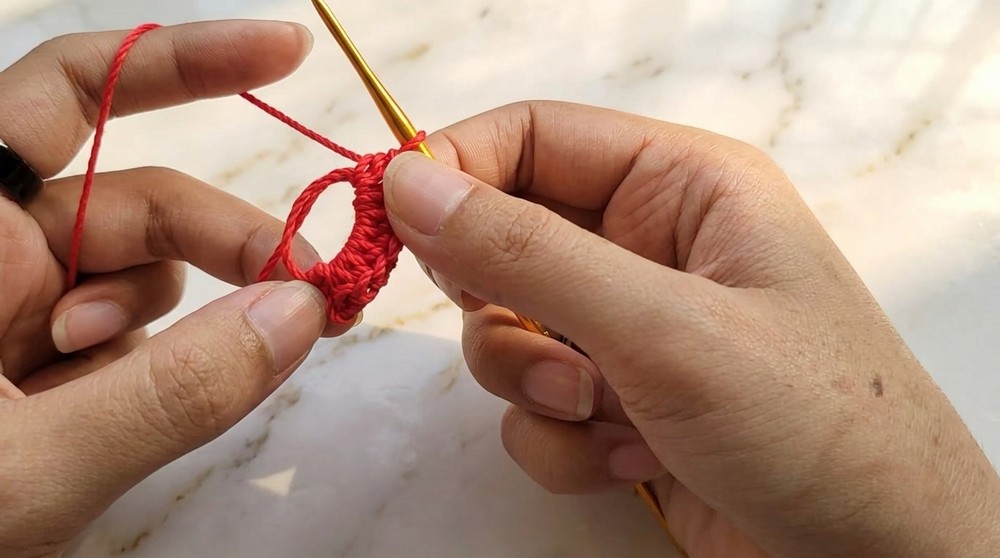
You should have a small crown with 10 stitches. The magic ring allows a neat, closed center.
- Round 2:
- Ch 2, hdc inc in same st as join, (2 hdc in each st around),
- sl st to 2nd ch. (20 sts total)
Here you’re doubling the stitch count to widen the bonnet evenly.
- Round 3:
- Ch 2, hdc in same st (counts as 1 hdc), hdc in next st, (hdc inc in next st, hdc in next st); rep around.
- sl st to top of ch-2. (30 sts)
Increase evenly: one stitch, then two into next, repeat all around.
- Round 4:
- Ch 2, hdc inc in same st, hdc in next 2 sts, (hdc inc, hdc in next 2 sts); rep around.
- sl st to ch-2. (40 sts)
Crown is almost hat size; check against your cat’s head for fit.
- Round 5:
- Ch 2, hdc in same st, hdc in next 3 sts, (hdc inc, hdc in next 3 sts) rep around.
- (Should have 50 sts.)
Bonnet should form a shallow dome. Adjust here for fit—add or remove increases if needed for your pet.
2. Shaping Ear Openings
- Ch 13, sk 8 sts, hdc in 9th st.
- Hdc in next 10 sts.
- Ch 13, sk 8 sts, sl st to base ch-2.
- Fasten off.
This step makes two large gaps for ears on each bonnet side. Check spacing as you work for your cat’s comfort.
- Rounds 6–7:
- With bonnet folded in half, place marker at each ear opening’s start/end.
- Join yarn at one marker, ch 2, hdc across to other marker, turn.
- Work 2 rows of hdc (not joining, work flat between ear slits).
- After last row, fasten off.
You’re making the back section that will sit behind the cat’s ears and neck. Bonnet is now shaped!
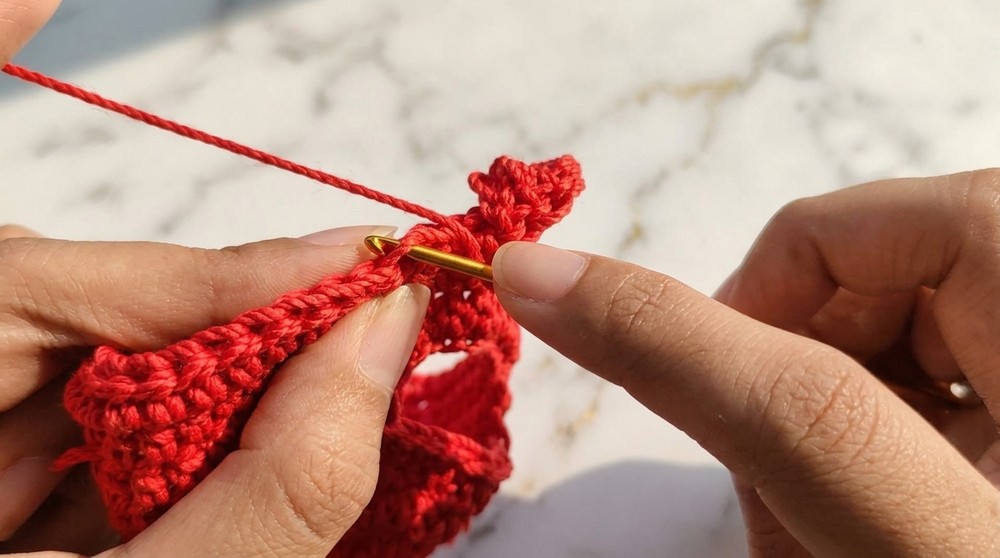
3. Ruffled Brim (Front Flounce)
- Join contrast color (main or a fun shade for strawberry/orange styles) at front edge.
- Ch 3, in front loop only: (4 dc in same st, sk 1 st, sc in next st, sk 1 st); rep to end. Fasten off.
You are creating a frilly brim along the bonnet edge. Only use the front loop for a pretty ripple.
4. Chin Ties (Make 2)
- With main or contrast color, ch 30 (or desired length for tie).
- Sl st in 2nd ch from hook and in each ch to end. Fasten off.
- Repeat for opposite side of front brim.
These ties keep the bonnet secure—make them as long as you wish for easy bow-knotting under chin.
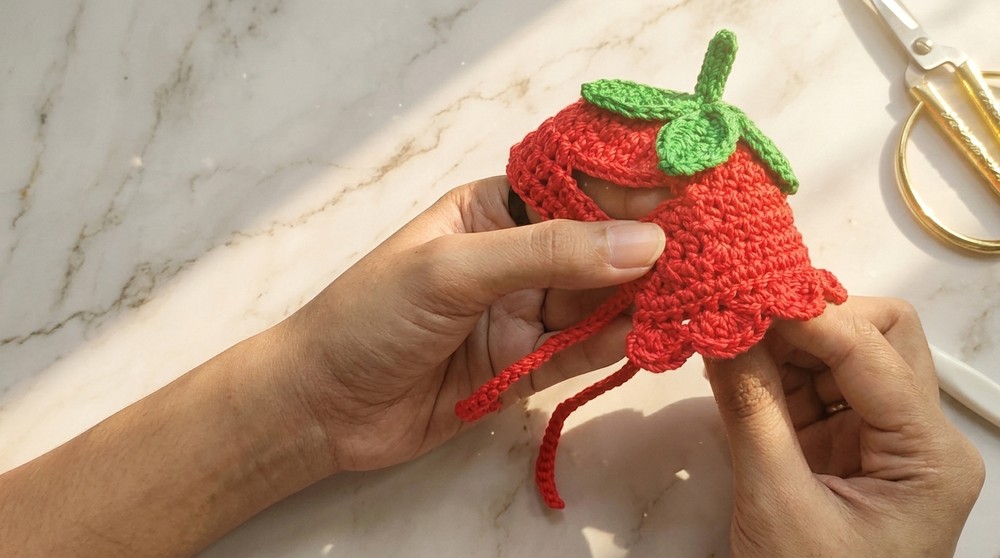
5. Leaf & Stem Decoration
Stem:
- With green yarn, leave a long tail for sewing, ch 7.
- Working back down chain:
- Sl st in 2nd ch from hook and in each ch to end.
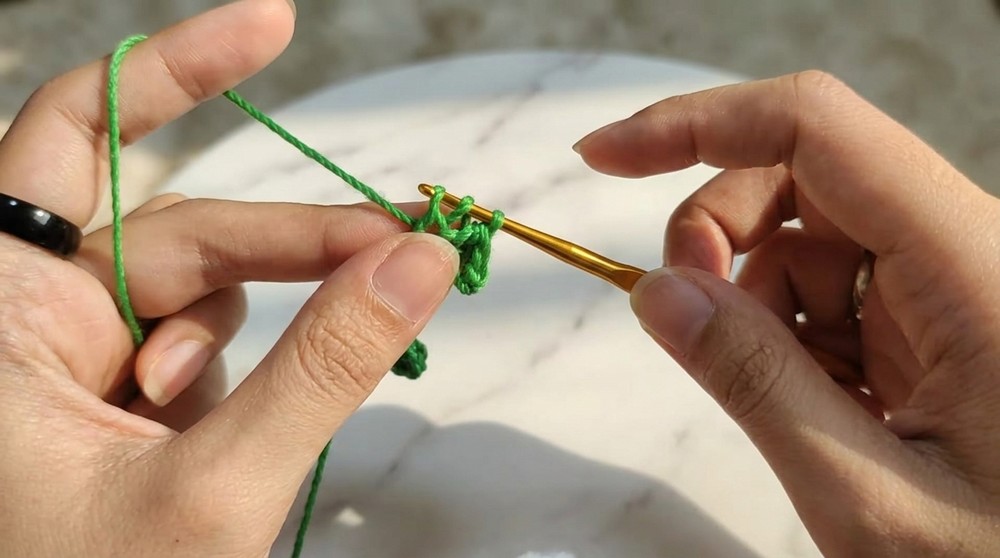
You are making the thin center stem for leaves. Leave tail long to sew to bonnet.
Leaf (Make 2):
- Ch 10.
- Sl st in 2nd ch from hook, sc in next ch, hdc in next, dc in next 3 ch, hdc in next, sc in next, sl st in last ch.
- Rotate work, working up bottom of chain: sc, hdc, 3 dc, hdc, sc, sl st (mirroring 1st side).
- Fasten off.
Create leaves by working up one side of chain and back down the other side for a symmetrical leaf.
- Assembly:
- With hot glue or yarn needle, sew leaves and stem to center top of the bonnet.
- (Optional: If needed, carefully melt and fuse yarn ends to prevent fraying.)
The leaves create your ‘fruit’ look; sew or glue them securely for durability.
6. (Optional) Decorative 'Seeds'
- With white yarn, embroider small French knots or stitch single isolated sc or sl sts across hat surface to resemble fruit seeds.
- Secure all threads and trim ends.
This adds a realistic strawberry or orange effect! Place randomly or in lines for cuteness.
7. Finishing
- Weave in all loose ends.
- Block gently for shape if desired.
- Try on your cat: ties should be firm but not tight; brim frames face, ear holes aligned for comfort.
If you don’t often read crochet patterns:
Every step is explained in rows or rounds. You make a round hat crown, increase to fit, then create ear gaps with chains for openings. Edging and ties are made for details and comfort, and the decoration (leaves/stem/seeds) finishes your fruit look. Take it slow and check the fit on your cat as you go.
Conclusion, Pattern Correction & Tips
- Conclusion:
You now have a charming, photogenic, and cozy fruit bonnet hat for your pet. It’s adjustable, playful, and sure to win hearts. - Pattern Correction:
If your hat is too small or big, adjust total increases in crown rounds. You can change the chin ties’ length and leaf sizes for a better fit and more personality. - Tips:
Use pins or stitch markers to line up ear holes. Use sturdy thread/yarn for chin ties. Embroider seeds after fitting for best placement. Always supervise your cat in costume!