
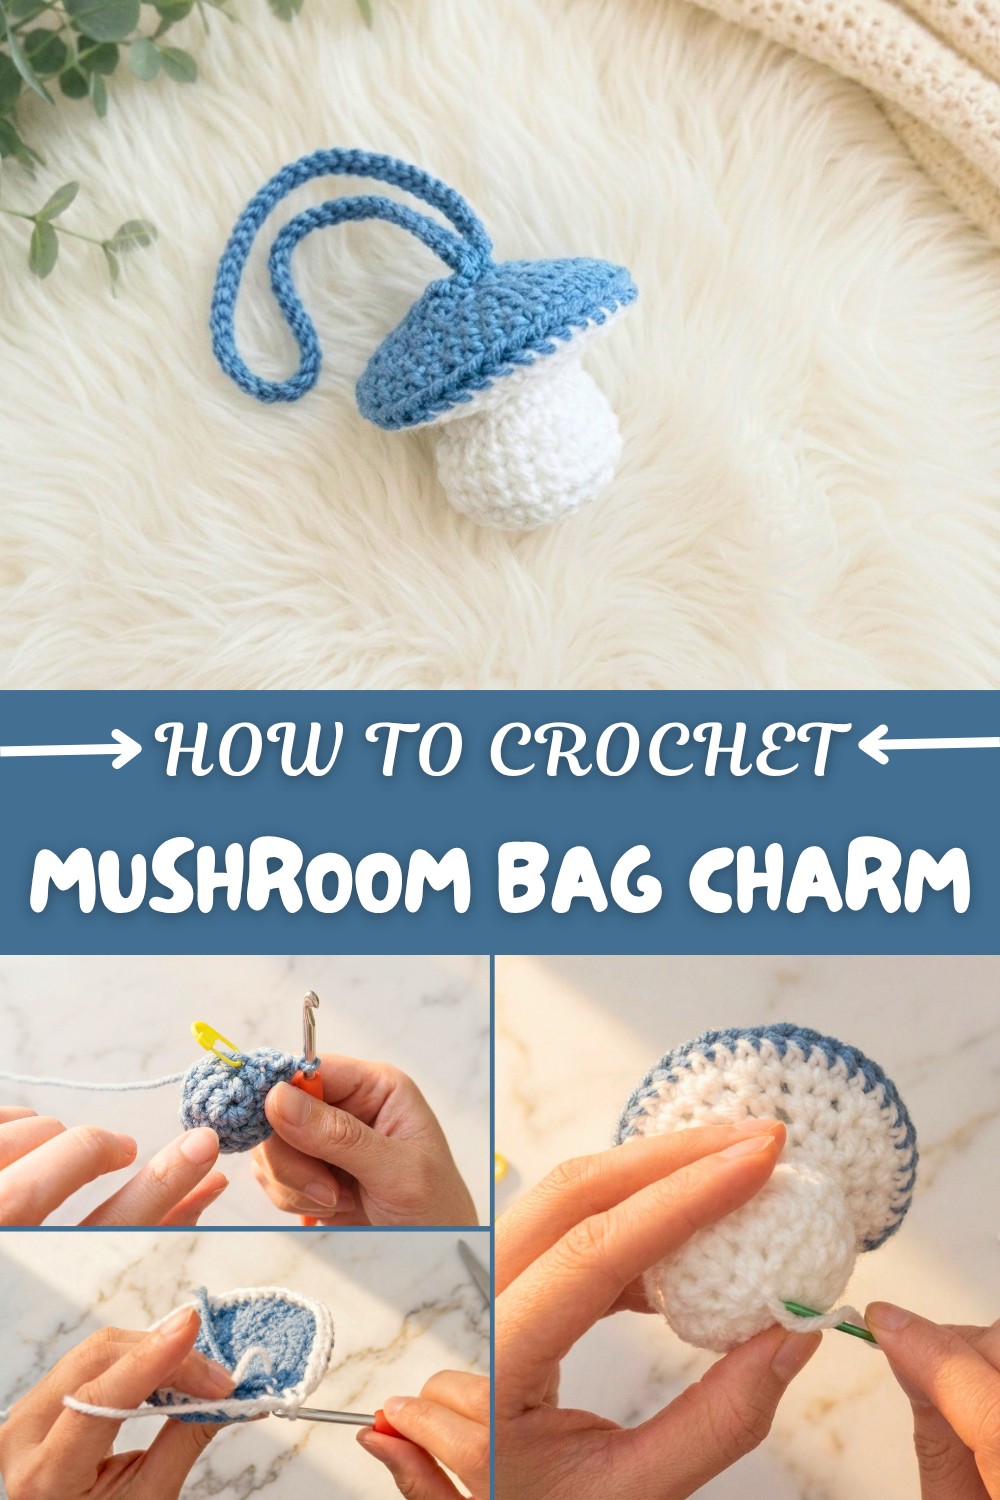
Free Crochet Mushroom Bag Charm Pattern for Backpacks
Make a cute and easy crochet mushroom bag charm with this free pattern it is perfect for kids and adds a fun touch to your favorite bag.
Starting a quick and charming crochet project often brings instant satisfaction, especially when the result is an adorable little accessory. Recently, I made a cheerful mushroom bag charm that has become a favorite. For those searching for a whimsical and easy ornament, this Free Mushroom Bag Charm Pattern delivers a delightful blend of sweetness and functionality in one pocket-sized decoration. The pattern features clear instructions, inviting beginners and experienced crocheters to turn simple yarns into a small statement piece perfect for kids’ backpacks or anyone who loves playful designs.
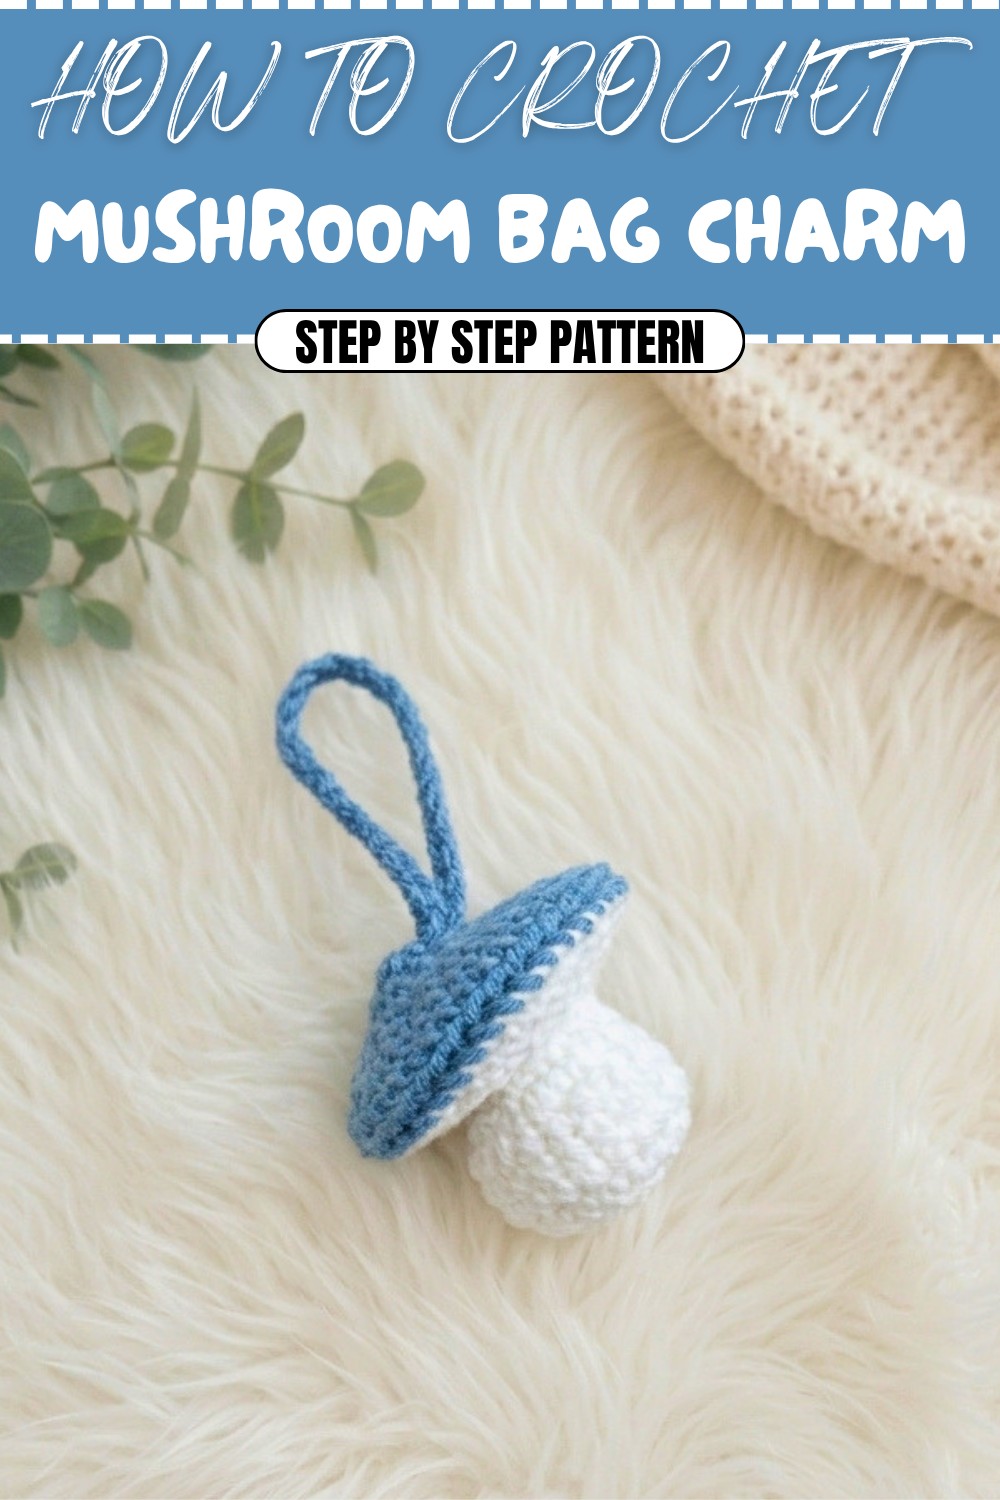
Free Crochet Pattern: Mushroom Bag Charm for Kids & Adults
The finished mushroom bag charm stands out for its cuteness and bold color contrast. A cheerful blue cap and crisp white body create a playful, eye-catching look. The soft, plush texture gives the charm a squeezable feel, while its shape—a classic, rounded mushroom—brings instant smiles. Adding to its appeal, the unique surface comes from neat rounds and expert shaping, and it’s topped with a sturdy loop for attaching to bags or keyrings.
The design uses basic single crochet stitches, starting with a magic circle for a seamless cap, visible increases for shaping, and a clever switch to back loop stitches for an added ridge as the color changes. Simple decreases and strategic stuffing result in a well-rounded, three-dimensional look. The practical hanging loop is made by chaining and fastening, providing both style and function.
This bag charm can brighten any backpack, purse, or zipper pull, and works as a clever handmade gift or collectible. The cheerful mushroom theme brings a fun and decorative flair to everyday accessories. Since the project relies on single crochet, increases, and basic decreases, even those new to amigurumi or crochet will feel comfortable giving it a try. Any crafter looking to add personality to their accessories—or eager for a creative break—will find this pattern an approachable and enjoyable option for their next crochet session.
Cute Mushroom Backpack Charm Crochet Pattern
This amigurumi mushroom charm is perfect for accessorizing backpacks, key rings, or zipper pulls. It’s a fun, quick make ideal for beginners or anyone who loves little plushies.
Before You Start
- Read through the whole pattern for understanding.
- Use scraps of worsted-weight yarn or similar—two colors needed.
- Prepare all tools beforehand: hook, needle, scissors, stitch marker, stuffing.
- Familiarize yourself with the magic circle and basic decreases if new to them.
- Work in continuous rounds using a stitch marker to mark the start/end of each round.
Pattern Notes
- The mushroom is worked in seamless (spiral) rounds—do not join unless specified.
- Finished size depends on yarn and hook used; gauge is not crucial.
- Color change is made after forming the mushroom cap, using back loop only for a neat transition.
- Stuffing is added before final decreases at the base.
- The hanging loop is made by chaining and attaching to the cap.
How I Made the Crochet Pattern?
- Started with a magic circle for the cap, increasing and then shaping the dome.
- Changed color for the body, working in the back loop for a defined cap edge.
- Decreased then increased stitches to taper and expand the stem.
- Stuffed before closing, then made a chain loop for hanging.
- Neatly fastened and finished with tidy weaving.
Skill Level
Beginner
Finished Size
- Approximately 2.5–3" (6–8 cm) tall finished (excluding loop).
Materials
- Worsted weight yarn in two contrasting colors (e.g., blue for cap, white for body)
- 4.5 mm crochet hook
- Small amount of polyester stuffing
- Stitch marker
- Scissors
- Yarn (darning) needle
Measurements / Sizing
- Finished charm: about 3" tall, 2.25" wide (varies with yarn/hook)
- Hanging loop: about 2.5" diameter (customizable by chain length)
Gauge
- Not essential; stitches should be tight enough to hold stuffing.
Stitch Abbreviations
- mr – magic ring/circle
- sc – single crochet
- inc – increase (2 sc in same st)
- dec – decrease (sc 2 together)
- blo – back loop only
- sl st – slip stitch
- ch – chain
- st – stitch
Special Stitches
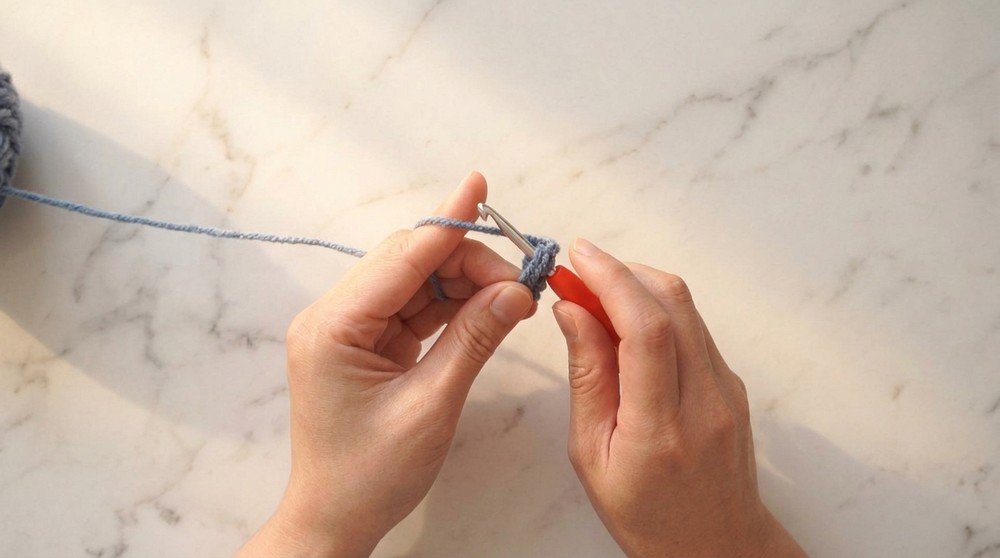
Magic Circle (mr):
Form a loop, hold yarn tail, insert hook into circle, yarn over and pull up loop, ch 1, then work stitches into the ring.
Invisible Decrease (dec):
Insert hook under front loop only of next 2 sts, yarn over and pull through both front loops, yarn over and pull through remaining 2 loops on hook.
The Pattern!
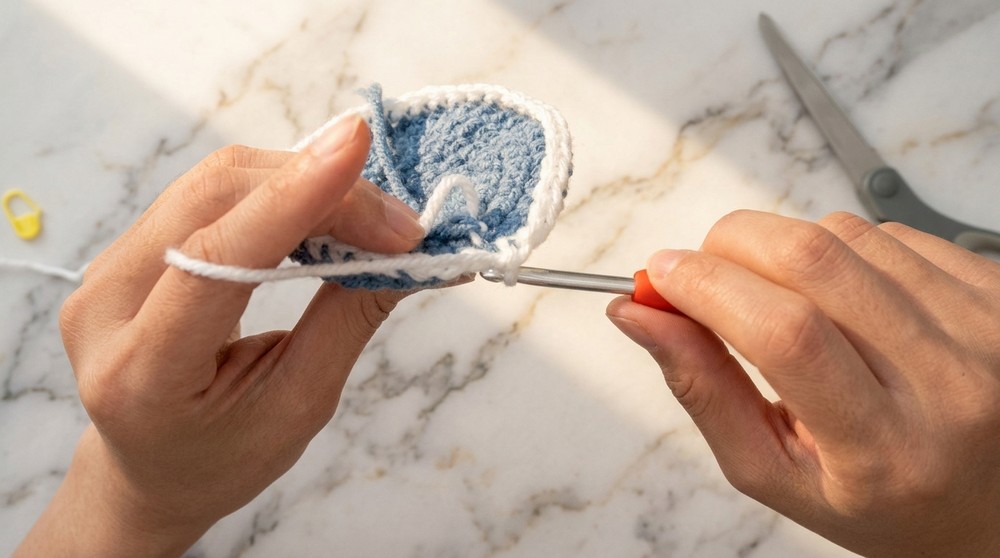
Mushroom Cap (Top)
- With cap color (e.g. blue):
- Make a magic ring, 6 sc in mr (6)
- Inc in every st around (12)
- Sc in each st around (12)
- Inc in every st around (24)
- Optional for taller cap: [Sc in next st, inc] repeat (36), or go to next round.
- [Sc in one st, inc in next] around (18)
- Sc in each st (18)
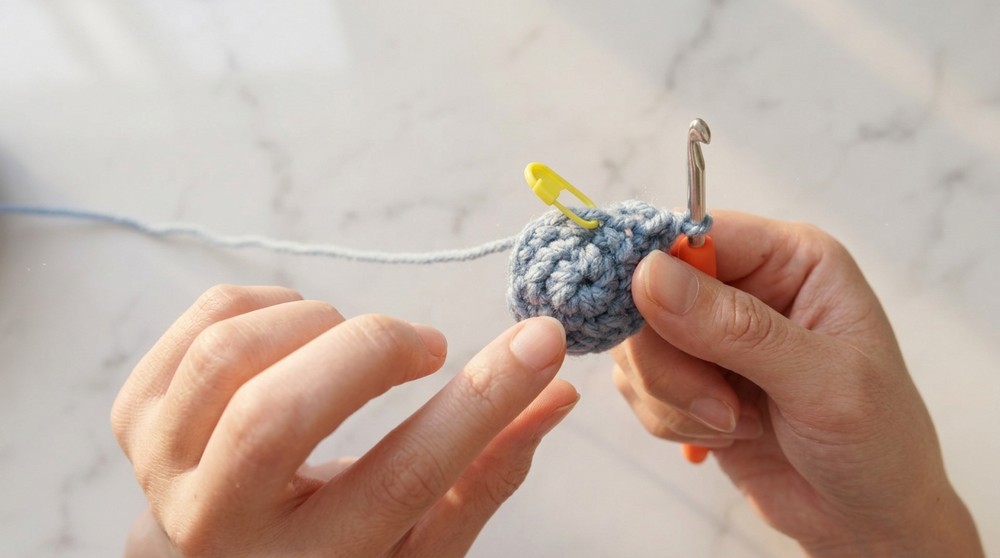
Your cap is now rounded and should look like a little dome. Cap is worked in continuous spiral. Use a stitch marker to keep rounds clear.
Color Change & Back Loop Round
- Change to body color (e.g., white):
- Working in back loops only (blo):
- Sc in each st around (18)
- Fasten off cap color.
This forms a neat ridge defining the edge between cap and stem.
Shape the Underside & Stem
- Sc in both loops in next round (18)
- [Sc in one st, dec in next] around (12)
- [Sc, dec] around (8–9; aim for stem width, fudge as needed).
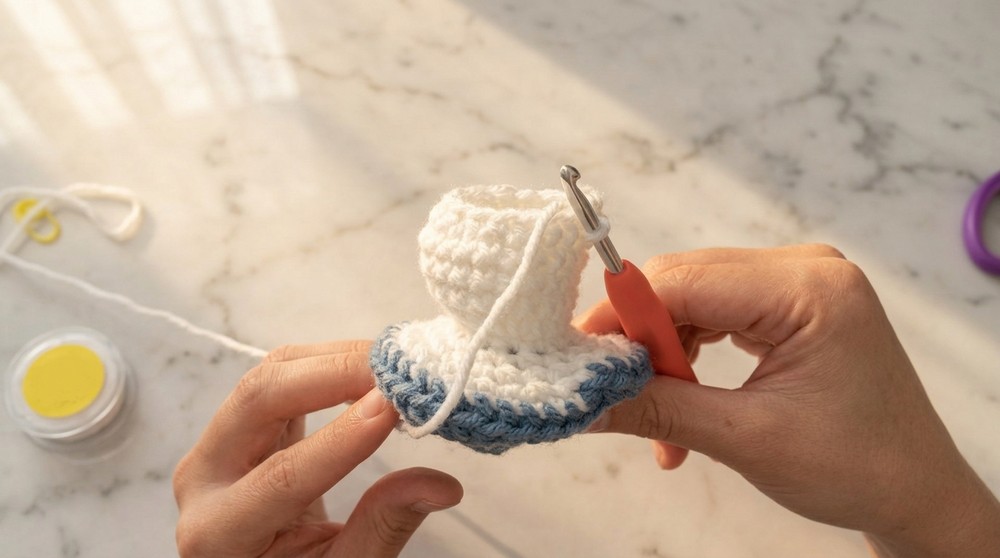
Time to shape and expand the stem:
- [Sc, inc] around (12)
- [Sc in each st] for 2–3 rounds (as long as you like the stem, usually 2–3 rounds) (12)
Gently stuff the mushroom cap and stem, being careful not to overstuff the cap’s center. Focus stuffing on the sides.
Close the Stem
- [Sc, dec] around to reduce to about 6–8 sts.
- Dec in every st until closed (~6 sts).
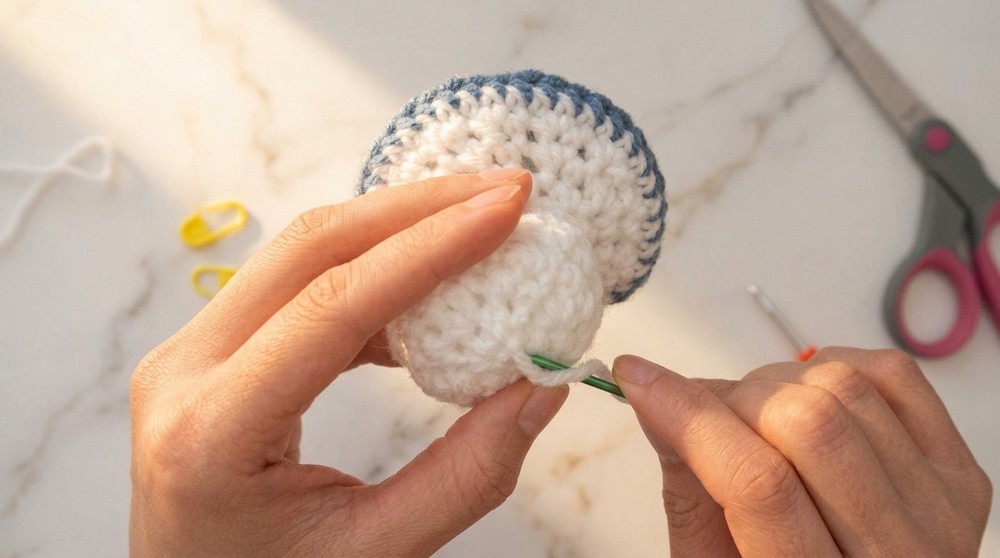
Fasten off, leaving a long enough tail for sewing.
Pattern Recap After Mushroom is Complete:
You have formed a rounded top, a defined color-change brim, and a plump stem! Before final closing, make sure to evenly fill the mushroom, add or adjust stuffing as needed for a smooth look and bouncy feel.
Hanging Loop
- With cap color, make a slip knot and chain 22–24 (or your preferred loop length).
- Use the yarn needle or hook to attach the chain to the top of mushroom, securing with sl st to form a loop.
- Tie remaining ends together. Weave in or tuck inside the cap for neatness.
Assembly & Finishing
- Use the yarn tail and needle to go through each front loop of remaining live sts and pull tight to close hole.
- Insert excess yarn inside mushroom, weave to secure, and trim.
- At color change, tie both yarn ends together and weave into work.
- Make sure the loop is securely attached—double knot or weave for strength.
- Shape lightly with hands as needed to round the cap and smooth the stem.
Solution of Problem
- Problem: Mushroom cap is pointy or not rounded.
- Solution: Increase more rounds for a flatter/wider top; decrease for a taller shape.
- Problem: Body looks uneven or lumpy after stuffing.
- Solution: Add stuffing in small amounts, focusing on the sides of the cap; leave center less stuffed for a “bouncy” effect.
- Problem: The stem is loose or wobbly.
- Solution: Use tighter or extra stitches when closing, and make sure stuffing fills the sides as well as base.
What you can make by using these stitches
- Keychains and zipper pulls
- Backpack charms and bag decorations
- Desk buddies or mini toys
- Garland or mobile mushrooms
- Hang as ornaments for seasonal decorating
- Variations: tiny pumpkins, acorns, or fruits using same base pattern