
Free Photo Ornament Crochet Pattern for Memory Keepsakes
Capture precious memories with Free Crochet Photo Ornament Pattern featuring lovely keepsake charm perfect for holiday decor and heartfelt family moments.
Adding a personal touch to holiday decorations can make the season feel even warmer and more meaningful. One delightful way to do this is by making a crochet photo ornament that not only looks lovely but also holds cherished memories. The free crochet Photo Ornament Pattern offers a sweet, simple way to frame your favorite snapshots in a handmade piece that’s both decorative and heartfelt.
Free Photo Ornament Crochet pattern for Holiday Decor
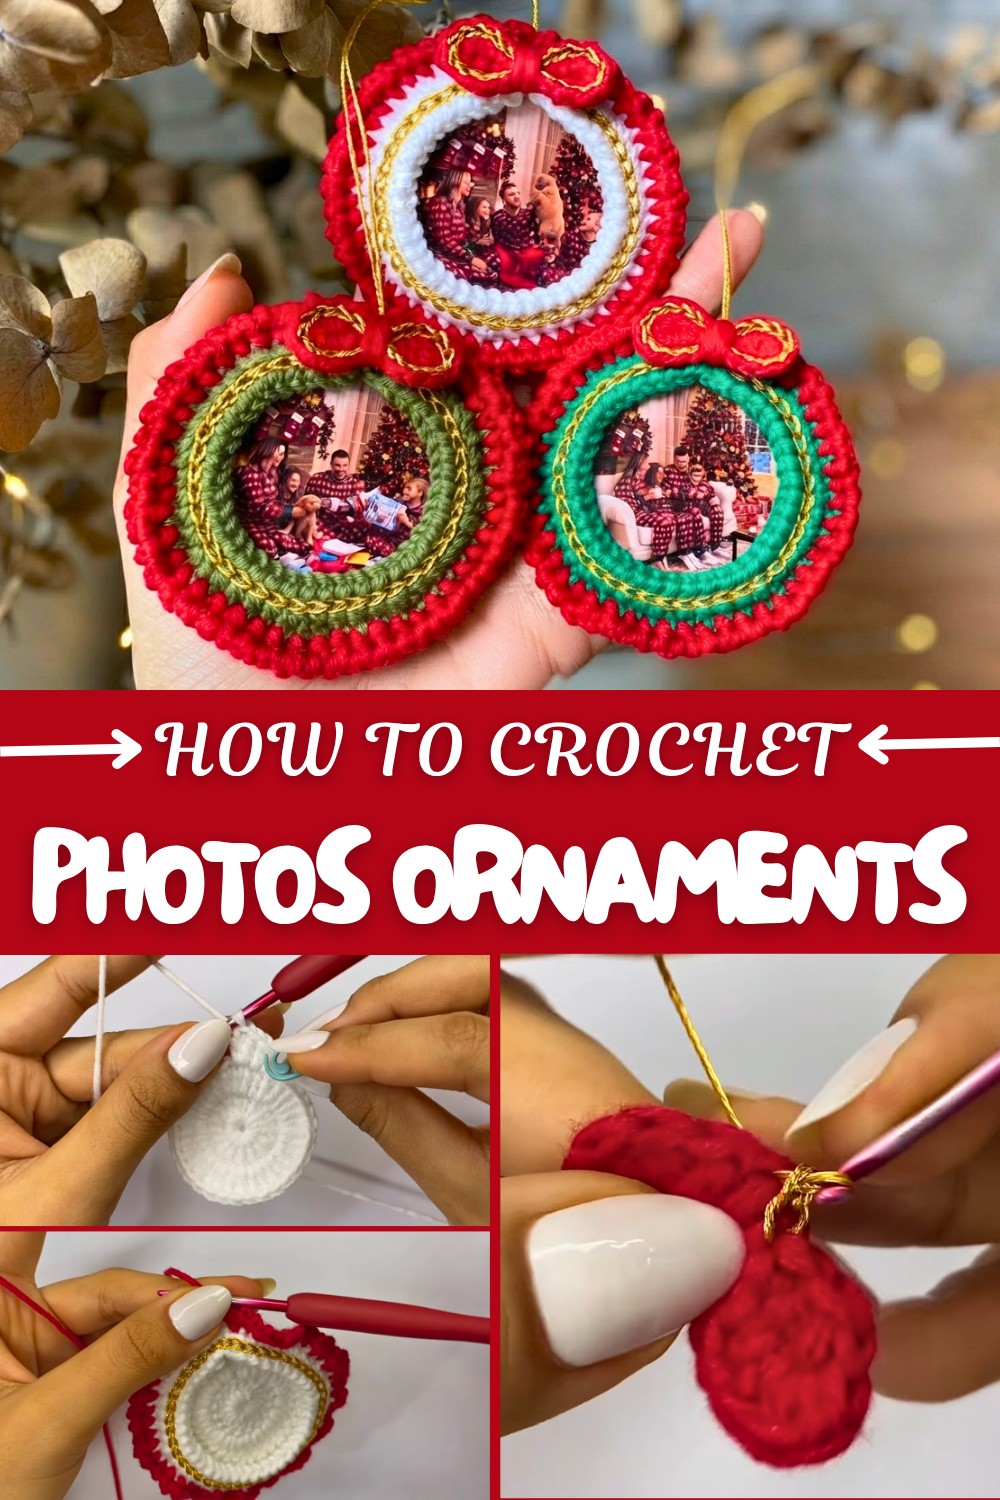
This ornament features a neat round shape that snugly fits a photo, bordered by soft, textured crochet stitches. The use of cotton yarn gives it a durable yet gentle feel, perfect for hanging on a tree or wreath without worrying about damage. A small loop at the top makes it easy to display anywhere you like. What’s great is how you can customize it by choosing different colors or adding little embellishments like tiny flowers or beads to make each one unique and special.
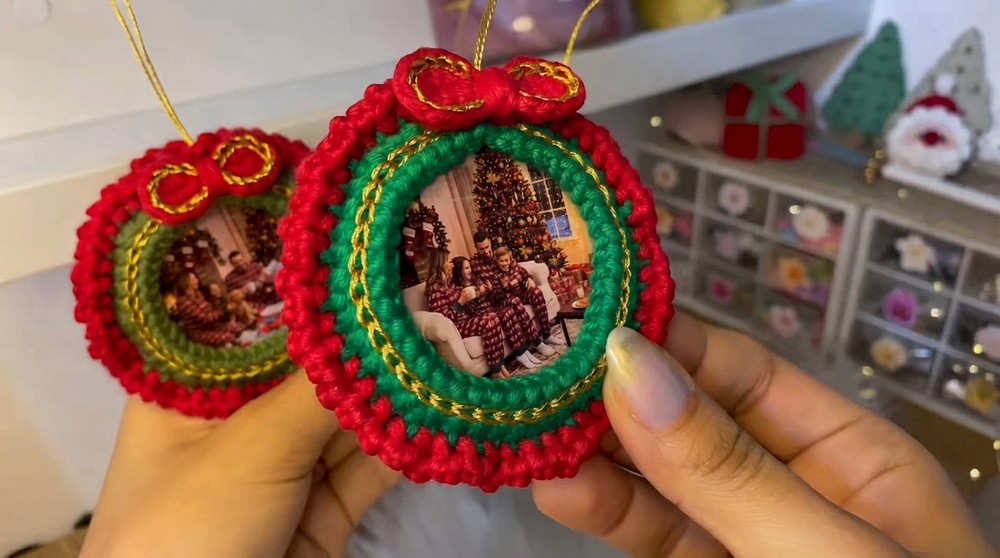
Ideal for intermediate crocheters and adventurous beginners, this project is a nice way to practice working in the round and creating smooth edges. You’ll find it rewarding to see a simple photo transformed into something cozy and charming with just a few crochet skills. Plus, the size of the ornament makes it a quick project that still feels thoughtful and personal.
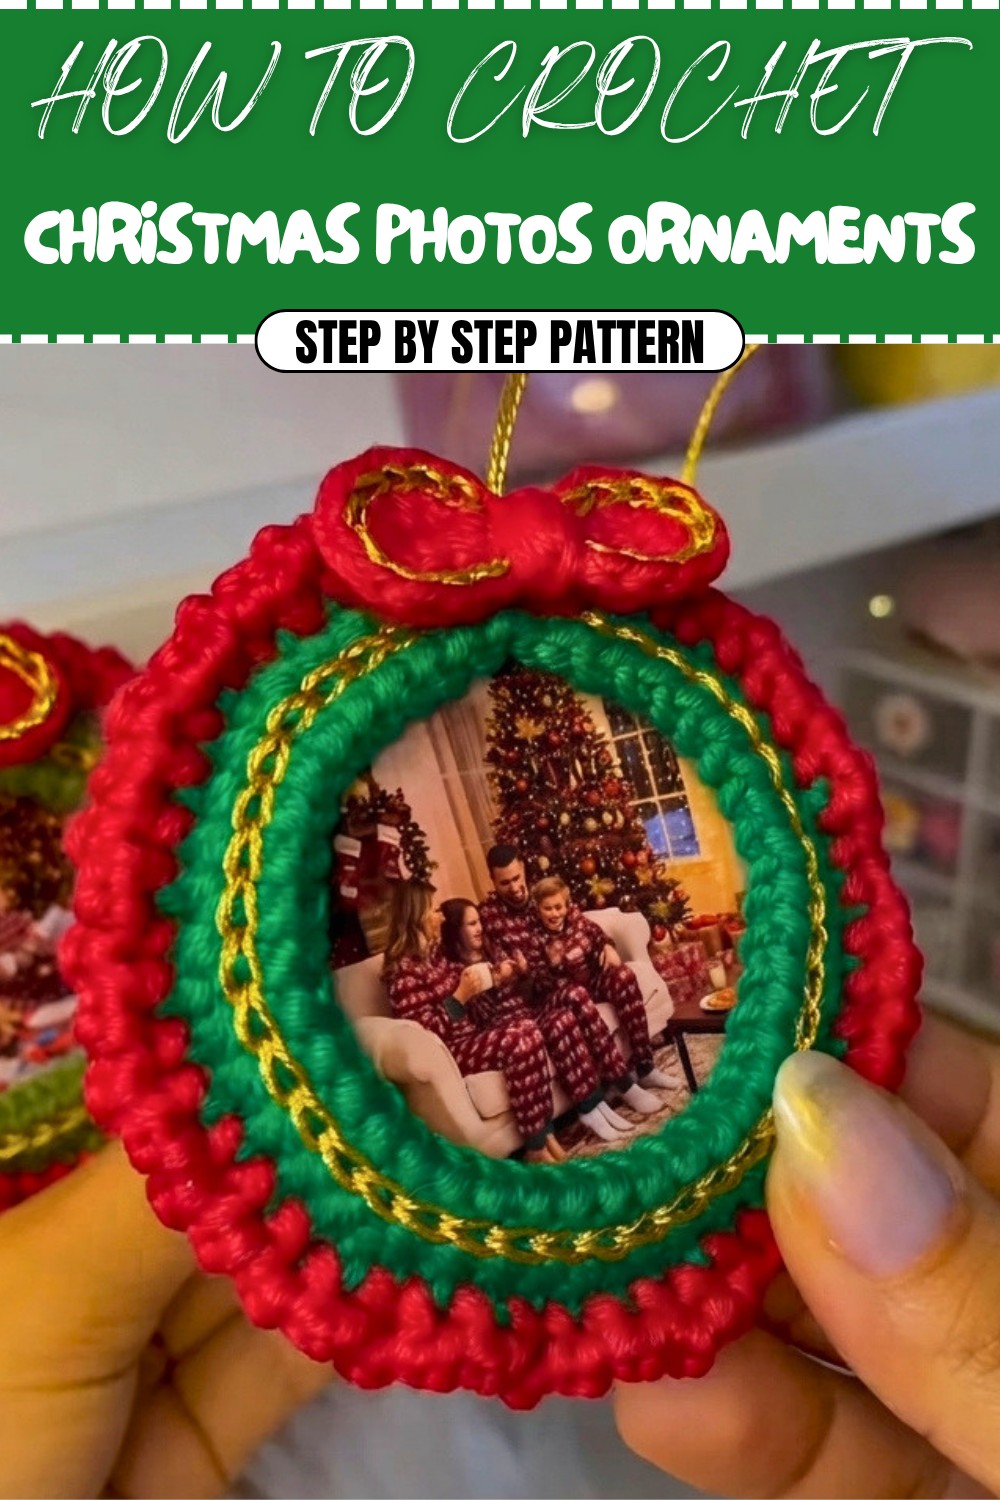
If you enjoy crocheting keepsakes that combine creativity with memory, this free crochet Photo Ornament Pattern is worth trying. It’s a fun, meaningful project that can brighten your holiday décor or become a heartfelt gift. Give it a go, and enjoy making something beautiful that truly celebrates the special moments in life.
Personalized Crochet Photo Frame Christmas Ornament Pattern
Create a charming and heartfelt Christmas ornament designed to hold your favorite family photos. This elegant photo frame ornament features neat textured stitches, a delicate ruffled edge, and a decorative bow finished with a gold shimmer, making it a festive highlight for your holiday décor.
Quick Overview of the Pattern
This pattern guides you through crocheting a circular frame that fits a photo approximately 5 cm in diameter. Using mainly double crochet and single crochet stitches, the ornament is worked in joined rounds with strategic increases to shape the frame. A textured border and a delicate ruffle add decorative flair, while a crochet bow provides a festive finishing touch. Metallic gold thread artfully accents both the frame and the bow.
Notes
- The photo diameter should be about 5 cm to fit well without wrinkling or bending.
- Finished frame diameter is approximately 7.5 cm using 2 mm yarn and a 2.20 mm hook.
- Use a stitch marker to mark the beginning of rounds for easier tracking.
- Work decreases and border stitches into the back loops only in Round 4 to provide texture and shape.
- Use liquid silicone glue to affix the photo and bow securely.
- Metallic gold thread adds sparkle but requires careful tension to keep consistent.
- Gauge is flexible but consistent tension ensures a balanced frame size.
Skill Level
Beginner to Intermediate: Familiarity with magic ring, double crochet (dc), single crochet (sc), increases, decreases, and slip stitches is helpful.
Materials Required
- 2 mm thickness yarn (main color and contrasting color for bow)
- Metallic gold thread (approx. 1 mm thickness)
- Crochet hook, size 2.20 mm
- Scissors
- Tapestry needle
- Stitch marker
- Liquid silicone glue
- Photo approx. 5 cm diameter
Measurements / Sizing
- Photo diameter: ~5 cm
- Finished ornament diameter: ~7.5 cm (with recommended yarn/hook)
- Bow size fits proportionally on top of frame
Gauge & Stitch Pattern
- Gauge is not critical but affects finished size. Maintain even tension to fit photos.
- Main stitches used: double crochet (dc), single crochet (sc), slip stitch (sl st)
- Textured border created by working into back loops only.
Stitch Abbreviations
| Abbreviation | Meaning |
|---|---|
| ch | chain |
| dc | double crochet |
| sc | single crochet |
| sl st | slip stitch |
| inc | increase (2 stitches in 1 stitch) |
| dec | decrease (working stitches together) |
Special Stitches
- Magic Ring (Magic Circle): Creates a closed circle foundation to start rounds seamlessly.
- Working Into Back Loops Only (BLO): Stitch made only through the back loops of a stitch, adding texture and dimension.
- Slip Stitch in Holes: Using slip stitches between single crochets to create delicate openings accentuated by metallic thread.
The Crochet Pattern: Step-by-Step
Foundation (Color 1)
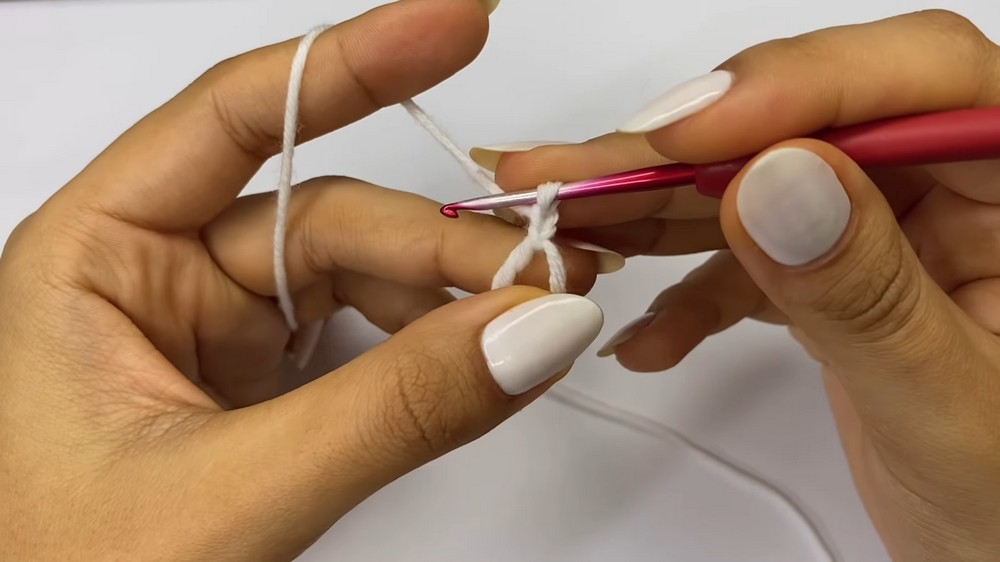
- Begin with a magic ring.
- Chain 2 (counts for height but does not count as a stitch).
- Work 16 double crochet (dc) stitches into the magic ring.
- Place a stitch marker on the first dc to mark the start of the round.
- Join the round with a slip stitch (sl st) into the first dc.
Round 2: Increasing
- Chain 2 (counts for height).
- Work 16 increases — 2 double crochet (dc) stitches in each dc from the previous round, doubling the stitch count to 32.
- Join with a slip stitch (sl st) to the first dc.
Round 3: Further Expansion
- Chain 2 (counts for height).
- Repeat the sequence: 1 double crochet (dc) in a stitch, then an increase (2 dc in next stitch).
- Repeat this 16 times for a total of 48 stitches.
- Join with a slip stitch (sl st).
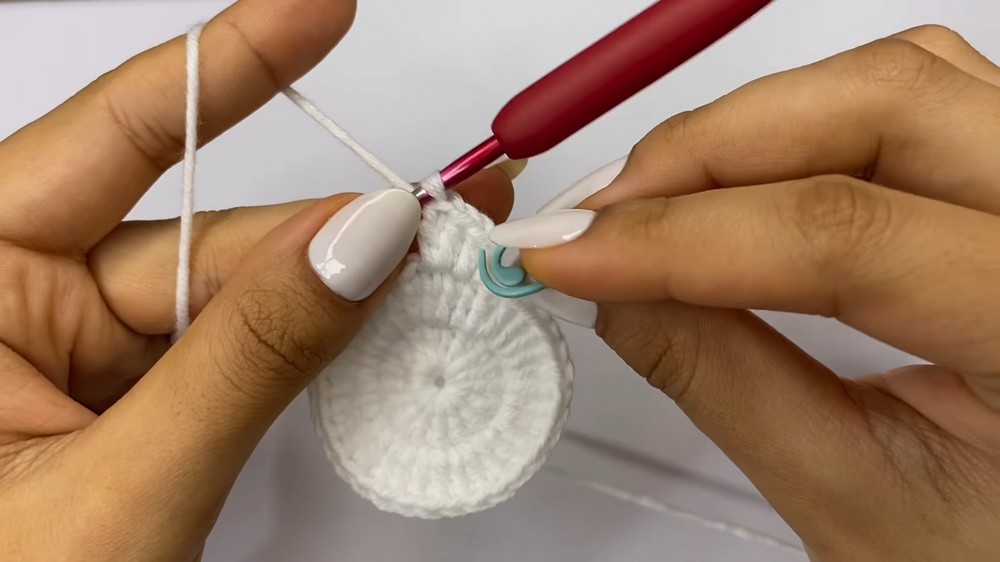
Round 4: Textured Border
- Chain 1 (does not count as a stitch).
- Work single crochet (sc) stitches only into the back loops of each stitch around.
- Crochet 4 sc stitches into back loops.
- Then crochet a decrease (sc2tog) in the back loops.
- Repeat the sequence (4 sc, then decrease) 8 times total, ending with 40 stitches.
- Join with a slip stitch (sl st).
Decorative Edge
- Chain 1 (does not count as a stitch).
- Skip 1 stitch, then work a slip stitch (sl st) in the next stitch.
- Repeat the sequence (chain 1, skip 1, sl st) all around the frame. This creates a lovely spaced edging.
- Join and cut yarn.
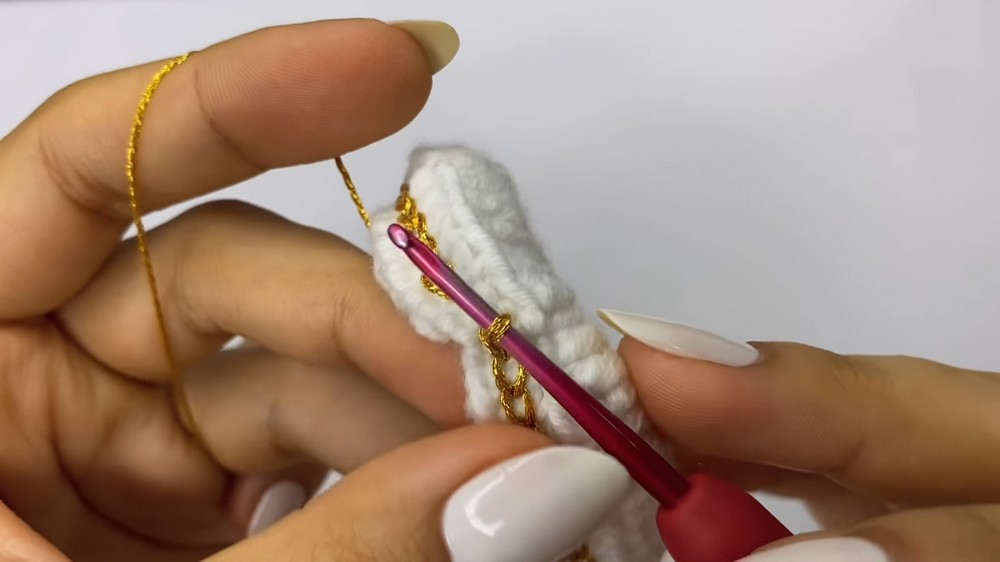
Gold Thread Detail
- Thread gold metallic yarn onto a tapestry needle.
- Insert the needle through the small holes formed between the single crochet (sc) stitches of Round 4 (the joins between sc stitches).
- Work slip stitches (sl st) with the gold thread along these holes, maintaining consistent tension to keep the ornament neat.
- Work sl st all around the frame edge.
- Secure by knotting the thread on the reverse side and weaving in ends.
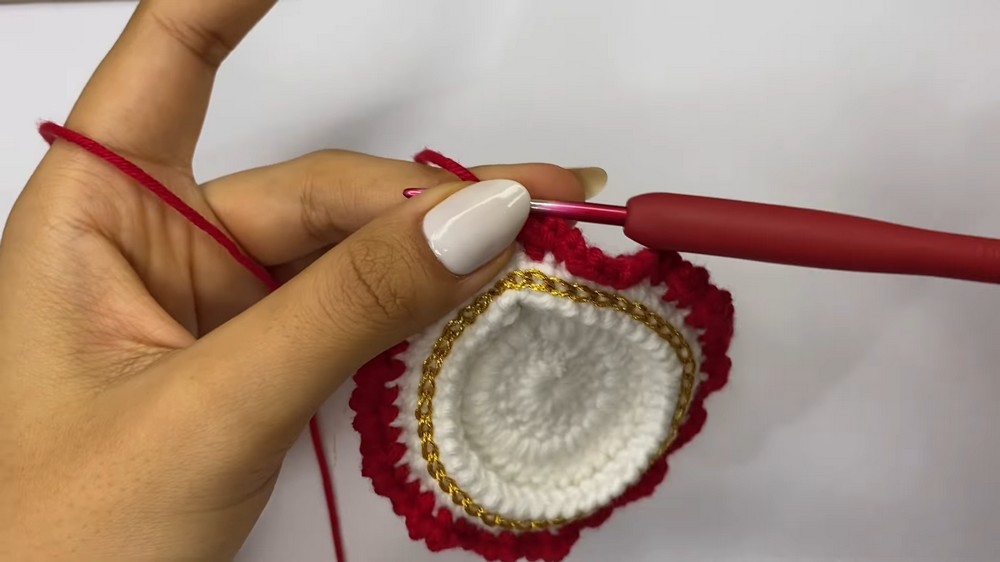
Ruffle Detail (Color 2)
- Using the contrasting yarn, attach yarn to the front loops (those left unworked in Round 4).
- Work 1 single crochet (sc), chain 2, repeating this sequence in every stitch around to form a ruffled edge.
- Join and cut yarn, weaving in loose ends.
Bow Creation (Red Yarn)
- Chain 8.
- Skip the last stitch. In the second last stitch and next: work half double crochet (hdc).
- Work 1 single crochet (sc), then 1 slip stitch (sl st), then 1 single crochet (sc), then 1 half double crochet (hdc).
- In the last stitch of the chain, work 5 half double crochets (hdc).
- Continue working on the opposite side of the chain: 1 hdc, 1 sc, 1 sl st, 1 sc, 1 hdc.
- Finish with 4 hdc in the last stitch.
- Cut the yarn and weave in the ends.
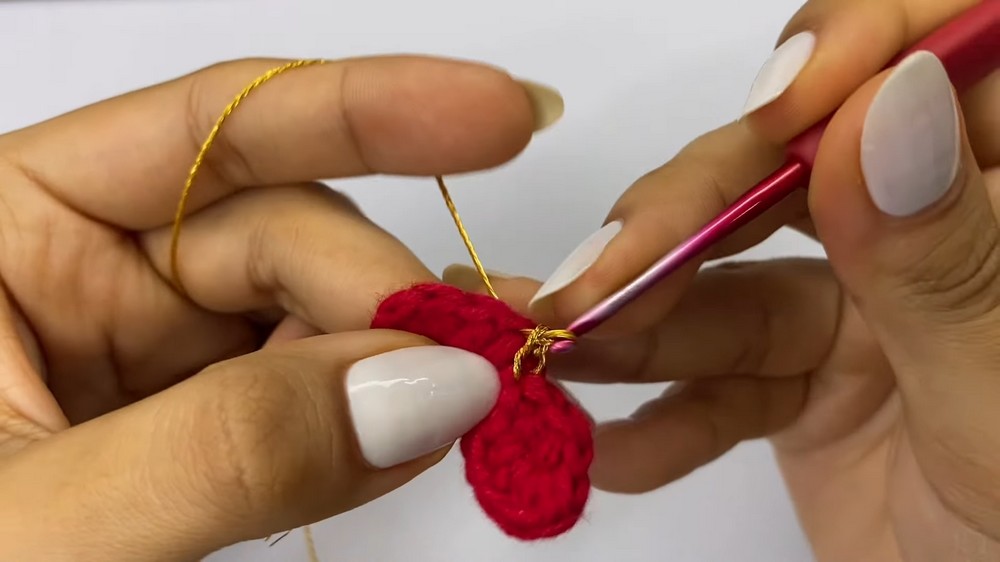
Bow Finishing
- Using the gold metallic thread, work slip stitches (sl st) around the bow edges for a delicate trim.
- Secure thread ends and cut excess.
- Take a length of red yarn and wrap it tightly around the center of the bow several times to cinch it together, forming a distinct bow shape.
- Knot securely and trim ends.
Assembly & Finishing
- Use liquid silicone glue to carefully attach the bow to the top edge of the ornament frame, aligning it with seams for a clean look.
- Cut a 12 cm length of gold thread and attach securely at the top to form a hanging loop. Knot and secure tightly.
- Insert your 5 cm diameter photo behind the front opening of the frame.
- Adjust and secure as needed to keep the photo flat and visible.
Finished Size
- Approximately 7.5 cm diameter using 2 mm yarn and 2.20 mm hook.
Conclusion
You have now created a delicate, personalized Crochet Photo Frame Christmas Ornament that beautifully showcases your favorite memories. The thoughtful texture of the border, sparkly gold thread detailing, and elegant bow combine to give this ornament a festive and polished look.
This project is perfect for gift giving or adding a meaningful touch to your own tree, merging crafting skill with warm holiday spirit. With steady crochet practice, you can adapt this design into multiple colors and sizes to create a unique collection.