
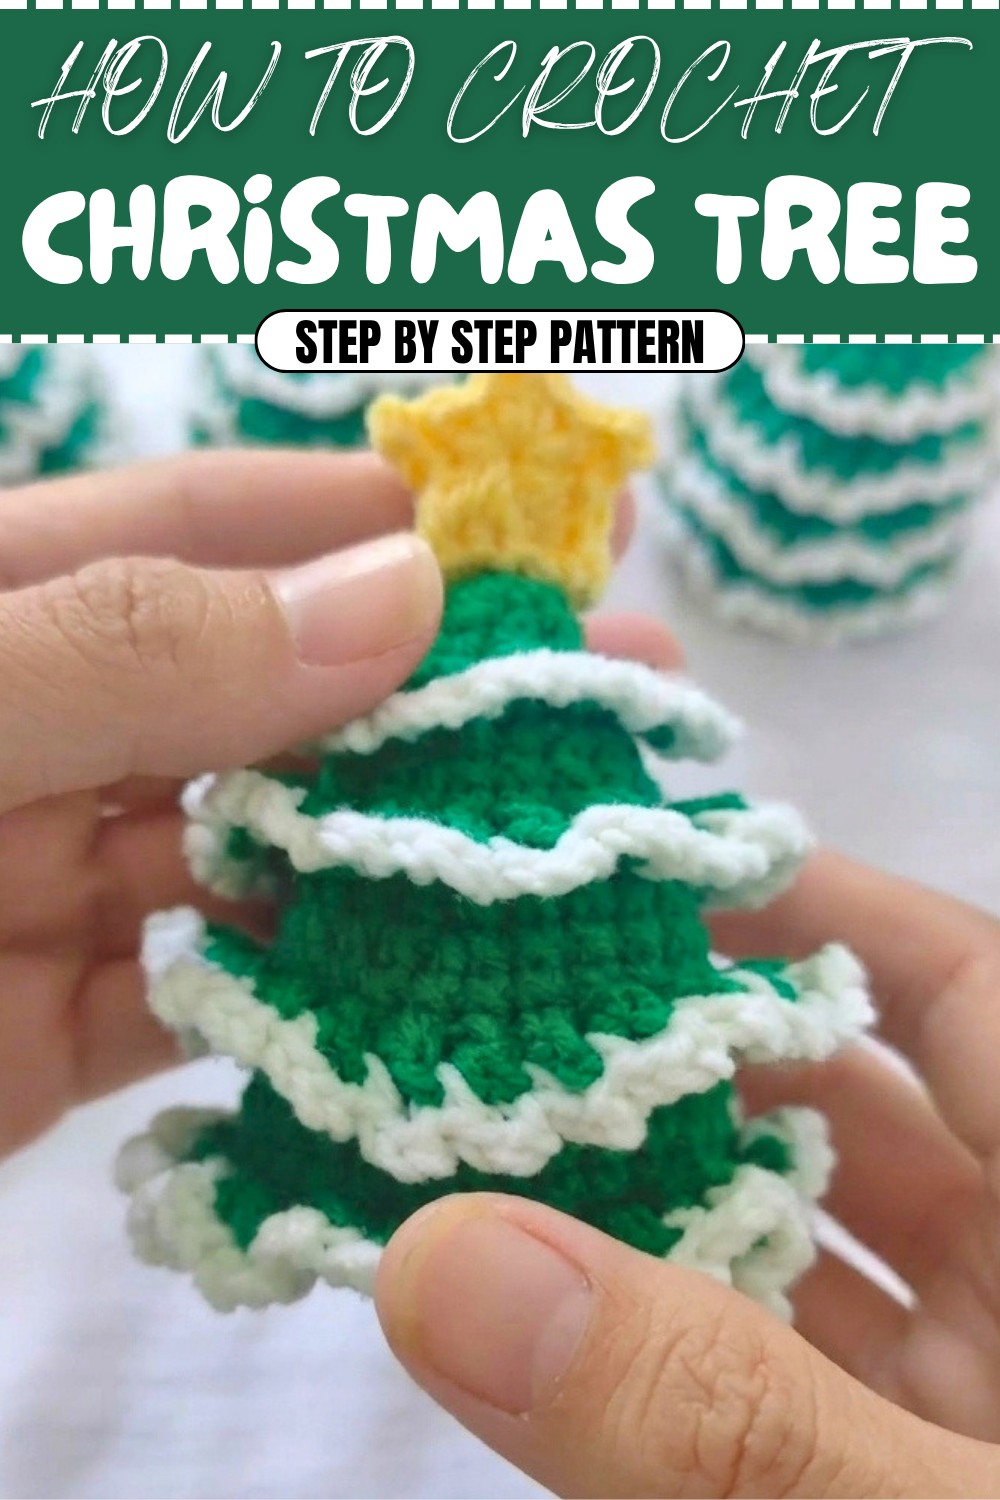
Free Crochet Christmas Tree Pattern for Effortless Festive Touches
Celebrate the season with the Free Crochet Christmas Tree Pattern for cute, stylish trees that spark joy in your home or office.
When winter comes around, nothing feels cozier than crocheting a cute little decoration that fills your home with holiday spirit. Imagine making your own charming Christmas tree that you can proudly display or gift to loved ones. This simple project uses basic crochet stitches like single crochet, increases, and back loop only stitches, making it easy for beginners and even kids to follow along. These stitches create layers and texture that mimic the branches and boughs of a real Christmas tree, giving your creation a lovely, three-dimensional look.
Crochet Your Own Christmas Tree Pattern for Cozy Décor
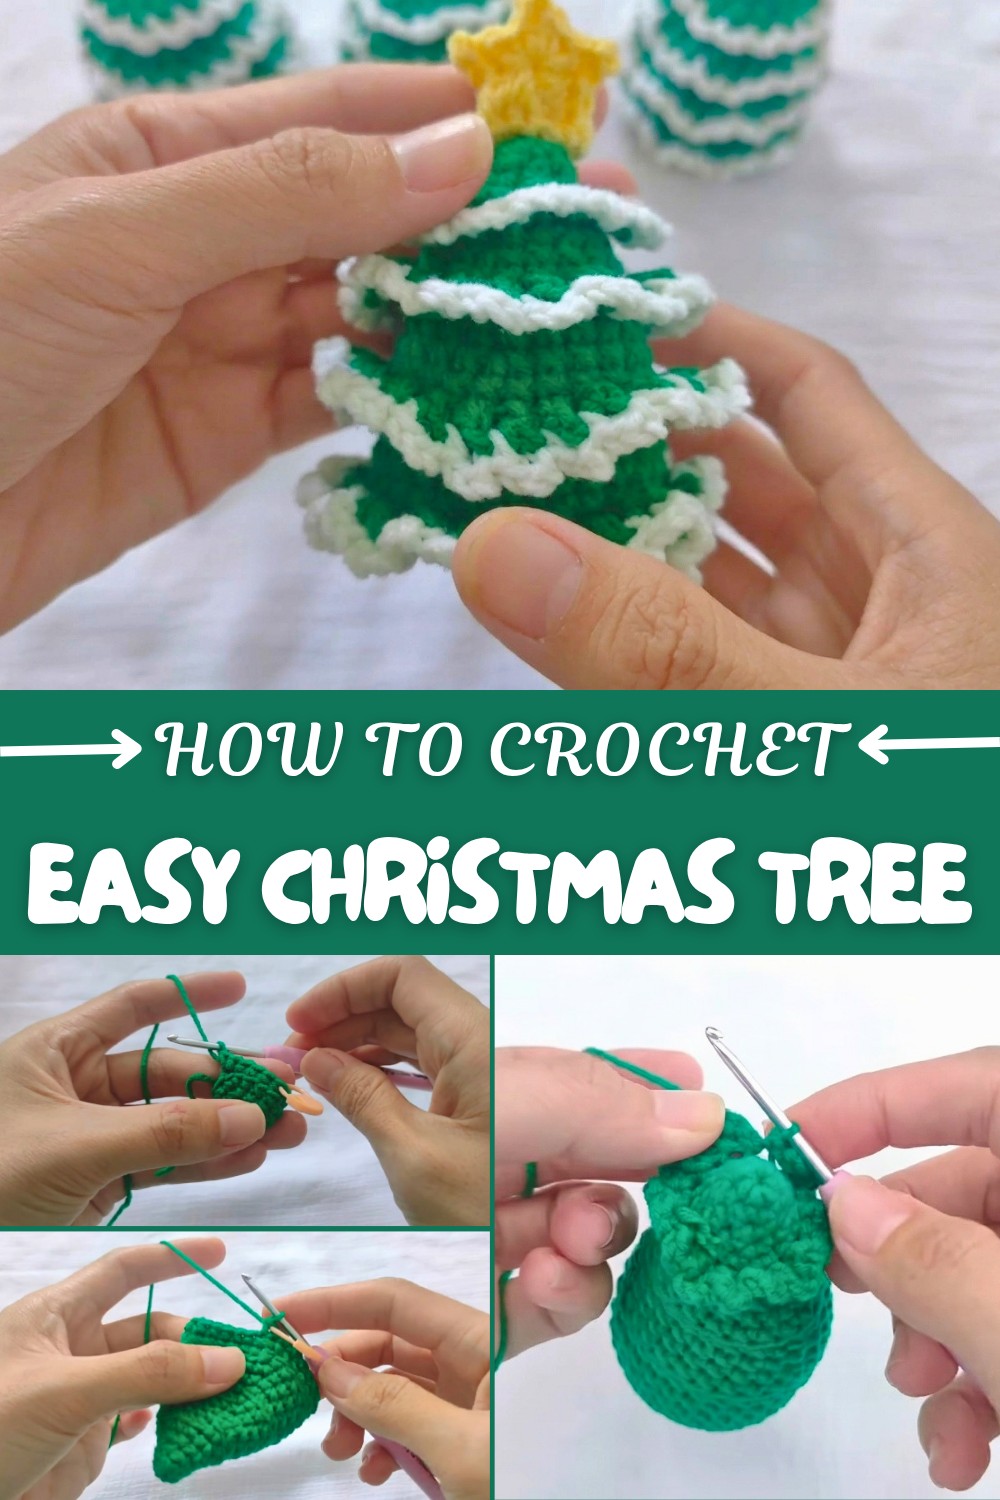
The pattern grows in rounds, starting small and gradually getting bigger through easy-to-remember stitch sequences like (1 sc, 1 inc) repeated and working in the back loop only for a special ridge effect. This technique not only adds beauty but also gives the tree a nice structure and fullness. Using minimal but effective stitches like single crochet and increases means you don’t need fancy skills or tools to make something warm and festive. The rhythmic repeat of these stitches helps build your confidence and muscle memory, perfect for beginners.
What’s exciting is that this project isn’t just about the tree itself. Once you get the hang of the single crochet, increases, and working in the back loop only, you can create all sorts of holiday decorations. Try making little ornaments, coasters, or even cozy mug warmers using the same stitches. You could also experiment by changing colors and adding tiny crocheted stars or snowflakes to make your Christmas décor extra special. This versatile pattern invites creativity and enjoyment, perfect for sharing the joy of handmade holidays with friends and family.
AboUT THIS PATTERN
In this pattern, we will create a beautiful crochet Christmas Tree Pattern. The project uses simple stitches like single crochet (sc), increase (inc), and some back-loop-only (BLO) rows to give it a dynamic and textured feel, making it suitable for beginners.
What You’ll Learn from this Pattern
This pattern is designed to teach you multiple crochet techniques:
- Working in rounds for flat and three-dimensional shapes.
- Using BLO and FLO for texture and aesthetics.
- Executing increases and decreases for shaping.
- Changing colors seamlessly and adding decorative edging.
Skill Level & Terminology
- Skill Level: Beginner
- Terminology Used: US Crochet Terminology
Materials & Tools
- Yarn: Any medium-weight yarn. You can use cotton, acrylic, or a blend depending on the project’s purpose.
- Crochet Hook: Size 4mm (G/6) or size required for your chosen yarn.
- Other Tools:
- Scissors
- Tapestry needle for sewing ends
- Stitch markers to keep track of rounds or color changes
- Fiber filling (if stuffing is required for certain parts)
Gauge
Gauge is not crucial for this project, but if you'd like a similar size:
- Work a 4x4 inch (10x10 cm) swatch in single crochet (sc).
- Adjust hook size if necessary to match tension.
Abbreviations List
Here’s a helpful reference for the terms used in this pattern:
- ch: Chain
- sl st: Slip Stitch
- sc: Single Crochet
- inc: Increase (2 sc in the same stitch)
- dec: Decrease (sc two stitches together)
- BLO: Back Loop Only
- FLO: Front Loop Only
- (...) Indicates a repeated sequence or total stitches at the end of a round
Special Stitch Instructions
- Back Loop Only (BLO): Work into the back loop of the stitch only, leaving the front loop free. This creates a ridged texture.
- Front Loop Only (FLO): Work into the front loop of the stitch only for slight surface-level texture.
- Increase (inc): Insert two single crochet stitches into the same stitch.
- Decrease (dec): Insert hook into the next stitch, yarn over, pull up a loop, then insert into the next stitch, yarn over again, and pull through all loops.
Finished Size
The exact dimensions depend on your yarn and hook choice. However, with medium-weight yarn and a 4mm hook, you can expect a small decorative piece approximately 6 x 6 inches when flat.
The Pattern Itself
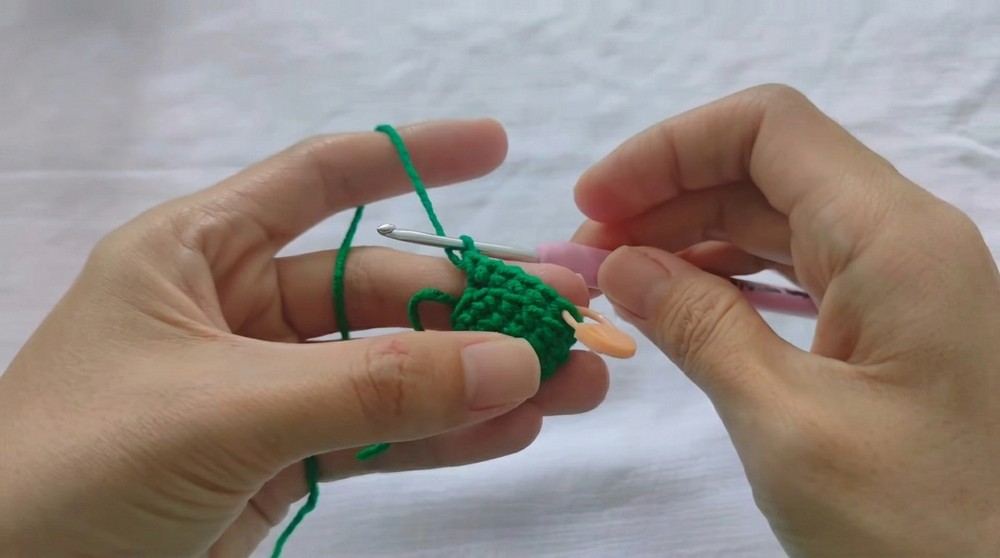
Starting Instructions
- Start with a magic ring or chain 3 and join with a slip stitch (sl st) to form a ring.
- The piece is worked continuously in rounds unless stated otherwise. Use a stitch marker to mark the beginning of each round.
Step-by-Step Instructions
Part 1: The Foundation
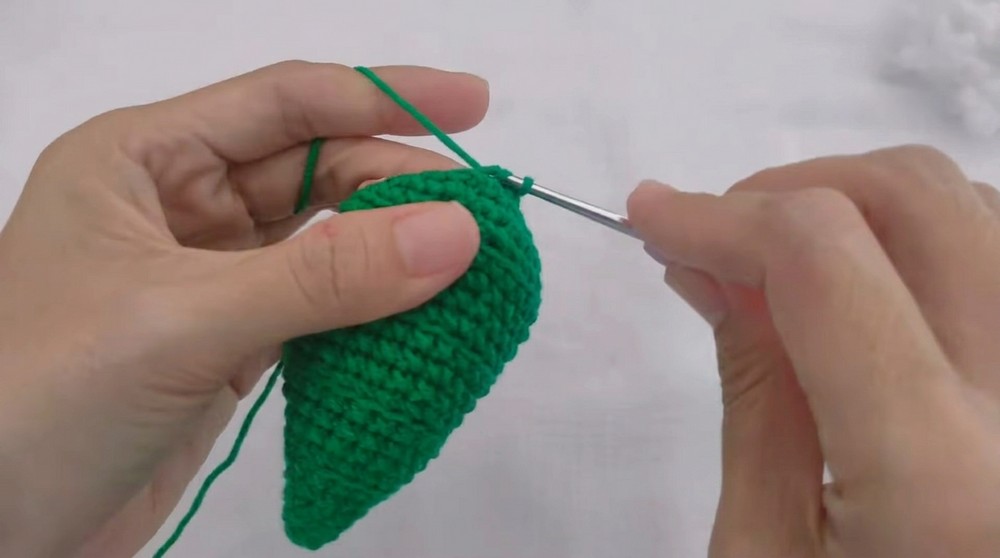
- Round 1: Work 6sc into magic ring (6). Pull the loop to tighten.
Note: Congrats! You've just started the base of the project. The first round forms the foundation for the rest of the pattern.
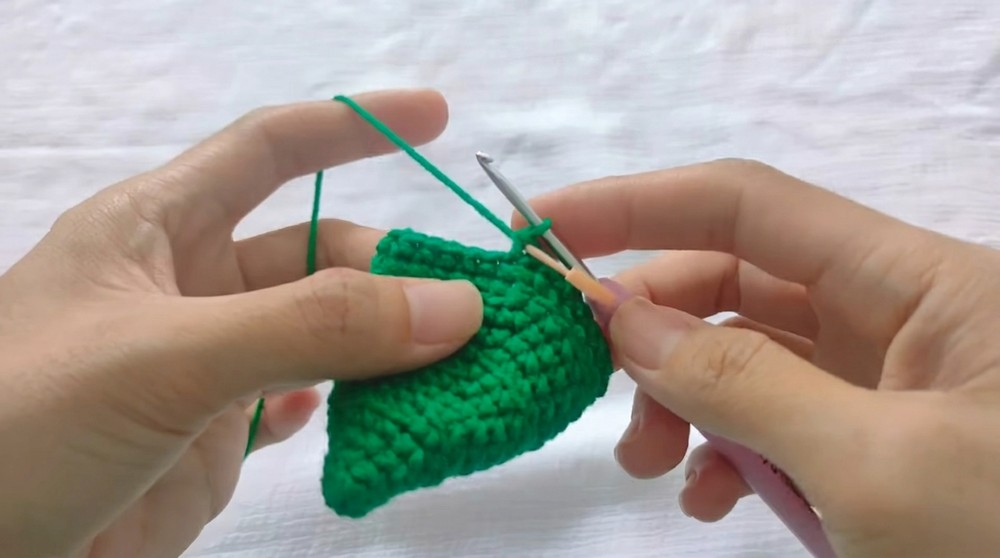
Part 2: Building the Base
- Round 2: (1 sc, 1 inc) repeat around (9).
- Round 3: (2 sc, 1 inc) repeat around (12).
- Round 4: (3 sc, 1 inc) repeat around (15).
Explanation: At this stage, you're increasing the number of stitches evenly in each round to create a flat circular piece.
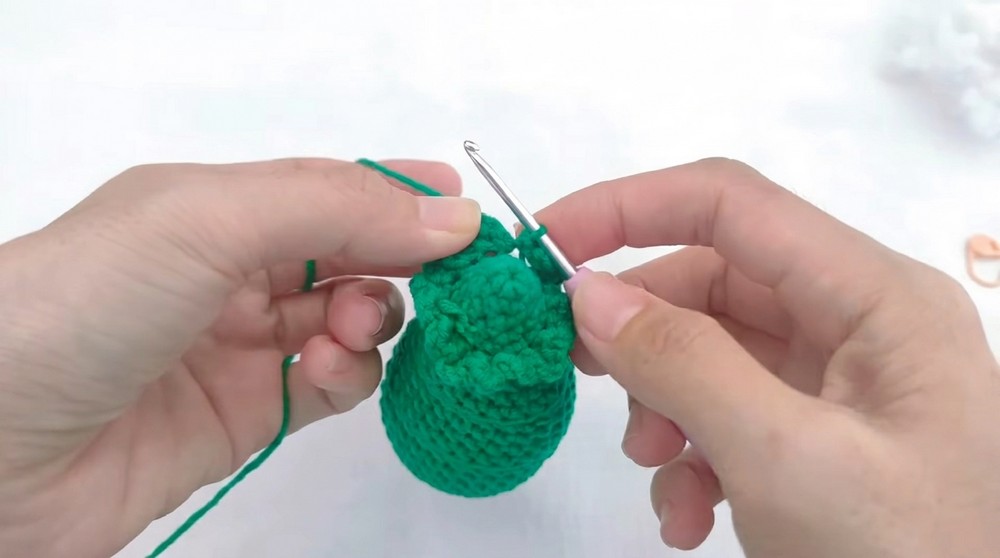
Part 3: Adding Texture
- Round 5: (4 sc, 1 inc) repeat around BLO (18).
- Round 6-9: Work evenly in sc (18).

Note: Introducing the BLO round creates the foundational ridge for the texture, while the even rows build height.
Part 4: Expanding the Shape
- Round 10: (5 sc, 1 inc) repeat around (21).
- Round 11: Work evenly in sc (21).
- Round 12: (6 sc, 1 inc) repeat around BLO (24).
- Round 13-15: Work evenly in sc (24).
Explanation: As the piece grows, you're alternating basic rounds with rounds that have texture (BLO) and rounds that increase in size.
Part 5: Narrowing the Shape
- Round 16: (7 sc, 1 inc) repeat around (27).
- Round 17: Work evenly in sc (27).
- Round 18: (8 sc, 1 inc) repeat around BLO (30).
Note: We're approaching the peak expansion point with the final increases.
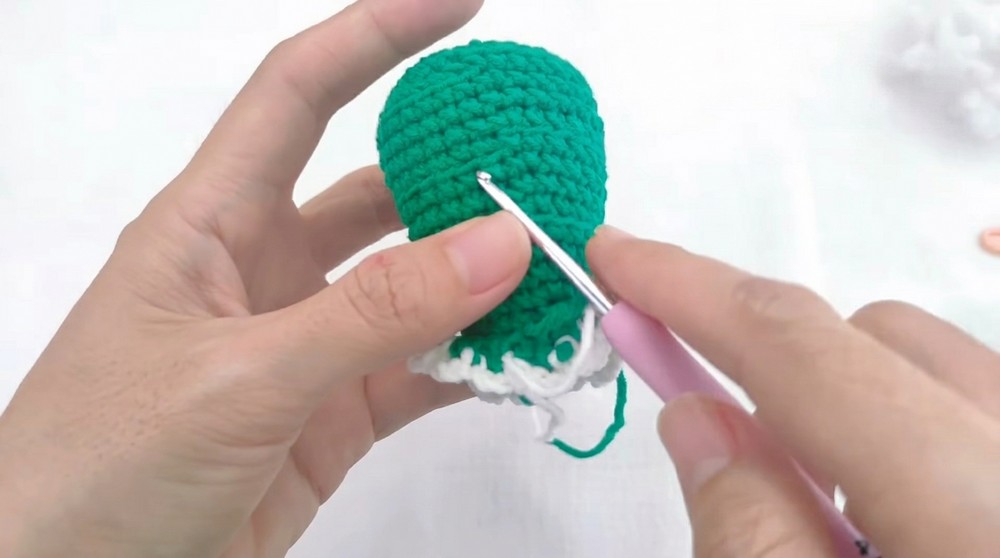
Part 6: Final Shape & Decoration
- Round 19: (2 sc, 1 dec) repeat around (27).
- Round 20: (1 sc, 1 dec) repeat around (18). Begin stuffing lightly here if the pattern requires a dimensional shape.
- Round 21-22: Continue decreasing until you reach 9 stitches. Fasten off and sew the opening closed.
Decorative Edging:
For decorative edging on specific rows, follow the instructions below:
- FLO on Rows 10, 14, 18: (ch 3, 1 sc in the next stitch) repeat to the end, creating picot edges.
- For Color Change: Join new yarn with a slip stitch (sl st) and continue.
Assembly & Finishing
- Use a tapestry needle to weave in ends discreetly.
- If stuffing was added, shape the piece gently for balance.
- Add any embellishments such as bows, beads, or embroidery.
Why I Love This Pattern
This design beautifully balances simplicity with creativity. The alternating use of BLO and sc stitches adds texture without adding complexity, making it a beginner-friendly project with a professional look. I also adore how versatile this piece is—it can be easily transformed into home décor, ornaments, coasters, or even part of a larger motif. It’s perfect for experimenting with colors and textures while achieving a satisfying result.
Plus, the process of working in rounds and exploring edge treatments, like picots, keeps the work interesting, even for seasoned crocheters!
Final Word
Congratulations on completing this project! Whether you're new to crochet or a seasoned stitcher learning new textures, this pattern is a fun, accessible, and rewarding experience. Your finished piece is a testament to your creativity and skill. So take a moment to admire your work before sharing it with others or using it as the starting point for even more crochet adventures!