
Free Crochet Mini Strawberry Ornament Pattern for Home Beauty
Easy way to brighten your day with the Free Crochet Mini Strawberry Pattern shares a fast path to adorable, fruity crochet fun.
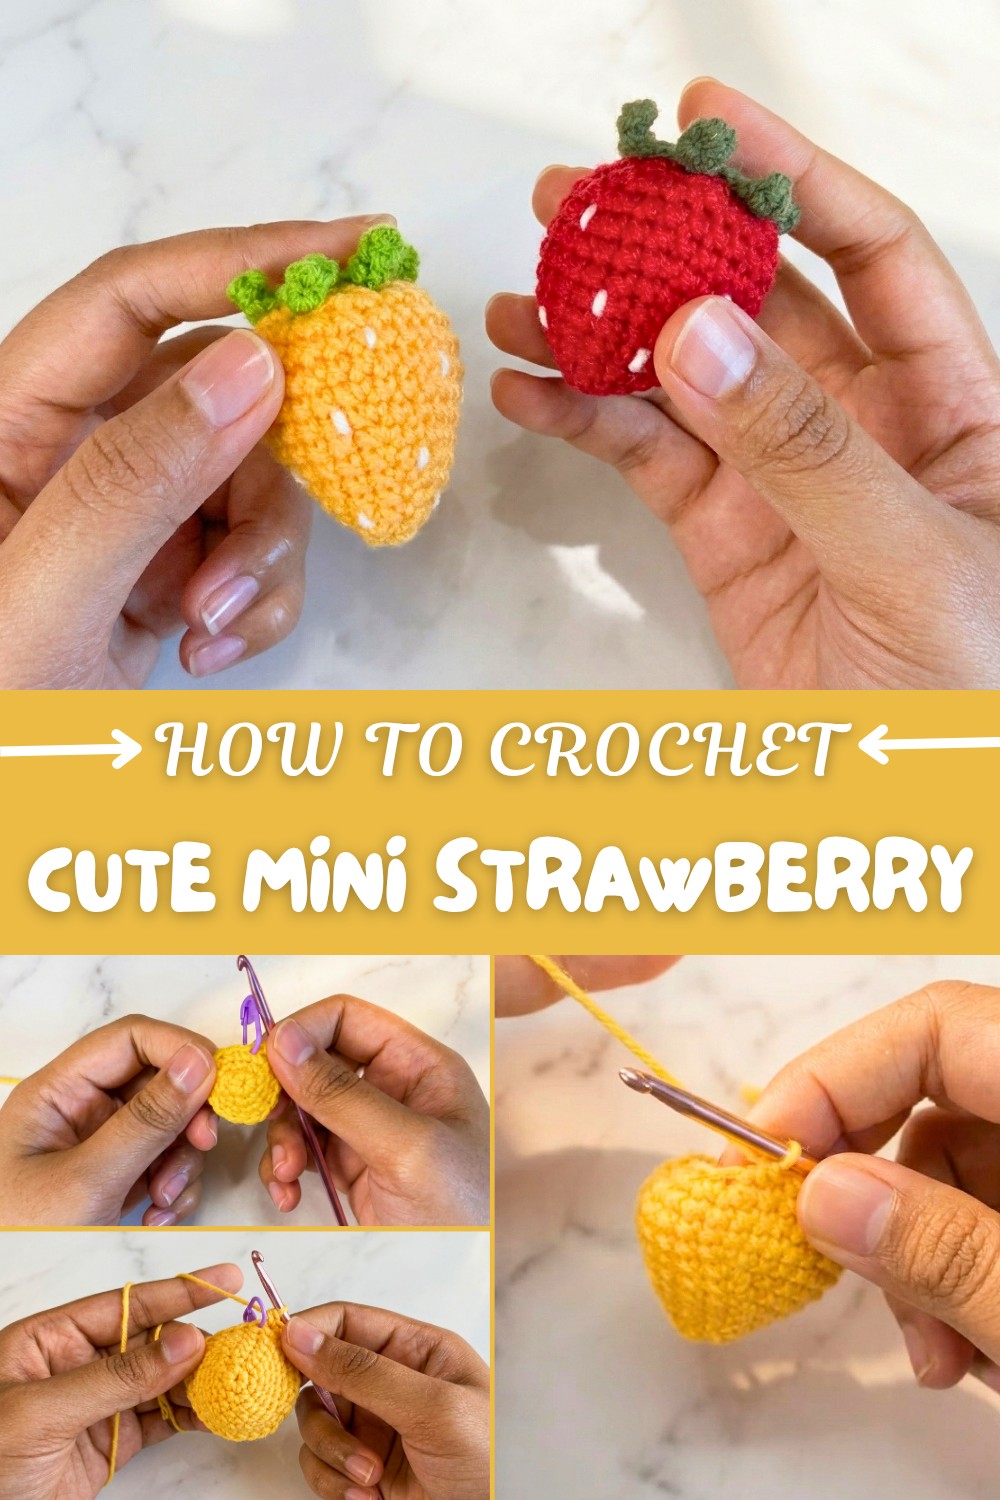
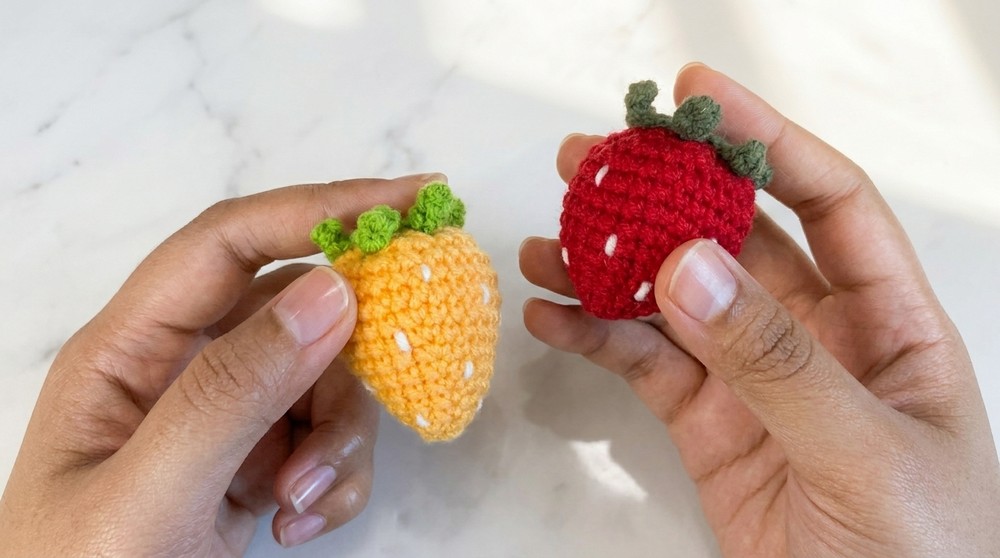
There’s something incredibly charming about holding a tiny handmade strawberry in your hand, especially when you know you crocheted it yourself. This mini strawberry pattern is perfect for those moments when you want a quick, cute project that still feels thoughtful and special. You can keep it classic with red and green, go pastel with soft pink and mint, or even make whimsical strawberries in bright pink, lilac, or teal. Each little berry looks adorable as a keychain, bag charm, desk ornament, or as an embellishment for bigger amigurumi projects.
Quick Crochet Mini Strawberry Pattern for Kids Smiles
The pattern starts from the bottom of the strawberry using a magic ring, then gently grows into a round, slightly tapered shape with carefully placed single crochet increases and decreases. This helps create that plump, realistic strawberry silhouette. Once the body is done, a simple leafy top is added using chains, single crochets, and slip stitches, making it look complete and polished. You can even embroider tiny “seeds” with contrasting yarn for extra detail.
From this pattern, you will learn how to work in the round using a magic ring, how to shape 3D pieces with increases and decreases, and how to attach small decorative pieces like leaves neatly. You will also gain practice in stuffing amigurumi evenly and closing the top cleanly using a needle and yarn, which is an essential skill for many crochet toys and miniatures.
Here are some ideas of what else you can crochet once you master the techniques in this mini strawberry pattern:
- Mini Fruit Collections: Tiny apples, cherries, lemons, or oranges using the same shaping methods.
- Keychains & Bag Charms: Little hearts, stars, and mini veggies that use the same amigurumi structure.
- Amigurumi Accessories: Small hats, props, or food items for your dolls and stuffed animals.
- Decor Sets: Garlands of strawberries or fruit-themed décor for nurseries, parties, or crochet fairs.
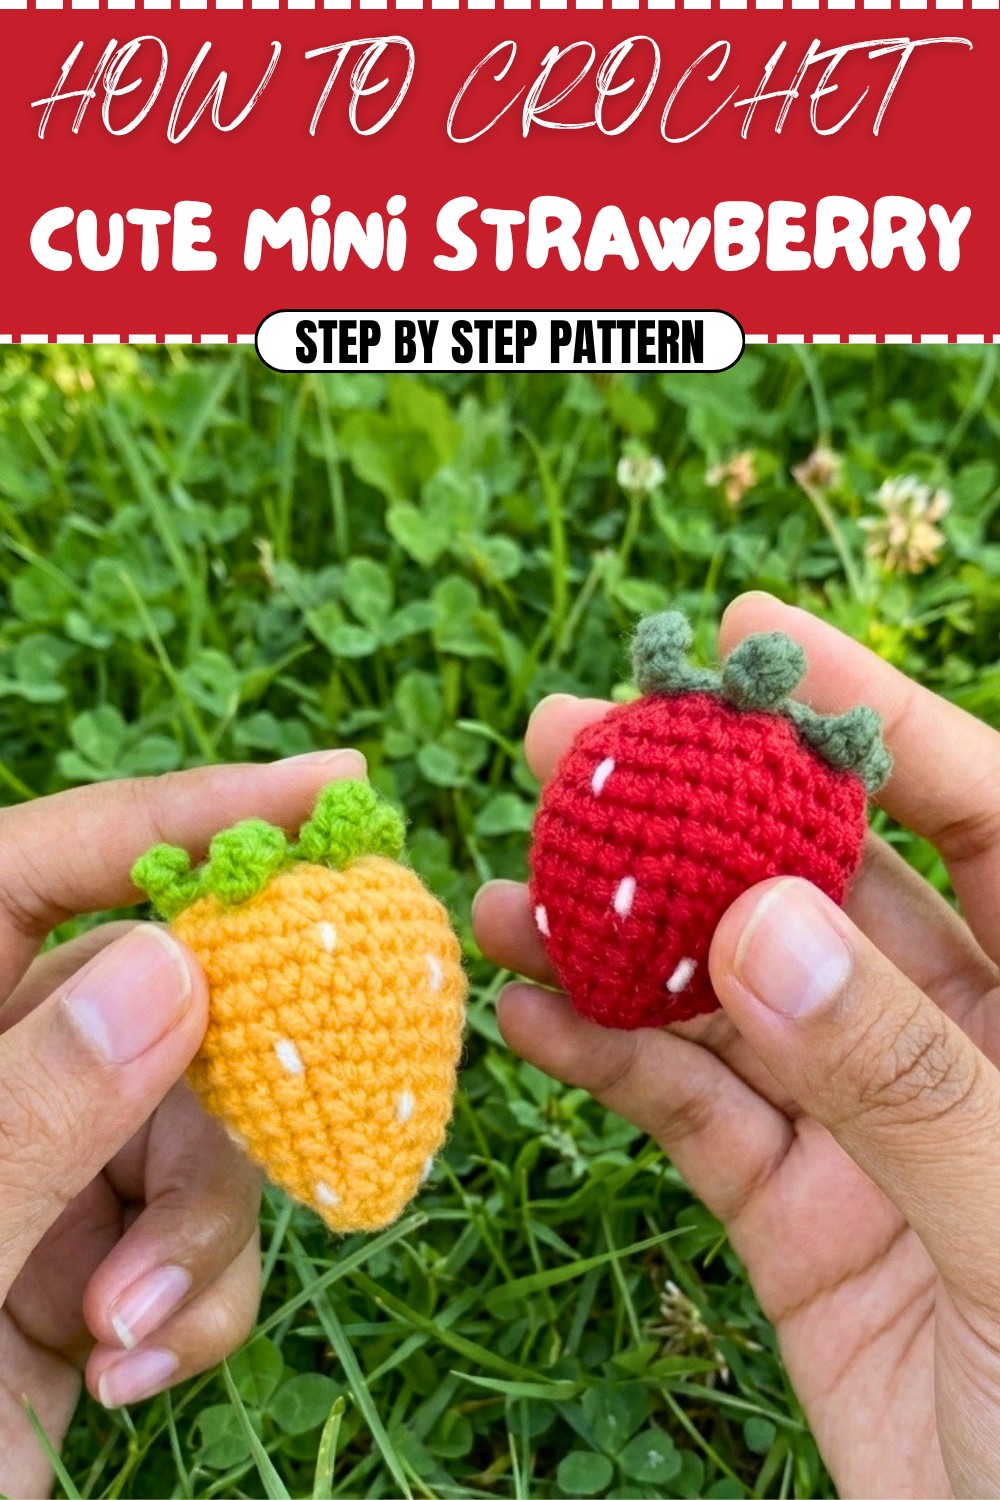
Crochet Strawberry Pattern: Step-by-Step Guide
A crochet strawberry is a cute and versatile project, perfect for adding a pop of color to your craft collection. Whether you want to make a keychain, a decorative piece for your home, or use it as embellishments for other projects, this strawberry pattern is a delightful choice. The combination of a bright, colorful body and lush green leaves makes it a fun and satisfying creation.
This pattern begins with the magic ring to create the strawberry body, followed by single crochet, increases, and decreases to shape it into the perfect strawberry look. To complete the design, delicate leaves are added with small chains and slip stitches for a polished effect. Crochet enthusiasts, whether confident beginners or intermediate-level crafters, will find this pattern rewarding and enjoyable!
Skill Level & Terminology
- Skill Level: Advanced Beginner to Intermediate
- Terminology: US Crochet Terms
While the pattern involves straightforward techniques, some prior experience with working in rounds (amigurumi) is recommended.
Materials & Tools
- Yarn:
- Main color for the strawberry (Bright pink, or your preference).
- Contrasting green yarn for the leaves.
- Hook: 3.5 mm crochet hook.
- Notions:
- Stitch marker.
- Darning needle for weaving in ends and sewing pieces together.
- Scissors.
- Poly-fiber stuffing for filling the strawberry.
Gauge
Gauge is not critical, but aim for tight, even stitches so that the stuffing doesn’t show.
Abbreviations
- MR – Magic Ring
- sc – Single Crochet
- inc – Increase (2 sc in the same st)
- dec – Decrease (crochet two stitches together, invisible decrease preferred)
- sl st – Slip Stitch
- ch – Chain
- st(s) – Stitch/Stitches
Special Stitch Instructions
- Magic Ring (MR): Form a loop by crossing the yarn over your fingers, insert the hook into the loop, yarn over, pull through, and begin crocheting into the loop. Pull the tail to tighten the loop after completing the stitches.
- Invisible Decrease: Insert hook into the front loop only of the next two stitches, yarn over, pull through both loops, then yarn over again and pull through the remaining loops. This creates a cleaner and tighter decrease with minimal gaps.
Finished Size
The finished strawberry size varies based on the yarn and hook used. With the suggested materials, the strawberry measures approximately 5 cm tall (excluding the leaves).
Pattern Overview
This pattern begins by crocheting the strawberry body in continuous rounds, gradually increasing and later decreasing to shape the fruit. It ends with creating delicate green leaves, attaching them to the top, and optionally adding small white seeds with a darning needle for added texture. The main stitches used are single crochet (sc), increases (inc), and invisible decreases (dec). You’ll stuff the strawberry gently before closing it, ensuring a plump, uniform shape.
Step-by-Step Pattern
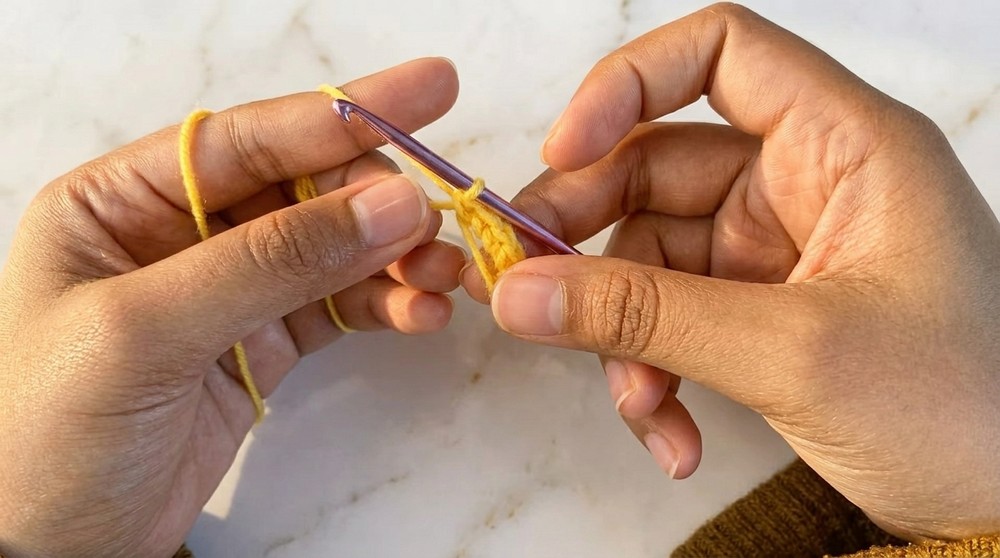
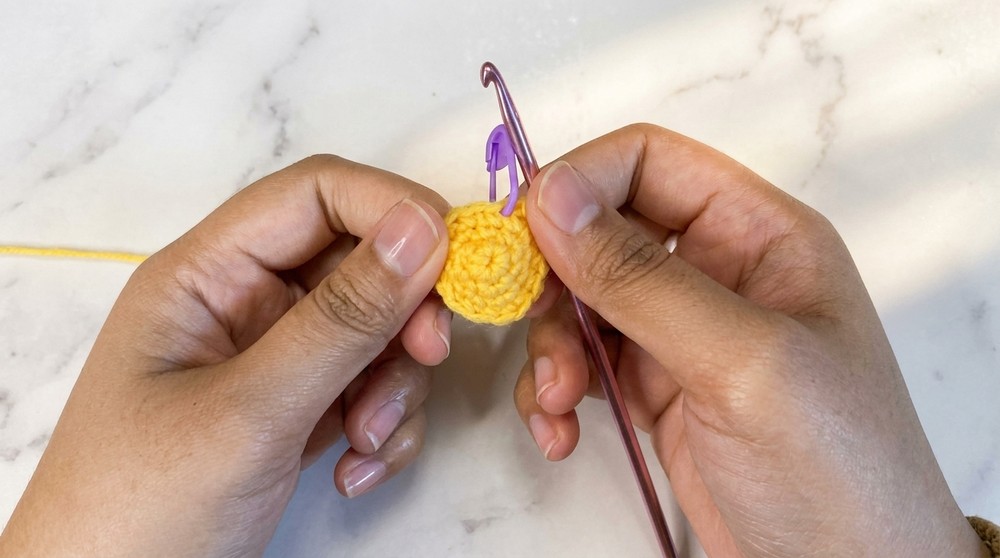
Part 1: Strawberry Body
Round 1: Start with MR, work 6 sc into the ring. [6]
- Pull the tail tightly to close the magic ring.
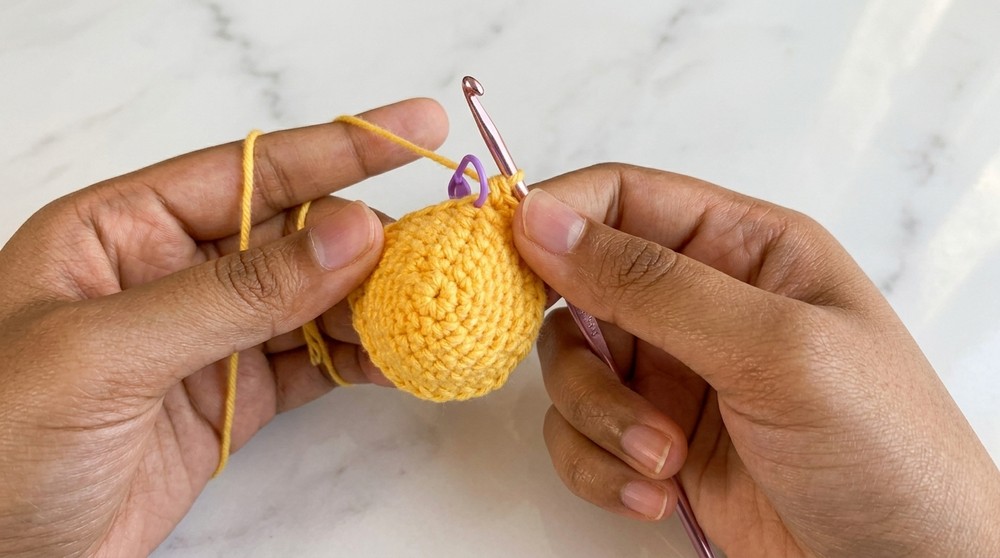
Round 2: (1 sc, 1 inc) repeat 3 times. [9]
Round 3: (2 sc, 1 inc) repeat 3 times. [12]
Round 4: (3 sc, 1 inc) repeat 3 times. [15]
Round 5: (4 sc, 1 inc) repeat 3 times. [18]
Round 6: (5 sc, 1 inc) repeat 3 times. [21]
Round 7: (6 sc, 1 inc) repeat 3 times. [24]
Round 8: (3 sc, 1 inc) repeat 6 times. [30]
Rounds 9-10: 1 sc in each st around. [30 each round]
Round 11: (3 sc, 1 dec) repeat 6 times. [24]
Round 12: (2 sc, 1 dec) repeat 6 times. [18]
Round 13: (1 sc, 1 dec) repeat 6 times. [12]
- Pause here to stuff the strawberry. Make sure the edges are filled evenly before continuing.
Round 14 (Final Round): Work 6 decreases to close the top. [6]
- Fasten off and leave a tail for weaving.
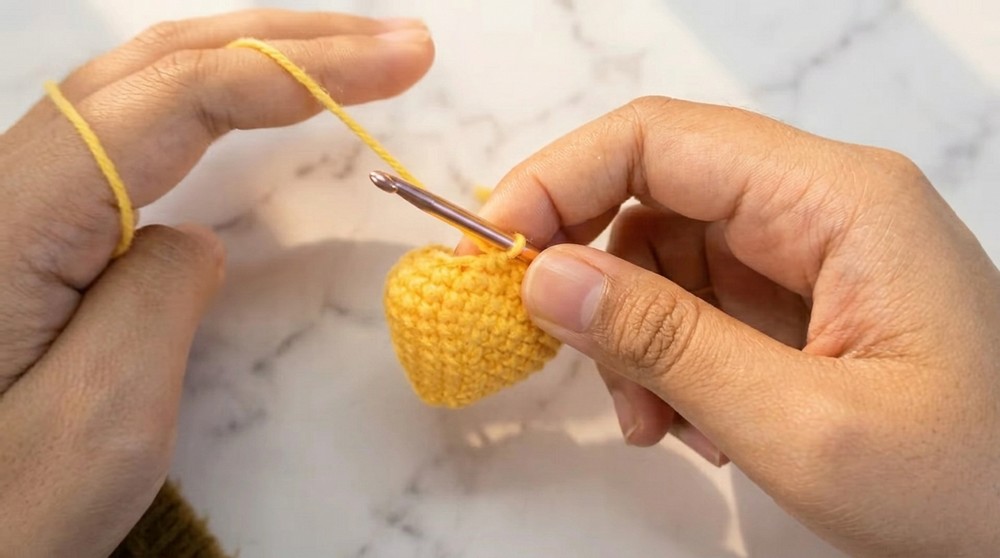
For Non-Pattern Readers: The strawberry body works as a simple increasing circle, transitioning to decreases to form a rounded base. Be sure to stuff it as you go for an even shape.
Part 2: Leaves
Round 1: Start with MR, work 6 sc into the ring. [6]
Round 2: 1 sc in each st around. [6]
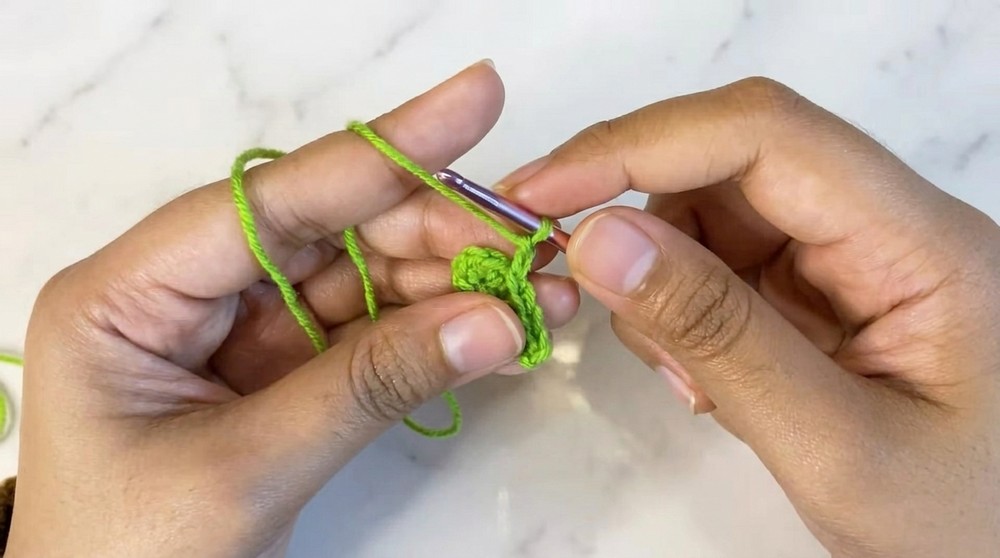
Round 3: For each st, (sl st, ch 5, 4 sc along the chain starting from the 2nd ch from the hook, sl st back into the same st). Repeat for all 6 sts to create 6 leaves.
- Fasten off and leave a long tail for sewing.
The leaves are created as small lobes worked directly into the round. Each is made by chaining 5, crocheting back along the chain, and attaching to the base with a slip stitch.
Assembly & Finishing
- Attach Leaves to the Body: Position the leaf piece on top of the strawberry. Use the long tail and a darning needle to sew the leaves around the top. Pull snugly to secure.
- Add Seed Details (Optional): Use white yarn or embroidery thread to create seed-like stitches over the strawberry’s body. Place them randomly but evenly for a natural look.
- Add Keyring (Optional): Attach a keyring or small loop to the top for use as a keychain.
- Weave in all loose ends and trim excess yarn for a clean finish.
After attaching the leaves, consider adding decorative seed details with white yarn. You can also attach a keyring to make it a functional charm!
What Will You Learn From This Pattern?
- Creating a magic ring for seamless amigurumi projects.
- Properly increasing and decreasing to form a rounded 3D shape.
- How to crochet and attach leaves with small detailed chains.
- Finishing touches like stuffing, sewing, and decorative embroidery.
Highlight Benefits:
- Fun and fast project, ideal for gifts or beginners exploring amigurumi.
- Uses minimal yarn, making it perfect for scraps.
- Customizable in size and color for endless variations!
Learn your creativity, and congratulations on making your own crochet strawberry!