
Crochet Floor Mat With Basket Weave Pattern for Cozy Spaces
Make every step soft with the Free Crochet Floor Mat With Basket Weave Pattern for a unique, woven look that upgrades your décor.
Creating handmade items for your home is a wonderful way to add warmth and personality to any space. The unique texture of the basket weave stitch used in this project brings a beautiful, woven look to the floor mat. This stitch combines front post and back post double crochets, which create a raised, interlocking pattern that feels both soft and sturdy. Because of its quick-drying and durable nature, this mat is especially great for use in the bathroom or kitchen.
Effortlessly Crochet Your Own Floor Mat With Basket Weave Pattern for Home Elegance
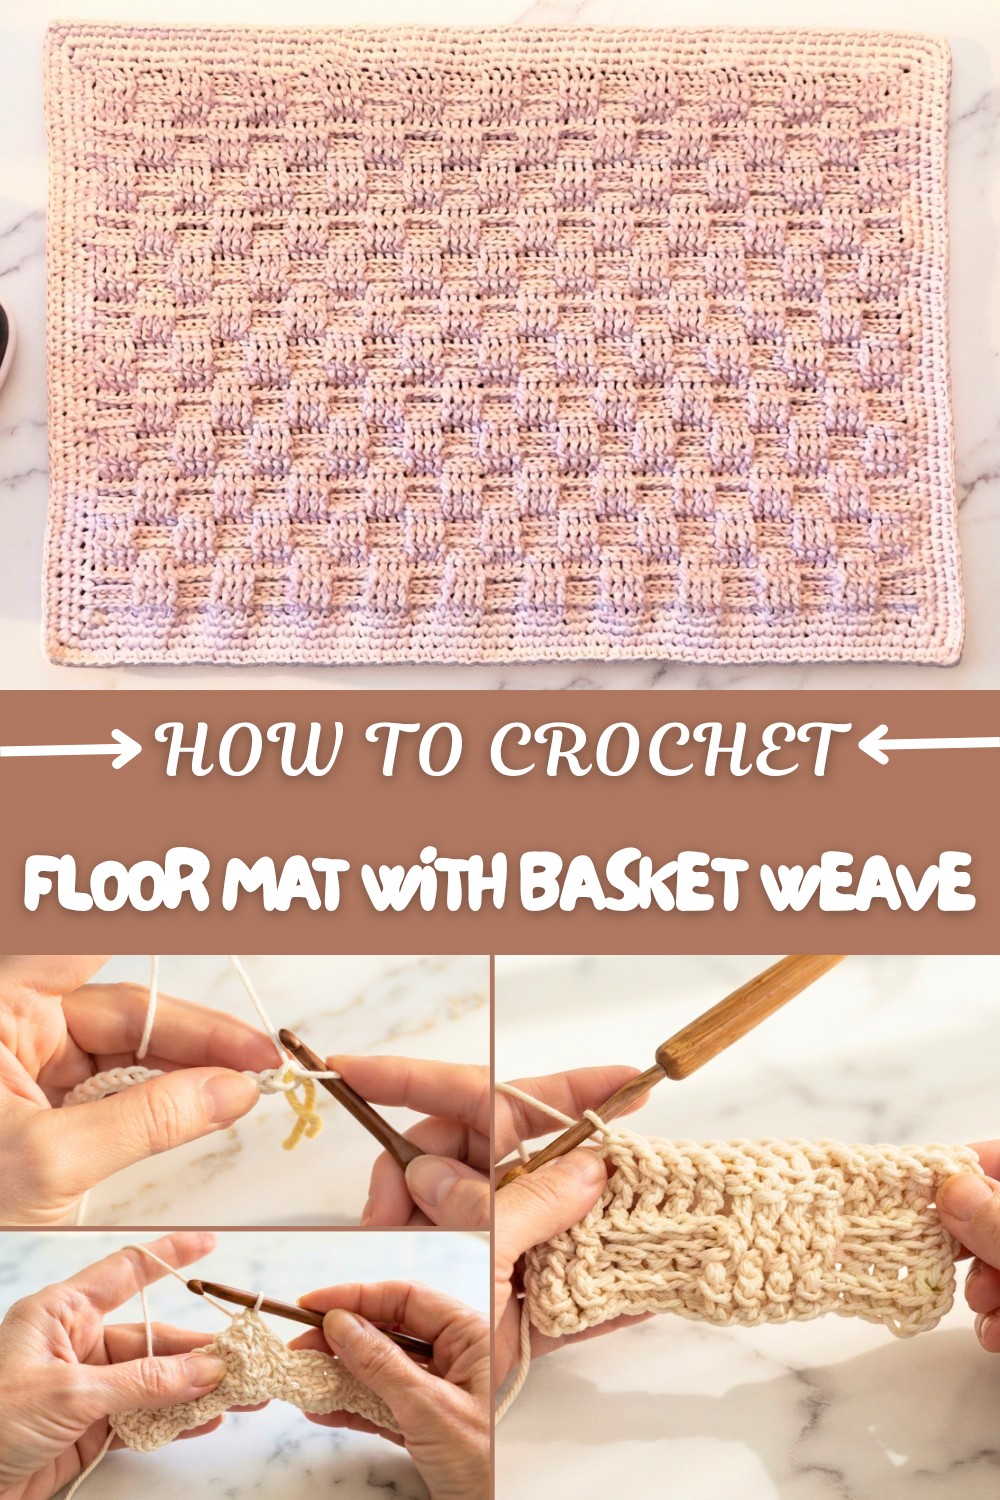
This floor mat is perfect for beginners since it uses simple stitches and repeats an easy-to-follow pattern. With cotton or cotton-blend yarn and a 5 or 6 mm hook, you can crochet a mat that is both practical and cozy. The foundation chain is made in multiples of eight plus six, allowing you to adjust the size easily to fit your needs. Finishing it off with a neat border adds a polished look and balances the mat’s thickness, making it a lovely addition to your home decor.
The basket weave stitch is not only great for floor mats but also works beautifully for other projects. You can create textured blankets, cushion covers, and even scarves using the same technique. Changing yarn colors or thickness gives you endless possibilities for different styles and effects. This pattern is a fantastic way for beginners to practice post stitches and discover how to create eye-catching, tactile designs. With a little practice, you’ll be able to make cozy and stylish pieces that brighten up any room.
Crochet Basket Weave Floor Mat Pattern
This rectangular floor mat, featuring the basket weave pattern, is a quick and practical project that creates a textured, thick, and durable fabric—perfect for kitchens, bathrooms, or other high-traffic areas. The basket weave stitch provides a visually appealing, somewhat rough texture that offers excellent absorbency and fast drying properties. The pattern is easy to customize to your preferred size and works up in a few hours for most crocheters.
Skill Level & Terminology
Skill Level: Beginner to Intermediate.
Terminology: US Crochet Terms.
Materials & Tools
- Yarn: Size 4 medium-weight cotton yarn or cotton blend (recommended for durability and easy washing).
- Hook Sizes: 5 mm hook for the main body and 6 mm hook for the border.
- Other Tools:
- Scissors.
- Stitch marker (for marking corners or rounds).
- Tapestry needle (for weaving ends neatly).
Gauge
Gauge is not critical, but for reference:
- Each basket weave "block" (4 stitches wide, 3 rows tall) measures approximately 1.25 x 1 inch.
- The finished size of the mat is 22 inches long by 14 inches wide, with an optional 2-inch border.
Abbreviations List
- ch: Chain.
- hdc: Half Double Crochet.
- dc: Double Crochet.
- fpdc: Front Post Double Crochet.
- bpdc: Back Post Double Crochet.
- sc: Single Crochet.
- sl st: Slip Stitch.
- st(s): Stitch(es).
Special Stitch Instructions
Front Post Double Crochet (fpdc):
- Yarn over, insert your hook from front to back around the post of the indicated stitch.
- Pull up a loop (you’ll have 3 loops on the hook).
- Yarn over, pull through 2 loops (2 loops remain).
- Yarn over, pull through the final 2 loops.
Back Post Double Crochet (bpdc):
- Yarn over, insert your hook from back to front and then to the back again around the post of the indicated stitch.
- Pull up a loop (3 loops on the hook).
- Yarn over, pull through 2 loops (2 loops remain).
- Yarn over, pull through the final 2 loops.
Half Double Crochet (hdc):
- Yarn over, insert your hook into the stitch, and pull up a loop (3 loops on the hook).
- Yarn over, pull through all 3 loops.
Finished Size
The finished mat measures approximately:
- 22 inches long by 14 inches wide (main panel).
- Add about 2 inches in width and length if you work the optional border.
What You'll Learn
- Basket Weave Stitch: Understand how alternating fpdc and bpdc stitches create the textured look.
- Row Repetition: Master a 3-row repeat to form the basket weave structure.
- Smooth Border Techniques: Use single crochet for a polished, even edge.
- Custom Sizing: Adjust foundation stitches and row repeats for any mat size.
This pattern combines function with texture, offering a modern, durable work of art that works equally well as decor or utility in your home.
The Pattern
Step 1: Foundation Chain
- Begin with a slip knot.
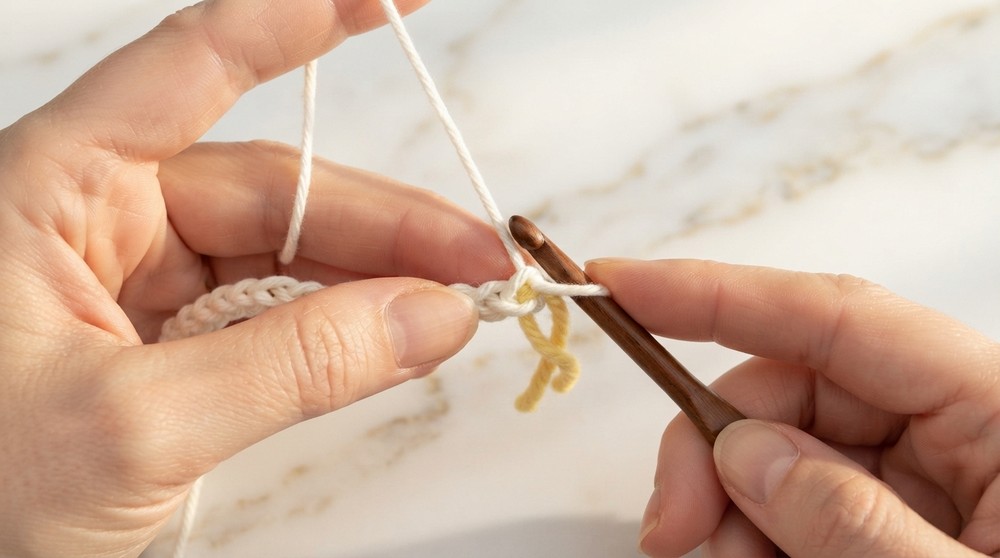
- Ch 86 (or any multiple of 8 + 6 for a different size).
- Mark the 86th chain to keep track of the edge for later reference.
This chain sets the base for the mat and should roughly equal the desired width.
Step 2: Foundation Row
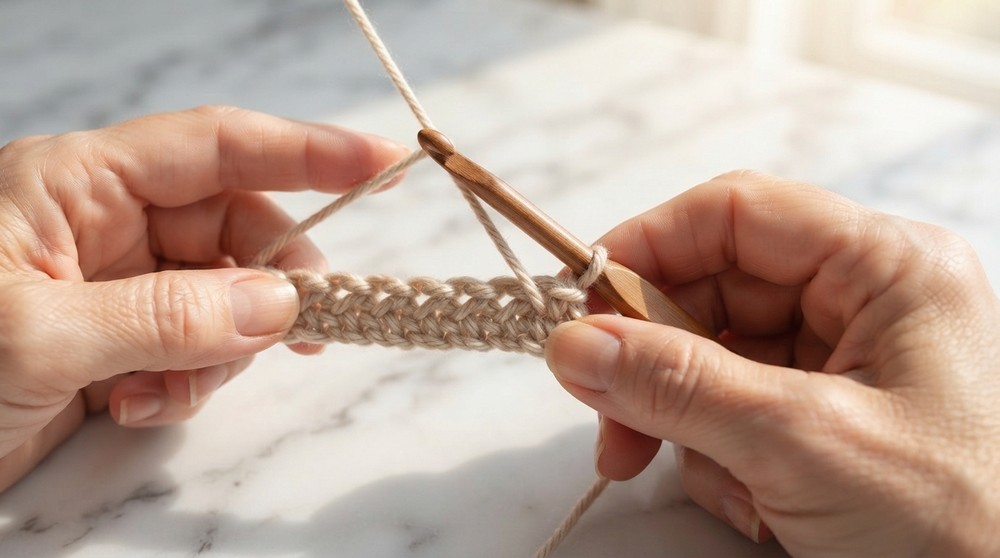
- Ch 2 (counts as the first hdc).
- Work hdc into the third chain from the hook, inserting the hook into the back bump of each chain for a clean edge.
- Continue working hdc into the back bump of each chain across.
At the end of the Foundation Row: You’ll have 86 hdc.
This row creates a strong foundation to support the basket weave texture.
Step 3: Basket Weave Rows
Row 1:
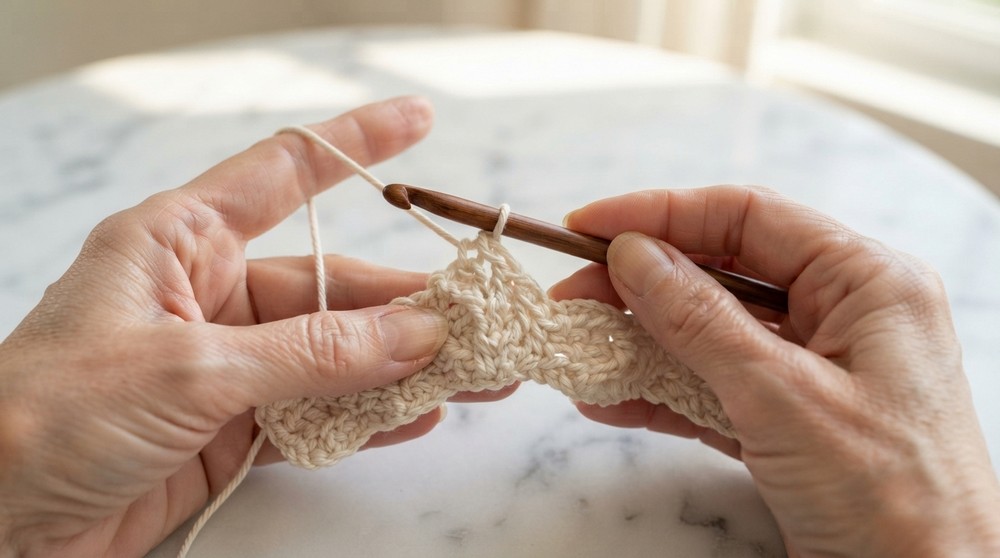
- Ch 2 (counts as first hdc), turn your work.
- Alternating stitches:
- Work fpdc around the next 4 stitches.
- Work bpdc around the next 4 stitches.
- Repeat the sequence (4 fpdc, 4 bpdc) across the row.
- End the row with an hdc into the last stitch (marked chain 2).
Rows 2 and 3:
- Repeat the stitch pattern from Row 1 (4 fpdc, 4 bpdc) for the next 2 rows. Ensure 3 total rows have identical post orientation.
This establishes the first set of basket weave blocks and builds texture.
Step 4: Switch Orientation
Rows 4–6:
- Reverse the orientation:
- Work fpdc on bpdc stitches from the previous rows.
- Work bpdc on fpdc stitches from the previous rows.
- Repeat this pattern for 3 rows.
Switching the post stitches every 3 rows forms the alternating blocks of the basket weave.
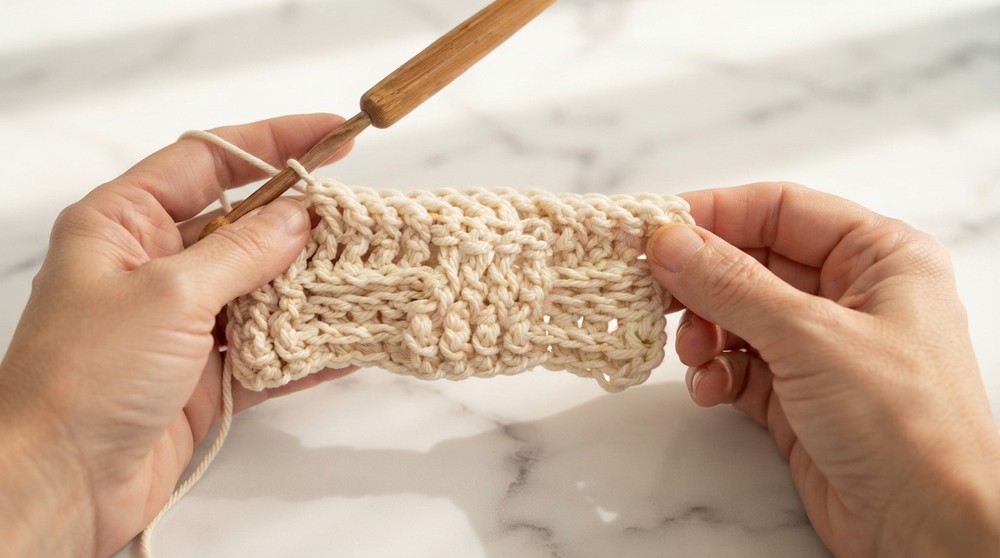
Step 5: Continue Repeating Patterns
- Alternate the stitch orientation every 3 rows until you’ve completed 36 rows (or the desired mat length).
At the end of Step 5: Your mat should measure 22 inches long by 14 inches wide without the border.
Step 6: Adding the Border
Setting Up the Border:
- Attach two strands of yarn held together using a standing sc at any corner.
- Work 1 sc in each stitch across the first edge.
Forming Corners:
- At each corner stitch:
- Sc, ch 2, sc, all in the same stitch.
- Pivot the mat and continue working sc evenly along the next side.
Working Even Stitches on the Sides:
- Use intuitive spacing for sc along the side edges (as these lack defined stitches). Keep the fabric flat as you work.
Complete the Border:
- Work 4 rows of sc around the entire mat, forming additional rows for thickness.
- Fasten off and weave in all ends with the tapestry needle for a secure finish.
Assembly & Finishing
- Reinforce Weaving Ends: Ensure all loose ends are neatly tucked in with an invisible finish.
- Blocking (Optional): Wet block the mat to enhance texture and create sharp, clean edges.
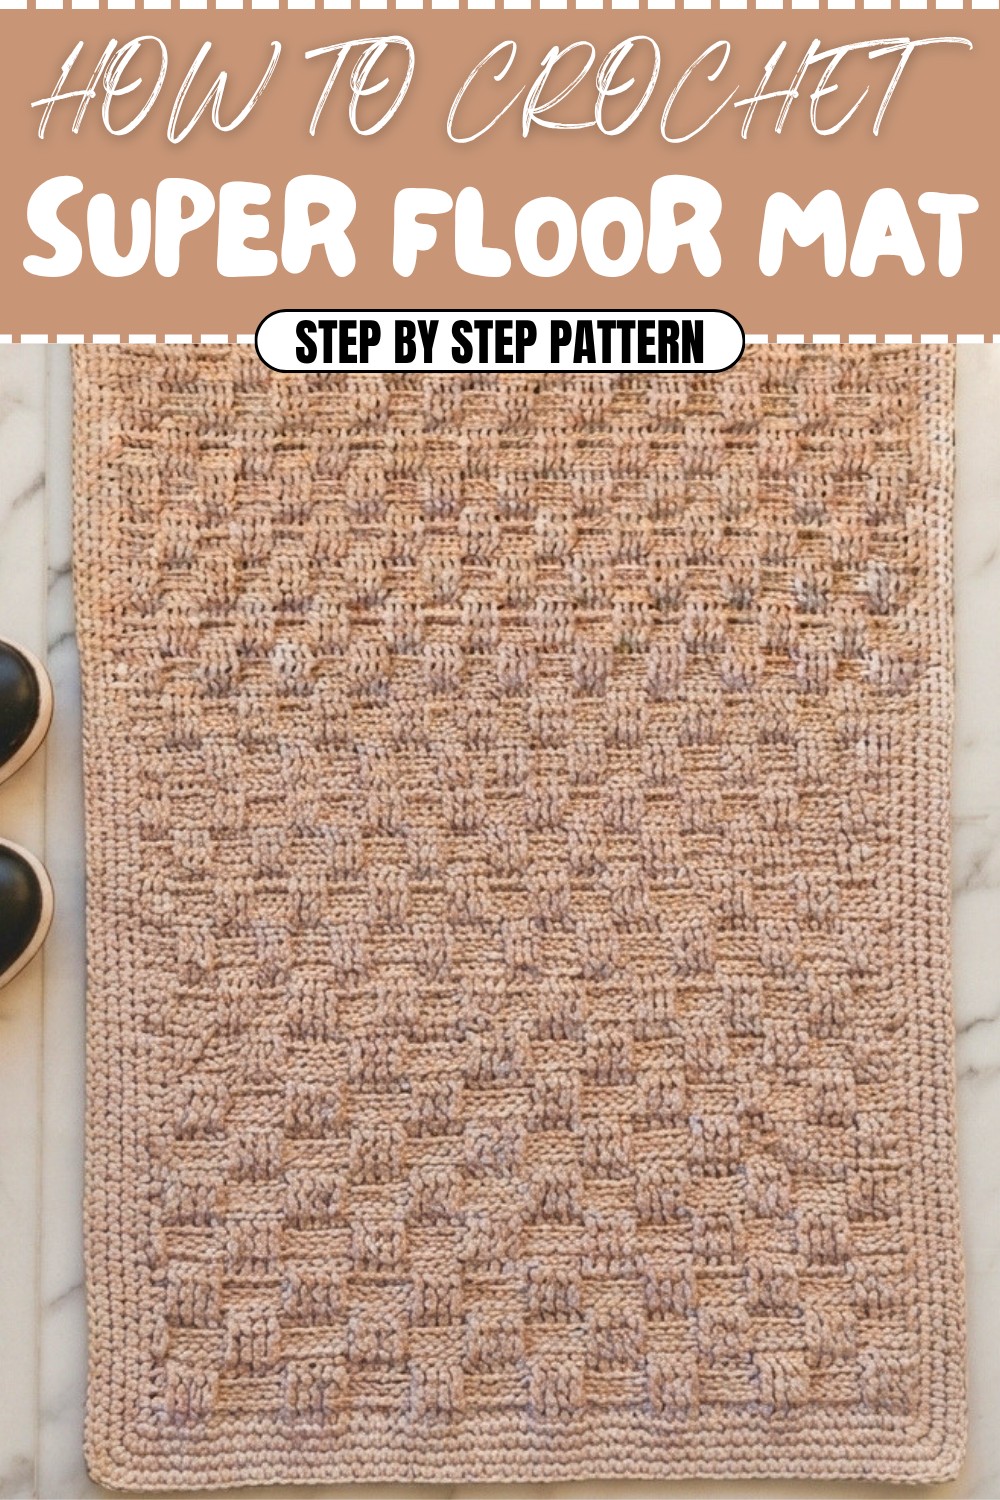
Why You'll Love This Pattern
This crochet basket weave floor mat combines modern style and practicality. The repeating fpdc and bpdc stitches create a dense, absorbent texture perfect for bathrooms or kitchens. You'll love mastering the interplay of post stitches while crafting a durable, washable, and functional piece that adds elegance to any space. With its quick construction and customizable size, it’s a project you’ll turn to again and again.