
How to Crochet Santa Claus Ornament Pattern for Festive Cheer
Instantly add holiday cheer with the Free Crochet Santa Claus Ornament Pattern, making your tree brighter and more fun.
Creating handmade holiday decorations can truly bring the magic of the season into your home. This charming project uses the double crochet stitch combined with classic increases, decreases, and slip stitches to shape an adorable Santa Claus ornament. Working in rounds with simple yarn and a 2.5mm needle, you’ll master color changes and playful textures while forming the festive hat, fluffy beard, cute nose, and rosy cheeks.
Ready to Crochet Try This Free Santa Claus Ornament Pattern for Holiday Decor
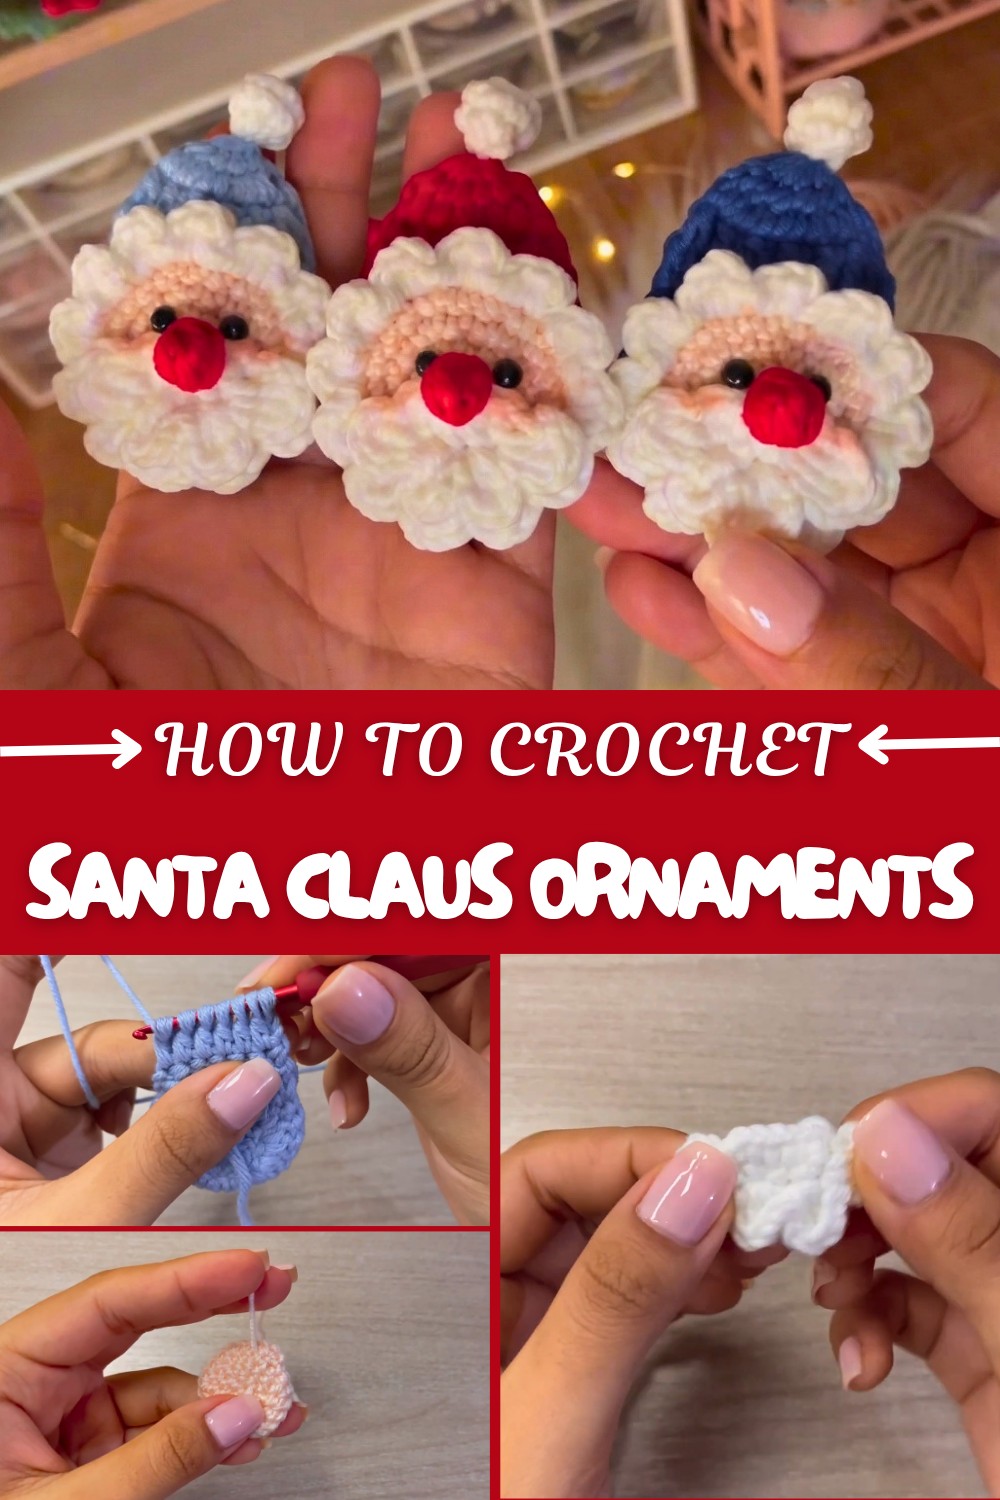
The pattern starts with a magic ring and builds up the Santa’s hat, shaping it with steady increases and decreases to give it a lovely tapered look. Using chains for height and working creative stitch combinations adds that unique character to the hat's texture. Adding small details like safe eyes and a tiny pompom on the hat brings this Santa to life, making him perfect as a Christmas tree ornament, a festive magnet, or a sweet handmade gift.
The careful finishing touch of gluing pieces with silicone ensures durability and a clean look, while the sewing techniques learned along the way build your confidence in assembling amigurumi figures. This pattern also provides a wonderful foundation for creating various holiday-themed ornaments or small gifts. You can adapt the technique to crochet mini elves, reindeer, or snowmen by changing colors and adding personalized embellishments.
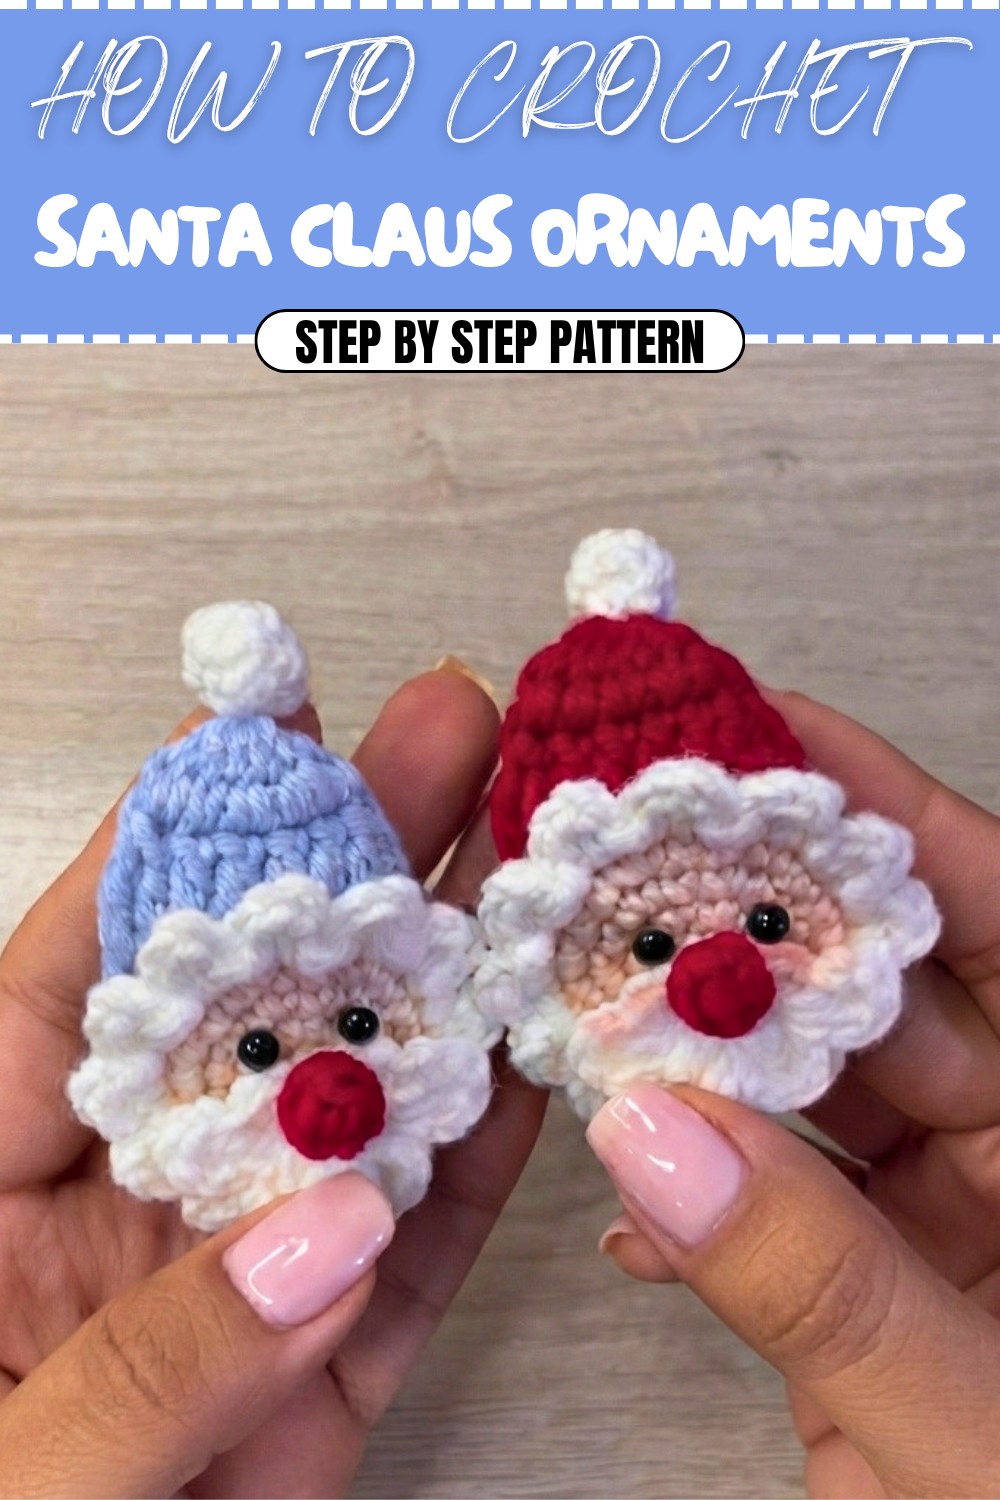
Crochet Pattern: Santa Claus Ornaments
Crochet your own adorable Santa Claus decorations, perfect for the holiday season! These versatile ornaments can be used as tree decorations, magnets, or thoughtful handmade gifts. The steps include crocheting the Santa hat, beard, face, pompom, and nose, and assembling them for a festive touch. Whether you’re a beginner or an experienced crocheter, this project is sure to bring creative joy to your holidays.
Skill Level & Terminology
- Skill Level: Beginner to Intermediate
- Terminology: US crochet terms
This pattern is suitable for crocheters with basic knowledge of working in the round and completing simple color changes. If you’re new to these techniques, this project is a great way to learn on a small, fun project.
Materials & Tools
Here’s what you’ll need:
- Yarn:
- Red (for the hat): Small amount
- White (for the beard and pompom): Small amount
- Pink or beige (for the face): Small amount
- Yellow or orange (for the nose): Small amount
- Crochet Hook: 2.5 mm
- Safety Eyes: Two 2.5 mm eyes (can modify size as needed; flat-back eyes are recommended, or round ones with the backs cut off)
- Other tools:
- Liquid silicone glue (optional, for attaching features)
- Tapestry needle
- Scissors
Gauge
Gauge is not critical for this project. However, use a tight tension to avoid gaps when working with stuffing or silicone glue.
- Example: Six single crochet stitches = ~1 inch (2.5 cm) wide
Abbreviations
- ch – Chain
- sc – Single crochet
- hdc – Half double crochet
- dc – Double crochet
- sl st – Slip stitch
- inc – Increase (2 sc in the same stitch)
- dec – Decrease
- magic ring – A loop of yarn allowing tight closure
Special Stitch Instructions
Magic Ring Technique:
- Wrap the yarn around your fingers to form a loop. Insert the hook through the loop and pull up a loop with the working yarn.
- Chain 1 (for single crochet) or chain ⅔ (for half double or double crochet). Work your stitches in the loop.
- Pull the loose start end to tighten and close the ring.
Finished Size
- Height: ~8 cm (3 inches)
- Width: ~4 cm (1.5 inches)
Size may vary depending on your yarn and tension.
The Pattern Itself
Part 1: Santa’s Hat (Red Yarn)
Round 1:
- Make a magic ring.
- Ch 3 (counts as the first dc), then work 11 more dc into the ring. (12 dc total)
- Pull the ring tight. Sl st into the top of the ch-3 to join. (12 sts)
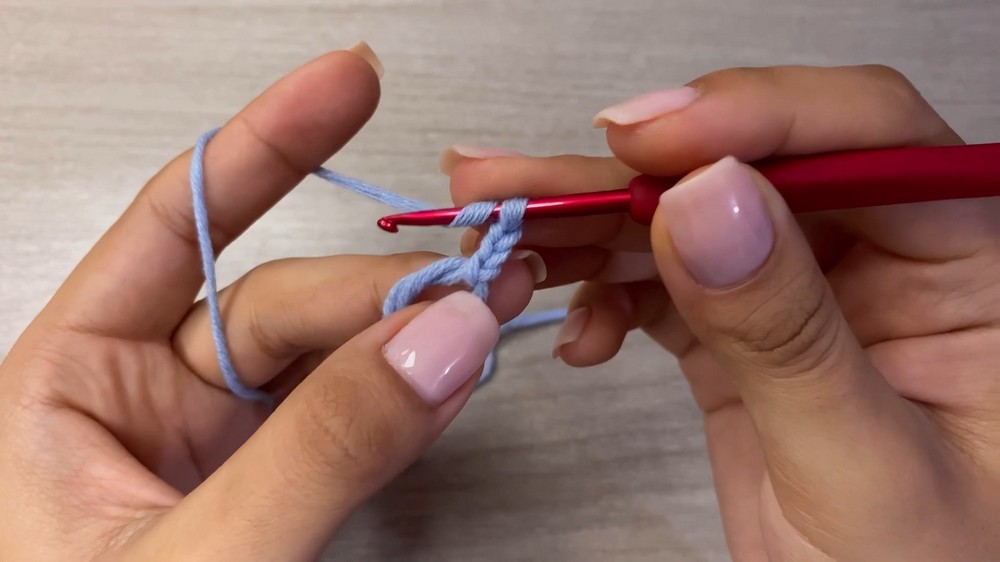
This is the base of Santa’s hat made in red yarn and formed into a circle.
Round 2:
- Ch 3 (counts as the first dc), work 1 dc into the same st (first increase).
- Work 2 dc into each st around for a total of 12 increases. (24 sts)
- Join with a sl st into the top of the starting ch-3.
The second round widens the hat to form its brim while gradually building the shape.
Round 3 (Start Tapering the Hat):
- Ch 2 (counts as height; does NOT count as a st).
- Repeat (1 dc dec, 4 dc) around. (20 sts)
- Join with a sl st in the starting ch.
Round 4:
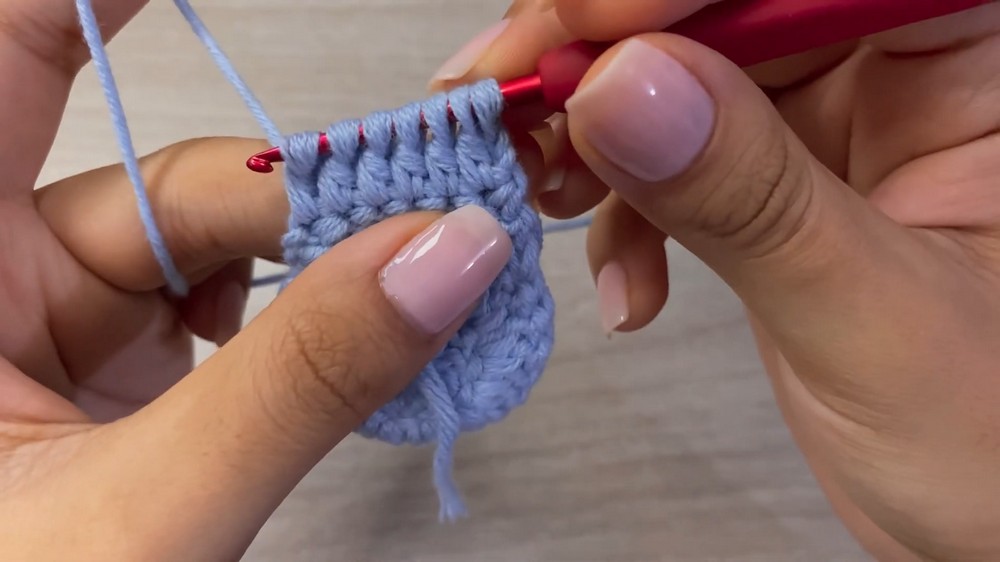
- Ch 2, turn work.
- Work 1 dc in each st, but suspend the first yarn-over from each dc, leaving the last loop on the hook.
- Continue across, leaving all loops on the hook (you should have 7 loops on the hook at the end).
- Yarn over and pull through all loops to close the row.
- Finish with ch 1, tie off, and secure the yarn.
You’ll notice the hat tapers and closes naturally. This creates the pointed Santa hat shape.
Part 2: Santa’s Face (Skin Color Yarn)
Round 1 (Magic Ring):
- With skin color yarn, make a magic ring.
- 6 sc into the ring. Pull tight. (6 sts)
Round 2 (Increases):
- Work 1 inc in each st around. (12 sts)
Round 3:
- Work (1 sc, 1 inc) around. (18 sts)
Round 4:
- Repeat (2 sc, 1 inc) around. (24 sts)
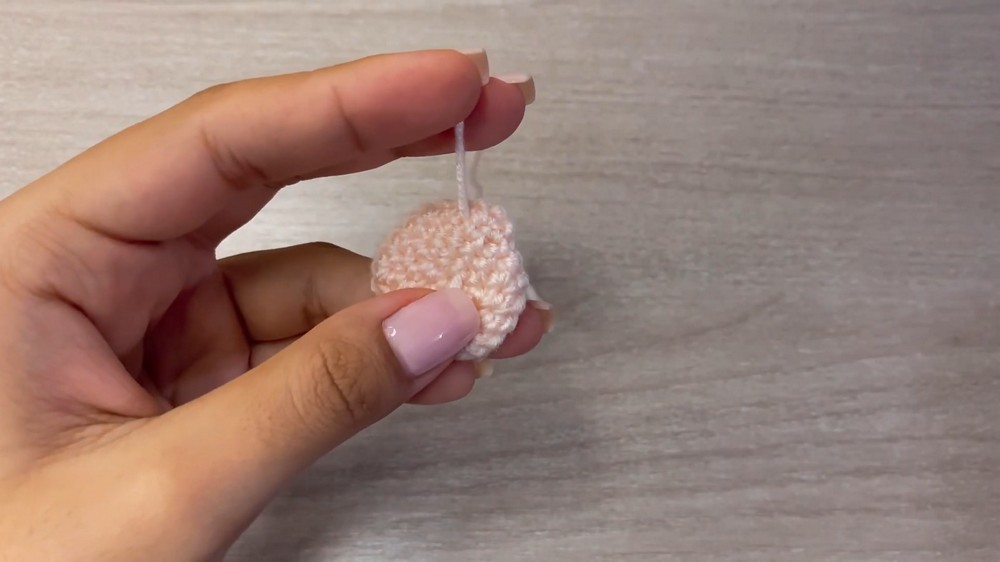
Finish by making a slip stitch into the first st and tie off, leaving a long tail for sewing. Use the tail to close the fabric with an invisible stitch and weave in the ends.
This round fabric forms Santa’s face, which serves as the centerpiece for the ornament.
Part 3: Beard (White Yarn)
Round 1:
- Ch 5.
- Skip first ch, and work 3 sc in the next 3 sts.
- In the final st, work a triple inc (3 sc in the same st).
- Now, work 2 sc on the underside of the chain, enclosing the loose yarn tail to hide it.
- In the final st, work an inc (2 sc).
- Sl st in the first st of the round to join.
Round 2:
- Ch 2, work 1 inc in the same st (2 dc into the first st).
- Ch 2, sl st in the next st. Repeat this sequence around the row: Slip stitch in the next st, ch 2, 1 inc, ch 2, sl st in the same st.
- Finish the round, cut the yarn, and weave in the end.
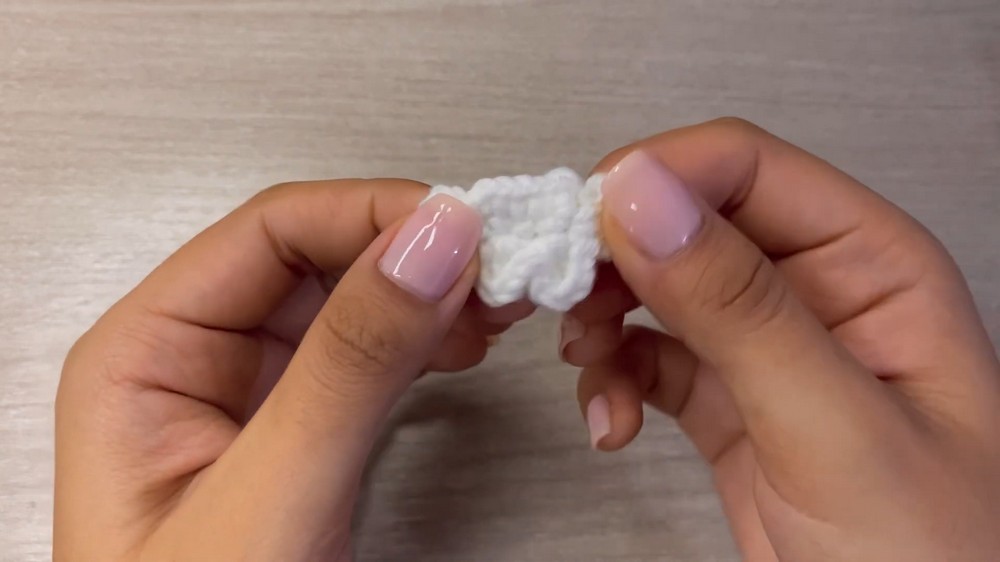
The beard surrounds Santa’s face with fluffy texture and frames the ornament beautifully.
Part 4: Pompom for the Hat (White Yarn)
Round 1:
- Make a magic ring and crochet 6 sc into it.
Rounds 2 & 3:
- Work 1 sc in each st around. (6 sts each round)
Finish by leaving a long tail for assembly. Use a tapestry needle to close the piece by going through the front loops of the final 6 stitches. Pull tight to cinch.
If you prefer, you can replace the pompom with a ready-made one.
Part 5: Nose (Red or Yellow Yarn)
Round 1:
- Make a magic ring with 2 chains to count as the first st.
- Work 3 partial dc, leaving the last loop on the hook for each. Pull through all 4 loops.
- Ch 2 and work a sl st into the magic ring to close the round.
Finish by cutting the yarn with a small tail. No additional securing is needed, as the nose will be glued or stitched directly onto the beard.
The small round pom-pom-like nose adds the final touch to your Santa Claus.
Assembly & Finishing
Now that all the pieces are crocheted, it’s time to assemble Santa!
Step 1: Attach Beard and Nose
- Use liquid silicone glue to attach the beard to the bottom half of the face, leaving the top of the face visible.
- Place a drop of glue on the back of the nose and position it centered above the beard, between the eyes.
Step 2: Add Eyes
- Use flat-back safety eyes, or modify regular safety eyes by trimming their backs.
- Attach the eyes with silicone glue, or fit them securely into place.
- Position the eyes above the nose at approximately even spacing.
Step 3: Sew the Pompom
- Place the pompom at the tip of Santa’s hat.
- Use a tapestry needle and the pompom tail to sew it to the hat. Pass the yarn through the pompom and the tip several times.
- Knot and hide the ends inside the hat.
Step 4: Attach Hat and Beard
- Use silicone glue or sewing to attach the beard to the face.
- Position the hat on top of the face, slightly overlapping the top row of the face. Glue or sew in place.
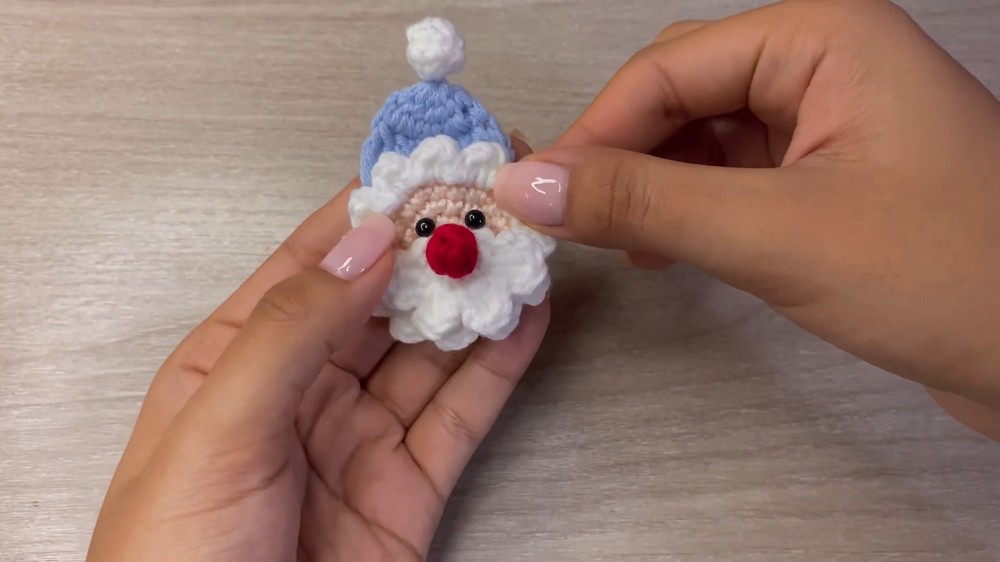
Why You’ll Love This Pattern:
This Santa Claus ornament is a heartwarming way to celebrate the holidays. It’s quick to make, makes use of scrap yarn, and is perfect for gifting or decorating your home. Whether you make one or several, these Santas will make your Christmas extra jolly!