
Free Crochet Wallet Pattern Designed for Convenience
Keep your school lunch money and student card safe in one spot by crocheting a wonderful crochet wallet that slips easily inside any backpack pocket.
Tiny, stylish, and seriously useful, that’s what this little wallet is all about. It’s small enough to hang on your bag or slip into a pocket, but roomy enough for coins, folded notes, keys, or even your earphones. The project feels smart and thoughtful, turning leftover yarn into something you’ll actually use every day.
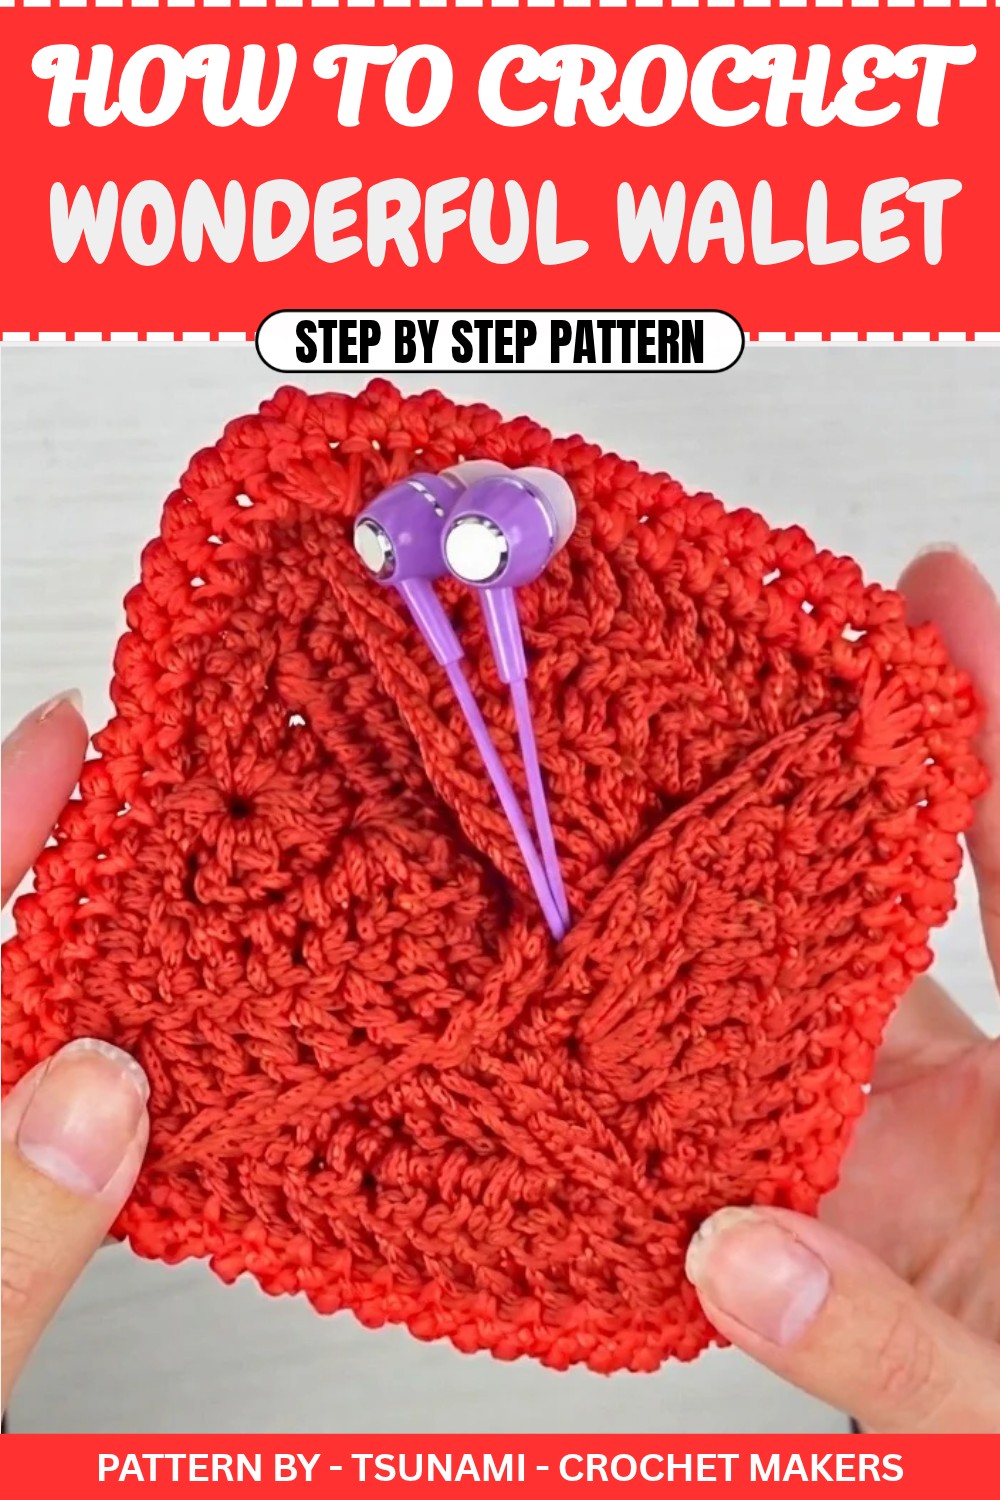
Free Crochet Wallet Pattern ideas like the one from the video link are especially charming because of the way the shapes work together. Four neat triangles join around a round base, forming a pouch that opens like a flower and closes securely to hold your things in place. One side can be left a bit more flexible, making it easy to pop your earphones or coins in and out without struggling. A tidy crab stitch edging finishes the wallet with a firm, decorative border that helps it keep its shape and gives it a polished look.
Beautiful Crochet Wallet Pattern That’s Easy to Customize
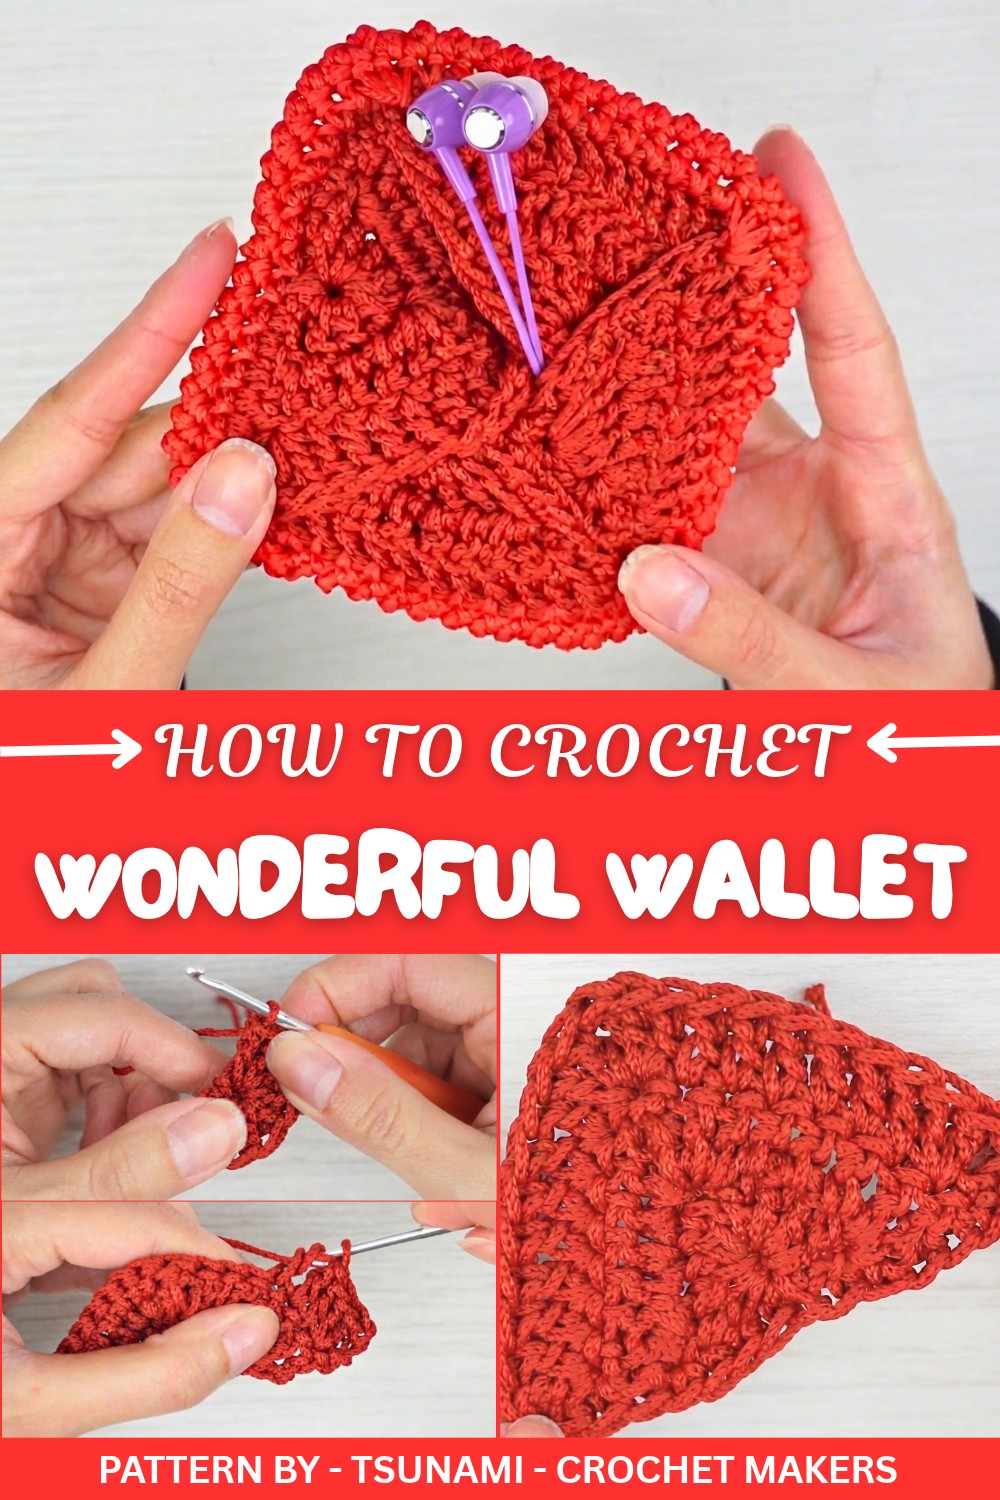
Soft cotton, acrylic, or wool bring out the best in this project, giving the wallet a gentle feel in your hands, while cord yarn offers strength and structure. Clip it to your keys, tuck it in your bag, or use it as a mini gift, its size and shape make it perfect for everyday use.
The tutorial comes from TSUNAMI - Crochet Makers, a channel that turns small ideas into clever, easy-to-follow projects. Their videos focus on clear steps, helpful tips, and relaxed teaching, so you feel confident from the first stitch to the last. This little wallet is one of those projects that looks cute, works hard, and makes you proud every time you reach for it.
Handmade Crochet Earphone Case Pattern
Quick Overview Of Pattern
- Project Type: Handmade Crochet Earphone Case
- Design: Compact triangular flaps attached to a circular base with a snug closing
- Uses: Earphone holder, coin pouch, key holder, or gift
- Features: Sturdy structure with a special closure design
Notes
- The triangular flaps and the circular base are worked separately and joined together with single crochet stitching.
- Stitch increases are primarily made at the start and end of rows for the triangular flaps and in specific points for the circular base.
- While cord yarn works well, softer fibers are recommended for better flexibility during opening and closing.
Skill Level
Beginner to Intermediate
You should be comfortable with:
- Single crochet (maglia bassa)
- Double crochet (maglia alta)
- Treble crochet (maglia altissima)
- Magic ring (cerchio magico)
- Slip stitch (maglia bassissima)
- Back-and-forth and circular crochet
Materials
- Yarn: Cord yarn (used in the tutorial) or softer alternatives like acrylic, cotton, or wool.
- Crochet Hook: Size 3 mm (or suitable for your chosen yarn).
- Tapestry Needle: For weaving in ends and sewing smaller details if needed.
- Scissors.
Measurements / Sizing
- Flap Size: V-shaped triangles (size adjustable based on additional rows).
- Case Diameter: Suitable for small items like earphones, keys, or coins.
Gauge
Gauge is not critical for this project. Using the recommended hook and yarn will result in a compact case ideal for small items.
Stitch Abbreviations
- ch – Chain stitch (catenella)
- sc – Single crochet (maglia bassa)
- dc – Double crochet (maglia alta)
- tr – Treble crochet (maglia altissima)
- sl st – Slip stitch (maglia bassissima)
- MR – Magic ring (cerchio magico)
Special Stitches
Treble Crochet (Maglia Altissima)
- Yarn over the hook twice.
- Insert the hook into the stitch.
- Yarn over again and pull through (4 loops on your hook).
- Yarn over, pull through the first 2 loops (3 loops left).
- Yarn over, pull through the next 2 loops (2 loops left).
- Yarn over and pull through the last 2 loops to complete.
The Crochet Pattern!
Part 1: Creating the Triangular Flaps
- Foundation Chain:
- Begin with a slip knot and chain 3 stitches.
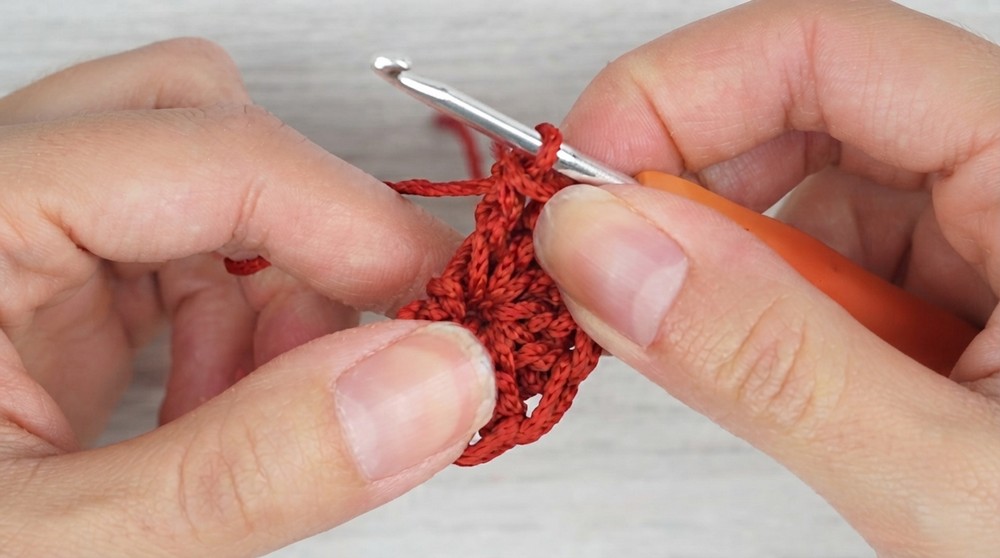
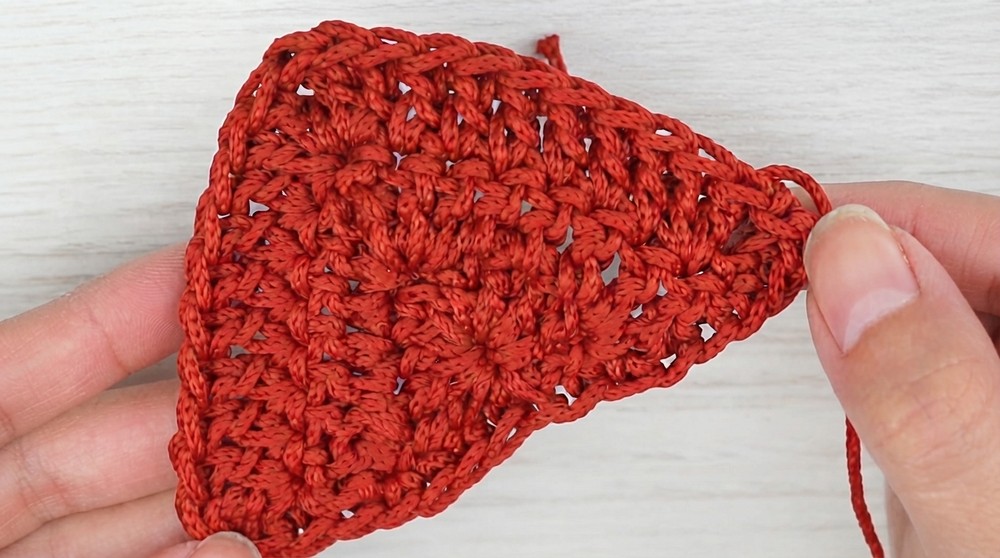
- Row 1:
- Yarn over twice and work one treble crochet into the third chain from the hook, inserting your hook into the back loop.
- Follow this with 7 double crochets worked into the same loop as the treble crochet. This creates a fan-like triangular shape.
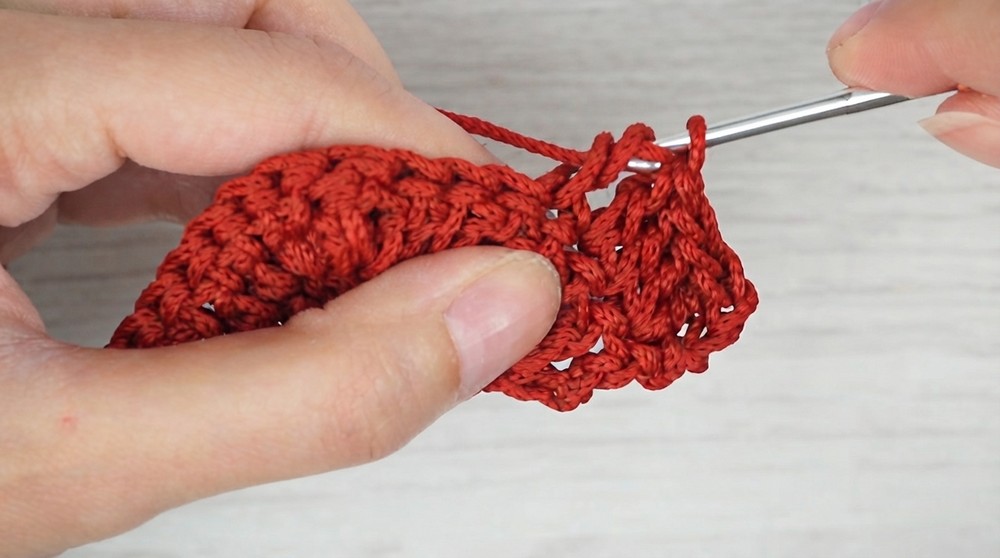
- Row 2:
- Turn your work, chain 3 stitches, and start with 1 treble crochet and 1 double crochet into the first stitch.
- Work one double crochet each across the next stitches.
- In the middle of the row (center stitch), work 2 double crochets.
- Finish the row with 1 treble crochet and 2 double crochets in the final stitch.
- Row 3:
- Repeat the same process as in Row 2, starting with the chain 3, treble crochet, 1 double crochet in the start stitch, and increasing in the center and end.
Note: Continue adding rows as needed, following the same pattern. Katy advises making 4 triangular flaps, which you’ll assemble into the pouch later.
Part 2: Creating the Circular Base
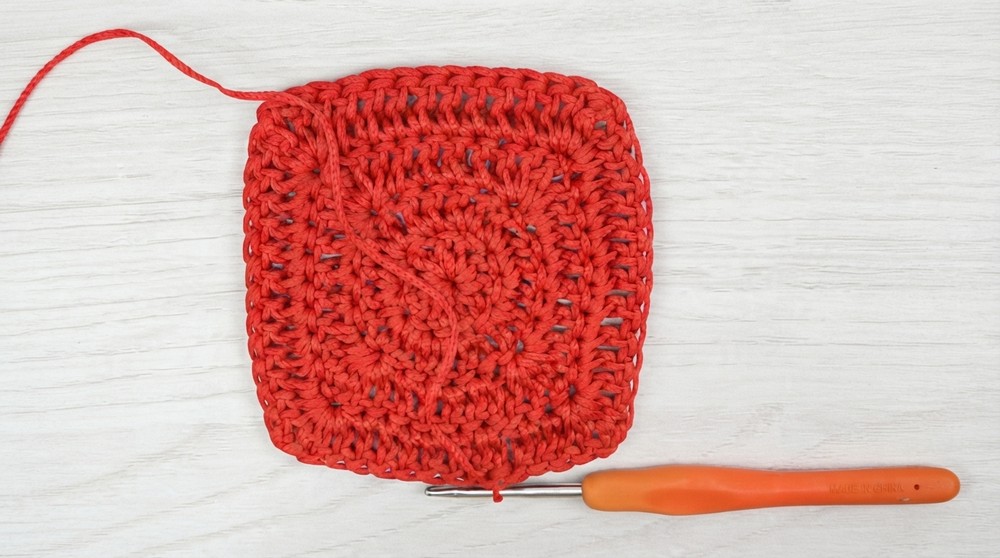
- Foundation:
- Begin with a magic ring (MR).
- Chain 2 as the starting stitch.
- Round 1:
- Work 10 double crochets into the magic ring.
- Pull the tail to close the ring.
- Slip stitch into the top of the first double crochet to close the round.
- Round 2:
- Chain 2. Work 2 dc into each stitch around.
- Close the round with a slip stitch.
- Round 3 (Increase):
- Chain 2. Work 1 dc in the next 4 stitches.
- In the following stitch, work 2 dc, 1 tr, and 2 dc (this forms a raised section).
- Continue with 1 dc in the next 4 stitches and repeat the increase pattern (2 dc, 1 tr, 2 dc) in the following stitch.
- Round 4+:
- For larger bases, continue increasing proportionally, ensuring that raised sections align each time.
Part 3: Assembly
- Positioning the Flaps:
- Place the wrong side of the circular base (rovescio) facing upward.
- Align the triangular flaps with the right side facing upward.
- Use stitch markers to secure each corner of the triangles to the base to avoid misalignment.
- Joining the Pieces:
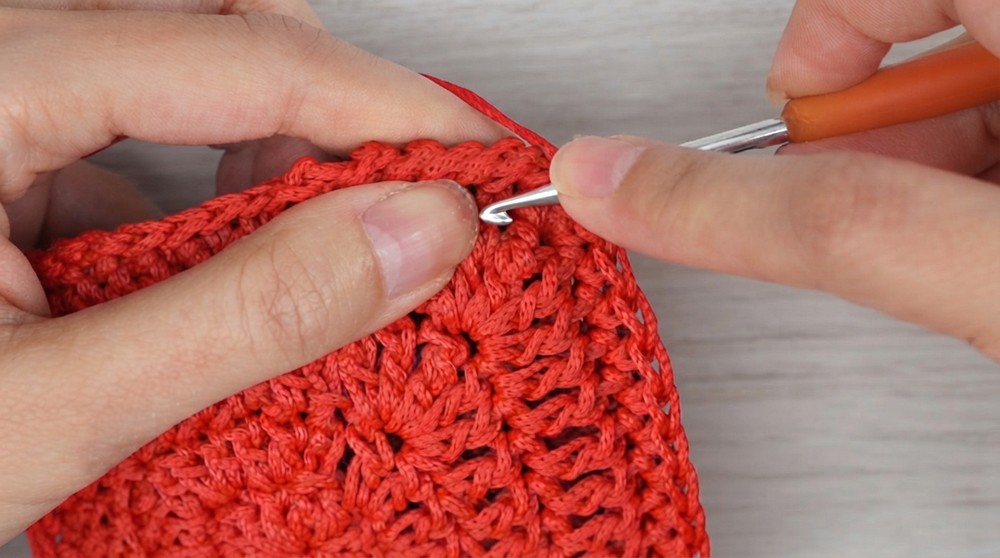
- Begin at one triangle corner, chaining 1 and crocheting through both the flap edge and base edge using single crochet stitches.
- Add 3 sc in each corner to smoothly transition between edges.
- Finishing Edges:
- Once all triangles are securely joined to the base, work one row of decorative crab stitches (reverse single crochet) around the border of the pouch for a clean finish.
Assembly & Finished Size
Once the assembly is complete, weave in all the yarn tails using a tapestry needle to hide them. The earphone case ends up as a compact pouch that opens easily for inserting earphones, coins, or small items of choice, and closes securely with its pointed flap design.
Conclusion and Ending Words
Congratulations, You’ve finished your beautiful and functional crochet earphone case. This project is simple yet customizable, and you’ve just created something both practical and elegant.