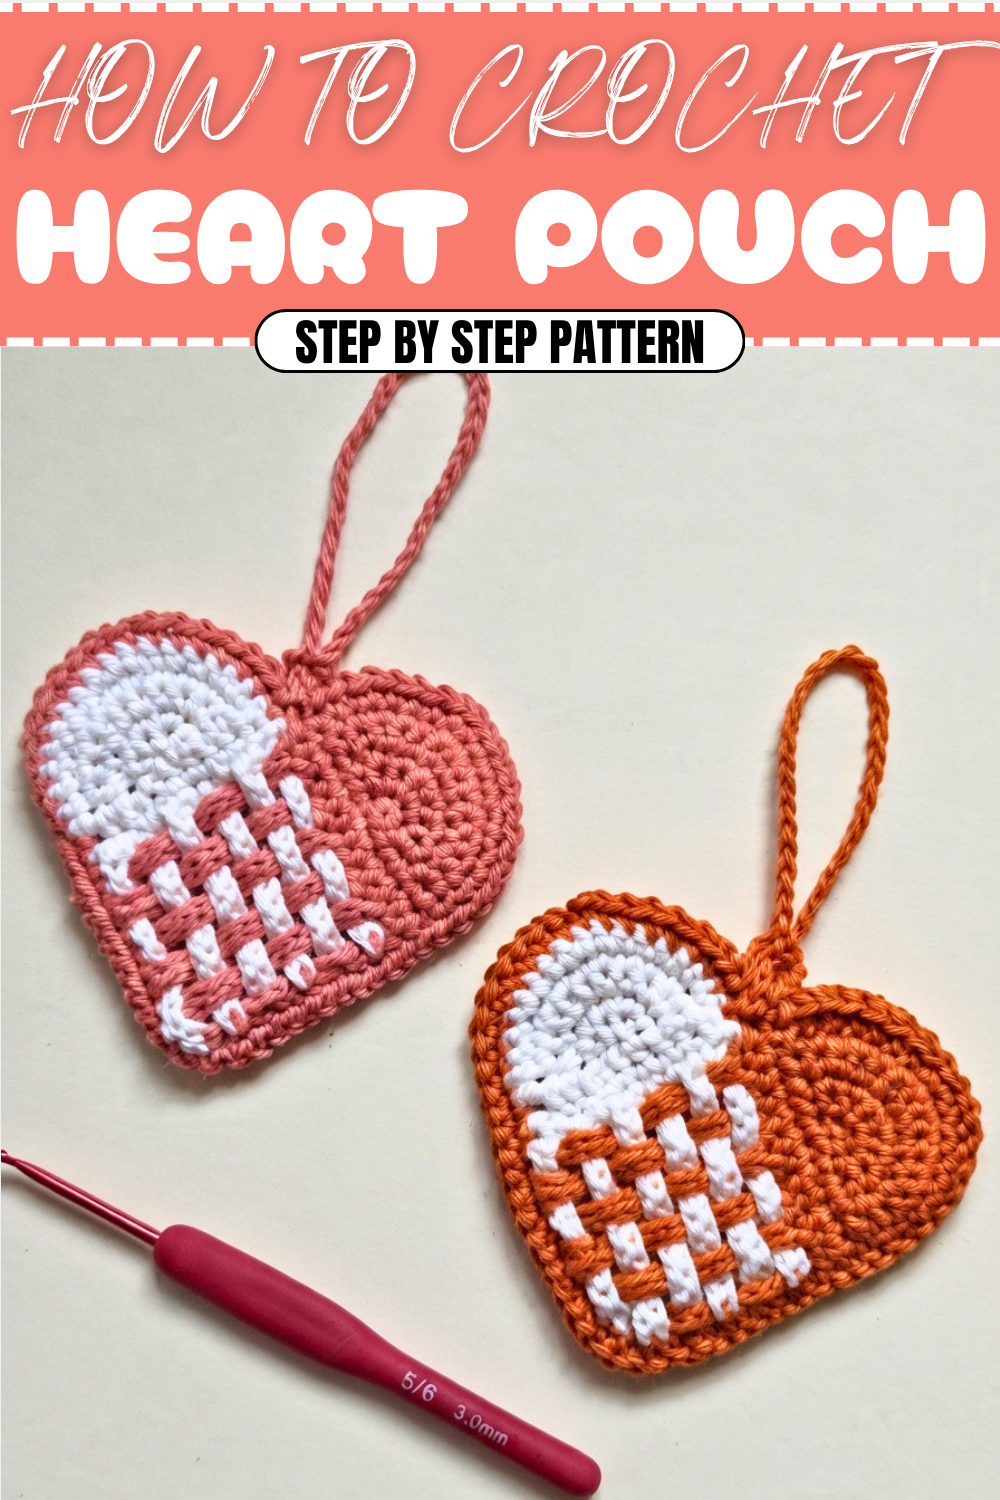
Lovely Crochet Heart Shaped Mini Pouch Pattern You'll Adore
How to Crochet a Heart-Shaped Mini Pouch That Completes Your Outfit
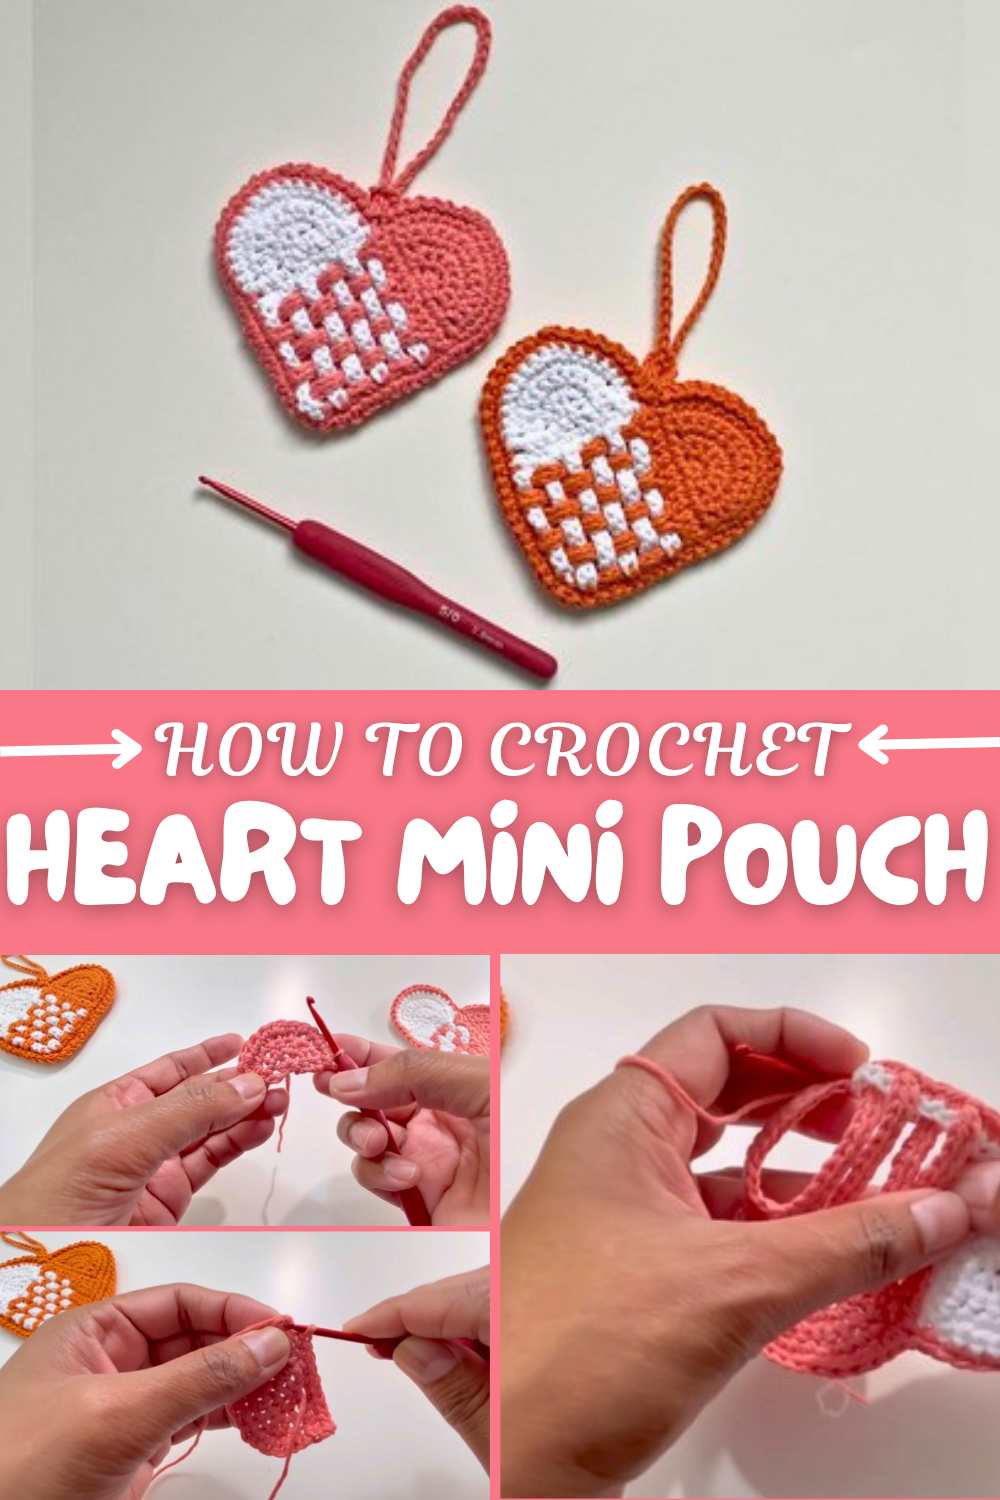
This pattern uses the magic circle to start, which creates a neat, closed center, followed by rounds of single crochet stitches and increases to form the heart shape perfectly. The stitch count is gradually expanded in specific areas to build the curves and point of the heart, resulting in a balanced and smooth silhouette. For the pouch’s opening, rows of slip stitches and chains build a neat and stretchy edge that opens and closes easily. Even beginners will find the step-by-step instructions clear and approachable, making the whole process enjoyable and straightforward.
More Cozy Creations from This Pattern
Once you’ve mastered this pouch, you could try making larger heart-shaped bags, cute coin purses, or even small decorative cushions using the same shaping techniques. These projects let you explore different sizes and uses while sticking to familiar stitches, opening up a world of creative and heartfelt crochet accessories.
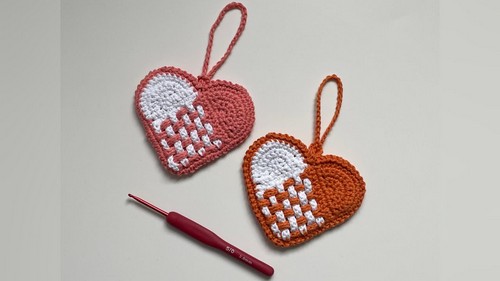
Heart-Shaped Crochet Pouch Pattern
1. Introduction
This heart-shaped pouch is both adorable and functional, offering a sweet and creative way to store small items like AirPods, accessories, or coins. The charming design makes it perfect for gifting or personal use, while the sturdy structure ensures practicality and durability. It features a functional looping closure, giving it a secure way to hold your belongings.
This step-by-step pattern uses simple crochet techniques, making it ideal for anyone comfortable with basic stitches.
What You’ll Learn
- How to crochet round shapes like halves of hearts using basic increases and single crochet stitches.
- How to attach crocheted parts to form functional pouches with storage options.
- Create decorative and functional chain loops for closure.
2. Skill Level & Terminology
- Skill Level: Advanced Beginner
- Terminology: US Crochet Terms
This pattern is suitable for those who know basic crochet skills like the magic circle, single crochet, slip stitch, and increasing & decreasing stitches.
3. Materials & Tools
Materials
- Yarn:
- 100% cotton yarn (3 mm): Choose two colors (one as the primary/main color and the other for details and contrast).
Tools
- 3 mm crochet hook
- Scissors
- Stitch marker
- Darning needle
4. Gauge
Gauge is not critical for this pattern. However, aim for a tight tension to ensure a firm structure for your heart pouch. You should comfortably achieve 5 single crochets per inch with a 3 mm hook.
5. Abbreviations
- MR: Magic Ring
- ch: Chain
- sc: Single Crochet
- sl st: Slip Stitch
- st(s): Stitch(es)
- inc: Increase (2 sc in the same stitch)
- dec: Decrease
6. Special Stitch Instructions
Magic Ring (MR)
- Wrap the yarn around two fingers to form a loop, crossing the tail behind the working yarn.
- Insert the hook under the loop, yarn over, and pull up a loop.
- Yarn over and pull through to secure the loop.
- Work the required number of stitches into the ring. Pull the tail to close the circle tightly.
7. Finished Size
The heart-shaped pouch is approximately 3 inches wide and 3 inches tall (excluding the loop size) when completed, making it an adorable and compact storage solution.
8. The Pattern Itself
Part 1: Creating One Side of the Heart
Round 1:
- Start with a MR, chain 1 (this chain doesn’t count as a stitch), and work 5 sc into the circle. (5 sts)
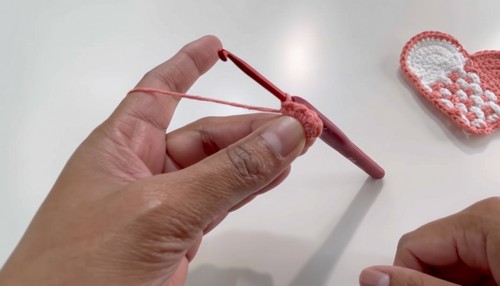
Round 2:
- Chain 1, turn. In the first stitch, work 1 sc.
- Work 2 sc in each of the next 3 sts.
- In the last stitch, work 1 sc.
- You will now have 8 sts in total.
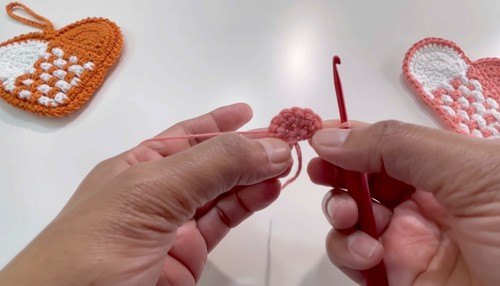
For non-pattern readers: Begin by forming a magic circle with 5 single crochet stitches. Increase to 8 stitches in the second round by adding two stitches to three specific points evenly across the circle.
Round 3:
- Chain 1, turn. In the first and last stitches, work 1 sc each.
- For the remaining 6 sts, alternate as follows:
- 1 sc, 2 sc in next st, repeat until the end of the round.
- In total: 11 sts.
Round 4:
- Chain 1, turn. In the first and last stitches, work 1 sc each.
- For the middle 9 sts, alternate as follows:
- 1 sc, 2 sc in next st, 1 sc, repeat pattern.
- You will have 14 sts at the end of this round.
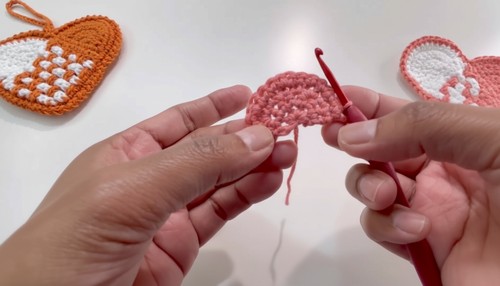
For non-pattern readers: In rounds three and four, you will follow the pattern of increasing stitches at evenly spaced sections, which helps expand the shape into the beginnings of a heart.
Round 5:
- Chain 1, turn. In the first and last stitches, work 1 sc each.
- For the middle 12 sts, work the following:
- sc in the next 3 sts, 2 sc in next st, repeat this pattern.
- At the end of this round, you will have 17 sts.
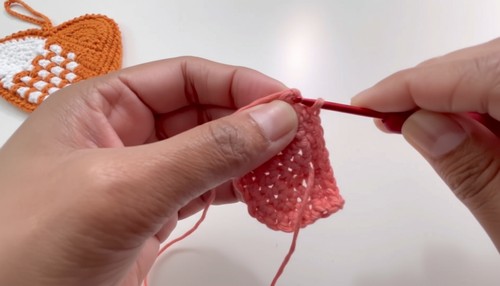
For non-pattern readers: As the work gets larger, you continue alternating increases and single crochets to grow the piece. The goal is to create a symmetrical “half-heart” shape.
Part 2: Creating the Heart Base
Round 6 (Bottom Base):
- Chain 1 and turn your work.
- Work along the flat edge of the heart:
- Work 2 sc in first space, and 1 sc in each of the next 4 spaces until you reach the magic ring.
- Work 1 sc in the magic ring.
- Continue with 1 sc in the next 4 spaces, and finish with 2 sc in last space.
You should now have 11 sts along the bottom of the heart.
Round 7:
- Chain 1, turn. Work 1 sc in each st across the bottom. (11 sts)
For non-pattern readers: To shape the base of the heart, single crochet across the bottom row and work directly into the spaces left from the round edges.
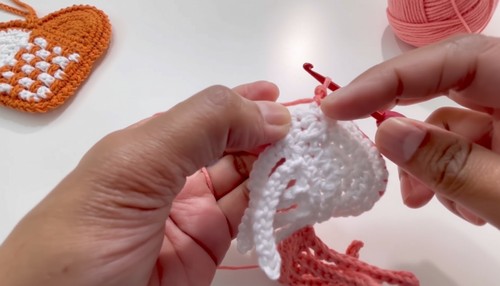
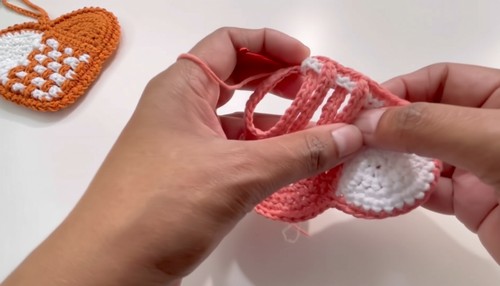
Part 3: Heart Strips
Create Strips:
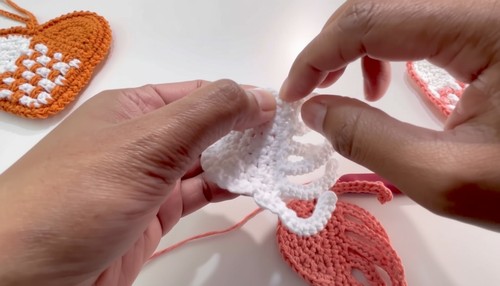
- For the first stitch in this row, chain 13.
- Turn the chain and skip the first 2 chains. Begin working from the third chain.
- Work 11 slip stitches across the chain, inserting the hook into the back loop of each chain.
- Into the same starting stitch of the chain, work 1 sl st.
- Move to the next stitch in the row. Repeat this process for a total of 6 strip loops, working back and forth. Alternate attaching each loop front and back of the heart.
For non-pattern readers: Each loop has 11 slip stitches. Attach strips back and forth by joining them on both sides of the heart structure. Work slowly to keep the strip placement even.
Part 4: Assembly and Details
- After completing six strips, create the second half of the heart by following the same steps above. You’ll need two heart halves to form the pouch.
- Once both halves are completed, count 7 stitches on each half, leaving the top-most stitches unworked for the pouch opening. These unworked stitches will remain unattached.
- Using your yarn, carefully sew or slip stitch around the edge, starting from the 8th stitch, joining the two sides of the heart.
- Leave the top rows open and work around the center dip to create loops for closure. Chain 6, slip stitch it to form a small loop for closing the pouch
- On the opposite heart half, chain 35 to create the hook part of the loop. Attach it with a slip stitch into the center dip on the opposite side of the pouch.
- Secure both loops, sew loose ends, and tidy up your work for a finished, neat edge.
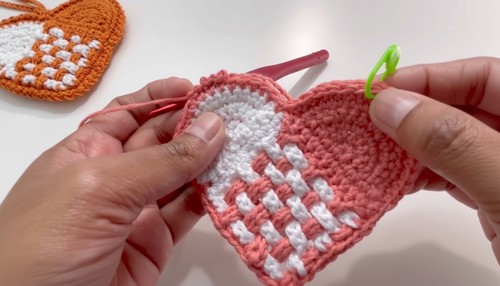
For non-pattern readers: The pouch is closed along the edges, leaving the top part open for inserting your items. The loops are used for functional closure to keep it secured.
9. Why You’ll Love This Pattern
This heart-shaped pouch combines utility with charm, making it a perfect handmade gift or a delightful addition to your accessories. The pattern is straightforward yet rewarding, offering ample opportunities to customize with colors and details. From crocheting the strips to assembling both halves together, this project is an enjoyable way to sharpen your crochet skills.