
Free Crochet Shell Coin Purse Pattern with Cute Finish
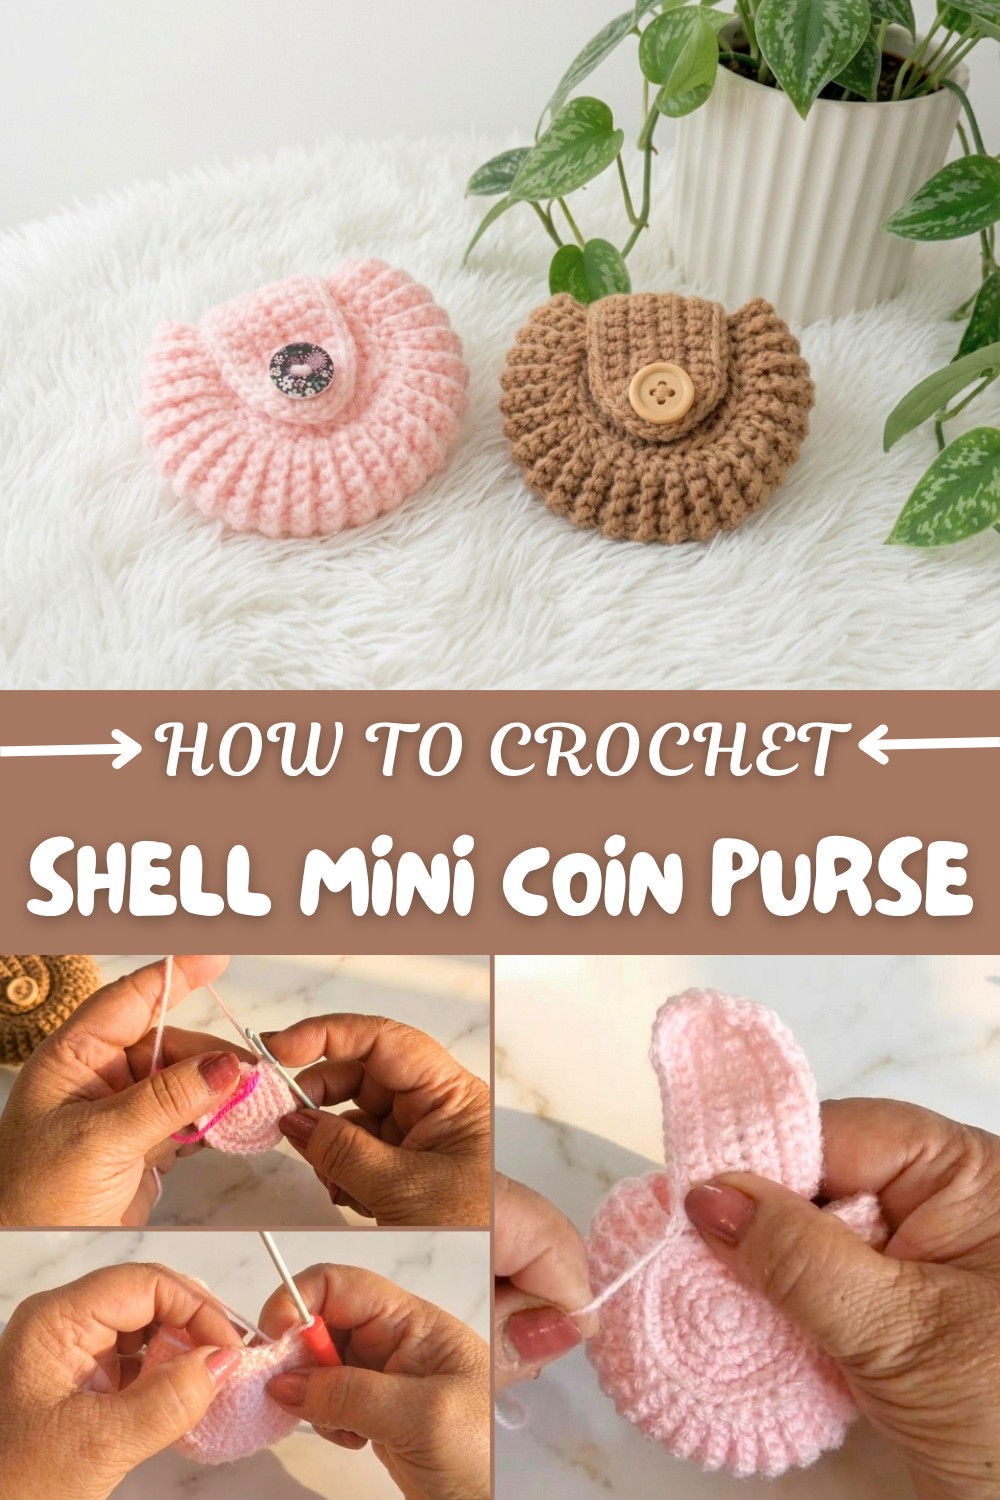
This project is ideal for intermediate crocheters or confident beginners ready to explore new stitch patterns and shaping techniques. Throughout the process, you’ll gain valuable experience working shell stitches in the round and practicing neat finishing touches like edging and closures—skills that translate beautifully to many other crochet projects. Plus, the relatively quick progression from start to finish makes it a satisfying way to add a handmade accessory to your collection.
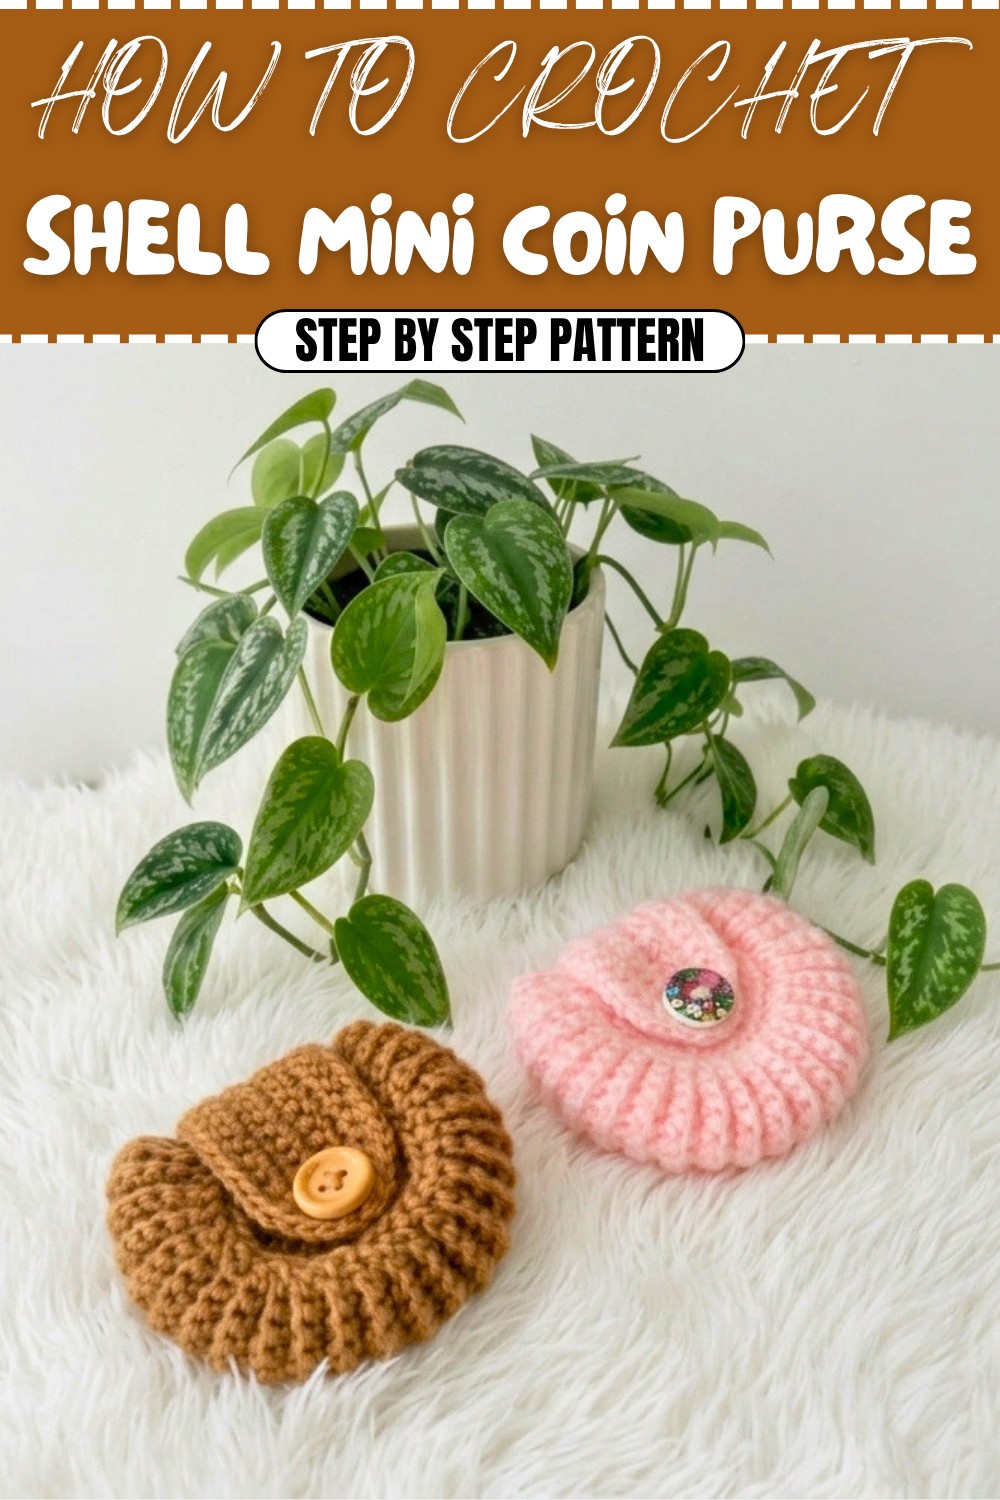
For those who appreciate functional yet charming handmade pieces, the free crochet Shell Coin Purse Pattern is a delightful project to try. It results in a stylish, practical accessory that’s as fun to carry as it is to create, bringing a cozy, handmade touch to everyday life.
Crochet Small Coin Purse Pattern
Create a charming and practical small coin purse with this detailed crochet pattern. This guide uses simple stitches and techniques to help you produce a beautiful, functional accessory suitable for personal use, gifting, or even sale. The purse features a neat circular base, a structured body, and a flap with a buttonhole.
Quick Overview of the Pattern
This project involves crocheting a circular base using the magic ring method, increasing it gradually to create a flat bottom. The purse walls are then worked by joining two circle pieces via chain stitches and single crochets to form the sides. A flap is crocheted separately and attached, finished with a button closure.
Notes
- Follow each step carefully for shape and neatness.
- Use stitch markers for rounds if needed.
- Consistent tension is important to get an even fabric.
- The buttonhole is created by chaining and skipping stitches for functionality.
- Ends are woven in as you progress for firmness.
- The purse dimensions depend on yarn and hook but are portable and compact.
Skill Level
Beginner to Intermediate: This pattern requires familiarity with the magic ring, single crochet (SC), increases (inc), slip stitch (sl st), chains (ch), and basic button sewing.
Materials
- Acrylic yarn (worsted or DK weight recommended)
- 2.5 mm crochet hook
- Tapestry needle
- Scissors
- Sewing needle
- Button (size approx. 1.2-1.5 cm diameter)
- Stitch marker (optional)
Measurements / Sizing
- Finished purse diameter (base): approx. 10 cm
- Purse height (without flap): approx. 8 cm
- Flap length: approx. 6 cm
Note: sizing varies with yarn thickness and hook size
Gauge
- Gauge not critical but recommend firm but even tension.
- Sample: 12 SC x 15 rows = 10 cm square (approximate)
Stitch Abbreviations
| Abbreviation | Meaning |
|---|---|
| ch | chain |
| sc | single crochet |
| inc | increase (2 sc in 1 st) |
| sl st | slip stitch |
Special Stitches
- Magic Ring: Starting technique to make a tight circle foundation.
- Buttonhole: Created by chaining and skipping stitches to leave an opening.
The Crochet Pattern
Base Circles (Make 2)
These two pieces form the front and back of the purse’s base.
Round 1:
- Make a magic ring.
- Work 6 SC into the ring. Tighten the ring.
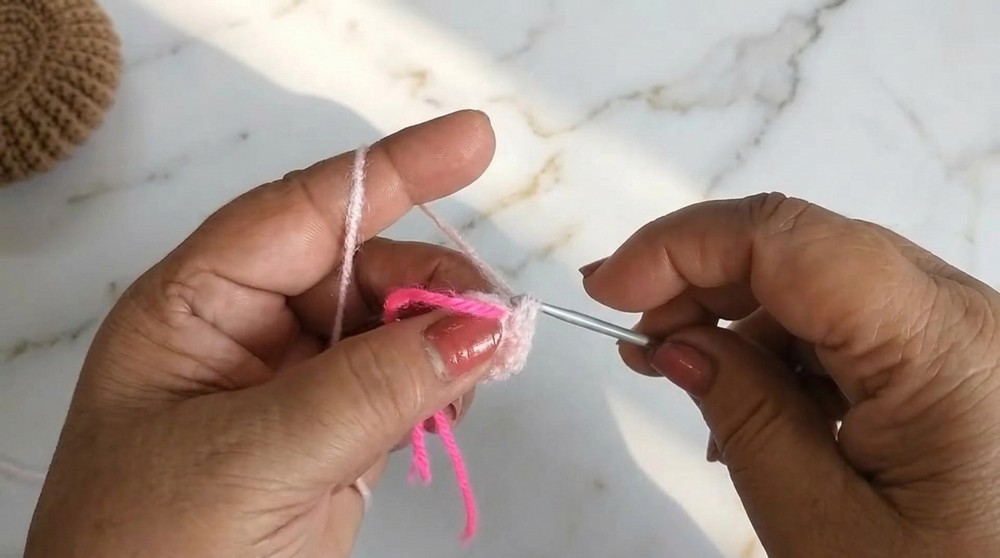
Round 2:
- 2 SC in each stitch around (inc in every stitch).
- End round with 12 SC.
Round 3:
- [1 SC in next stitch, 2 SC in next] repeat 6 times.
- End round with 18 SC.
Round 4:
- [1 SC, 1 SC, 2 SC] repeat 6 times.
- End round with 24 SC.
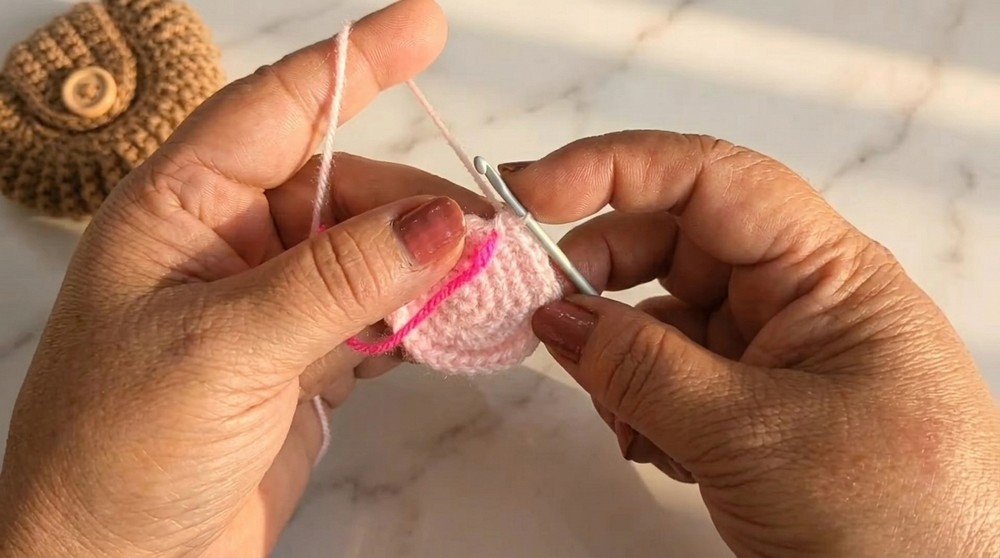
Round 5:
- [3 SC, 2 SC] repeat 6 times.
- End round with 30 SC.
- Finish off and cut yarn, leaving a tail for joining.
Joining the Base Circles
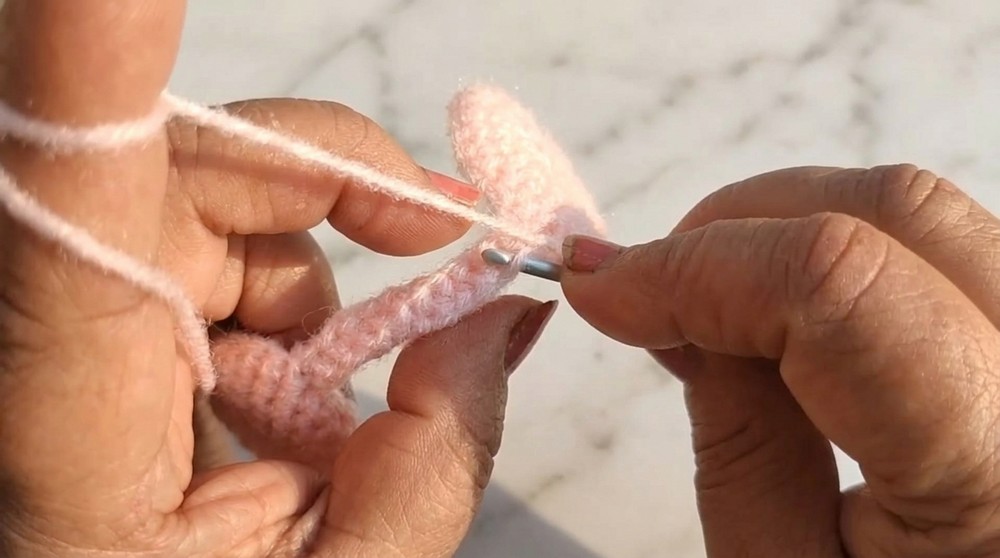
- Align the two circles face to face.
- Chain 10 (this becomes part of the side wall).
- Attach the chain to one base circle by making single crochets into the stitches lining the edge, working all the way around that circle.
Example:
- SL ST into the joining point on the base circle.
- Work 1 SC into each stitch around the edge (~30 stitches total).
- Then attach the other end of the chain to the second circle in the same way. This forms the side wall and joins the two circles.
Purse Body
You now have two circular bases joined with a long chain of SC forming the purse’s body.
- Work a row of 9 SC evenly spaced around the side chain stitches—crocheting into every chain stitch except the last one.
- SL ST at the end to join.
- Chain 1, turn.
Body Rounds (Repeated Rows)
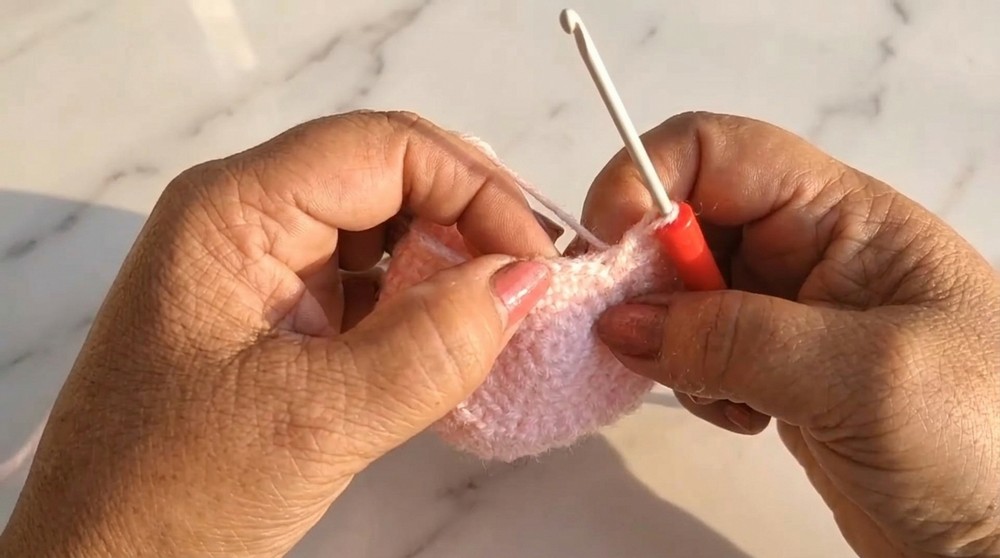
- Row 1: Single crochet in each stitch across the side chain (9 SC).
- At the end, SL ST to join.
- Chain 1, turn.
- Row 2 and onward: Repeat the previous row (9 SC) until the purse reaches desired height (approx. 8 cm).
Buttonhole Row
- Crochet 10 SC.
- Chain 4, skip 4 stitches on the body to create the buttonhole.
- Crochet 10 SC to finish the row.
- SL ST to join.
- Chain 1, turn.
Final Body Row
- Work 10 SC,
- SC in each of the 4 chains made for the buttonhole,
- SC in the remaining 10 stitches.
- SL ST to join.
- Finish off.
Purse Flap
- Make a slip knot.
- Chain 12.
Row 1:
- Starting from second chain from hook, SC across (11 SC).
Row 2:
- Chain 1 and turn.
- SC in each stitch across (11 SC).
Row 3:
- Chain 1 and turn.
- SC in first 3 stitches.
- 2 SC in next stitch (inc) repeat 3 times.
- SC in remaining stitches.
- You should have 14 SC after increases.
Row 4-6:
- Chain 1, turn.
- SC across all stitches (14 SC).
- Finish off, leaving a long tail for sewing.
Assembly
Attach Flap
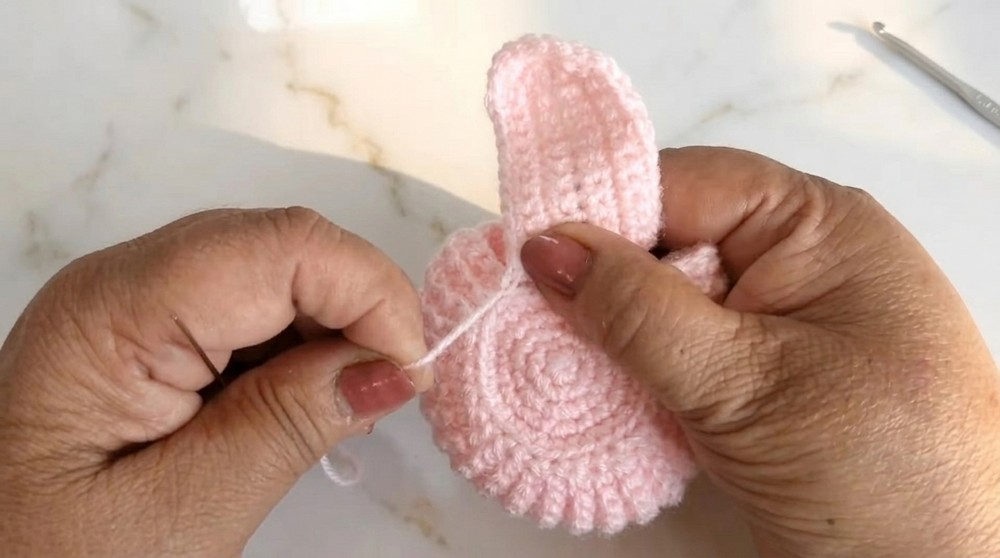
- Position flap onto the top back edge of the purse’s body.
- Sew securely with yarn needle and tail left earlier.
Sew Button
- On the front of the purse, align with the buttonhole on the flap.
- Sew button firmly with needle and thread.
Weave Ends
- Weave in all loose yarn ends to the inside of the purse for a tidy finish.
Finished Size
- Diameter: Approximately 10 cm
- Height (body only): Approximately 8 cm
- Flap length: Approximately 6 cm
Conclusion
You have successfully crocheted a neat and useful small coin purse! This project showcases key amigurumi skills such as working in rounds, joining pieces, and creating functional design elements like buttonholes. Enjoy using or gifting this beautiful handmade accessory.