
Free Crochet Santa Hat Pattern to Wear on Christmas
Celebrate the season in style with this free crochet Santa hat pattern and create a festive handmade accessory perfect for Christmas parties.
The holiday season is always full of warmth, joy, and festive traditions. For lovers of handmade treasures, what could be more special than something personal and heartfelt to celebrate the occasion? On Crochet con Yamileth, Yamileth offers an easy tutorial to guide you through making a cheerful Christmas hat. Her channel provides clear instructions, making this festive project approachable for anyone who enjoys crochet, whether they're just starting out or have been crocheting for years.
This Santa hat stands out with its bright colors and cozy texture. It starts with a circular base, gradually built using simple stitches like double crochets, giving it a soft and neat structure. The alternating red and white stripes add a classic holiday feel, and the ribbed brim created with front and back post double crochets adds both comfort and style. The fluffy pom pom at the top is the crown of this cheerful hat, bringing a sense of fun and charm that everyone will love.
Free Crochet Santa Hat Pattern for a Jolly Holiday
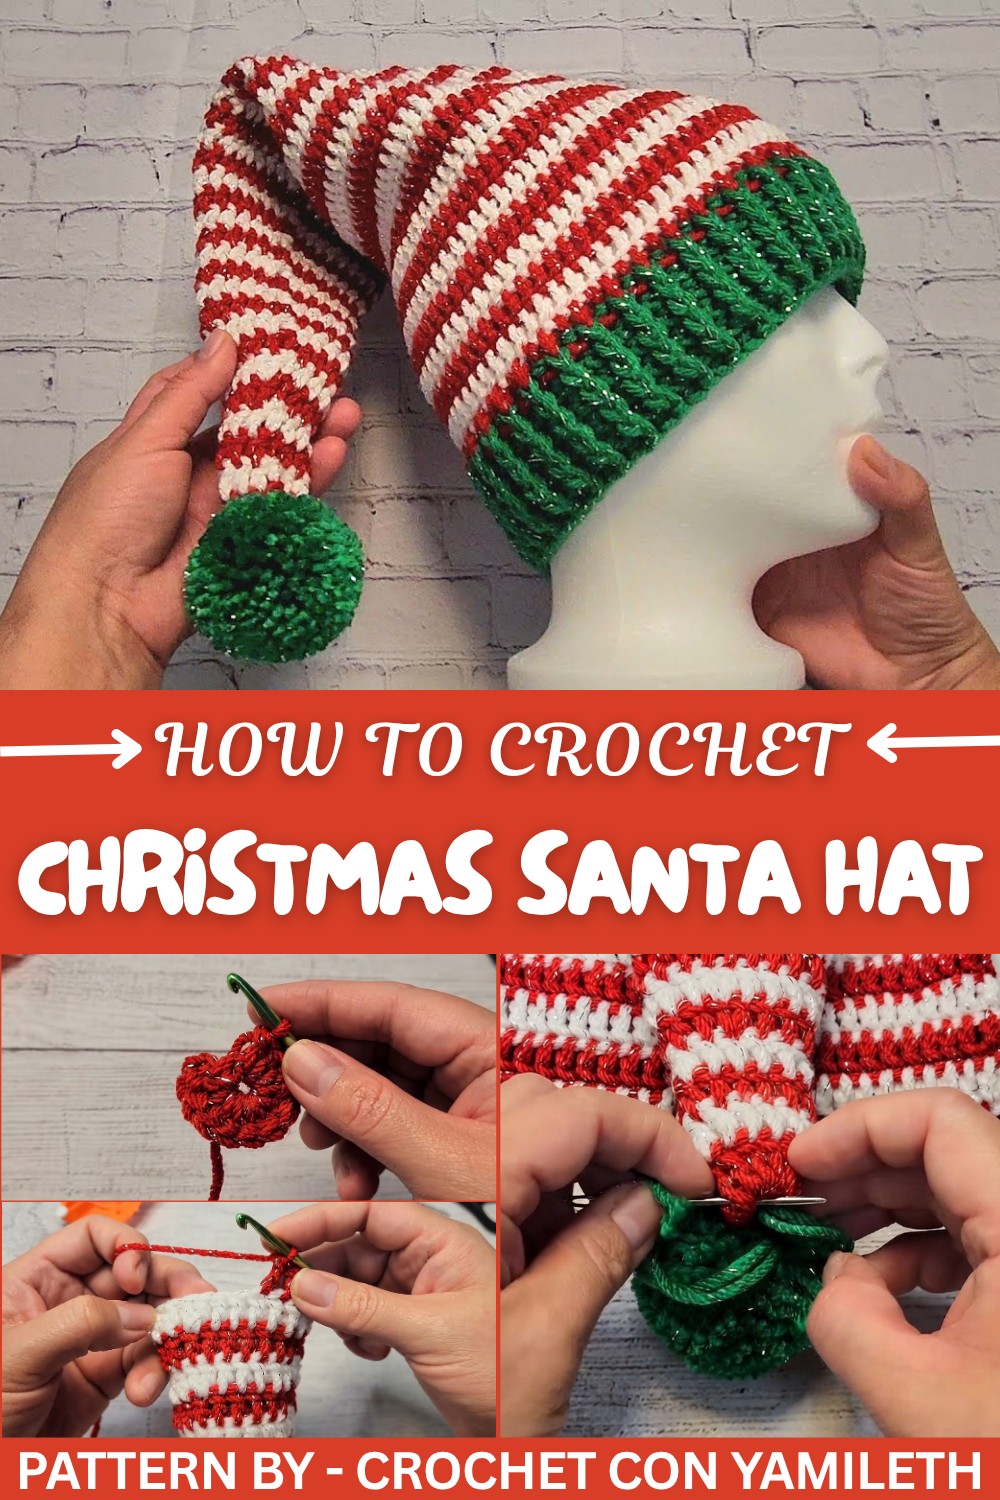
Beyond wearing it, this Santa hat makes for a thoughtful handmade gift or a cute photo prop during the holidays. It’s also perfect as a festive addition to your seasonal décor. The steps and stitches in this project can inspire you to try similar items like mittens or tree ornaments using the same techniques.
This project is all about spreading holiday joy, one stitch at a time. With just a hook, some yarn, and Yamileth’s easy instructions, you’ll create something that truly represents the festive spirit.
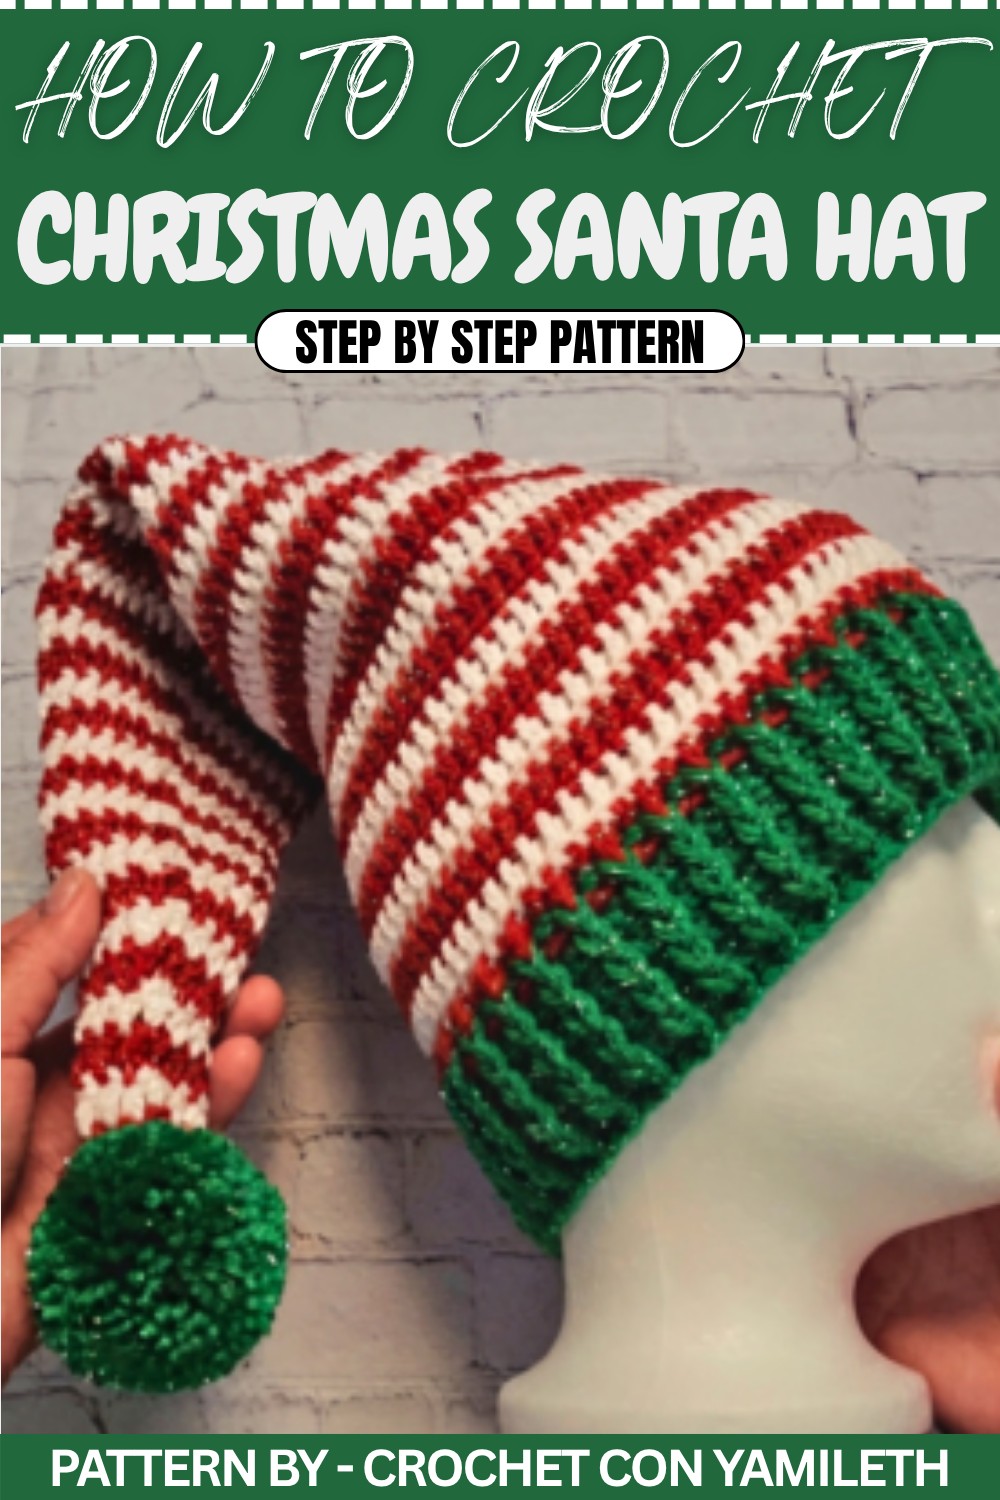
Crochet Pattern: Christmas Hat with Pom Pom
Today, you will learn how to crochet a beautiful Christmas hat with a decorative pom pom. This crochet pattern is perfect for beginners, and by following each step in detail, you'll be able to make a lovely piece for winter or the festive season. Join me, and let's crochet together!
Quick Overview of Pattern
- Project: Christmas Hat
- Rounds: Step by step increase rounds to shape the hat.
- Stitches: Chain, double crochet, slip stitch, front post and back post stitches for ribbing, and single crochet.
- Decoration: Make a pom pom for the top of the hat.
Notes
- You will switch yarn colors throughout the project, creating a festive striped pattern.
- The hat begins with a foundation circle and progresses through rounds with incremental increases.
- At the end, ribbing is added for a snug fit, followed by the pom-pom.
Skill Level
Intermediate: Requires familiarity with chaining, double crochet, increases, slip stitches, and working with post stitches for ribbing.
Materials
- Yarn: 3 colors of your choice (holiday inspired colors recommended).
- Hook: 4.5mm crochet hook.
- Scissors: For cutting the yarn.
- Yarning Needle: To weave in ends and secure your work.
- Pom Pom Maker or Circular Frame (optional).
Measurements/Sizing
The finished hat fits standard adult head sizes. Adjusting the final number of increase rounds will allow modifications to fit larger or smaller sizes.
Gauge
Gauge is not crucial for this pattern. Use consistent tension while working each stitch.
Stitch Abbreviations
- ch: Chain
- sc: Single Crochet
- dc: Double Crochet
- sl st: Slip Stitch
- fpdc: Front Post Double Crochet
- bpdc: Back Post Double Crochet
Special Stitches
Front Post Double Crochet (fpdc)
Insert the hook around the front of the post (vertical part) of the stitch from the previous round, yarn over, pull through, and complete the double crochet.
Back Post Double Crochet (bpdc)
Insert the hook around the back of the post (vertical part) of the stitch from the previous round, yarn over, pull through, and complete the double crochet.
The Crochet Pattern
Base of the Hat
Round 1:
- Chain 5, join with a sl st to form a ring.
- Chain 2, and inside the ring, work 12 dc, weaving the loose end of the yarn as you go along for a neat finish.
- Once complete, join the round with a sl st into the top of the chain 2.

Building the Hat
Round 2:
- Change yarn color.
- Chain 2, then work 1 dc into each stitch from the previous round.
- Continue working 1 dc per stitch for a total of 12 dc.
- Join the round with a sl st into the top of the chain 2.
Round 3:
- Change yarn color again.
- Chain 2, and continue working 1 dc per stitch for a total of 12 dc.
- Close the round with a sl st.

Round 4:
- Change the yarn again.
- Chain 2, and now work 3 dc followed by 1 increase (i.e. 2 dc into the same stitch).
- Repeat [3 dc, 1 increase] around until the round is complete.
- Join with a sl st into the top of the chain 2.
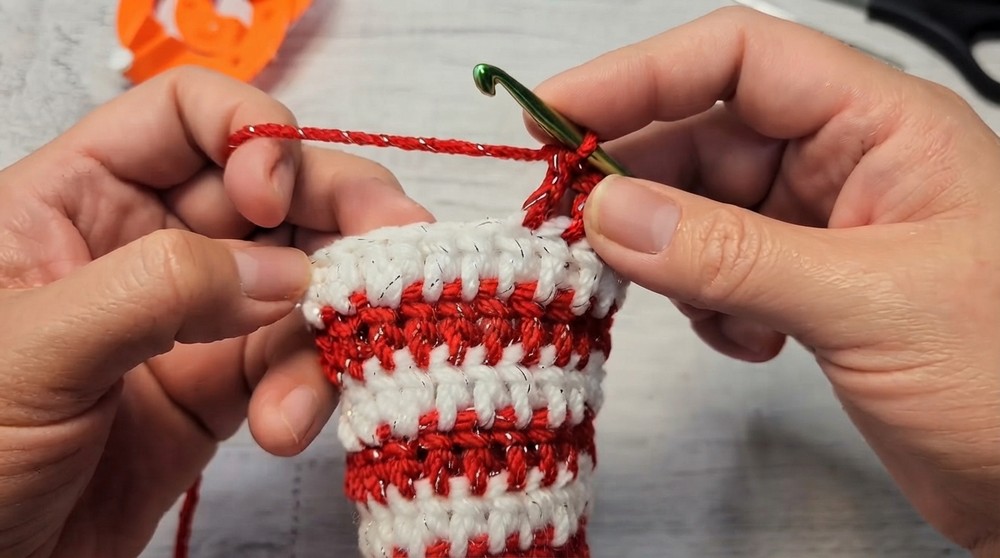
Round 5:
- Chain 2, and this time, work 4 dc, followed by 1 increase.
- Repeat [4 dc, 1 increase] around until the round is complete.
- Join with a sl st.
Round 6:
- Change yarn.
- Chain 2, and work dc stitches only, without increases, across the round.
- Join with a sl st.
Round 7:
- Chain 2, and now work 5 dc followed by 1 increase.
- Repeat the pattern [5 dc, 1 increase] around, then close the round with a sl st.
Rounds 8 to 27:
Follow this same pattern each round, increasing by 1 additional dc between each increase. For example:
- Round 8: 6 dc, 1 increase.
- Round 9: 7 dc, 1 increase.
- Continue this sequence until Round 15.
- From Rounds 16 to 27, switch to even rows without increases (one dc in each stitch). This shapes and finalizes the height of the hat.

Ribbed Brim
Ribbing Rounds:
- Change yarn color and Chain 2 to start.
- Alternate stitches around:
- Work 1 fpdc, followed by 1 bpdc.
- Repeat [fpdc, bpdc] around to create ribbing.
- Continue working ribbing stitches for 5 to 6 rounds, as desired for the brim's thickness.

Creating the Pom Pom
- Wrap yarn in your preferred color around a circular frame (or another tool) multiple times for fullness.
- Tie the middle tightly, creating equal loops.
- Cut the loops open on each edge.
- Trim stray ends to shape the pom-pom evenly.
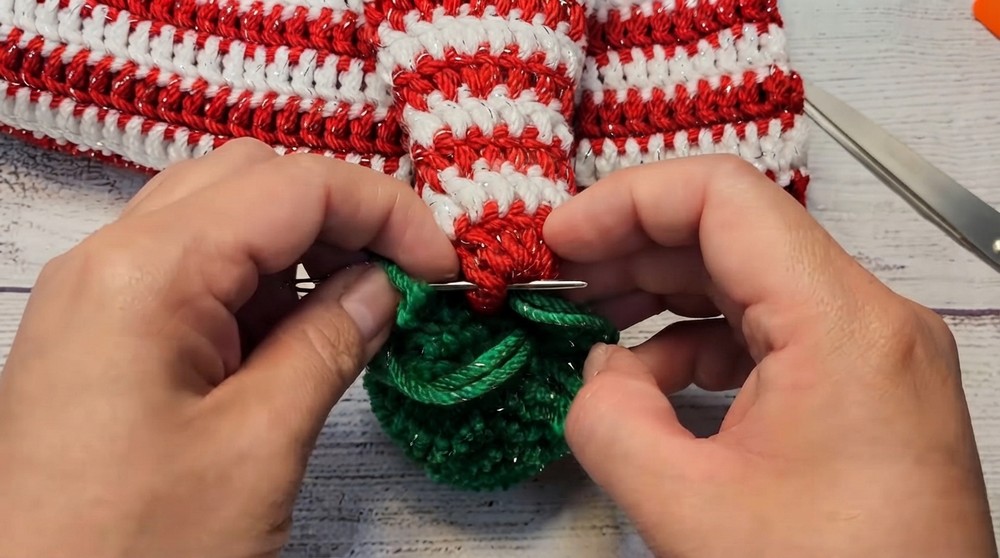
- Attach the pom-pom securely to the top of the hat using the yarning needle.
Assembly & Finished Size
The hat fits a standard adult head size, while the pom-pom and ribbed brim add a festive flair. Adjustments can be made for different sizes by altering the number of dc increases and non increase rounds.
Conclusion
Congratulations, You’ve finished your Christmas Hat with Pom-Pom, perfect for gifting or wearing during the holiday season. With its colorful stripes, ribbed brim, and playful pom pom, this project is festive and easy to customize.