
Cute Free Crochet Bag Pattern for Every Outfit
Bring your fashion ideas to life with an easy handmade crochet bag that’s fun to make and looks absolutely stunning to carry.
If you're looking for a quick and easy crochet project, the talented creators at TSUNAMI - Crochet Makers have shared a delightful tutorial for making a small, stylish bag. With its simplicity and versatility, this design is perfect for both beginner and experienced crocheters. The project features a rustic vibe using jute yarn in the original tutorial, but it can easily be customized with colorful yarns or embellishments to match your personal style.
Trendy and Cute Handmade Crochet Bag for Your Next Project
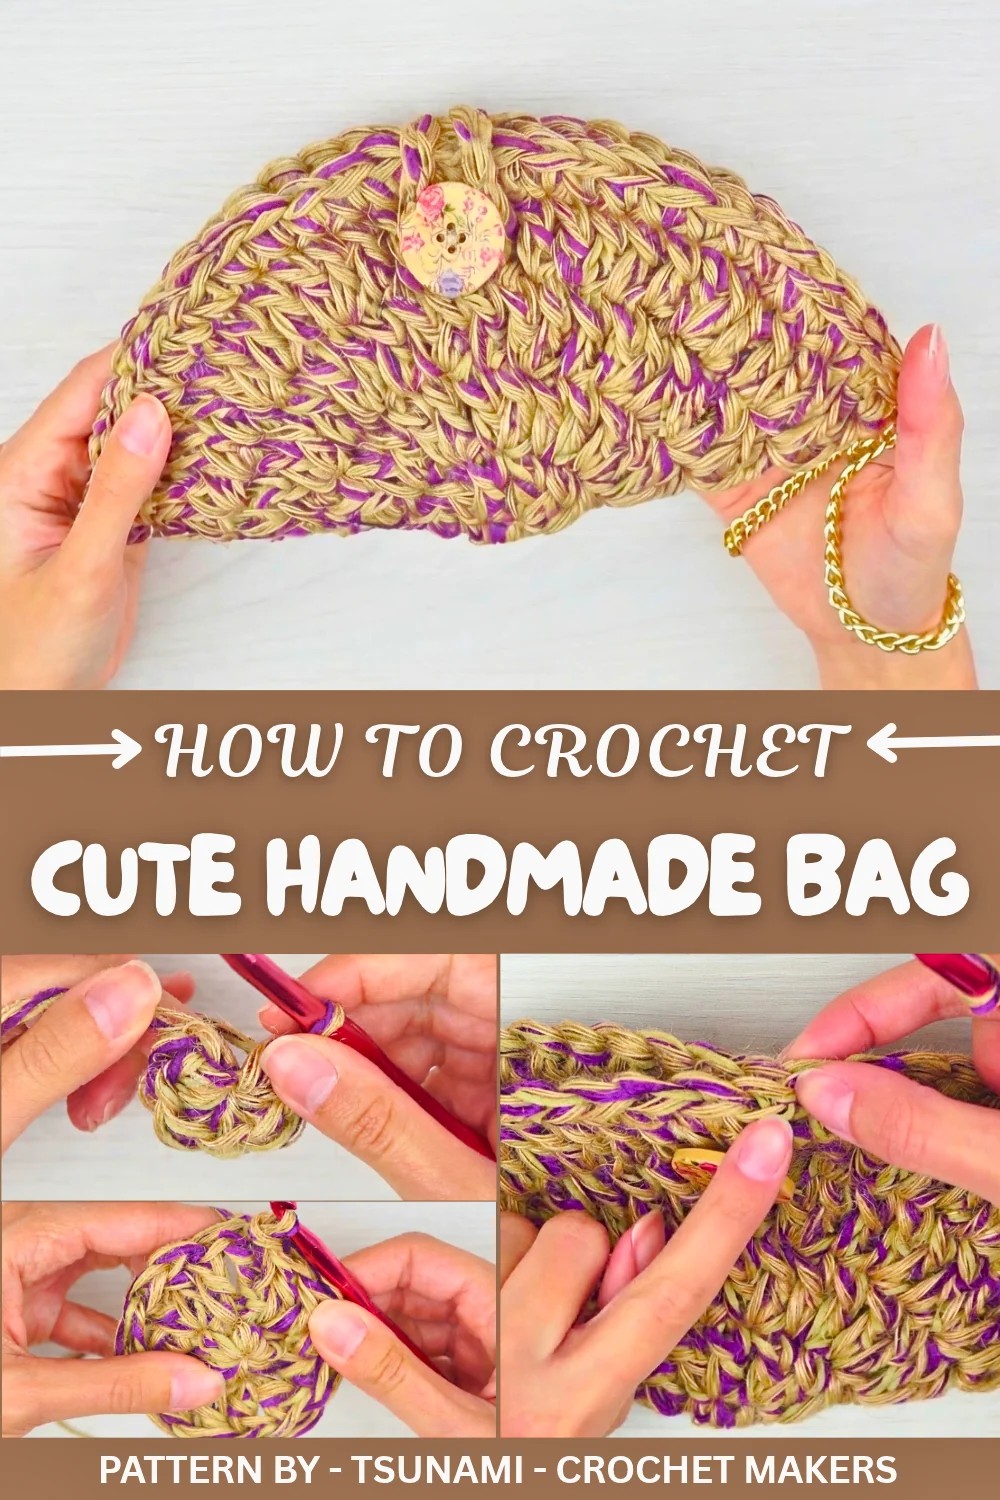
This crochet bag stands out because of its elegant and symmetrical circular shape. The beauty lies in its simple construction, incorporating basic double crochet stitches worked in continuous rounds. The pattern uses a clever increasing technique to expand the base, allowing you to adjust the size easily by adding more rounds. Its clean lines and natural charm make it a visually pleasing accessory, while its practicality makes it suitable for storing small items, cosmetics, or even as a chic addition to your beach bag. You can personalize it further by adding closures like buttons, zippers, or decorative appliques to make it truly one of a kind.
Offering both style and function, this bag is the perfect accessory for anyone looking to create something useful and beautiful with their own hands. Whether sized small as a coin pouch or scaled larger for carrying daily essentials, it’s adaptable to every need. Try out this design today , it’s fun, fast, and a lovely way to bring handmade charm into your life.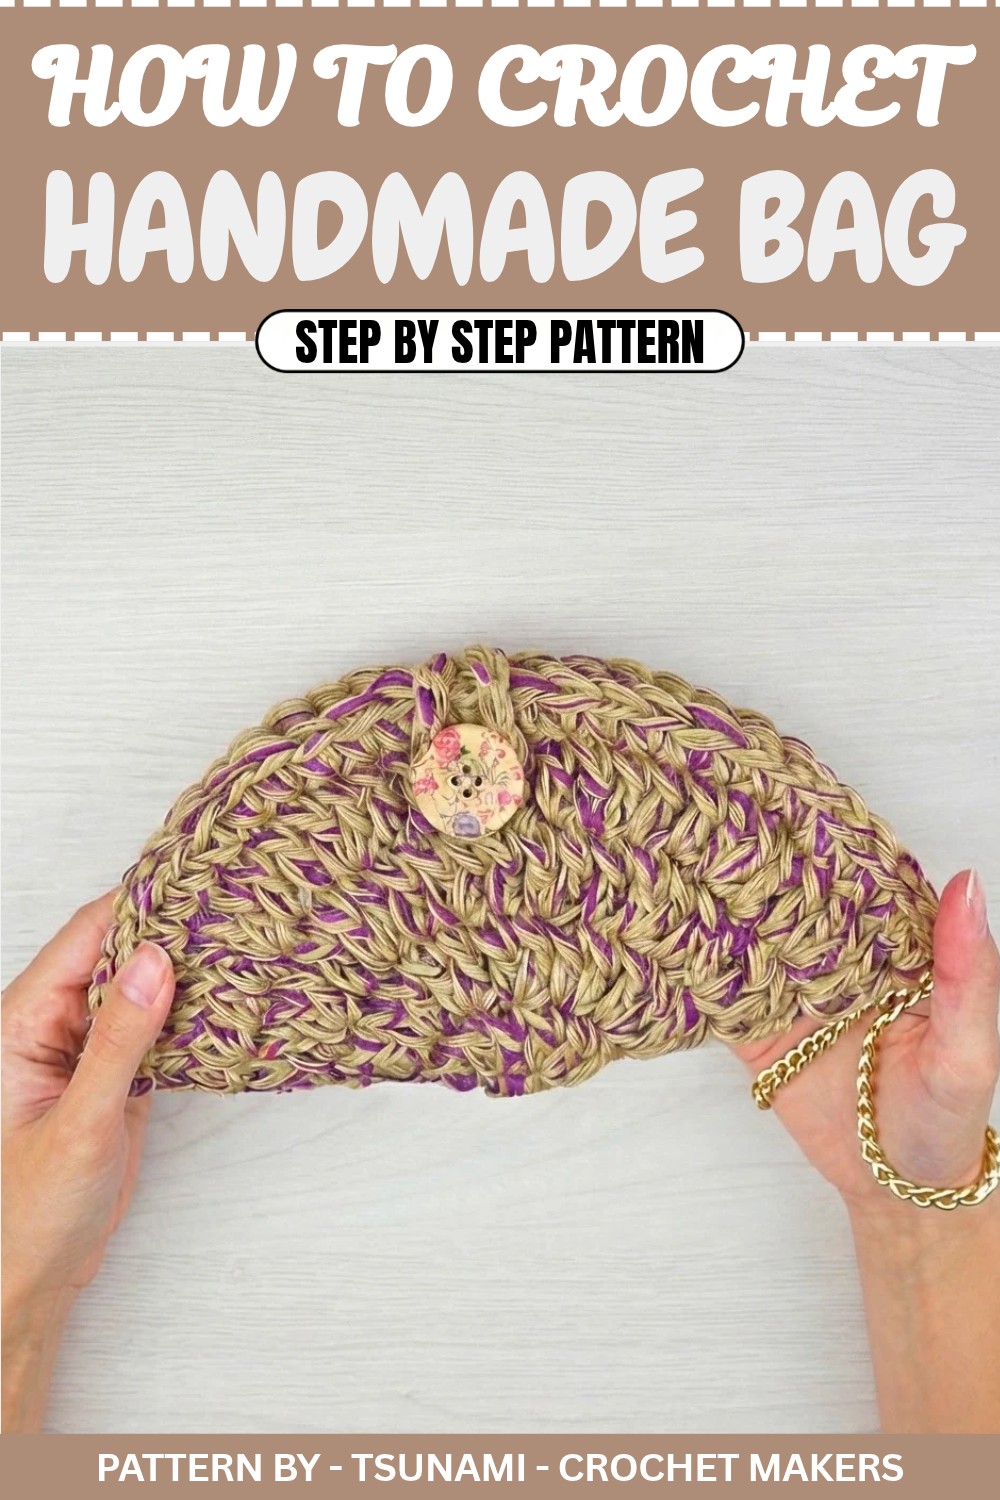
Crochet Pattern: Easy Handmade Bag
Quick Overview of Pattern
- Project Name: Crochet Bag
- Purpose: A fashionable and practical crocheted bag for everyday use.
- Features: Circular base, simple increases, optional size adjustments, and customizable additions like buttons or zippers.
Notes
- You can make the pochette larger or smaller by adjusting the number of rounds and increases in the base.
- If you prefer stiff material, substitute jute yarn with other sturdy yarns, or use fabric stiffener.
- For added functionality, consider sewing a zipper or a button closure.
Skill Level
Beginner Intermediate (You should know basic crochet stitches like single crochet, double crochet, and slip stitch.)
Materials
- Yarn: Jute yarn or any preferred medium to heavy weight yarn.
- Hook Size: 7.0mm crochet hook.
- Scissors: For trimming threads.
- Tapestry Needle: Essential for sewing and weaving in loose ends.
- Button or Zipper (Optional): For closure.
Measurements / Sizing
- The finished size of the pochette can vary based on your customization—adjust the number of rounds to increase or decrease its size.
Gauge
Gauge is not crucial for this project; simply ensure consistent tension throughout your work.
Stitch Abbreviations
- ch: Chain
- sl st: Slip Stitch
- sc: Single Crochet
- dc: Double Crochet
Special Stitches
- Magic Ring (MR): Create a loop to begin the circle without leaving a hole in the center.
The Crochet Pattern
Step 1: Circular Base (Round 1)
- Begin with a magic ring.
- Work 6 sc (single crochet) into the ring.
- Close the ring tightly and slip stitch (sl st) into the first sc to close the round.
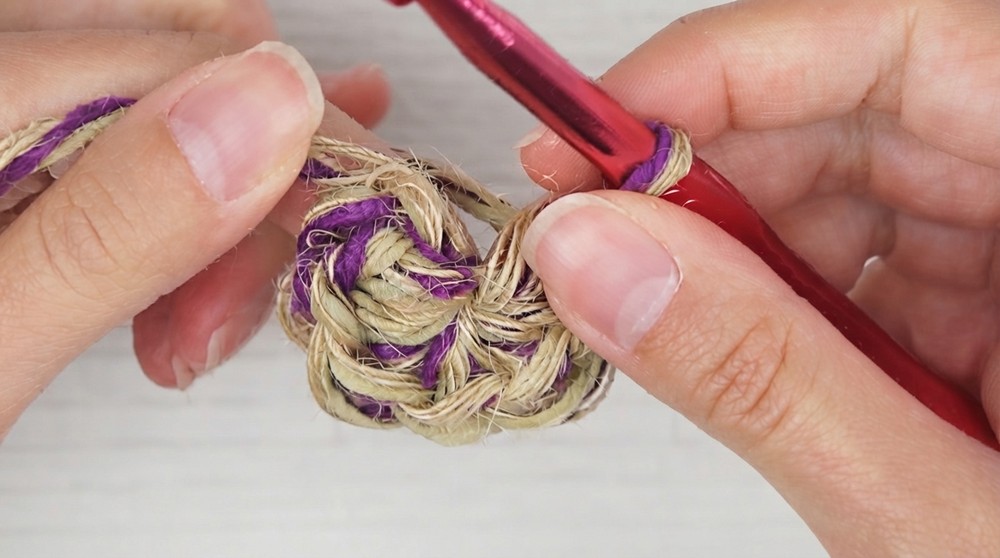
Step 2: Increase Round (Round 2)
- Chain 3 (this acts as the first dc of the round).
- Work 1 more dc into the same stitch.
- In each stitch of the previous round, work 2 dc—this creates an increase in every stitch.
- At the end of this round, you should have 12 dc total.
- Join with a sl st to the top of the initial chain 3.
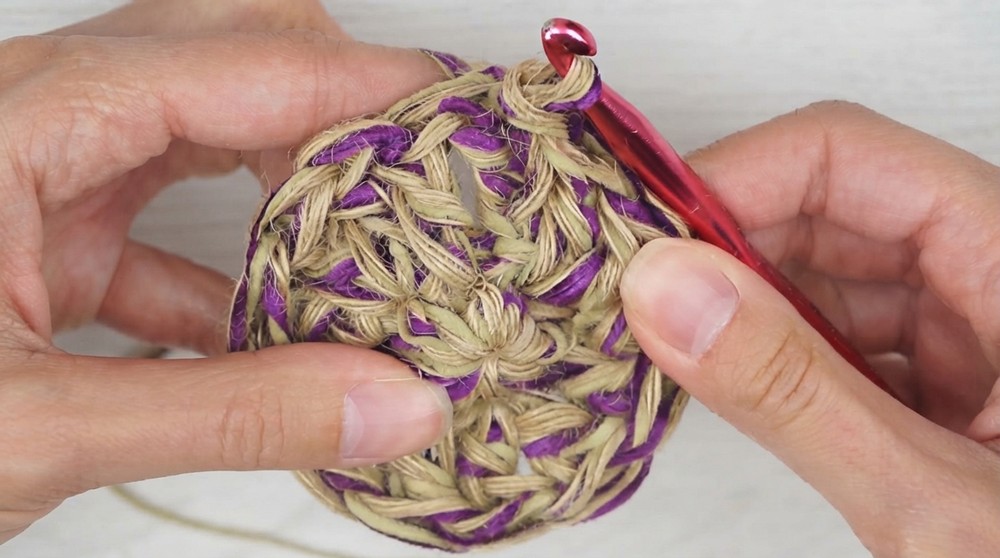
Step 3: Continue Increasing (Round 3)
- Chain 3 (counts as the first dc).
- Work 1 more dc into the same stitch.
- Make 2 dc in each stitch around—this duplicates the pattern of the previous round, creating another full round of increases.
- At the end of this round, you should have 24 dc total.
- Close the round with a sl st into the top of the initial chain 3.
Step 4: Alternating Increases (Round 4)
- Chain 3 (counts as the first dc).
- Work 1 more dc into the same stitch to create an increase.
- In the next stitch, work 1 dc only.
- In the next stitch after that, create an increase (2 dc in one stitch).
- Repeat this pattern (1 dc in one stitch, followed by an increase) around the circle.
- Close the round with a sl st into the top of the initial chain 3.
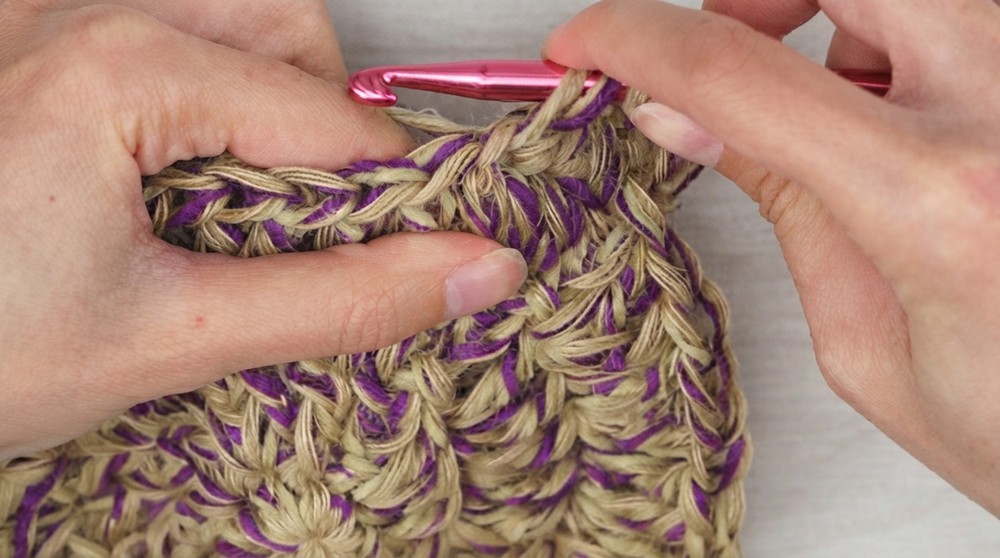
Step 5: Larger Circle (Round 5)
- Chain 3 as the first dc.
- Work 1 more dc into the same stitch for an increase.
- In the next two stitches, work 1 dc in each stitch.
- In the next stitch, create an increase (2 dc into one stitch).
- Alternate the pattern of 2 dc + an increase around the circle to finish this round.
- Close with a sl st to the top of the initial chain 3.
Step 6: Adjust Size
- If the base of your pochette is the desired size, you can stop increasing and begin working on the sides of the bag.
- If you want a larger pochette, continue adding rounds by increasing the number of single dc stitches between each increase.
Step 7: Creating the Sides
- Chain 1.
- Work 1 sc in every single stitch around the outer edge of the circle.
- Complete the round with a sl st to the first sc, chain 1 to secure, and cut the yarn when finished.
Assembly & Finished Size
Assembling the Bag
- Folding and Sewing:
- Fold the circular base in half.
- Stitch the two sides together with a tapestry needle or crochet seam, leaving one edge open for the top of the pochette.
- Optional Zipper or Button Closure:
- If using a zipper, sew it along the open edge for a complete top closure.
- If using a button, make a loop with chains for the button and attach it near the opening.
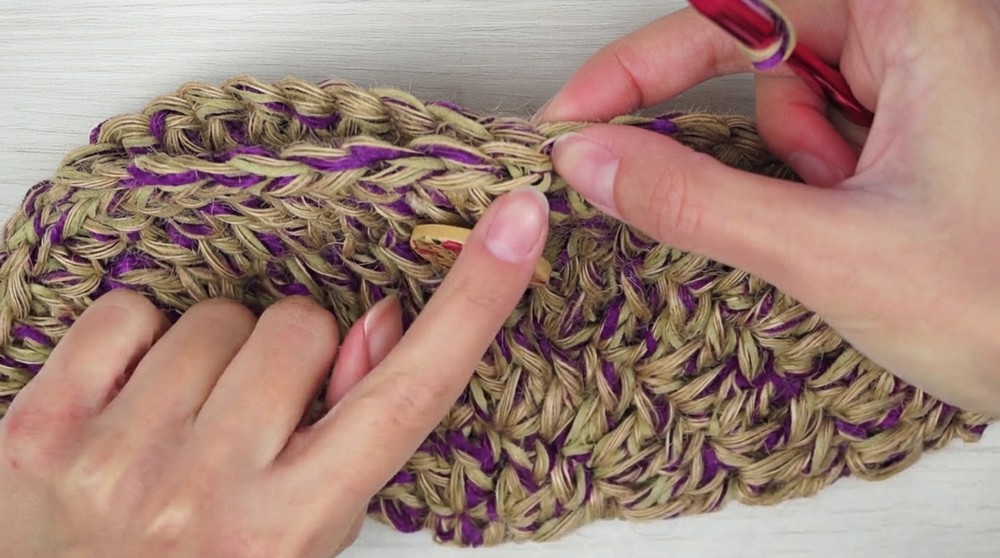
Adding Details
- You can create a small crocheted strap by chaining a length of yarn and attaching it to the sides of your pouchette.
Conclusion and Ending Words
Your handmade jute crochet pochette is now ready to use. This project is simple to customize and makes a great addition to your collection of accessories. Use different yarns, add creative closures, or make adjustments to personalize your design.