
Free Crochet Ruffle Hat Pattern That You Will Love
Add a playful touch to chilly days with this free crochet ruffle hat pattern that teaches you how to create a cozy accessory to bring both warmth and charm to any outfit.
The spiral ruffle hat stands out as both stylish and practical, making it one of the most eye catching pieces for crochet lovers. Its detailed structure starts with a simple crown that gracefully expands into a flowing spiral shape. The ruffle edges add depth, transforming it into a statement accessory that isn’t just warm but beautifully textured. This hat fits comfortably and stretches to suit most adult sizes, making it a versatile addition to any wardrobe.
The process to make the hat is straightforward yet rewarding. With a basic set of tools like a 4.5mm hook and skeins of acrylic yarn, this project is achievable for advanced beginners and offers both charm and satisfaction upon completion. From its well defined crown to its playful ruffles, every part of this hat shows careful attention to detail. The layered increases allow the structure to grow outward steadily, giving it both elegance and volume.
Free Crochet Ruffle Hat Pattern For Warm Cozy Looks
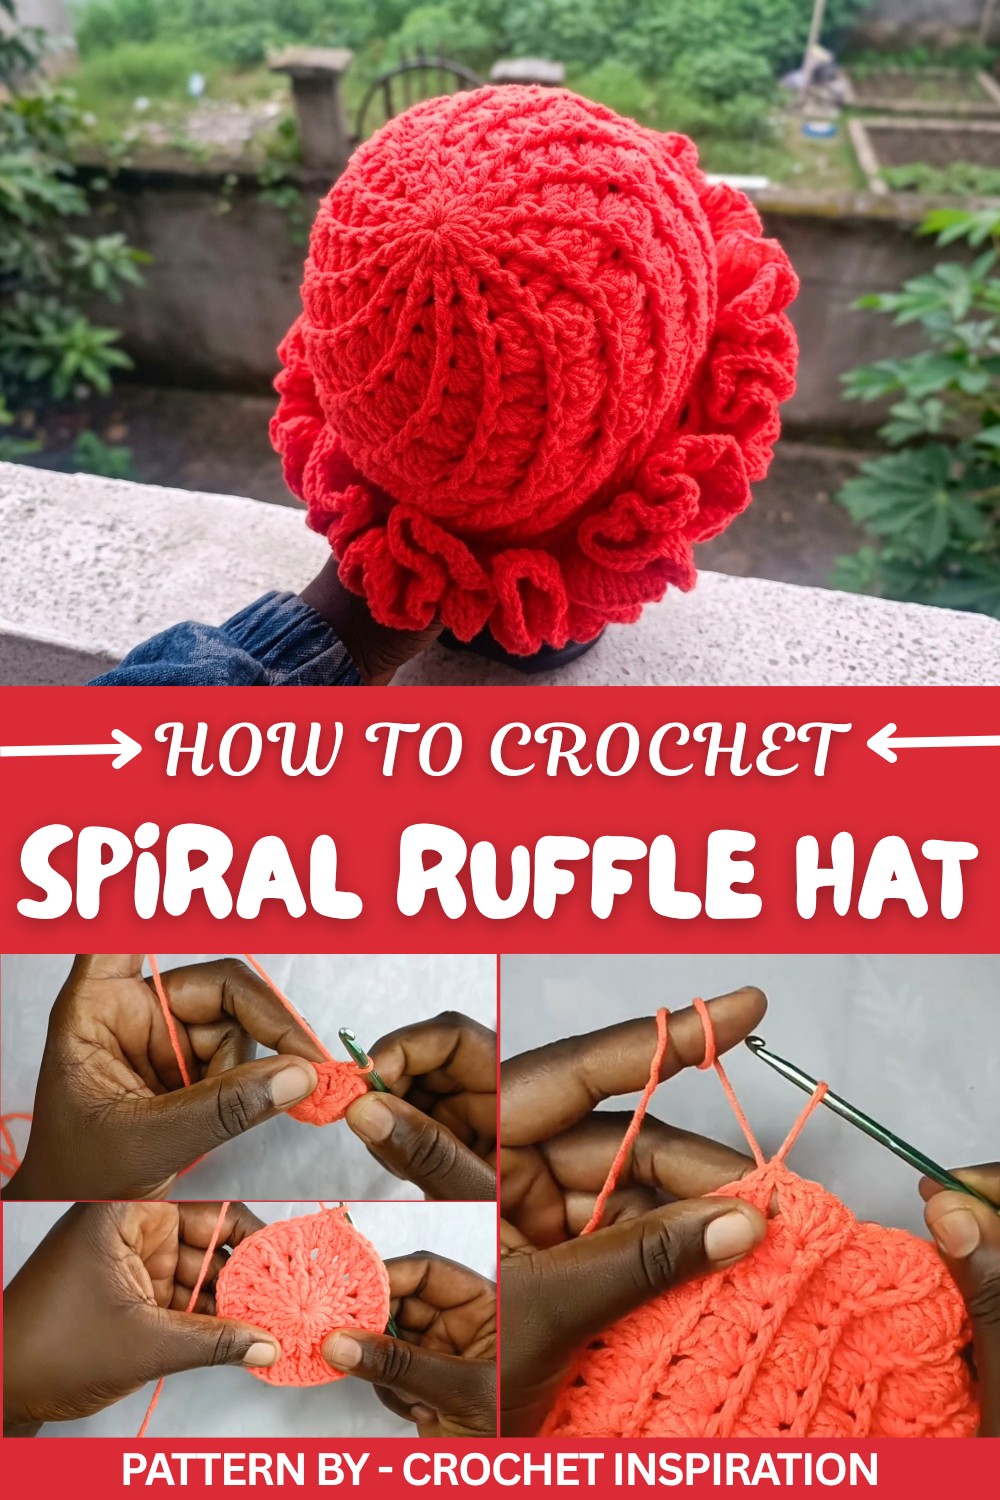
For those needing guidance, the Crochet Inspiration channel offers clear and simple steps in their updated tutorial. By refining previous demonstrations, they provide answers to common confusion around stitch placements and background distractions. With their approach, crocheters can enjoy a smooth process, knowing exactly how to shape and arrange each round.
Whether made as a thoughtful gift or for personal use, this hat is sure to grab attention. Its captivating layers and structured ruffles make it ideal for colder weather or elevating casual outfits. This accessory combines functionality with eye catching design, perfect for showing off your skills or adding charm to everyday wear.
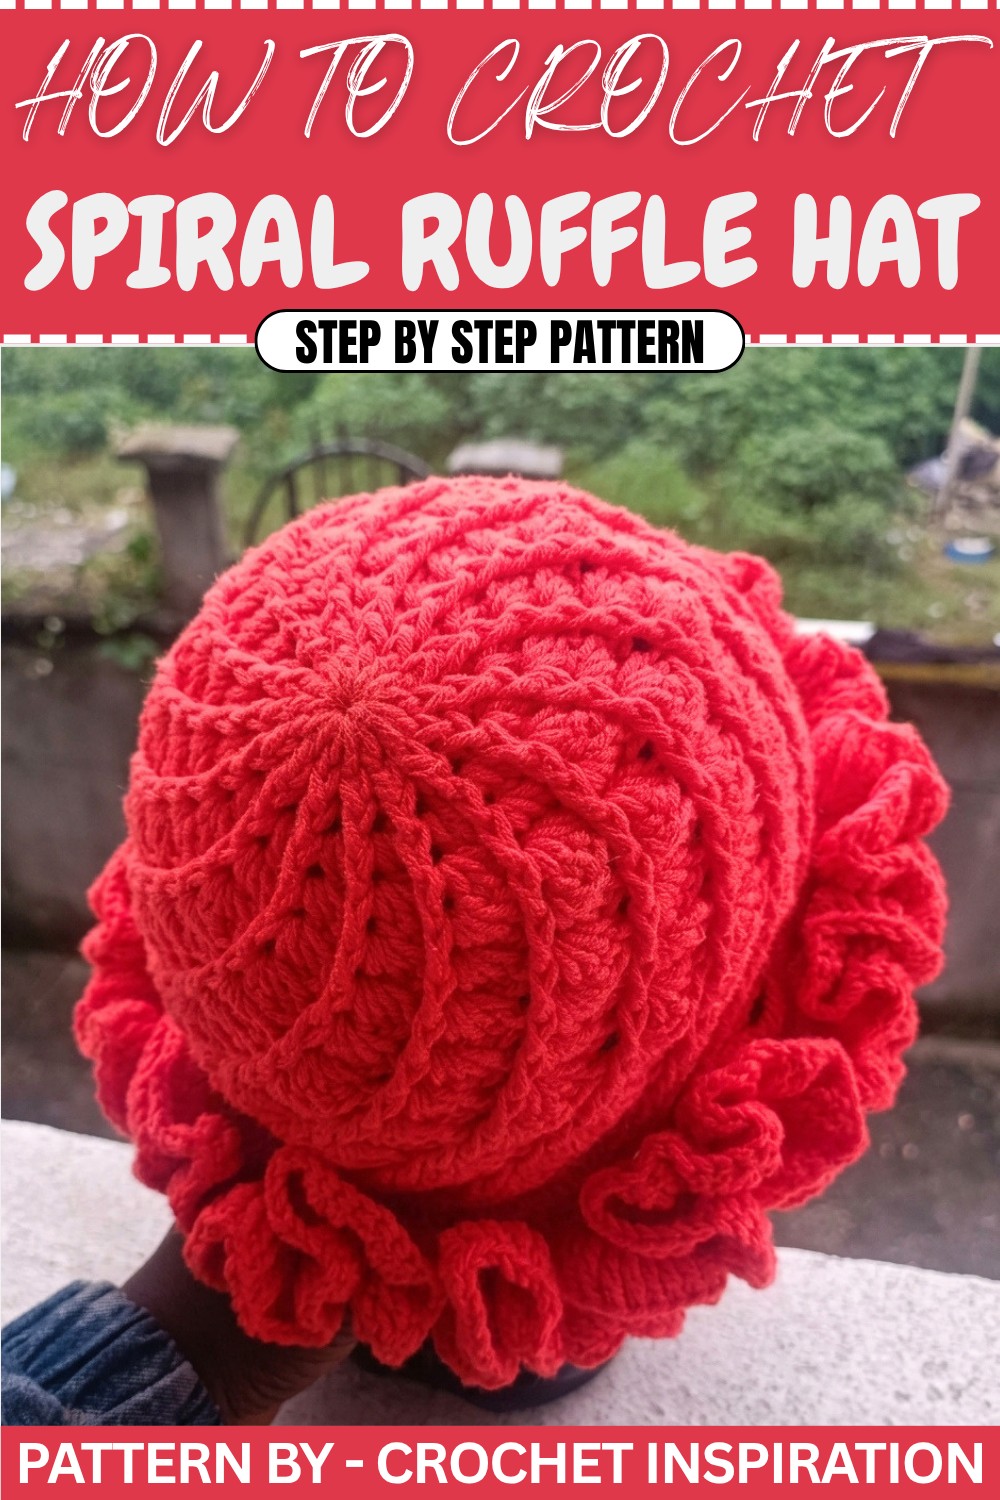
Crochet Ruffle Hat Pattern
This step by step pattern is designed to address common questions from the previous video regarding stitch placement and background noise, ensuring it’s easy to follow for crocheters of all skill levels. You'll create an elegant and voluminous ruffle hat perfect for winter, using a beginner friendly process.
Quick Overview Of Pattern
- Stylish spiral ruffle hat with a voluminous design.
- Uses front post and triple crochet stitches to create intricate textures and ruffles.
- Perfect for intermediate crocheters but accessible to beginners with patience.
- Made using 5 skeins of 5 ply acrylic yarn.
- Customizable size with clear stitch instructions for adjustments.
Notes
- This pattern uses US crochet terminology.
- The slip stitch technique is used to close each round.
- For best results, ensure consistent tension while crocheting.
- Stretch the hat slightly to confirm measurements before adding the ruffles.
- Adjust the number of rounds to fit your desired hat size or fit.
Skill Level
Intermediate – Knowledge of basic stitches like chain, double crochet, and front post double crochet is helpful, along with slip stitch and magic circle skills.
Materials
- Yarn: 5 skeins of 50 g 5 ply acrylic yarn (approximately 250 g in total).
- Hook: 4.5 mm crochet hook.
- Measuring tape.
- Scissors.
- Darning needle (optional, for weaving in ends).
Measurements / Sizing
When completed, the hat stretches to approximately 6.5 to 7 inches in length (before adding ruffles).
Gauge
Gauge isn’t crucial for this pattern, but aim for 15 double crochet stitches = 4 inches.
Stitch Abbreviations
- ch: Chain
- sl st: Slip Stitch
- sc: Single Crochet
- dc: Double Crochet
- fpdc: Front Post Double Crochet
- tr: Triple (or Treble) Crochet
- yo: Yarn Over
Special Stitches
- Front Post Double Crochet (fpdc): Insert hook from front to back to front around the post of the stitch in the previous round, yo, pull up a loop, yo, pull through 2 loops, yo, pull through final 2 loops. This stitch creates a raised texture.
The Crochet Pattern
Follow the steps below carefully to create your ruffle hat.
Base of the Hat
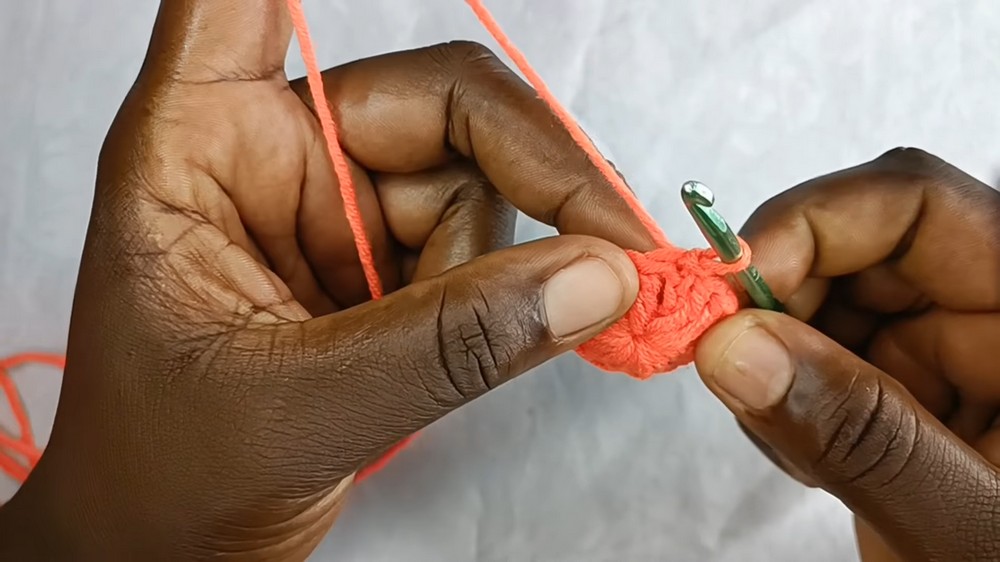
- Starting Round – Magic Circle:
- Create a slip knot.
- Chain 4 and join with a sl st into the first chain to form a circle.
- Chain 3 (counts as the first dc).
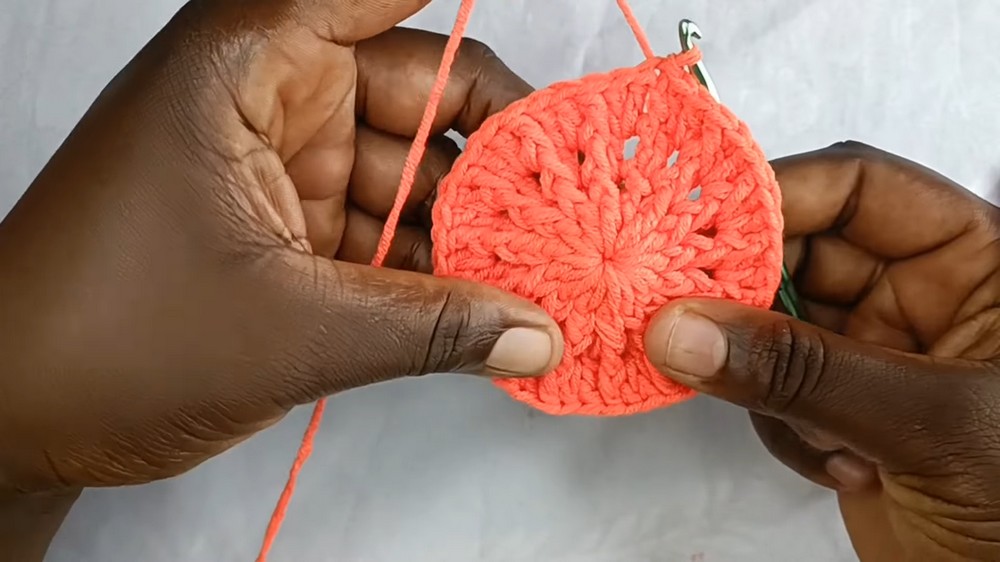
- Round 1 – Double Crochet Base:
- Work 14 dc into the magic circle. (The initial ch-3 counts as 1 dc, so there will be 15 dc in total.)
- Work over the yarn tail for neat finishing.
- Join with a sl st into the top of the starting ch-3.
- Round 2 – Front Post Double Crochet:
- Chain 2.
- Work 1 fpdc around each dc post from the previous round.
- Close the round with a sl st into the chain-2 space.
- Round 3 – Alternating Stitches:
- Start by chaining 2.
- In the first space, place 1 dc, then continue alternating 1 dc in the spaces and 1 fpdc in the post stitches of the previous round.
- Repeat until the round is complete. Join with a sl st.
- Round 4 – Increase Stitch Count (Adding Width):
- Chain 2. Start with a fpdc in the first post and place 2 dc in each space from the previous round.
- Continue alternating between 2 dc in spaces and 1 fpdc in the posts.
- Close the round with a sl st.
- Round 5 – Additional Increases for Shape:
- Chain 2.
- In each space, place 3 dc.
- Maintain fpdc in the post stitches from the previous round.
- Repeat this pattern and join.
- Round 6 – Final Increase Row:
- Chain 2.
- Place 4 dc in each space.
- Keep working fpdc in the posts as established.
- This completes the shape for the body of the hat. Stretch and measure the size (it should be 6.5 to 7 inches).
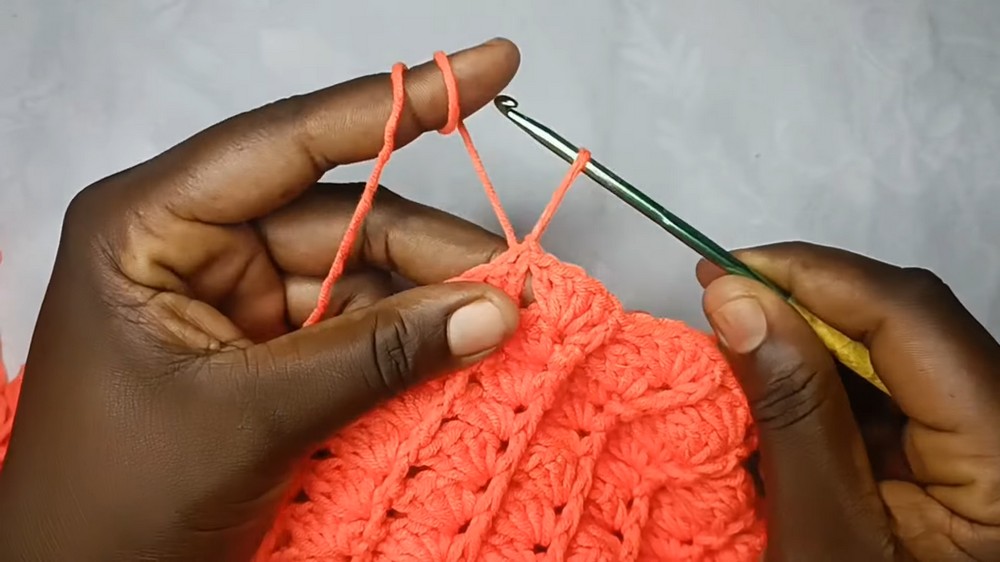
Rim and Ruffles
- Single Crochet Base (Before Ruffles):
- Work 1 sc in each stitch around (this creates a neat edge for the ruffles).
- Use a stitch marker to mark the beginning of the round. When you finish the round, join with a sl st.
- First Ruffle Row – Five Triple Crochets:
- Chain 4 (counts as first tr).
- In the same stitch, yarn over twice, insert the hook, and place 5 tr in the same stitch.
- Repeat this for each stitch around the rim to create thick ruffles.
- Join with a sl st at the start of the round.
- Second Ruffle Row – Three Triple Crochets:
- Chain 4. In the same stitch, place 3 tr.
- Work 3 tr in every stitch for this round.
- Adjust the thickness of the ruffles as desired (optional: use 2 or 4 tr in each stitch for varying thickness).
- Join with a sl st at the start of the round.
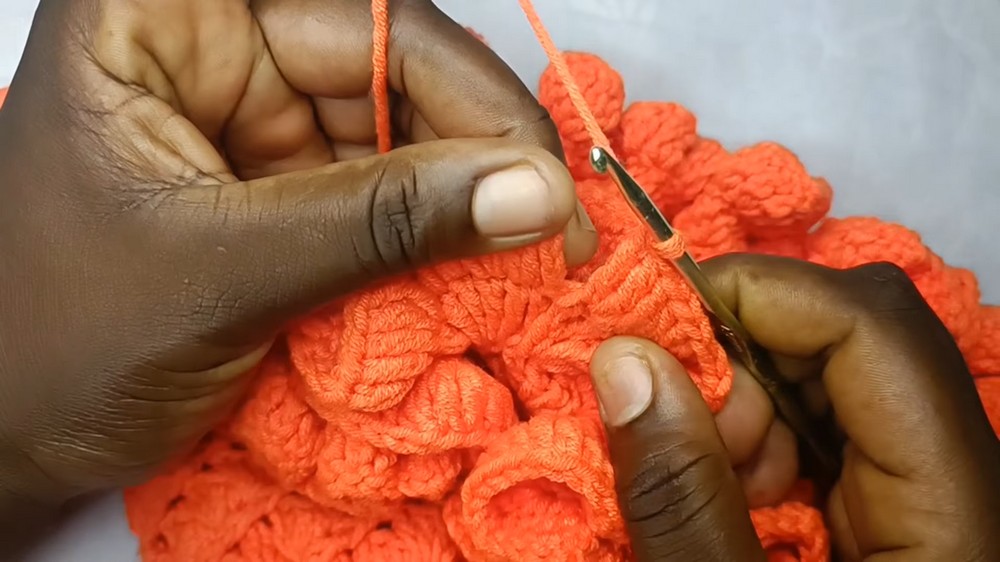
Assembly & Finished Size
- Finishing the Hat: After completing the ruffles, fasten off the yarn by pulling through the loop.
- Use a darning needle or your crochet hook to weave in the yarn tail for a polished look.
- The final hat should measure approximately 7 inches in length with thick, voluminous ruffles.
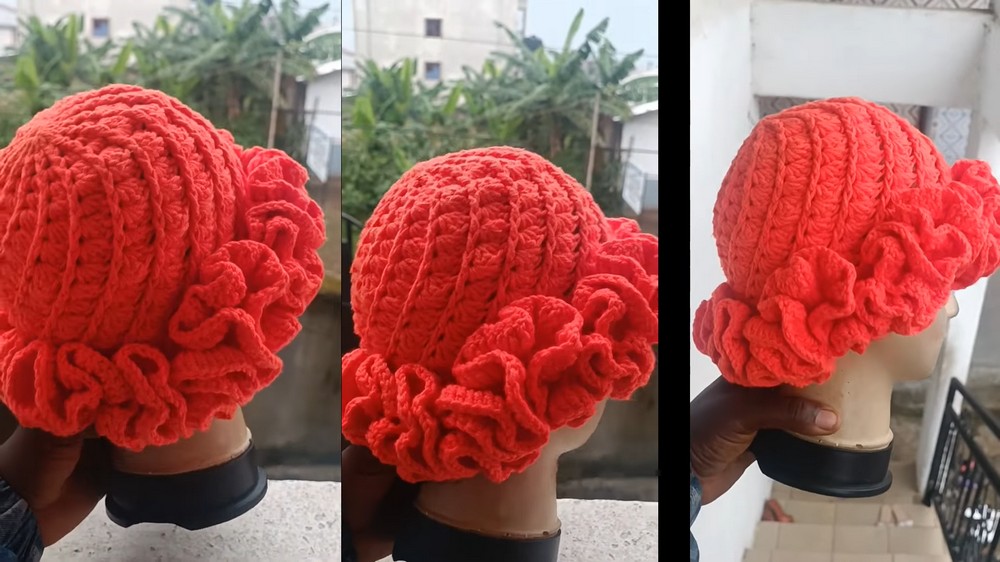
Conclusion and Ending Words
You’ve now completed your stunning spiral ruffle hat! Its voluminous design and elegant texture make it a standout accessory for winter or a thoughtful gift for someone special. If you’ve enjoyed this pattern, be sure to explore more crochet projects to expand your skills.