
How to Crochet Ruffled Bralette Pattern to Dress up for Summer
Effortless Crochet Ruffled Bralette Pattern for Fashionable Looks
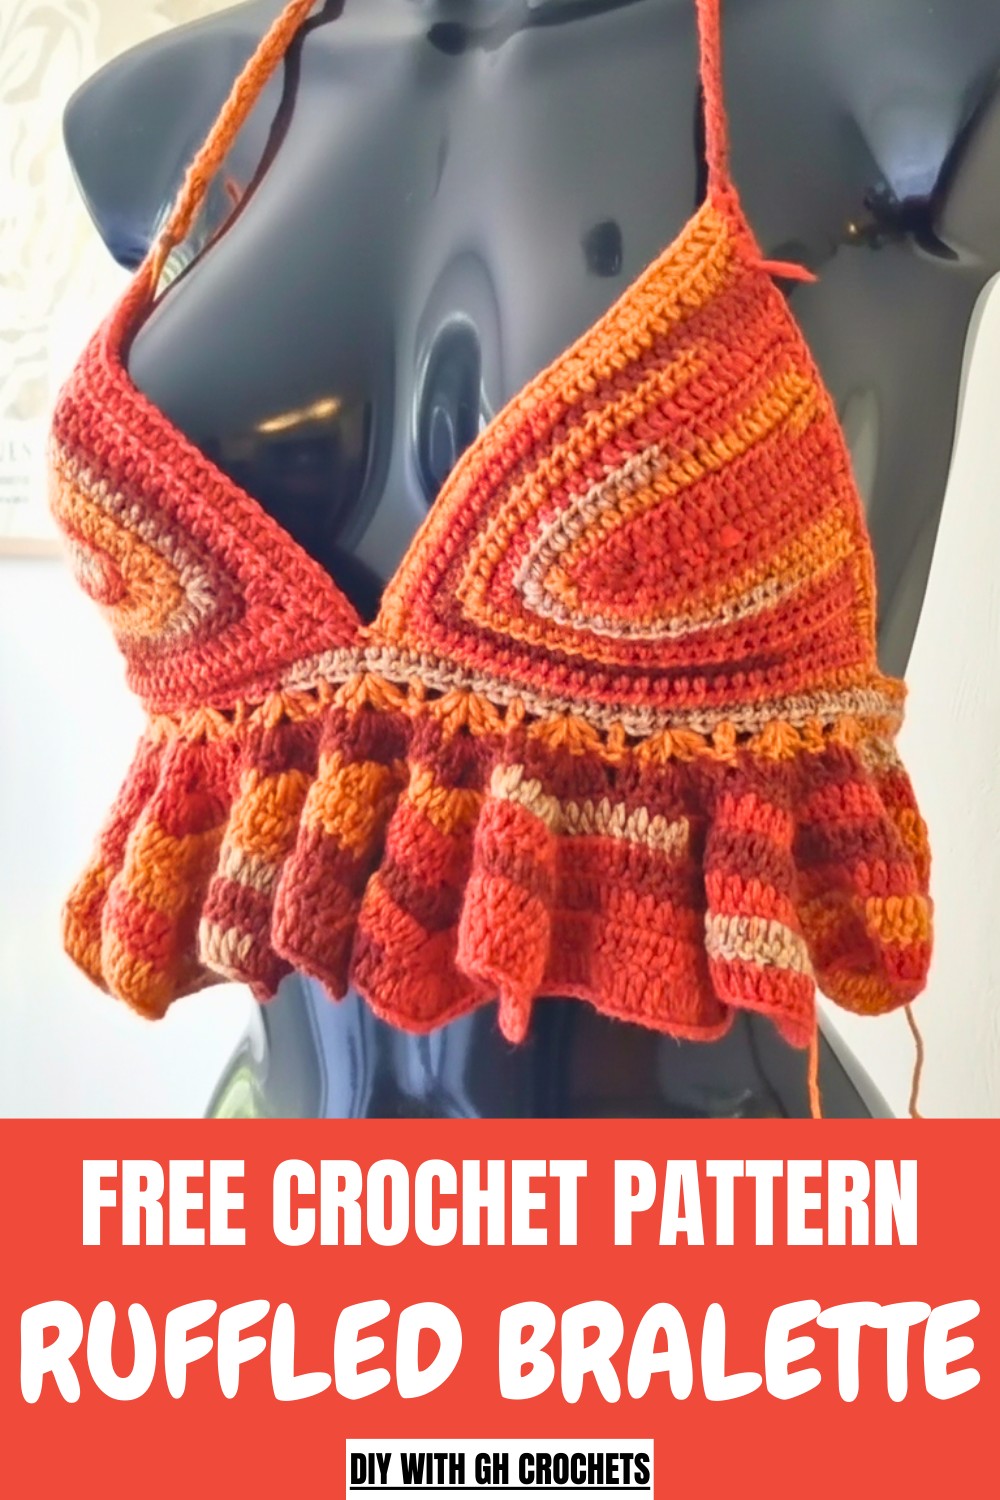
Starting with two triangular bra cups, you crochet rows of half double crochets that increase gently to match your measurements, making sure the fit is just right. The ruffles are formed by doubling the stitch count in specific spots, giving the piece a pretty wave-like edge that floats gracefully. Attaching the cups to the ruffle band is straightforward and can be done with either a tapestry needle or slip stitch, keeping the joins neat and secure. The pattern encourages creativity with colors, so you can use a single shade for a classic look or mix leftovers for a vibrant, blended effect.
Other Fun Projects From This Pattern
With the techniques used in this pattern, you can learn making matching accessories like summer headbands or cozy crop tops. The ruffle stitch works beautifully on scarves or shawls as well, adding a delicate flounce to simple pieces. This pattern is a great way to practice increases and working in chain spaces, both of which open doors to more intricate crochet designs and wearable art. Whether you want a full set or just want to try ruffles in different shapes, this pattern offers plenty of inspiration!
Crochet Ruffle Top Tutorial (US Terms)
This pattern will walk you through step-by-step instructions for crocheting a beautiful and elegant Ruffle Top. This pattern is beginner-friendly, featuring a bra-cup design, flowy ruffles, and added loops and ties for a secure and fashionable fit. Whether you’re crocheting this pattern for summer outings, as a vacation top, or for any casual occasion, it’s a versatile and eye-catching addition to your wardrobe!
Uses of This Pattern
- Top for Summer Events: Ruffles and breathable design make it perfect for warm weather.
- Swimwear Overlay: Use as a fun, stylish accessory for beach or pool days.
- Beginner Project: Learn shaping techniques like making bra cups and creating ruffles.
Skill Level & Terminology
- Skill Level: Beginner
- Techniques used include half double crochet, double crochet, slip stitch, and chain spaces.
- Terminology: US Crochet Terms
Materials & Tools
To complete this pattern, you will need the following:
- Yarn:
- Any lightweight sport yarn. You can use leftover yarn or sport-weight/acrylic yarn in the color of your choice.
- Crochet Hook:
- 3.0 mm crochet hook (adjust size for your tension).
- Additional Tools:
- Stitch markers (optional, for alignment).
- Tapestry needle (for seaming bra cups).
- Scissors.
Gauge
Gauge is not critical for this pattern; however, if following the demonstrated measurements:
- Gauge: 6 rows x 12 stitches (in half double crochet) = 5 cm x 5 cm.
Finished Size
The size in this pattern creates a 40 cm width (underarm-to-underarm measurement) by default, which is a small-medium fit. Adjust the starting chain or row count to customize the size.
Abbreviations
| Abbreviation | Meaning |
|---|---|
| ch | Chain |
| sc | Single Crochet |
| hdc | Half Double Crochet |
| dc | Double Crochet |
| sl st | Slip Stitch |
Special Stitch Instructions
Half Double Crochet (hdc):
Yarn over, insert the hook into the stitch, yarn over, pull up a loop (3 loops on hook), yarn over, and pull through all 3 loops.
Double Crochet Cluster:
- Work 2 dc, ch 1, 2 dc into the same chain space to create a shape that builds the ruffles.
What You’ll Learn From This Pattern
- How to create structured bra cups for tops.
- Creating a ruffle effect by increasing stitches in chain spaces.
- Adding loops and ties for finishing.
The Pattern
Step 1: Bra Cups
Foundation Chain for Bra Cups
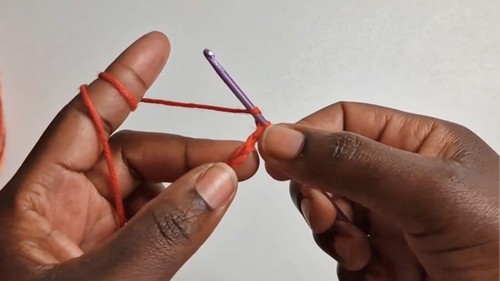
- Start by making a loop and securing it with your hook.
- Ch 18 + 2 (starting edge).
Row 1: Half Double Crochet Foundation
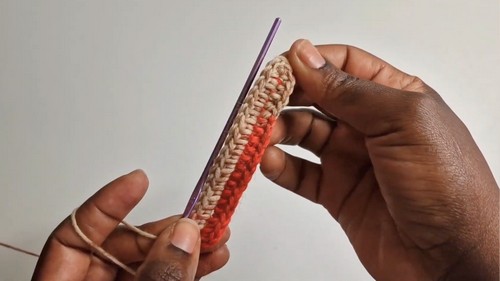
- Hdc in the 3rd chain from the hook and in each remaining chain across. (18 hdc)
- In the last chain, work 2 hdc, ch 1, 2 hdc to shape the tip of the bra cup.
- Rotate and continue working along the other side of the foundation chain. Work 1 hdc into each chain.
- At the end, ch 2, turn.
Row 2–9: Shaping the Bra Cups
- Hdc in the first stitch (starting from the very first loop helps maintain a straight edge).
- Work 1 hdc in every stitch until you reach the ch 1 space.
- In the ch 1 space, work 2 hdc, ch 1, 2 hdc to maintain the bra cup point.
- Repeat this process for a total of 9 rows (or fewer/more rows, depending on your desired size).
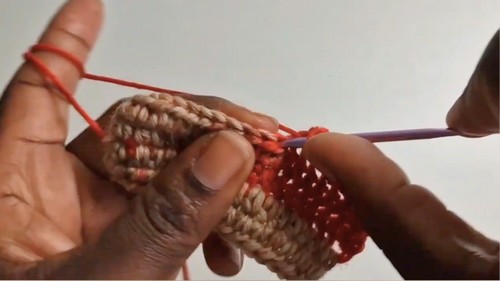
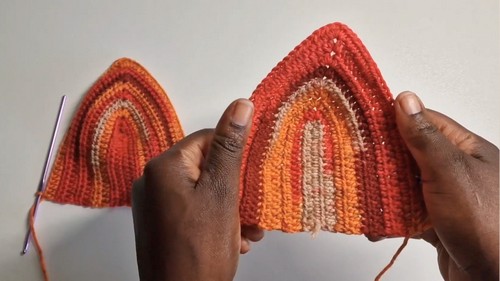
The bra cups are shaped by working 2 hdc, 1 ch, and 2 hdc at the tip in every row. This creates a gradual triangular shape that accommodates your bust.
Step 2: Base Row for Ruffles
- Measure your underarm-to-underarm width (e.g., 40 cm).
- Ch a foundation chain equal to that measurement.
- Row 1: Work 1 hdc in each chain, ch 2, and turn your work.
Step 3: Ruffles
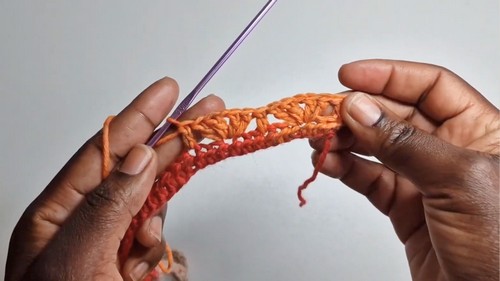
Row 2: Creating Ruffles with Clusters
- Dc in the first loop.
- Skip 2 stitches, then work the following cluster in the next stitch:
- 2 dc, ch 1, 2 dc in the same stitch.
- Skip 2 stitches, then dc in the next stitch.
- Repeat this pattern to create the ruffled texture.
Row 3–Additional Rows: Increasing Ruffles
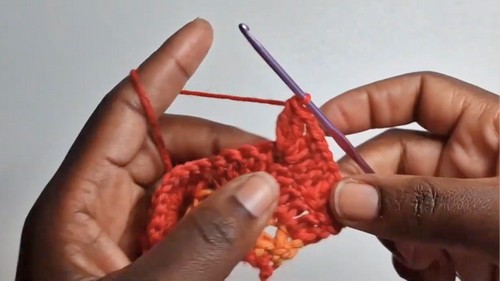
- Dc in the first stitch.
- In every chain space, work: 2 dc, ch 1, 2 dc.
- Continue working dc into every dc in the previous row to create even layers of ruffles.
- Add rows until the ruffled section reaches the desired length.
The ruffles are created by increasing stitches in chain spaces. Every additional row adds more fullness to the ruffled tiers, with more stitches being worked into the chain spaces.
Step 4: Attaching Bra Cups
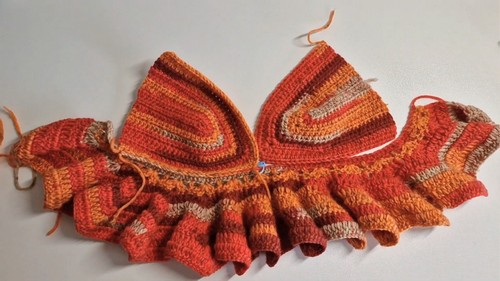
- Use a sl st or tapestry needle to attach the bra cups to the top edge of the ruffled base.
- Align the center of the bra cup with the center of the ruffle base, ensuring a symmetrical finish.
Step 5: Edging and Loops
Edging Around Bra Cups
- With the yarn, sl st or hdc evenly around the top edges of the bra cups for a clean look.
- In the chain spaces, work 2 hdc for better coverage.
Adding Loops for Ties
- Ch 1, skip 1 stitch, hdc in the next.
- Repeat this pattern to create small loops around the bra cups for threading straps.
Step 6: Ties
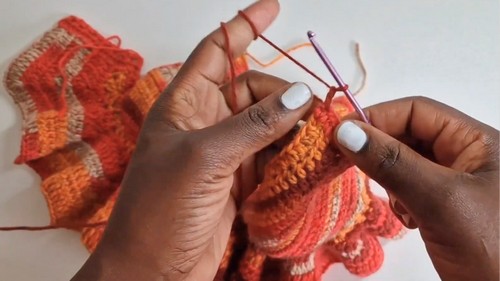
How to Crochet Straps
- Ch a long chain (approximately 70 cm or more, depending on your preferred length).
- Work sl st or sc back along the chain for a sturdy tie.
Assembly & Finishing
- Weave in All Ends: Use a tapestry needle to secure any loose ends for a neat finish.
- Attach Loops and Ties: Thread ties through all the loops to provide an adjustable fit.
- Blocking (Optional): Lightly steam or wet block your ruffle top to enhance the drape of the ruffles.
Why You’ll Love This Pattern
The Ruffle Top stands out for its simplicity, elegance, and versatility. It’s an excellent project for learning intermediate crochet shaping while creating an entirely wearable piece. The ruffles add flair, making it stylish for casual or festive occasions!
Tutor's Suggestions
The tutorial emphasizes the importance of working accurately in chain spaces to form the cups and ruffles properly. It also suggests trying out different strings and straps for personal comfort and style.