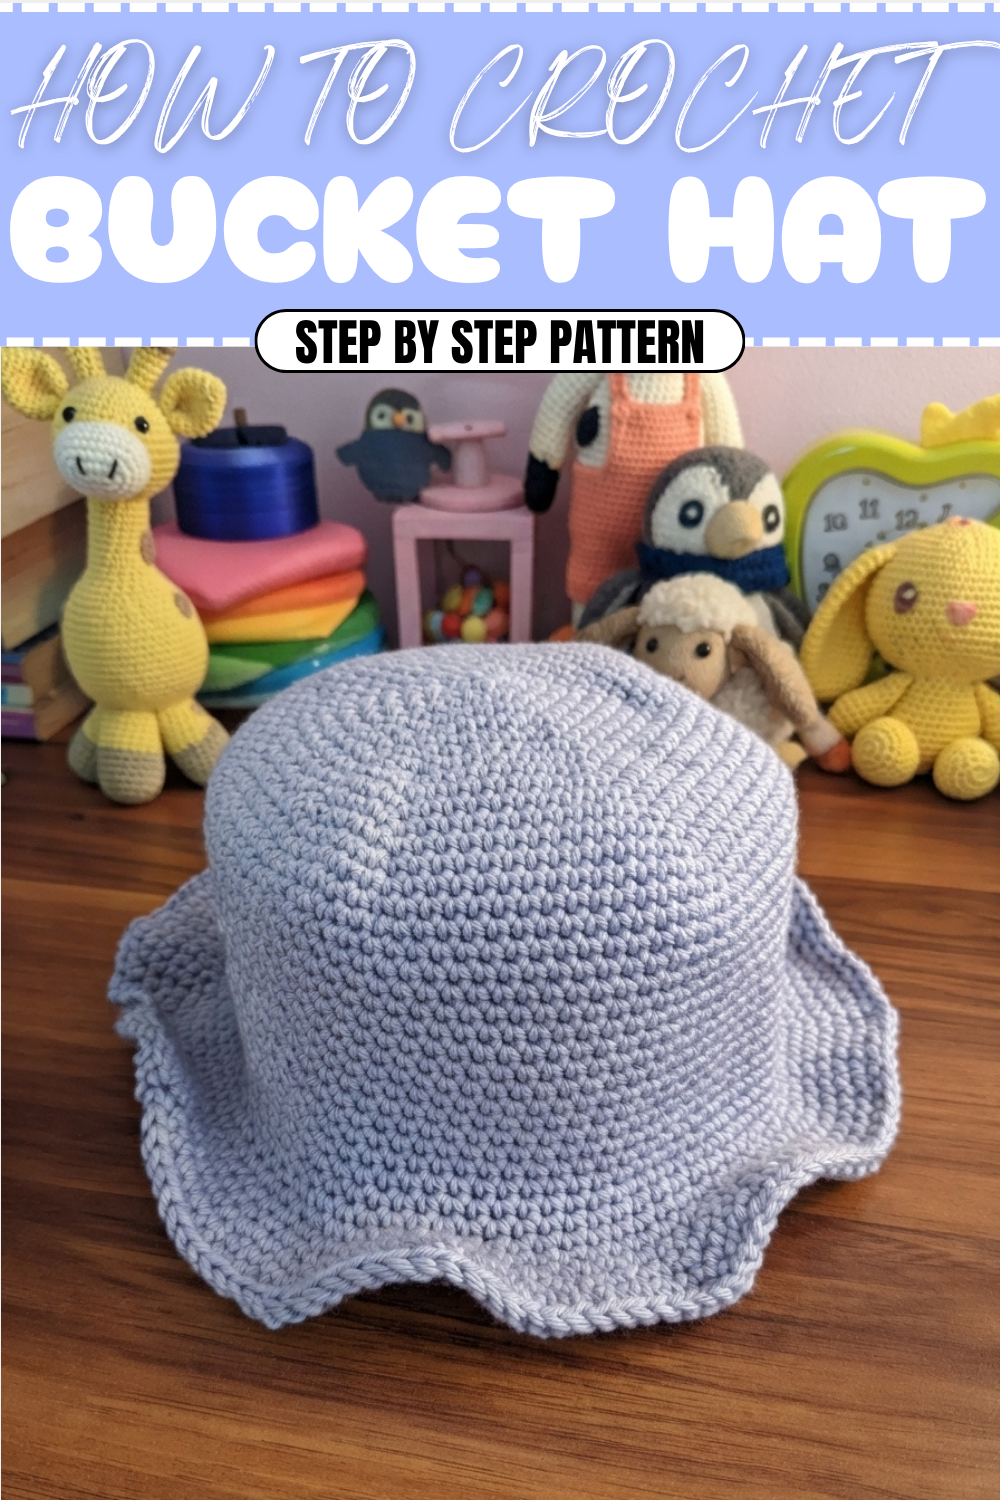
How To Easy Crochet Bucket Hat Pattern for Beginners
Refresh summer outfits fast using a free crochet bucket hat pattern for effortlessly cool, customizable flair all season long.
There’s something wonderful about a handmade hat that feels cozy, stylish, and just the right fit for every season. This cute bucket hat pattern combines all those qualities in a simple design that anyone can crochet, even if you’re just starting out. What makes this pattern special is the use of the single crochet stitch, which creates a tight, durable fabric perfect for keeping you comfortable and shielded from the sun or chill. Its soft texture and smooth shape add a charming touch that makes it easy to pair with any outfit, whether you’re heading to the park or just enjoying some fresh air.
Free Must Try Crochet Bucket Hat Pattern For Every Season
The hat pattern is worked in rounds, starting from the top and growing outward to form the classic bucket shape, which fits snugly on your head while providing a gentle brim for extra coverage. A stitch marker is a helpful tool in this project, letting you keep track of the start of each round as the shape grows. The entire process is straightforward and relaxing, making it a perfect project if you want something quick and rewarding.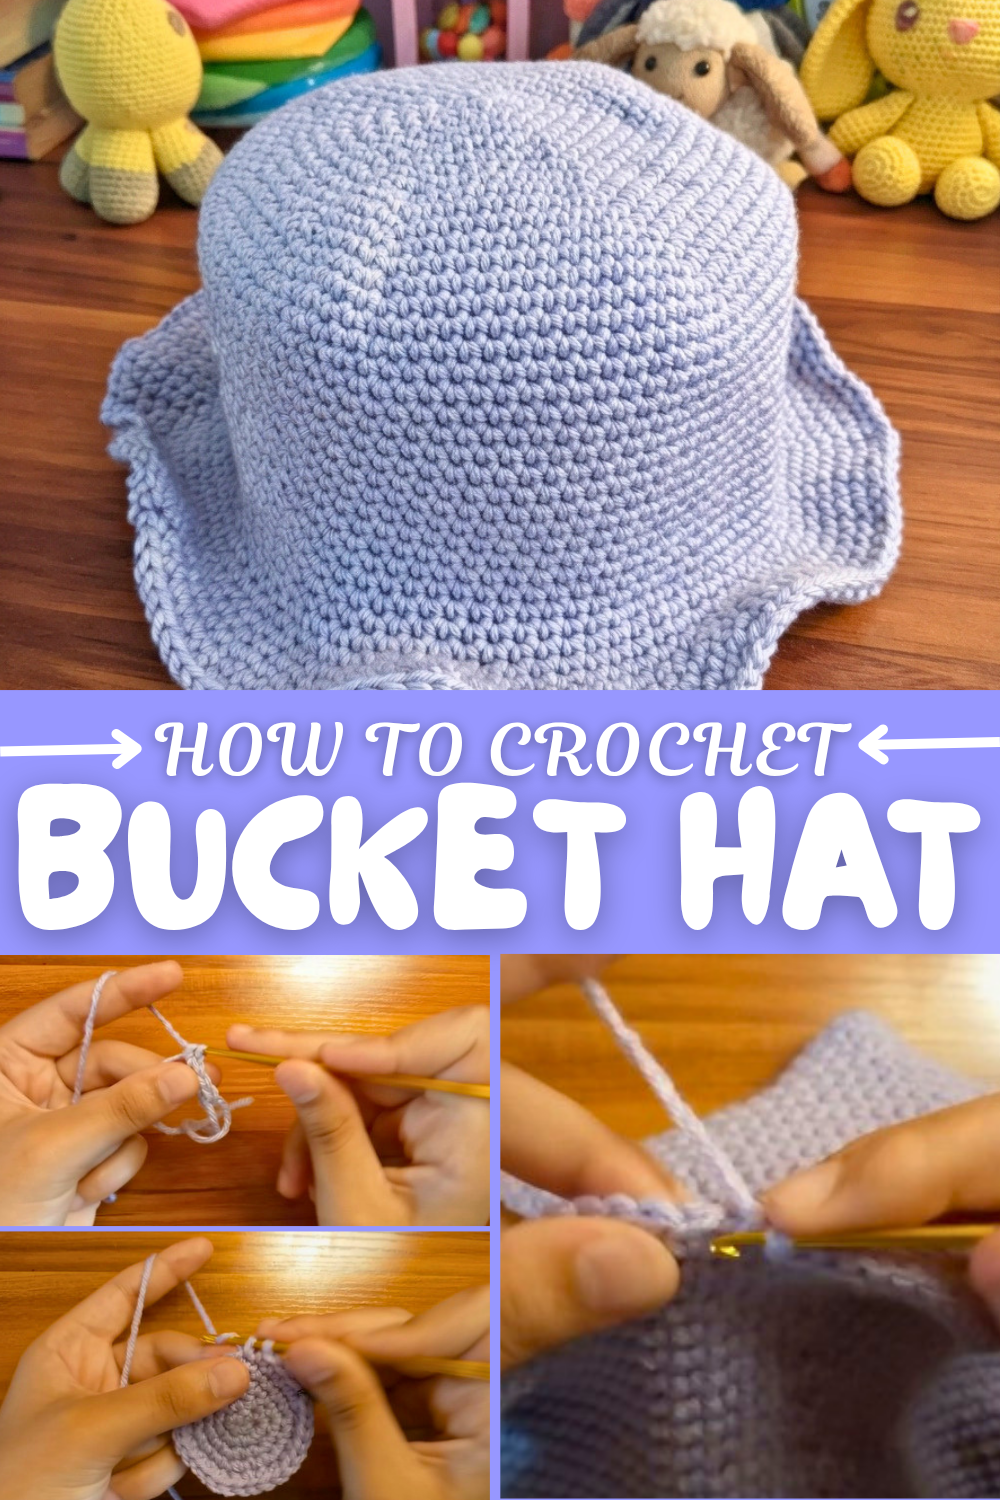
More Fun Ideas from This Pattern
Once you’ve got the basics down, this pattern opens the door to many creative additions. You could experiment by making matching bucket hats in different sizes for family and friends or try using the stitch pattern to create other accessories like cozy beanies or sun visors. With the uncomplicated, repetitive stitch technique at its heart, this pattern is fantastic for customising colors and shapes, helping you crochet a variety of hats that suit different styles and seasons.
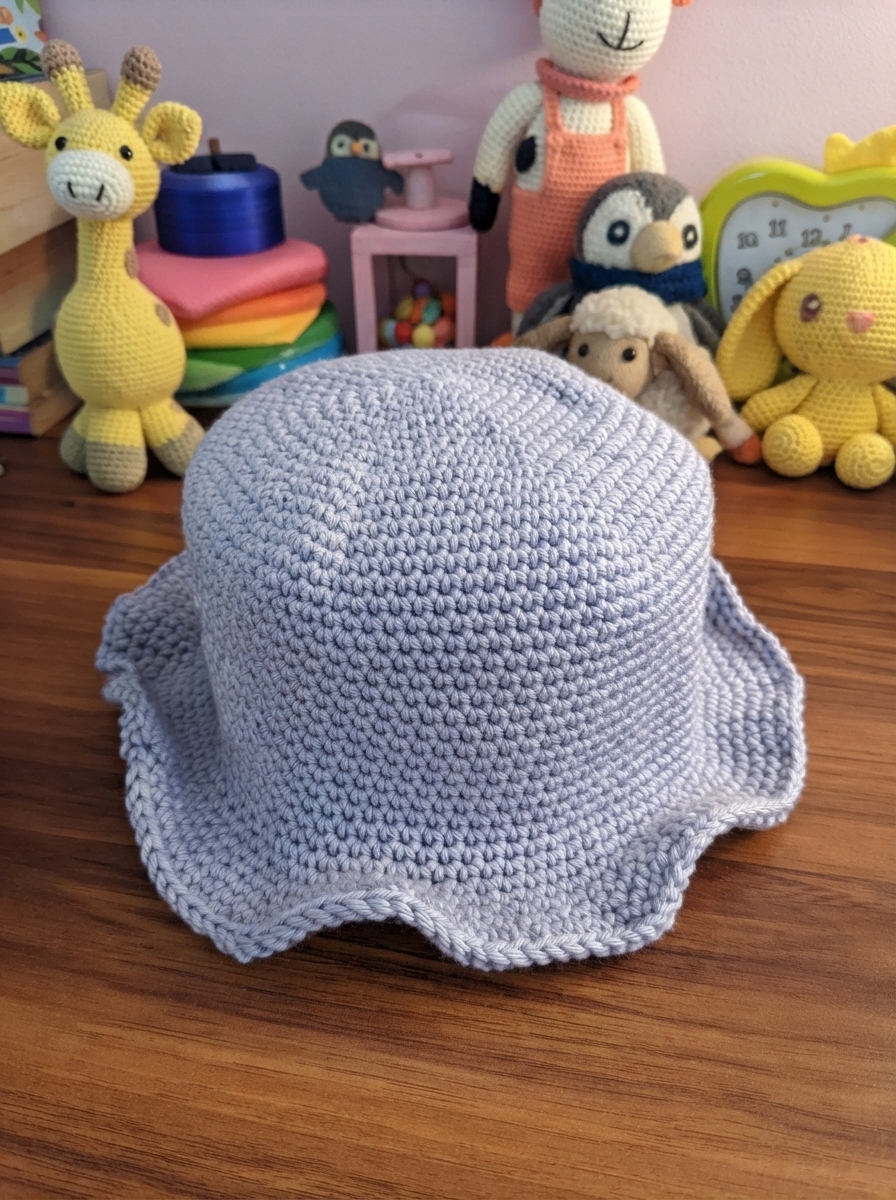
Crochet Packable Hat Pattern
This soft and lightweight packable hat is a must-have for any wardrobe. It’s quick to make, beginner-friendly, and perfectly compact for travel or casual everyday use. Designed with simplicity and comfort in mind, this hat is stitched in the round and uses basic crochet techniques such as single crochets, slip stitches, and increases, making it ideal for crocheters of any skill level. You can choose your yarn thickness to adjust the sizing and texture to your preference.
Uses of This Pattern
- Practical Accessory: Perfect for travel or daily wear since it can easily fold into a small pocket or bag.
- Customizable Design: Create a soft, snug fit for cooler months or use lightweight yarn for spring/summer wear.
- Skill-Building: A great project to practice working in the round, using increases, and finishing techniques.
Skill Level & Terminology
- Skill Level: Beginner
This pattern focuses on simple stitches and repetitive rows, making it ideal for beginners. - Terminology: US Crochet Terms
Materials & Tools
- Yarn: Medium or slightly chunky yarn. (Adjust thickness depending on personal preference.)
- Hook Size: 2.5 mm crochet hook (adjust based on yarn used).
- Additional Materials:
- Stitch Marker (to mark the beginning of each round).
- Tapestry Needle (for weaving in ends).
- Scissors.
Gauge
Gauge is not critical for this pattern. For a snug fit, ensure the crown of your hat measures approximately 3.5–4 inches in diameter after completing the first few rows.
Finished Size
This hat is designed for an average adult head:
- Crown Diameter: ~6.5–7 inches
- Length (Height): 8–9 inches
To create a smaller or larger size, you can modify the number of increase rows or adjust the yarn and hook size.
Abbreviations List
| Abbreviation | Description |
|---|---|
| ch | Chain |
| sc | Single Crochet |
| st | Stitch |
| sl st | Slip Stitch |
| inc | Increase (2 sc in 1 stitch) |
Special Stitch Instructions
Single Crochet in the Round:
- Begin with a magic ring, work all stitches in the ring, and close the round with a sl st.
- For the following rounds, work increases or regular stitches as described. Use a stitch marker to mark the start of each round.
What You’ll Learn from This Pattern
- Working in the round: Learn how to start projects with a magic ring and build seamless rounds with consistent increases.
- Shaping: Master the techniques used to shape a hat crown and body with precise increases and decreases.
- Clean finishing: Apply professional finishing techniques, including weaving in ends and forming the hat’s edge.
The Pattern
Part 1: Crown of the Hat
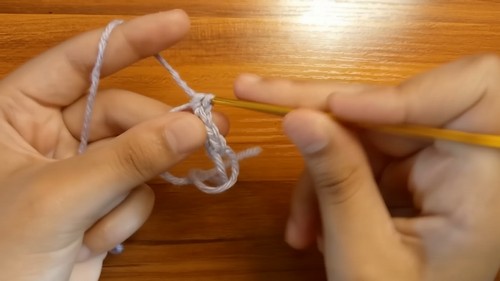
Step 1: Magic Ring and Round 1
- Create a magic ring and work 6 sc into the ring.
- Pull the tail to close the ring.
- Join the round with a sl st into the first sc. (6 sc total).
Step 2: Round 2 (First Increase Round)
- Place a stitch marker in the first stitch to mark the start of the round.
- Work 2 sc into each st around. (12 sc total).
- Join the round with a sl st into the first sc.
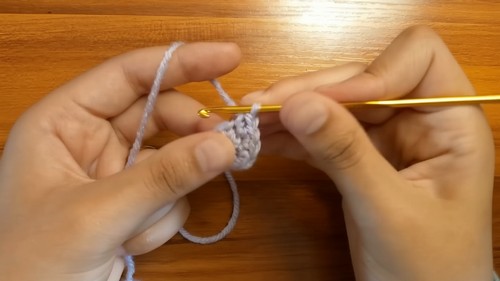
This forms the base and beginning of the circular crown.
Step 3: Round 3 (Second Increase Round)
- Ch 1.
- [1 sc in the first st, 2 sc in the next st] – repeat around. (18 sc total).
- Close the round with a sl st into the first sc.
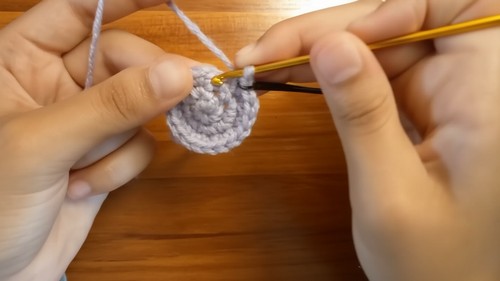
The consistent increases ensure the crown lays flat and widens neatly.
Step 4: Continue Increasing
Repeat the increase pattern for the next rounds as follows:
- Round 4: [1 sc in each of the next 2 sts, 2 sc in the next st] – (24 sc total).
- Round 5: [1 sc in each of the next 3 sts, 2 sc in the next st] – (30 sc total).
- Continue this pattern until the crown measures approximately 6.5–7 inches in diameter.
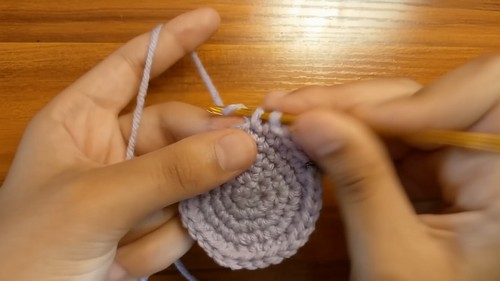
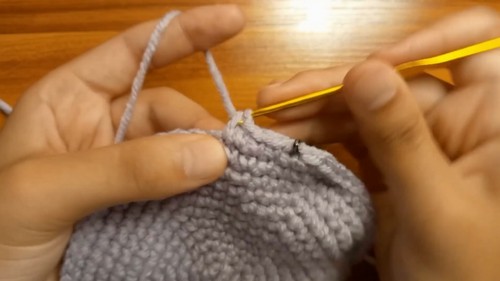
The increase formula is simple: With each round, you add one more single crochet between increases.
Part 2: Forming the Hat Body
Step 1: Working Even Rounds
- After the increases, work one sc into each stitch around (no increases).
- Continue this pattern for as many rounds as needed to achieve the desired height of the hat (about 8–9 inches in total).
The even rounds create the body of the hat, transitioning smoothly from the crown.
Step 2: Finishing the Edge
- For a clean edge, switch to sl st for the final round.
- Work 1 sl st into each stitch around without pulling too tightly to maintain elasticity.
- Fasten off and weave in all loose ends using a tapestry needle.
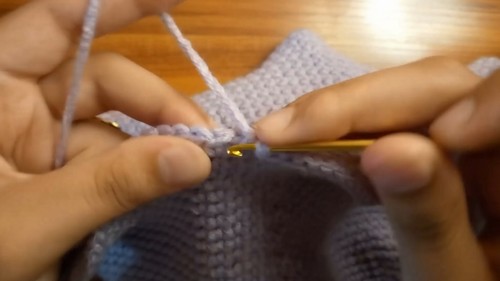
The slip stitch edging provides a neat, professional finish that keeps the hat looking polished.
Part 3: Assembly & Final Touches
Step 1: Weaving in Ends
- Use a tapestry needle to weave loose ends into the inside of the hat. Work the yarn in different directions for a secure finish.
Step 2: Blocking (Optional)
- Lightly block the hat using steam to shape and soften the stitches. This step ensures the hat will fit snugly and retain its shape.
Customizations (Optional)
- Add a Pom-Pom: Create a yarn pom-pom in a contrasting color and sew it to the top of the hat.
- Use Stripes: Alternate colors every few rounds to create a striped design.
- Experiment with Texture: Incorporate simple patterned rows of back loop-only single crochets for added dimension.
Why You’ll Love This Pattern
This crochet packable hat is fast, fun, and perfect for beginners. Its repetitive stitch pattern makes it a relaxing project, while the simplistic design ensures versatility and style. Whether you're crocheting for yourself or as a gift, this hat is an adaptable and timeless accessory.