
Elegant Free Crochet Beanie Hat Pom-Pom Pattern for Beginners
Learn a free crochet beanie hat pom-pom pattern to add fluffy fun and trendy flair to your cold-weather look with minimal effort.
Adding a colorful beanie with a fluffy pom-pom to your winter wardrobe is both fun and functional. This pattern uses the half double crochet stitch worked mostly in the back loop, giving the hat a lovely textured feel that’s stretchy and cozy. The stretchy ribbed band at the bottom hugs your head gently, while the pom-pom on top adds a playful touch that makes the pattern stand out. Perfect for chilly days, this beanie pattern keeps you warm and stylish whether you’re out for a walk or just relaxing indoors.
Other Projects You Can Try With These Stitches
Once you feel comfortable with the half double crochet and back loop techniques, you can learn creating other fun accessories like cozy scarves, textured headbands, or simple cowls. These stitches also work well for making thick blankets or cushion covers with lovely raised patterns that add extra warmth and style to your home.
How to Crochet a Fashionable Beanie Hat Pom-Pom for Free
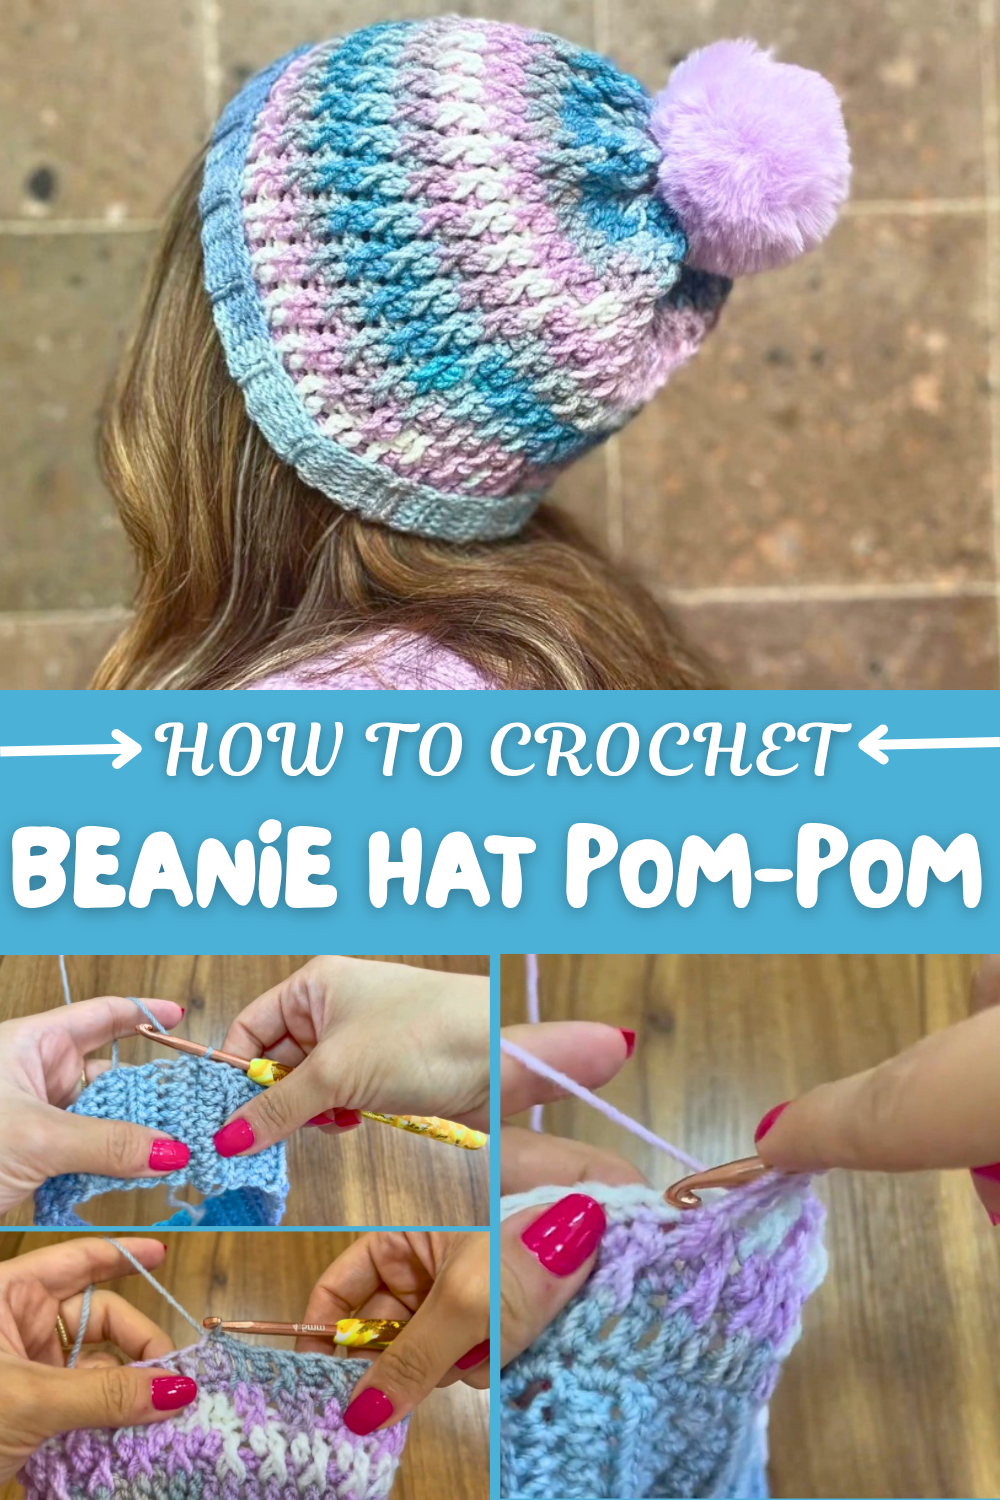
The pattern begins with a chain foundation that’s crocheted into a long strip, then joined into a circle to form the hat’s band. Working in rounds with half double crochet stitches adds thickness and warmth. The special technique of alternating regular and raised stitches in later rounds creates a beautiful textured look without any complicated steps. The pom-pom attachment is an easy finishing touch that brings a bit of personality to your creation.
Besides looking great, this hat is practical and versatile. The basic stitches used throughout are easy to learn, making this project perfect for beginners who want to build confidence while making something useful and attractive.
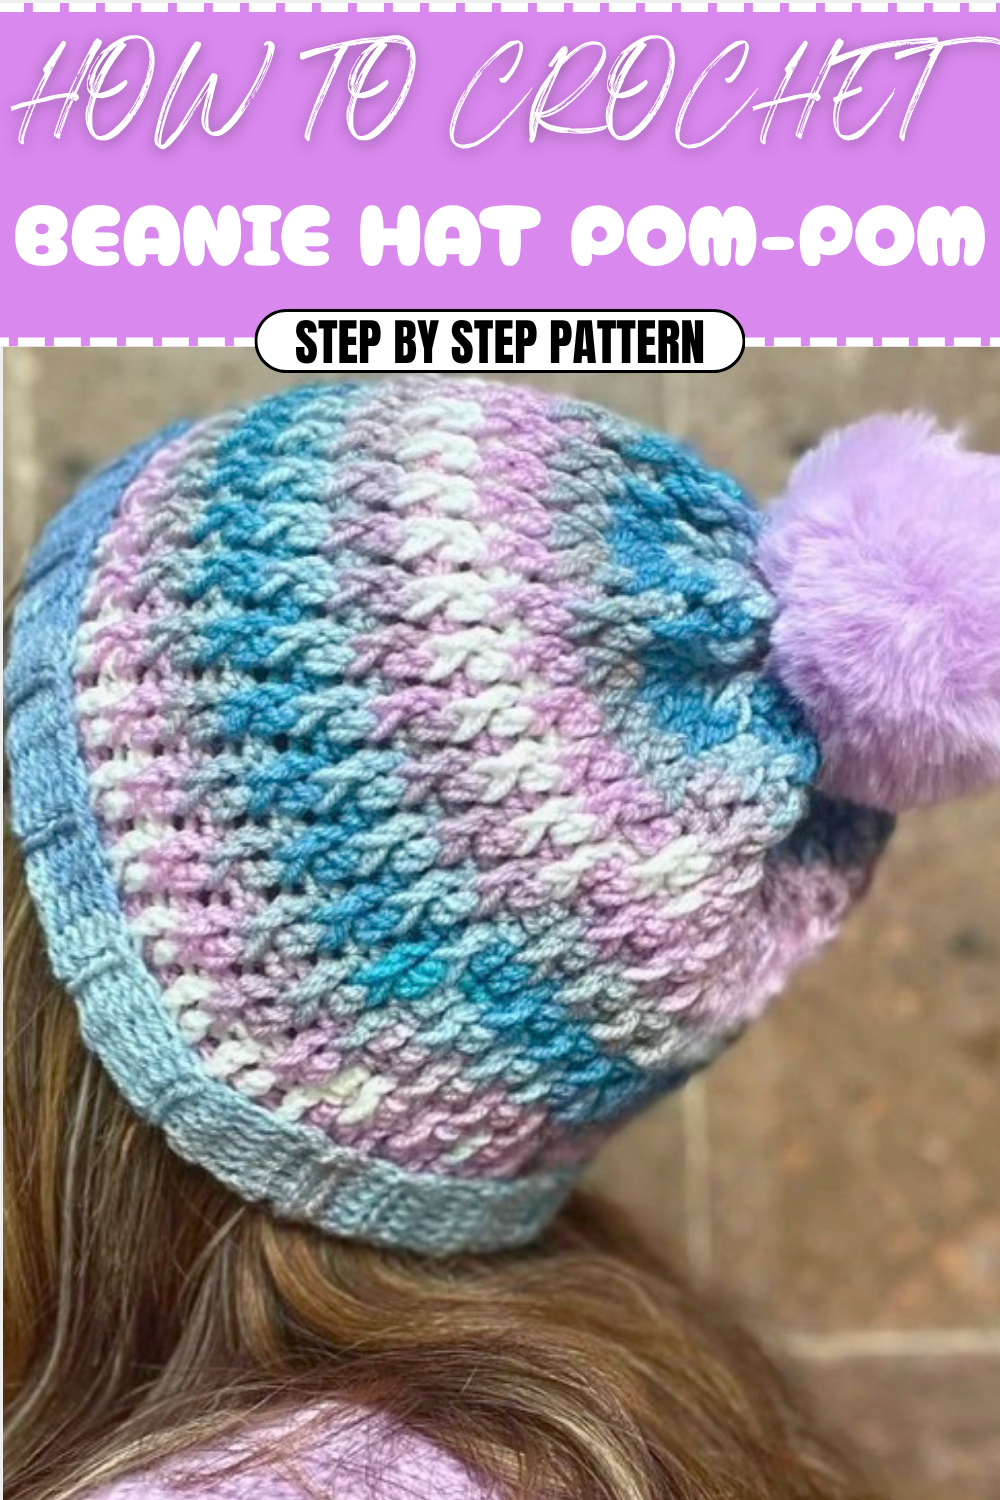
Crochet Pattern: Colorful Crochet Hat
Introduction
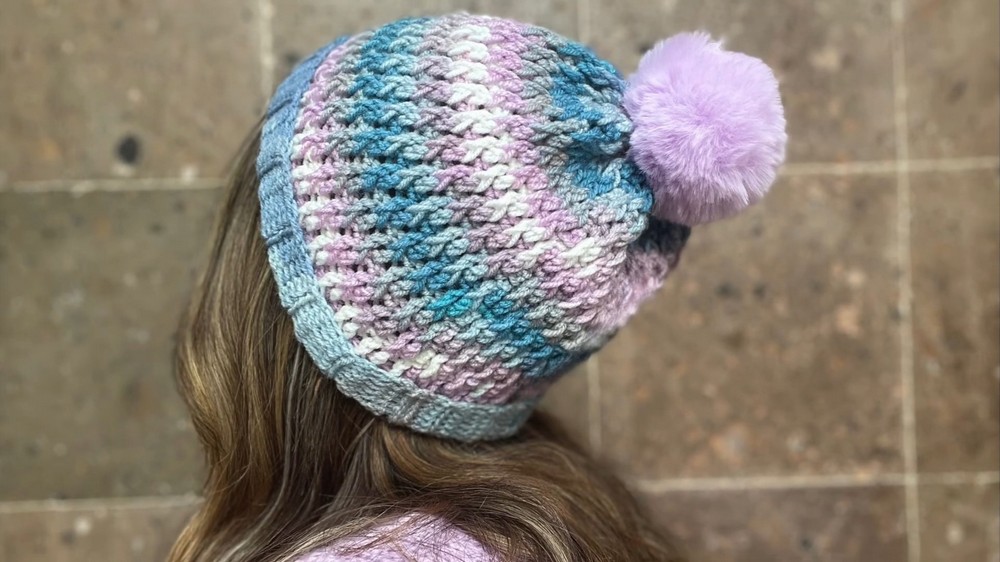
This colorful crochet hat is perfect for chilly weather and makes an excellent handmade gift. The pattern starts from the brim and works upward in rounds, featuring alternating stitches for texture and a folded brim for extra warmth. With simple stitches like half double crochet (hdc), single crochet (sc), and raised stitches (front-post double crochet - fpdc), it’s an accessible yet visually interesting pattern for beginners and intermediate crocheters. Add a pompom to the top for a playful finish!
What You'll Learn From This Pattern
- Techniques like front post stitches to add texture.
- Working in back loop only to create stretchy ribbing.
- How to join seams seamlessly with slip stitches.
- Gathering and sewing the top of hats for a clean finish.
Skill Level & Terminology
- Skill Level: Beginner to Intermediate
- Terminology: US Crochet Terms
Materials & Tools
- Yarn:
- Approximately 100 grams of medium-weight yarn (approx. 2 mm thick), such as stamen yarn. Choose one vibrant color or a combination for visual impact.
- Hook:
- 4.5 mm crochet hook.
- Additional Materials:
- Scissors.
- Measuring tape for accuracy.
- Tapestry needle (for sewing and weaving ends).
- Pompom (optional, with elastic or sew-on base).
Gauge
- Gauge: 6 hdc rows = 5 cm (2 inches).
Gauge is crucial for this project to ensure proper fit. Adjust your hook size if your gauge doesn’t match.
Abbreviations
- ch – Chain
- sl st – Slip Stitch
- sc – Single Crochet
- hdc – Half Double Crochet
- fpdc – Front Post Double Crochet (raised stitch)
Special Stitch Instructions
Half Double Crochet (Hdc):
- Yarn over and insert the hook into the stitch.
- Pull up a loop (3 loops on your hook).
- Yarn over and pull through all 3 loops.
Front Post Double Crochet (Fpdc):
- Yarn over.
- Instead of inserting the hook into the top of the stitch, insert it around the post of the stitch from back to front.
- Pull up a loop and finish the double crochet as usual (yarn over, pull through two loops, yarn over, pull through the final two loops).
Using raised stitches adds a textured look to the hat’s body.
Finished Size
- Brim Width: 5 cm (approx. 2 inches).
- Hat Circumference: 50 cm (approx. 19.5 inches).
- Hat Length: 30 cm (approx. 12 inches, unfolded).
This hat fits an average adult head, but you can adjust the number of stitches or rows for other sizes.
How to Start
The hat begins with the brim (worked flat in rows) and is joined into a circle before transitioning to the hat body. The textured body alternates between regular and raised stitches to create visual interest.
The top is sewn closed, and an optional pompom can be added for a finishing touch.
The Pattern
Brim (Worked Flat)
Step 1: Foundation Chains
- Start with a slip knot and ch 8.
- This forms the width of the brim, measuring 5 cm. Add more chains if you want a wider brim.
Step 2: Row 1
- Ch 2 (does not count as a stitch).
- Starting in the 3rd chain from the hook, work 1 hdc into each chain across. (8 hdc total)
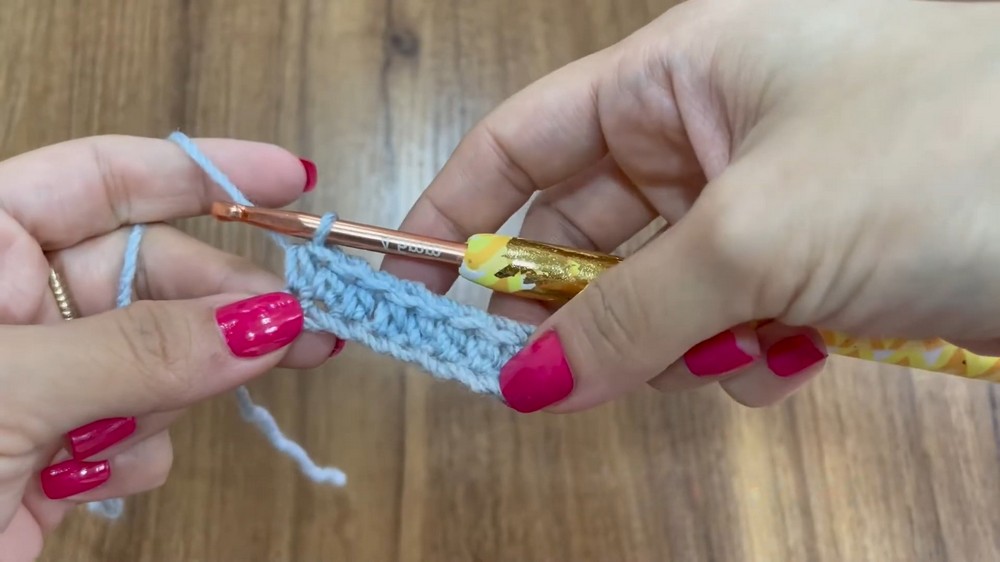
Step 3: Row 2–39 (Brim Length)
- Ch 2, turn.
- Work 1 hdc in the back loop only (BLO) into each stitch across.
Tip: Working in the back loop creates flexibility and ribbing texture for the brim.
Repeat Row 2 until the length reaches 50 centimeters (or your desired head circumference measurement).
Once completed, your brim forms a flexible band for the base of your hat.
Joining the Brim
Step 1: Slip Stitch Seam
- Ch 1 and turn the brim.
- Fold it so the short edges meet.
- Work sl st across both edges, inserting the hook into the BLO of one side and the corresponding loop from the other side.
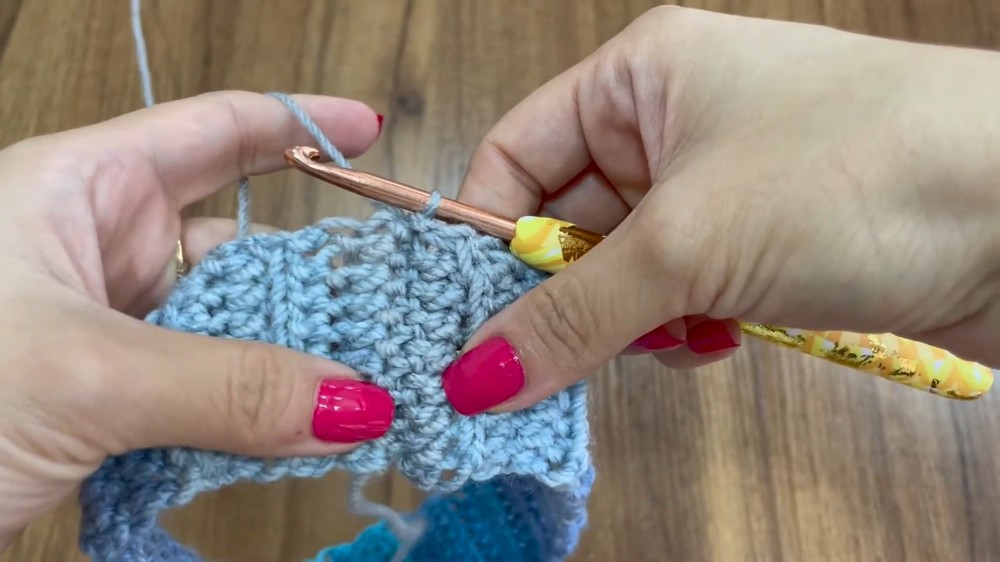
This creates a seamless join for the brim.
Turn the sewn brim inside out so the seam faces inward.
Hat Body (Worked in Rounds)
Round 1: Foundation
- Ch 1.
- Work 2 sc into each ribbing space along the top edge of the brim. (78 sc total for 39 ribbing rows)
Round 2: Regular Stitch Round
- Ch 2 (does not count as a stitch).
- Work 1 hdc into each stitch around.
- Close the round with a sl st into the first hdc.
This forms the base stitch foundation of the hat body.
Round 3: Single Crochet Round
- Ch 1.
- Work 1 sc into each stitch around.
- Close with a sl st into the first sc.
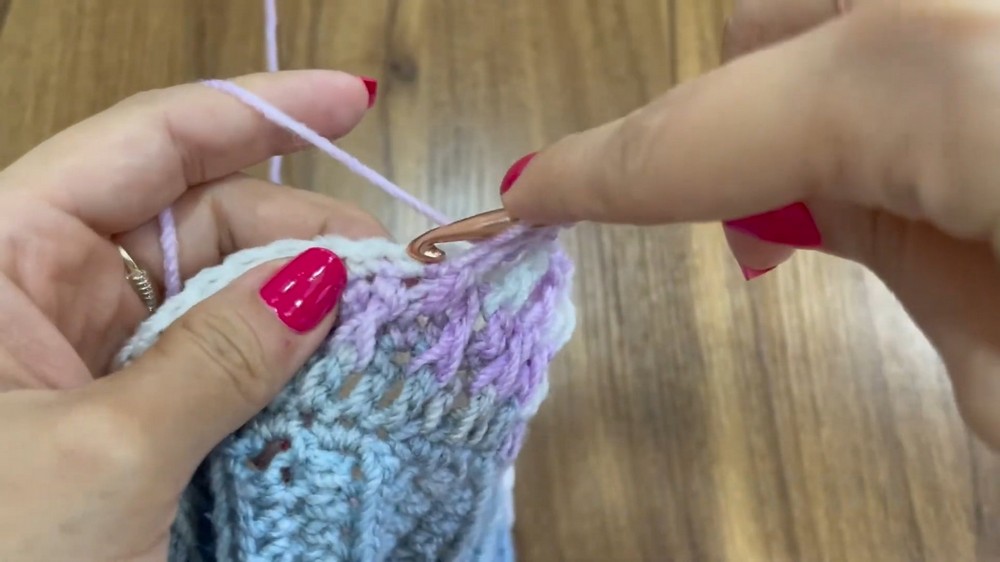
This row helps define the transition between the brim and the textured pattern.
Textured Rounds
Round 4: Alternating Raised and Regular Stitches
- Ch 2 (does not count as a stitch).
- Alternate:
- Regular double crochet (dc) in the first stitch.
- Front post double crochet (fpdc) in the next stitch.
Repeat this pattern (dc, fpdc) around the entire round.
- Close with a sl st into the first dc.
Alternating fpdc stitches create a textured design while adding stretch.
Round 5: Single Crochet Round
- Ch 1.
- Work 1 sc into each stitch around.
- Close with a sl st into the first sc.
Round 6: Repeat Textured Round
- Ch 2 (does not count as a stitch).
- Alternate dc and fpdc around the round.
- Close with a sl st into the first dc.
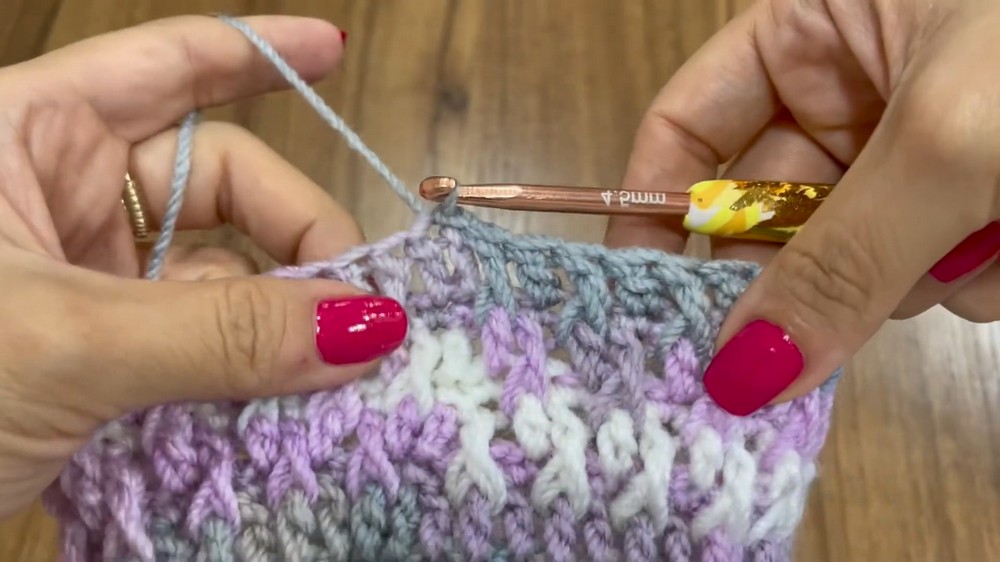
Repeating Pattern
- Repeat Rounds 3–6 until the hat measures 30 centimeters (or desired length).
- Finish the last round with a sl st, leaving a long yarn tail for sewing.
Closing the Top
Step 1: Gather the Top
- Thread the long yarn tail onto a tapestry needle.
- Weave the needle through the stitches at the top edge of the hat, pulling to gather the fabric tightly.
Step 2: Secure and Shape
- Pull the thread until the top is completely closed.
- Secure the gathered stitches with several knots.
You can add a pompom at this stage for a playful finish.
Assembly & Finishing
- Turn the Hat: Flip the hat inside out so the seam is hidden.
- Fold the Brim: Adjust the folded brim to your desired width.
- Attach the Pompom (Optional): Sew a pompom securely to the top for added style.
- Hide Loose Ends: Weave in all remaining yarn ends.
Why You'll Love This Pattern
This colorful crochet hat is a quick yet stylish project that showcases beautiful textures and vibrant colors. The alternating stitches add a dynamic design, while the folded brim and optional pompom provide a cozy and playful touch. Perfect for gift-giving or personal use, this hat will brighten any cold day.