
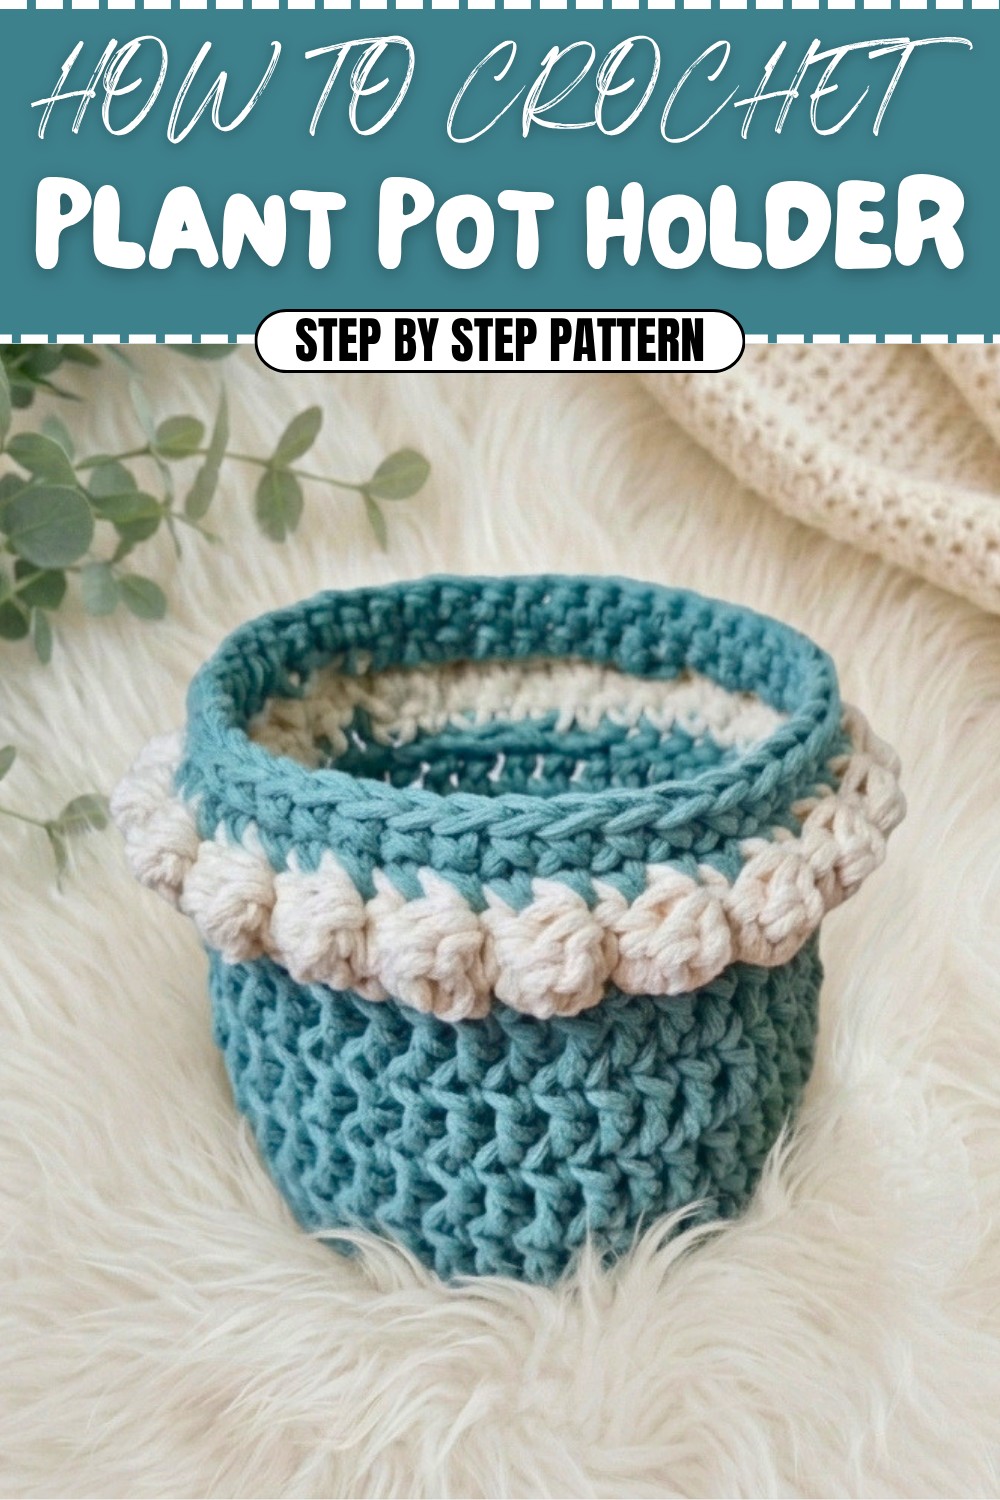
Free Crochet Plant Pot Holder Pattern Using Leftover Yarn
The first time I ever crocheted a plant pot holder, I was just looking for a simple way to spruce up my little indoor garden. My windowsill was cluttered with mismatched plastic pots and I wanted something cozy and cute to bring it all together. That’s when I stumbled upon this free crochet plant pot holder pattern, and honestly, it felt like just the project I needed to get creative and dip my toes deeper into the world of crochet. From the very first round of stitches, I could tell this wasn’t just a pretty accessory for my plant, it would be a rewarding and relaxing way to unwind at the end of a long day.
Free Crochet Plant Pot Holder Pattern With Bobble Stitch
One of the best things about this holder is its simple charm. The combination of soft yarn colors and those textured bobble stitches just makes a regular pot look warm and inviting, almost like giving it a little sweater. As I followed the easy step-by-step guidance, I loved seeing the flat circle base transform into sturdy sides that fit snugly around my favorite pot.

There’s a real joy in picking colors that match your style, maybe even using leftover yarn from another project to make it truly yours. And the best part: it isn’t just for show. My crochet pot holder actually helps stop scuffs and water rings, and when it needs a wash, I just toss it in with my regular laundry.
Why You Should Try This Plant Pot Holder Pattern
You really don’t need to be an expert to make this. The pattern uses a few basic stitches like single crochet, double crochet, and the delightful bobble stitch, all explained in a way that felt totally beginner-friendly to me.
Here’s what you’ll gain by giving this project a go:
- Master foundational stitches: Practice your single crochet, double crochet, and bobble stitches in a fun, practical way.
- Learn useful techniques: Pick up valuable skills like starting with a magic ring, working in the round, and changing yarn colors seamlessly.
- Adapt for different sizes: Customize the pattern easily by adding rounds to fit any pot in your home.
- Build confidence: Finish a project that’s both pretty and useful, perfect for building your crochet skills.
- Explore other projects: Once you get the hang of this pattern, you can use it as a springboard to crochet baskets, desk trays, storage bins, or even matching home decor sets.
Bobble Stitch Crochet Plant Pot Holder
Create a beautiful, chunky plant pot holder with fun bobble stitches and sturdy cotton cord! This holder features a durable double crochet base, structured sides, a decorative bobble stitch band, and simple finishing—perfect to add a modern touch to your houseplants. You can customize the colors for a unique look or coordinate it with your decor. Great as a gift or for your own home!
Skill Level & Terminology
- Skill Level: Confident Beginner
- Terminology: Pattern uses US crochet terms
Materials & Tools
- Yarn: Chunky corded cotton yarn (e.g., Knitcraft "Return of the Mac"; Bobbiny, or similar corded yarn—about 60-80g in main color, 30g in accent).
Main color for base and sides; accent for bobbles. - Hook: 6.5mm crochet hook
- Yarn or darning needle (for weaving in ends; a large eye is helpful for thick cord)
- Scissors
Gauge
While gauge is less critical due to the holder’s flexibility, a 3-row double crochet circle (base) should measure approx. 4.5" (11.5cm) in diameter.
Abbreviations
| Abbreviation | Meaning |
|---|---|
| ch | chain |
| sl st | slip stitch |
| sc | single crochet |
| dc | double crochet |
| BLO | back loop only |
| bobble | bobble stitch |
| st(s) | stitch(es) |
| rep | repeat |
Special Stitch Instructions
Bobble Stitch (4-loop bobble for this pattern):
- (Yarn over, insert hook in st, pull up a loop, yarn over, pull through 2) 3 times in same stitch.
- You now have 4 loops on your hook.
- Yarn over, pull through all 4 loops together—this closes your bobble.
- After each bobble, work 1 sc in the next st.
Finished Size
- Fits a pot about 4.5" (11.5cm) across at the base, snug and slightly stretchy to fit a round or slightly curved pot.
- Finished height: about 4.5" (11.5cm).
How to Start & Stitches Used
You start with a magic ring, then build a flat dc base, continue with double crochet sides and back loop only transition round, a color change, single crochet transition row, a visible round of bobbles, and complete with single crochet finishing. Stitches used: magic ring, chain, double crochet, bobble, single crochet, slip stitch.
THE PATTERN
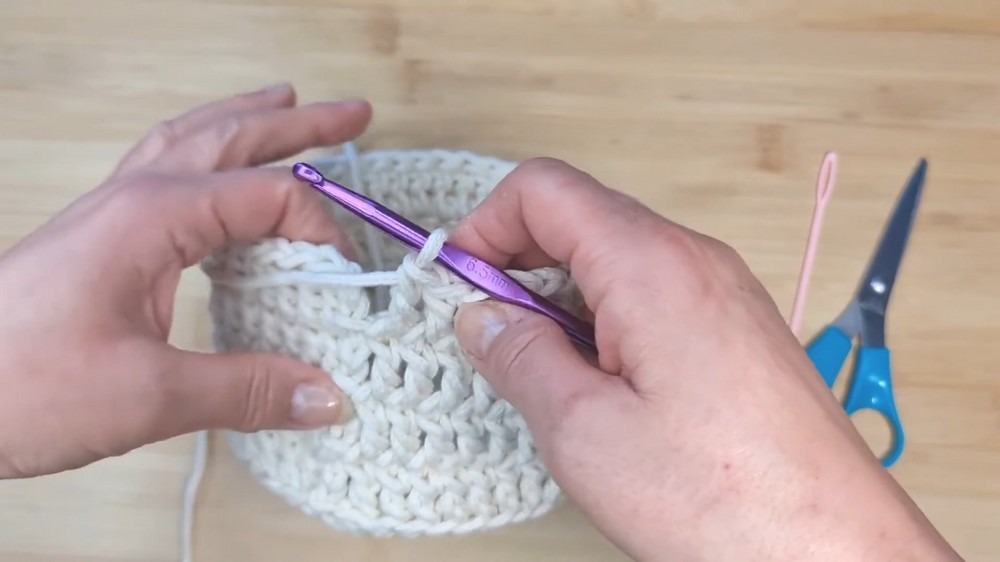
1. Base
With Main Color:
- Make a magic ring, ch 2 (counts as first dc).
- Round 1: 13 dc into ring (14 dc total counting ch-2). Pull ring tight. Sl st in top of first dc to join.
(14 sts)
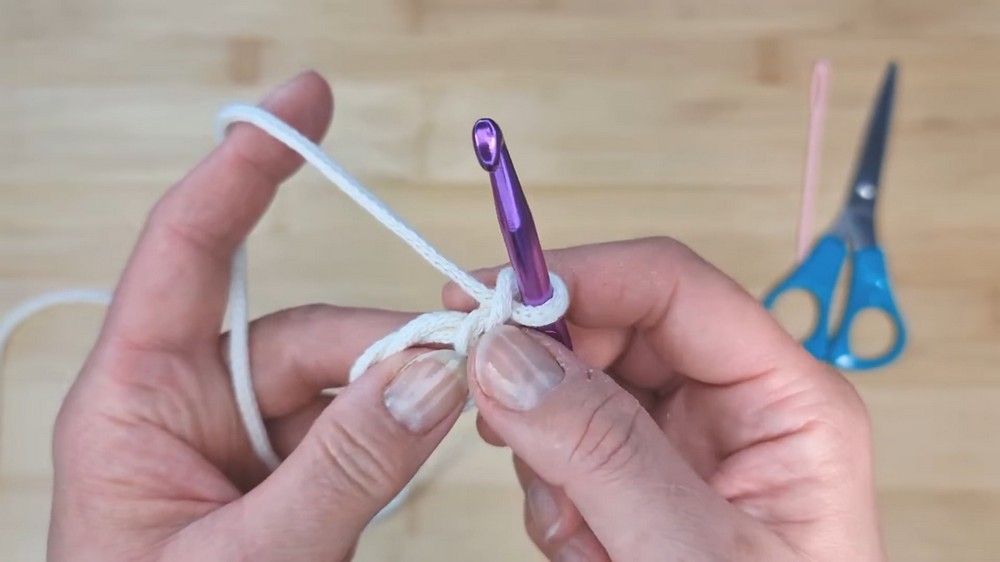
Begin with a magic ring and work double crochets into it. Pull the ring tightly so there’s no hole in the center.
- Round 2: Ch 2. 2 dc in each st around. Join with sl st in first dc.
(28 sts)
Work two dcs in every stitch—this doubles your stitch count and keeps the base flat.
- Round 3: Ch 2. (1 dc in next st, 2 dc in next st) rep around. At the very end, when you complete your final “1 dc,” place your “2 dc” split as instructed (one at end, one at start, see video for closure). Join with sl st in first dc.
(42 sts)
This round alternates: single dc, then two in one st—the final increases blend the round seamlessly for an even circle.
2. Sides
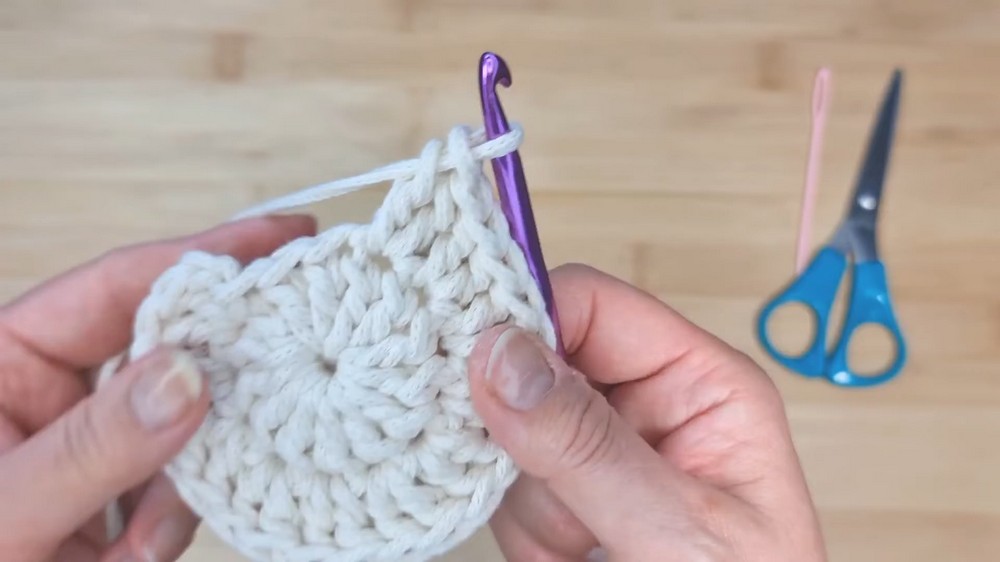
- Round 4 (BLO Side Ridge): Ch 2. 1 dc in back loop only of each st around. Join with sl st in first dc.
(42 sts)
Working into only the back loop here creates a distinct ridge—this is what makes the walls “turn up” from the base.
- Rounds 5–7 (Walls): Ch 2, dc in each st around. Join with sl st in first dc. Repeat for a total of 4 rounds (including BLO round).
(42 sts each round)
Build height with regular double crochet. If your pot is deeper, add more rounds here for the perfect fit.
3. Color Change for Bobble Section
- Finish last dc round. At join, insert hook in top of first dc, yarn over with accent color, and pull through both loops to complete the join. Snip (do not fasten off) previous color, leaving a tail to weave in.
Change to your accent color by pulling it through to complete the slip stitch, so you have a new working yarn.
4. Bobble Stitch Band
- Round 8 (Bottom Border): With new color, ch 1. 1 sc in each st around. Sl st to first sc to join.
Start the bobble band with a base row of single crochet in your accent color.
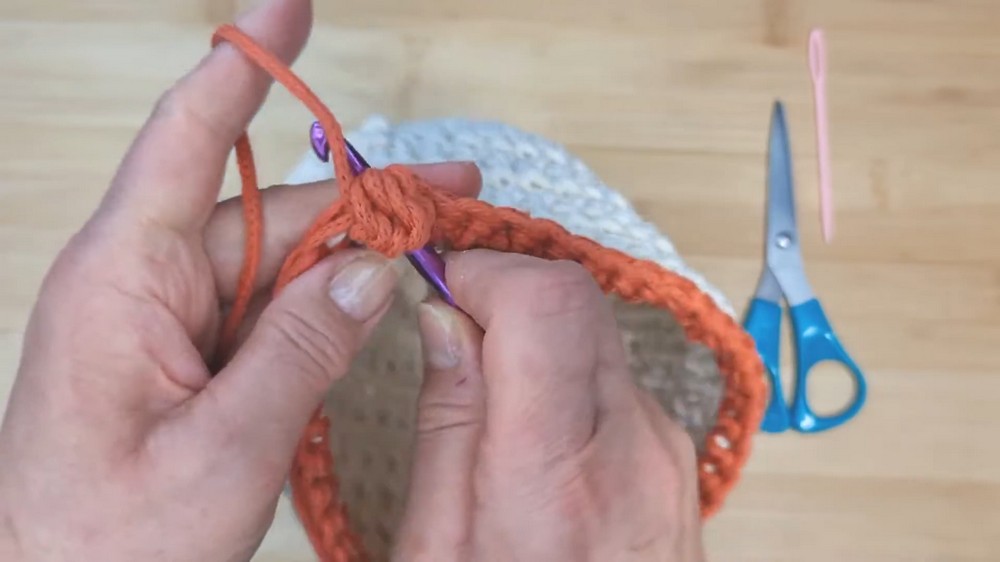
- Round 9 (Bobble Row):
- Ch 1, turn work so WS is facing.
- (Bobble in next st, sc in next st) rep around (should be 21 bobbles if you have 42 sts, 1 sc in the last st if needed, adjust to keep stripes even).
- Join with sl st in first bobble.
- Fasten off; weave in the end.
Work bobbles on the “wrong side” so they pop out on the finished holder. Alternate bobble stitches and single crochets. Fasten off once the round is complete.
5. Top Edging
With main color:
- Round 10: Join main color with a ch 1 at any st. 1 sc in each st around. Sl st to first sc to join.
Add a neat border of single crochet above the bobbles.
- Round 11: Ch 1, sc in each st around. Sl st to first sc and fasten off.
Finish with another round of single crochet for a tidy, firm edge.
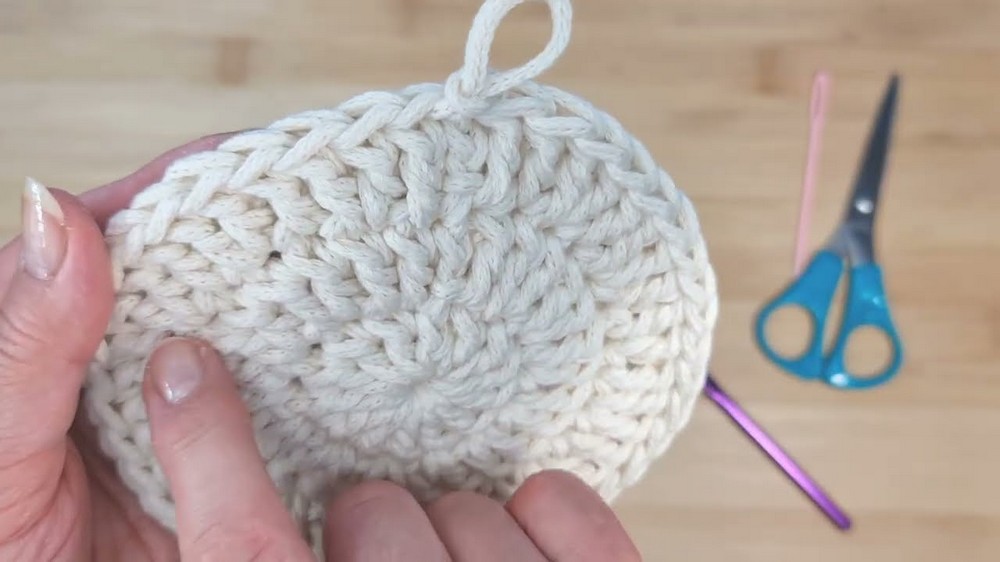
Assembly & Finishing
1. Weave in all ends securely with a yarn or darning needle.
2. Gently shape the basket with your hands and insert your plant pot for a perfect fit.
If your seam stands out, you can position the color change at the back.
Your pot holder is now complete! Slide your plant pot in—the fit should be snug but not tight.
Pattern Structure & Tips
- Start with a magic ring, then work circular double crochet increases for the base.
- Create a crisp wall transition with a back loop only round.
- Work sides in plain double crochet (add rounds for a taller basket).
- Change colors, single crochet across, turn, and add pop-out bobble stitches for texture.
- Finish the rim with two single crochet rounds for clean structure.
- Customize: Adjust the base size and height as needed for your specific pot.
Finished Size
The finished pot holder fits a pot 4.5" (11.5cm) diameter and around 4–4.5" high. Adjust the number of base and wall rounds for different sizes.
Conclusion
This sturdy, stylish, and quick pot holder is a joy to make with chunky cord. The bobble stitches add playful decoration, and the simple shape fits most medium-sized round plant pots.
You can easily customize colors or add more bobble rounds for added fun. Always finish with an invisible or neat join for the best look, and hand-wash for care.
Stitches Used:
Magic ring, chain, slip stitch, double crochet, single crochet, back loop only, bobble stitch.