
Free Crochet Little Doll Amigurumi Pattern to Delight Kids
Brighten up a cozy nursery shelf or bedtime table with an adorable plush companion crocheted through this free crochet little doll amigurumi guide.
Pattern By Beyzalle CRAFT
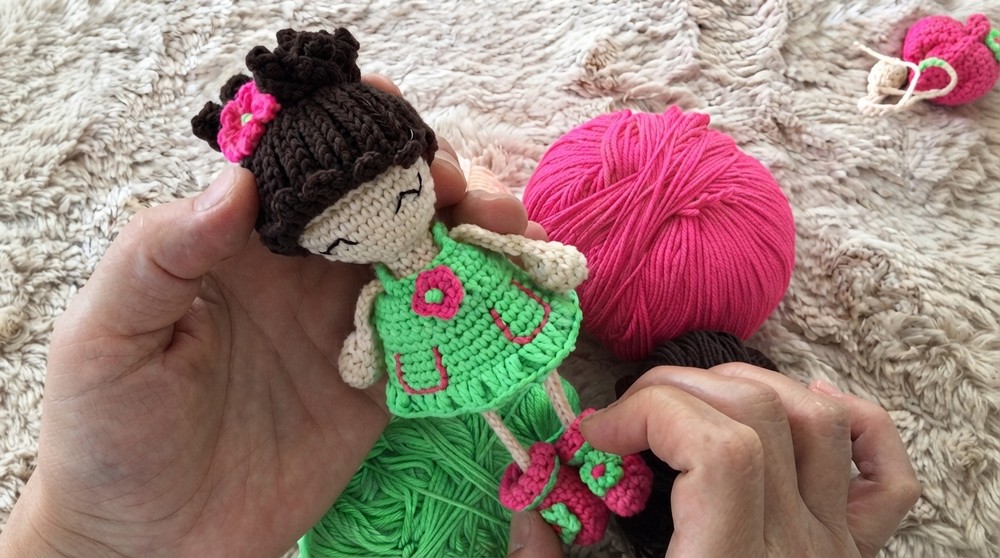
Tiny hands and big hearts will adore this adorable little doll. Its sweet expression, rounded shape, and perfectly proportioned features make it irresistible. This Free Crochet Little Doll Amigurumi Pattern radiates charm with every stitch, offering both simplicity in construction and plenty of room for customization. Whether dressed up in vibrant colors or soft pastels, this doll can easily match any personality or occasion.
Free Crochet Little Doll Amigurumi Pattern for Fun Weekends
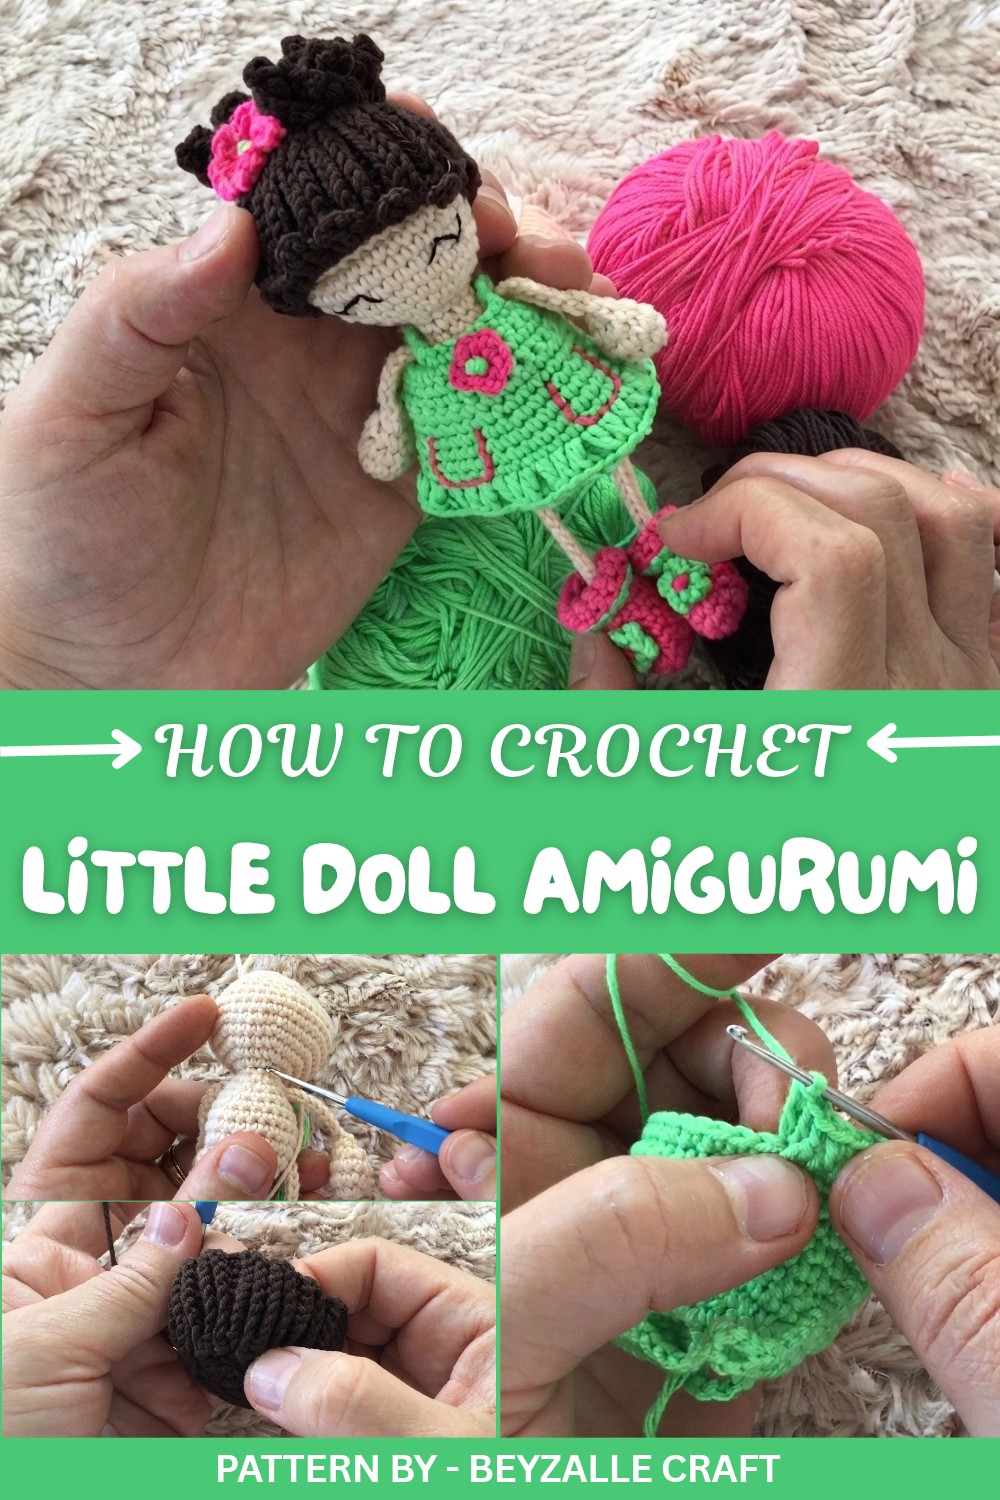
Small enough to fit in your palm, it’s perfect as a pocket companion, a shelf decoration, or a thoughtful gift. The size is easily adjustable by switching yarn thickness or using a different hook size, adding even more versatility to the project. Its standout feature is the seamless design, with arms and legs crocheted as part of the body, minimizing assembly time and giving it a polished, professional finish. A removable wig and the option to embroider facial features ensure you can give this doll its own unique character.
This project owes its inspiration to timeless childhood keepsakes, designed for both warmth and uniqueness. Soft cotton yarn works beautifully here, offering a smooth texture that creates clean stitch definition while being gentle to the touch. Using a tightly worked single crochet stitch ensures durability, while the overall construction guarantees a snug finish that holds its shape over time.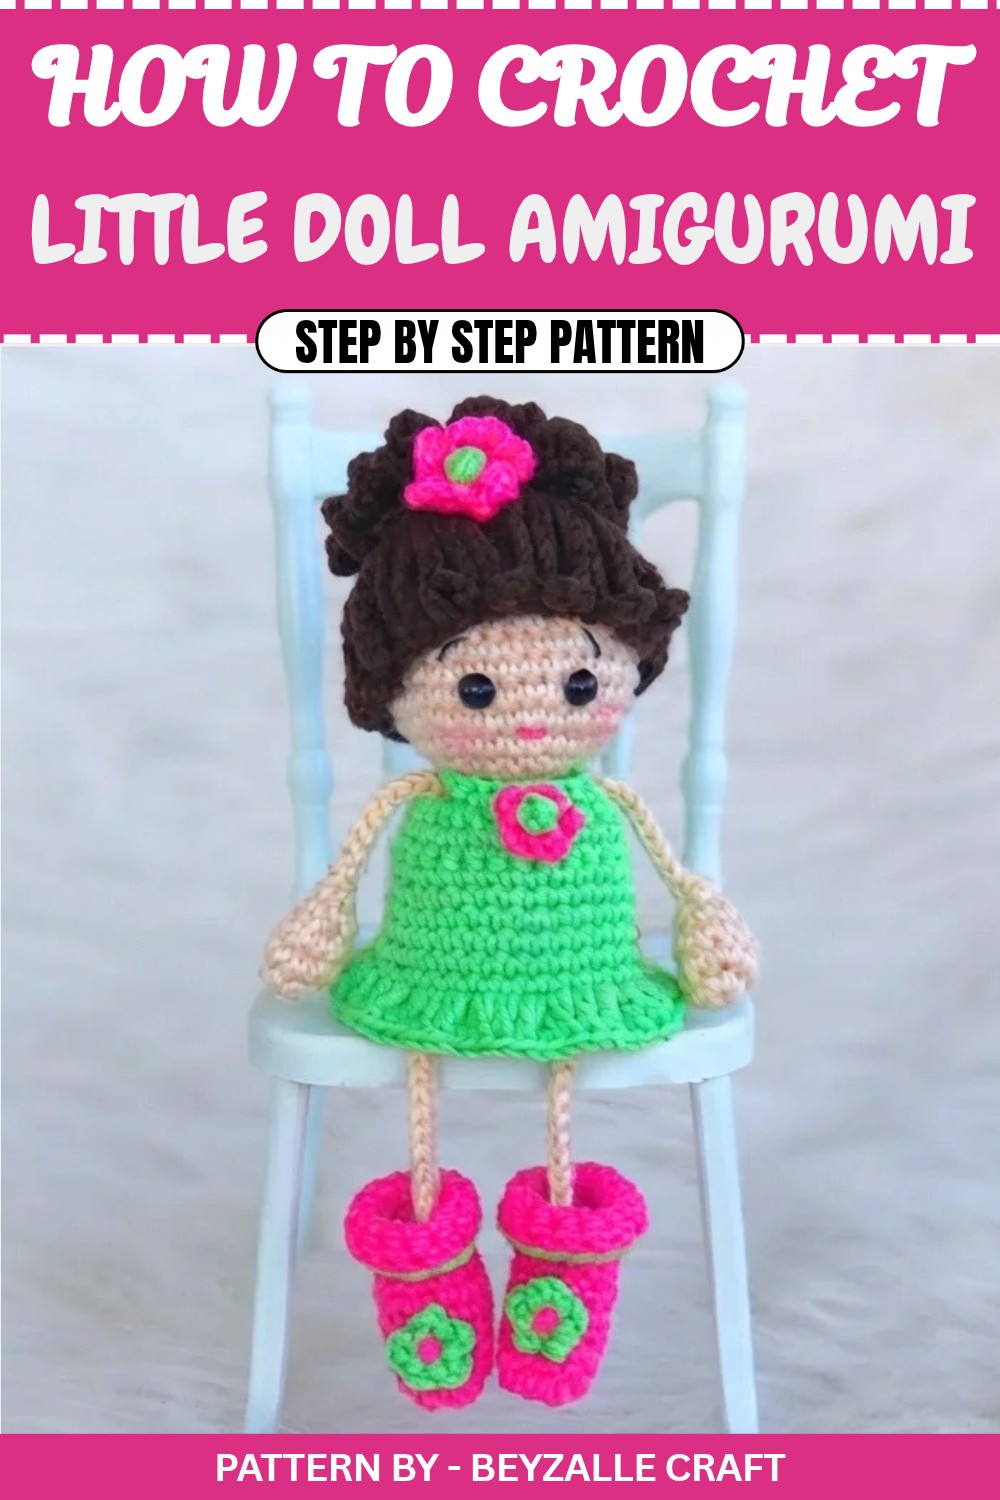
Crochet Little Doll Amigurumi Pattern
1. Legs and Feet
(Make 2)
Instructions:
Round 1 (R1):
- Begin with a magic ring (MR).
- Chain (ch) 1, work 6 single crochet (sc) into the ring. (6 stitches)
Round 2 (R2):
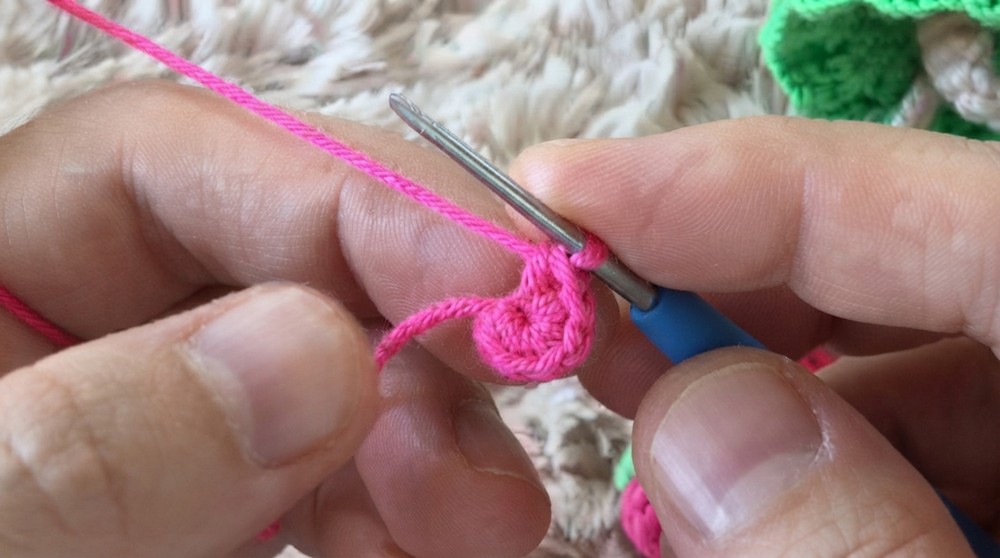
- Work 1 increase (inc) (2 sc in the same stitch) into each stitch of the previous round. (12 stitches)
Rounds 3–5:
- Work 12 sc for 3 rows. No increases or decreases. (12 stitches)
Heel (R6):
- Chain 1 (ch 1), turn your work.
- Work 5 sc, then chain 1, turn.
- Skip 1 stitch, work 2 sc, and make 1 decrease. (3 stitches)
- Chain 1, turn. Skip 1 stitch, make a decrease. (1 stitch)
- Chain 1, turn. Work 1 sc directly onto the previous stitch.
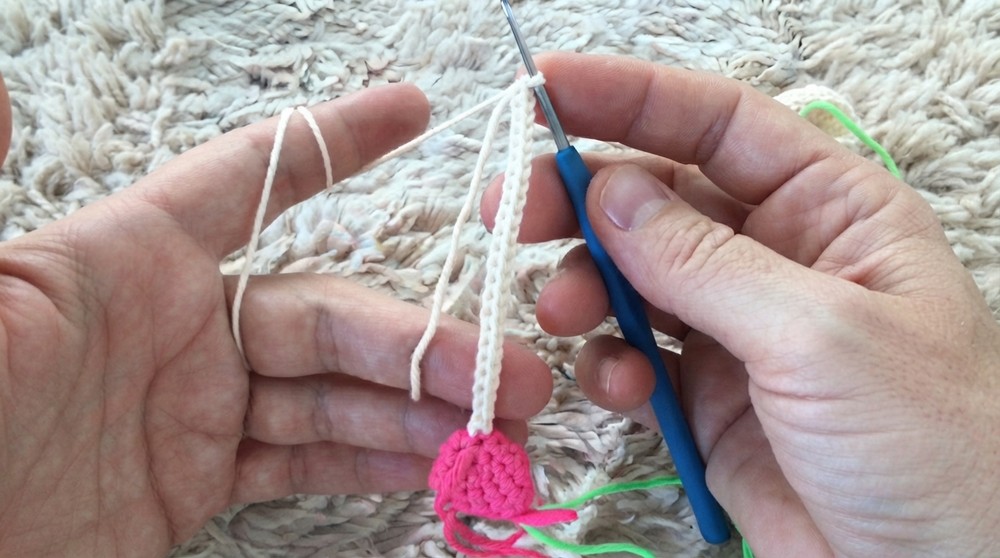
- Work 3 sc down the side, 7 sc around the front, and 3 sc back up the other side. (14 stitches)
Round 7 (R7):
- Work 3 sc, 1 dec, 5 sc, 1 dec, 2 sc. (12 stitches)
Rounds 8–9:
- Work 12 sc for 2 rows. No increases or decreases. (12 stitches)
Round 10 (R10):
- Work (3 sc, 1 inc) 3 times. (15 stitches)
Rounds 11–13 (R11–13):
- Work 15 sc for 3 rows. (15 stitches)
Round 14 (R14):
- Switch to green yarn for the sock line.
- Work with Back Loop Only (BLO): slip stitch (sl st) into each stitch around. (15 slip stitches)
Set aside. Repeat for the second leg.
2. Arms
(Make 2)
Instructions:
Round 1 (R1):
- Begin with a magic ring (MR). Chain 1, make 6 single crochet (sc) into the ring. (6 stitches)
Round 2 (R2):
- Work 1 increase (inc) into each stitch around. (12 stitches)
Round 3 (R3):
- Work 12 sc in this row. (12 stitches)
Round 4 (R4):
- Work (1 sc, 1 decrease) 4 times. (8 stitches)
- Finish with a slip stitch (sl st). Leave the yarn tail long for later assembly.
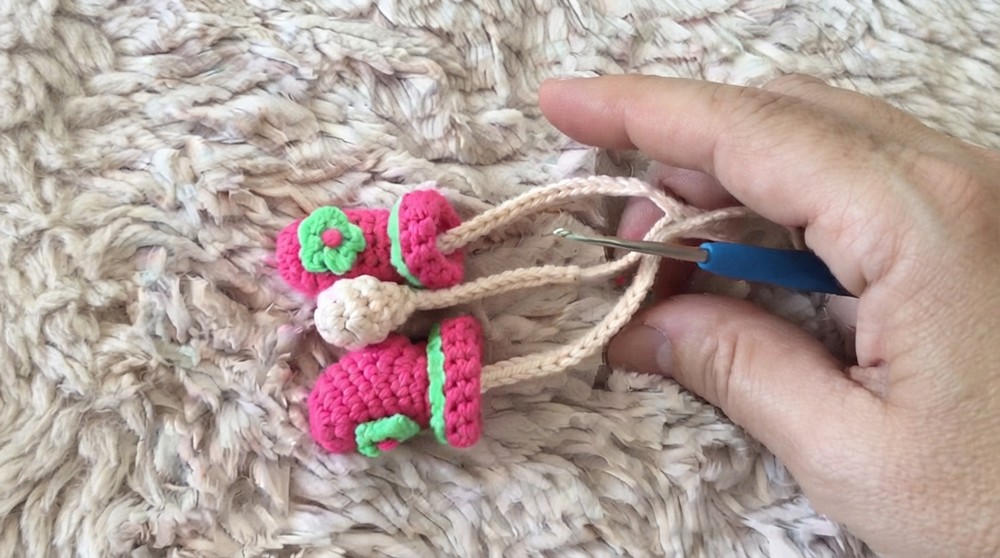
Set aside. Repeat for the second arm.
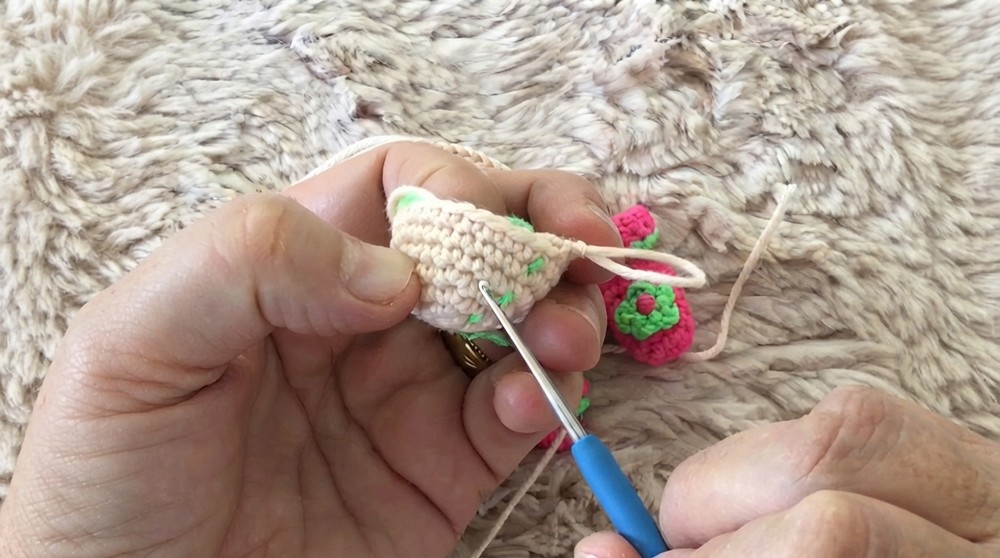
3. Body and Head (One Piece)
Instructions:
Round 1 (R1):
- Magic Ring: Chain 1, work 6 sc into the ring. (6 stitches)
Round 2 (R2):
- Work 6 increases (inc) in each stitch around. (12 stitches)
Round 3 (R3):
- Work (1 sc, 1 increase) 6 times. (18 stitches)
Round 4 (R4):
- Work (2 sc, 1 increase) 6 times. (24 stitches)
Rounds 5–7 (R5–7):
- Work 24 sc for 3 rounds. No increases or decreases.
Attaching the Legs
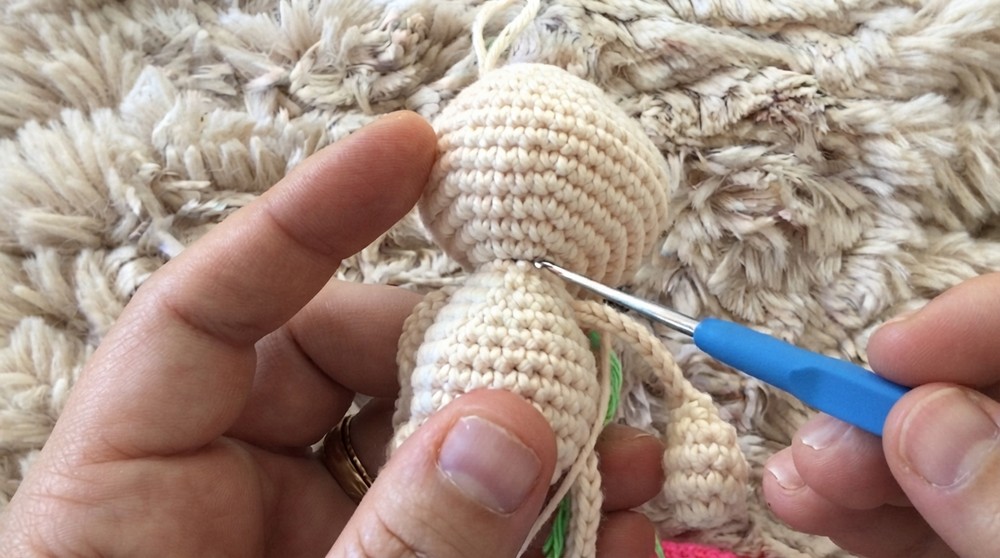
- After Round 7, position the legs evenly on opposite ends of the body.
- Pin the legs in place, and crochet them into the body stitches as you work the next round.
Head Section
Round 12 (R12):
- Work 9 increases (inc) (2 sc in each stitch) around. (18 stitches)
Round 14 (R14):
- Work (2 sc, 1 increase) 6 times. (24 stitches)
Rounds 15–16 (R15–16):
- Continue increasing until you reach 36 stitches. (24–36 stitches)
Rounds 17–21 (R17–21):
- Work 36 sc for 5 rounds. No increases or decreases.
Round 22–26 (Decreasing):
- Gradually decrease to close the head: (4 sc, 1 decrease), (3 sc, 1 decrease), etc., until closed.
Note: Add fiberfill stuffing as the head closes.
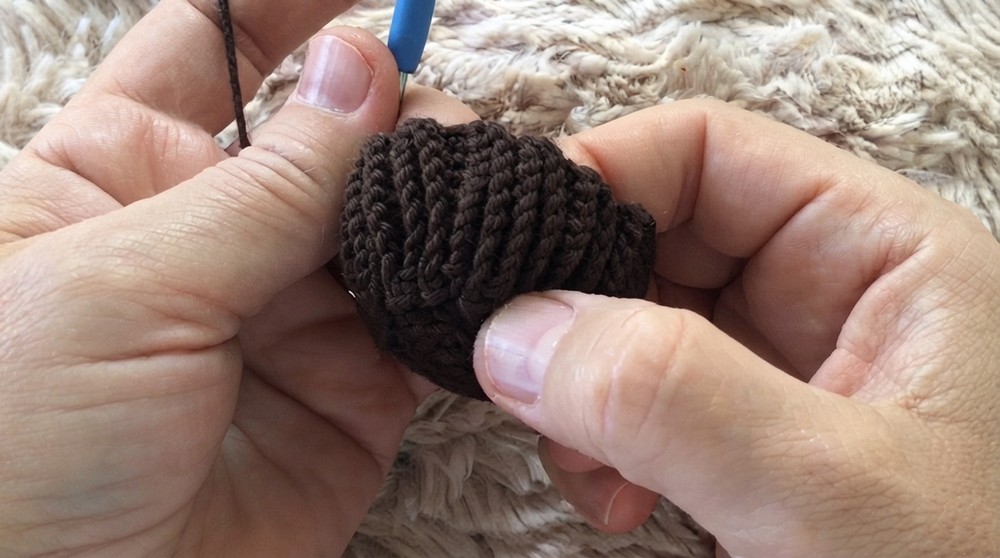
4. Hair (Wig)
Base Cap:
- Start with a magic ring, work through 6 rounds of standard increases to reach 36 sc.
- From rounds 7–11 (R7–11): Work 36 sc across 5 rows. (36 stitches per row)
Hair Strands:
- For strands, chain 9.
- Slip stitch into the front loop of the base.
- Skip 1 stitch, then repeat the process across the base.
Bangs (Fringe):
- For bangs, position the wig on the doll's head to determine the front section.
- Work 6 chains in this designated front area for the bangs.
Curls:
- Work 8 chains, and increase in every stitch to create curls along the edges of the wig.
Attach Hair to Head:
- Place the wig on the doll's head and adjust for proper positioning, ensuring the front fringe/bangs are aligned properly.
- Use the remaining yarn from the wig piece to stitch the wig to the head securely.
5. Dress
Instructions:
Chain Base:
- Leave a long tail to later attach a button for closure. Chain 33.
Row 1:
- Skip the first 7 chains and insert your hook into the 8th chain.
- Work:
- 4 sc,
- 3 chain,
- Skip 5 stitches and work 8 sc.
- 3 chain, skip 5 stitches, and work 4 sc.
At the end of Row 1, you should have 16 stitches.
Row 2 (Increase Row):
- Chain 1 and turn your work.
- Work:
- 3 sc,
- Add 1 increase (2 sc into 1 stitch).
- Work 4 sc into the chain space.
- Add 1 increase into the next single crochet.
- Work 6 sc.
- Add 1 increase into the last sc before the chain.
- Work 4 sc into the chain space.
- Add 1 increase.
- Finish with 3 sc.
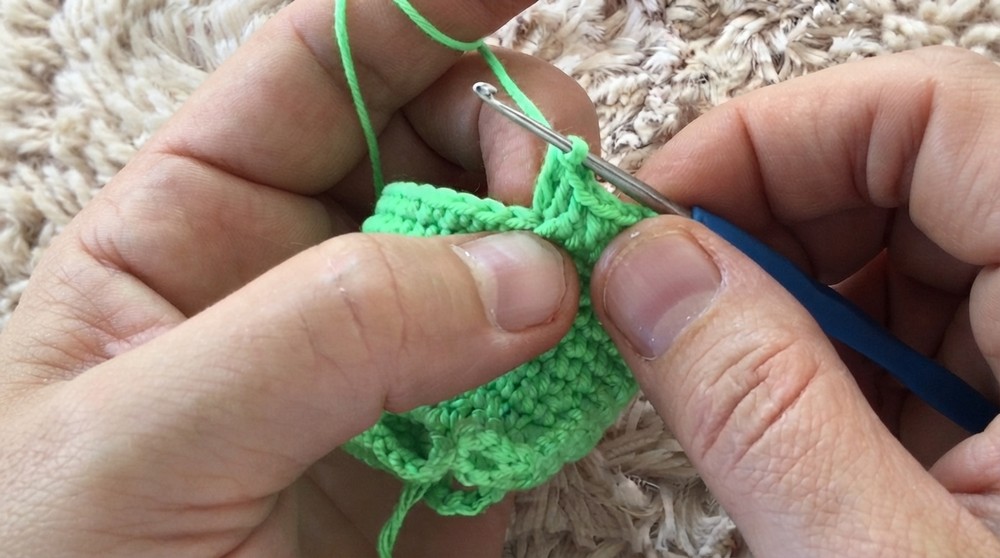
At the end of Row 2, you should have 28 stitches.
Rows 3 & 4:
- Chain 1 at the start of each row.
- Work 28 sc across for both rows without increasing.
Row 5 (Increase Row):
- Chain 1 and turn.
- Work:
- 9 sc,
- Add 1 increase,
- Work 9 sc,
- Add 1 increase,
- Finish with 8 sc.
At the end of Row 5, you should have 30 stitches.
Joining in a Circle:
- Slip stitch into the first stitch of Row 5 to complete the round.
- Chain 1 and continue working in rounds.
Rounds 6–10:
- Work 30 sc per round for 5 rounds.
- Slip stitch into the first stitch of each round to close.
Final Round (Edge Ruffle):
- Work with Front Loop Only (FLO) for this round.
- Chain 3, and work 3 double crochet (dc) into the FLO of the next stitch.
- Work 2 dc into the Back Loop Only (BLO) of the last double crochet.
- Continue this process for every remaining stitch to create small pleats for the dress hem.
Assembly & Finished Size
- Attach arms to the body at round 11 of the head/body section.
- Complete stuffing the doll and sew together seamlessly.
- Use the excised tails from various sections (arms, legs) to secure all pieces tightly.
- Dress the doll after completing the outfit section.
- Embroider or attach safety eyes in the head section at round 17 from the start.
- Ensure a 4-stitch gap between them.
Conclusion
This pattern allows you to create a seamless Amigurumi Safinaz Doll with intricate details and minimal sewing. Whether you’re crafting it as a toy or as a decorative piece, the result will be stunning and well-worth the effort.