
Free Crochet Wig Cap Pattern That Will Delight Any Kid
Try this free crochet pattern to make a wig cap for children that is so fun and adorable, you will enjoy making one for every child.
Pattern By Joy Torralba
A crochet wig cap works wonderfully as a snug, comfortable base for wigs and costume accessories. It’s a classic project that combines form and function, offering a lightweight and breathable fit for all day use. The cap has a rounded shape that conforms perfectly to the head, providing a secure foundation that supports hairpieces or stands alone as a simple head covering.
This project uses straightforward techniques, such as single crochets and manageable increases, making it suitable even for those newer to crochet. The texture is smooth and slightly stretchy, ensuring flexibility while maintaining durability. Using soft cotton or bamboo blend yarn helps keep the cap gentle on the skin, while also allowing for breathability, qualities that make it ideal for extended wear.
Free Crochet Children Wig Cap Pattern to Wear and Love
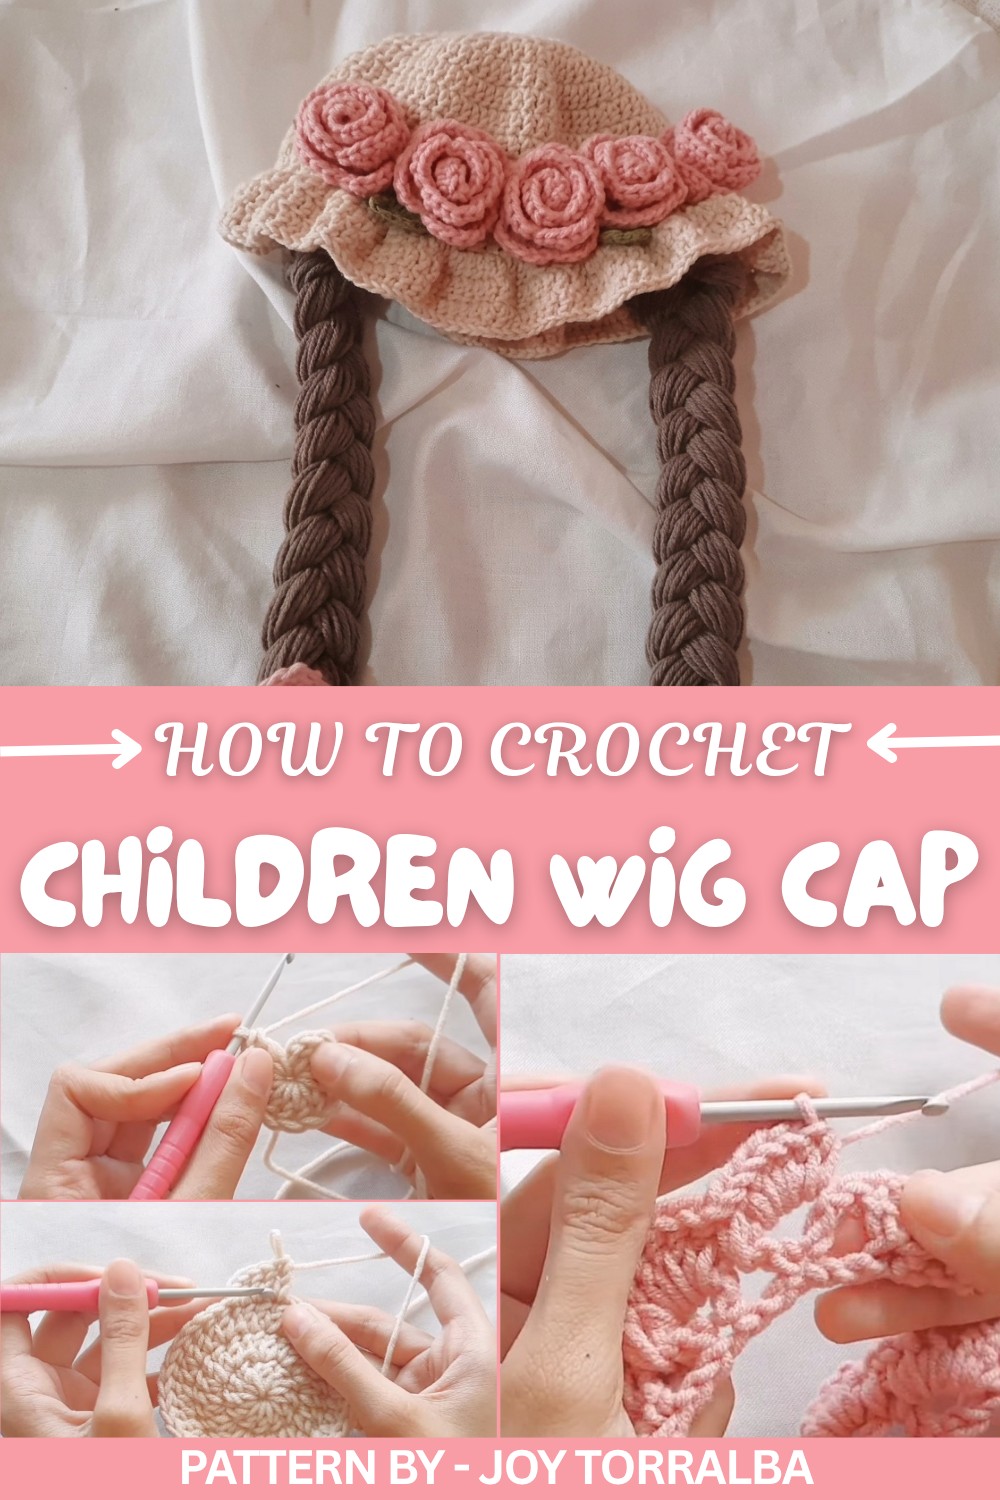
The shape is worked in the round, starting at the crown and expanding outward before tapering slightly to hug the base of the head. Adjustments are easy, and the size can be customized with just a few extra rows. To ensure the best fit, keep a measuring tape on hand as you work and check your gauge carefully before starting.
This wig cap was inspired by the need for something simple yet effective, providing both practicality and room for creative flair. You can stick with neutral tones for a classic look or play around with cheerful colors depending on your preferences. Whether for everyday use, cosplay purposes, or even under hats, this project is a versatile and rewarding experience for crocheters of all levels. Enjoy the process while building a useful piece that’s as functional as it is beautiful.
Crochet Wig Cap Pattern
Quick Overview of Pattern
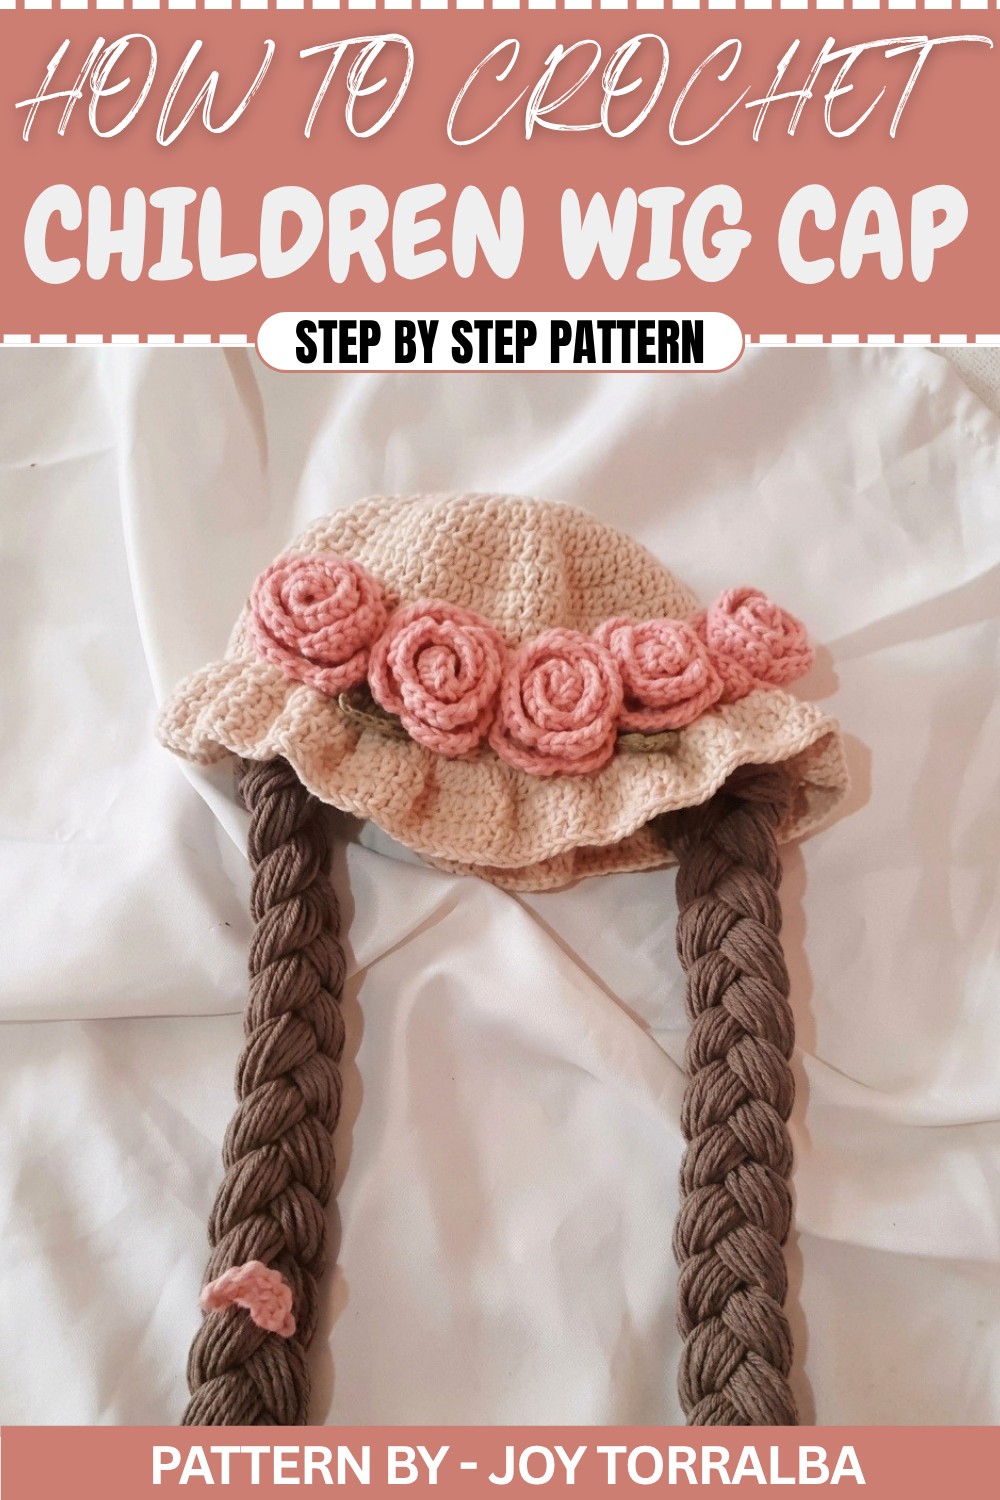
- Pattern Name: Blossom Bucket Hat
- Project Type: Kids' Bucket Hat with decorative roses, leaves, and braided hair
- Materials Needed: Yarn, hook, stitch marker, tapestry needle, scissors
- Skills Used: Basic crochet stitches, increasing rounds, shell stitches, magic ring, slip stitch, double crochet
Notes
- The hat can be customized for different sizes (1 year old and below or 1 to 2 years old). Instructions for sizing are provided in the pattern.
- Ensure you follow the increasing scheme carefully to create an even and structured hat shape.
- Use a stitch marker to keep track of rounds.
- The decorative elements (roses, leaves, and braided strands) can be adjusted to match your preference.
Skill Level
Beginner to Intermediate – Basic knowledge of crochet stitches (e.g., magic ring, double crochet, slip stitch) is recommended, but the tutorial is easy to follow with detailed instructions.
Materials
- Yarn:
- 5-ply milk cotton yarn in the following shades:
- Khaki White
- Medium Coffee
- Rose Pink
- Green
- 5-ply milk cotton yarn in the following shades:
- Hook Size: 3.5 mm crochet hook
- Stitch Marker
- Tapestry Needle
- Scissors
Measurements / Sizing
- For children below 1 year old: The hat should have 12 rounds with a brim of 3 rows. Use 90 yarn strands (39.5 inches or 100 cm each) for hair.
- For children aged 1–2 years: The hat should have 13 rounds with a brim of 3 rows. Use 108 yarn strands (39.5 inches or 100 cm each) for hair.
Gauge
Each double crochet stitch and row should form a neat and even surface. Ensure to maintain consistent tension to achieve the desired size.
Stitch Abbreviations
- CH: Chain
- DC: Double Crochet
- SLST: Slip Stitch
- SC: Single Crochet
- HDC: Half Double Crochet
Special Stitches
Magic Ring: Create a loop with your yarn, insert your hook into the loop, pull the yarn through the loop to make a knot, and secure the loop.
Shell Stitch (Petal): Six double crochet (DC) worked into the same chain space, forming the petal shape for the rose decoration.
V Stitch: One DC, followed by two chains, and another DC worked into the same stitch or chain space.
The Crochet Pattern
Hat Body
Round 1:
- Create a magic ring. To do this:
- Twist your yarn to form a ring, holding it in place.
- Insert your hook into the ring and pull the yarn through.
- Secure the loop with two chains (this does not count as a stitch).
- Work 12 double crochet (DC) into the magic ring.
- Pull the yarn tail to close the ring tightly.
- Join the round with a slip stitch (SLST) into the first stitch.
Round 2:
- Start with two chains (acts as your turning chain).
- Work two DC into each stitch (increase in every stitch).
- At the end of the round, you should have 24 stitches.
- Join with SLST into the first stitch to close the round.
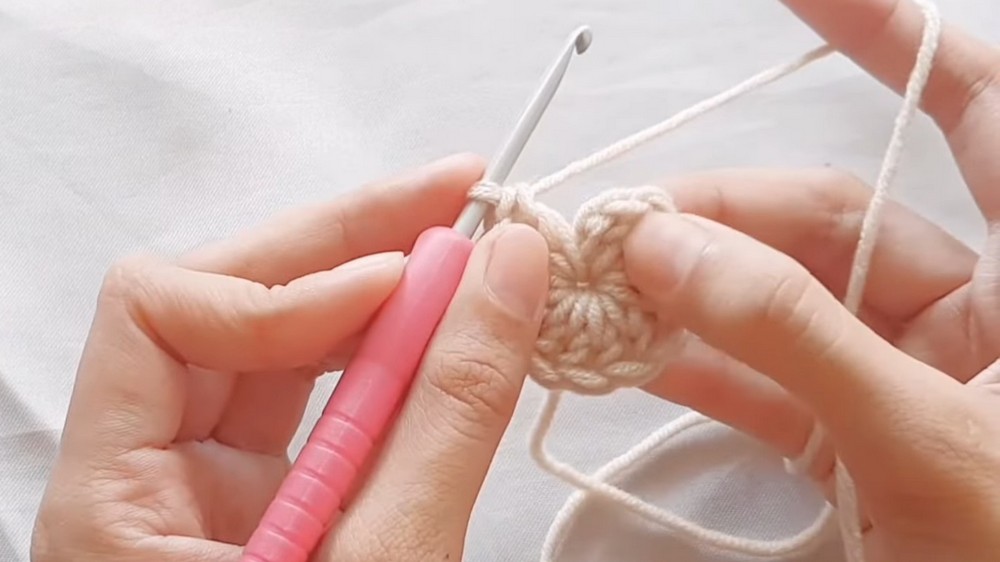
Round 3:
- Begin with two chains as the turning chain.
- Work one DC into the first stitch, then two DC into the next stitch.
- Repeat the pattern of 1DC into the first stitch, 2DC into the next stitch all the way around.
- At the end of the round, you should have 36 stitches.
- Join with SLST into the first stitch.
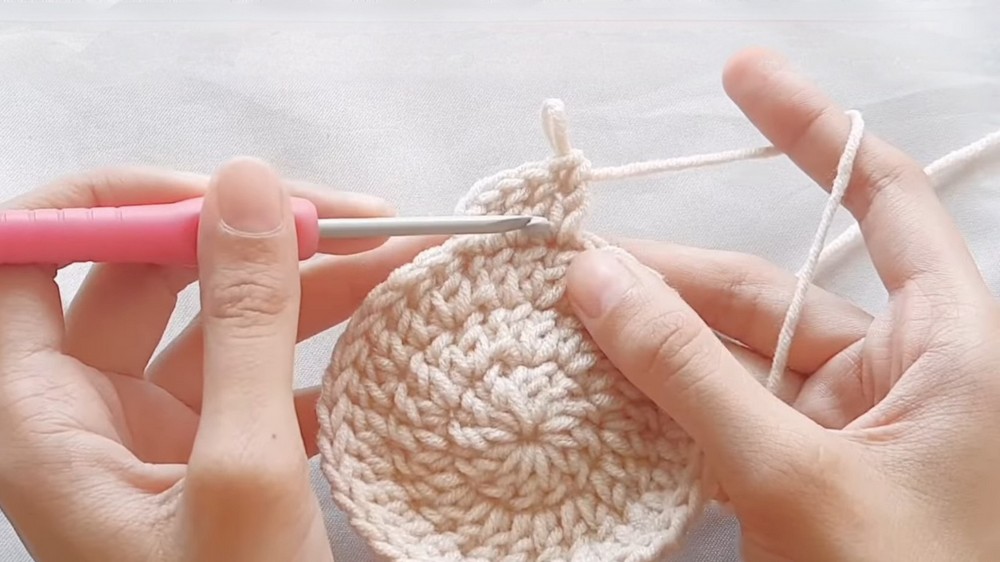
Round 4:
- Start with two chains as the turning chain.
- Work one DC into each of the first two stitches, then two DC into the next stitch.
- Repeat the pattern 1DC, 1DC, 2DC into the next stitch all the way around.
- At the end of the round, you should have 48 stitches.
- Join with SLST into the first stitch.
Round 5:
- Begin with two chains.
- Work one DC into each of the first three stitches, then two DC into the next stitch.
- Repeat the pattern 1DC, 1DC, 1DC, 2DC into the next stitch all the way around.
- At the end of the round, you should have 60 stitches.
- Join with SLST into the first stitch.
Note: If making the hat for a child below 1 year old, stop increasing here and move to Round 7.
Round 6 (Optional):
For children aged 1–2 years, continue increasing.
- Start with two chains.
- Work one DC into each of the first four stitches, followed by two DC into the next stitch.
- Repeat the pattern 1DC four times, then 2DC into the next stitch all the way around.
- At the end of this round, you should have 72 stitches.
- Join with SLST into the first stitch.
Rounds 7–12/13:
- Work one DC into each stitch all the way around.
- Repeat this step for 6 more rounds if crocheting for a child below 1 year old (total of 12 rounds) or 7 more rounds if making for a child aged 1–2 years (total of 13 rounds).
Brim
Row 1:
- Start with two chains as the turning chain.
- Work two DC into the front loop of each stitch all the way around. (Note: Work in the front loop only for this row.)
- Join the round with a SLST into the first stitch to close.
Rows 2–3:
- Create two turning chains to start.
- Work one DC into each stitch all the way around.
- Repeat for two rows.
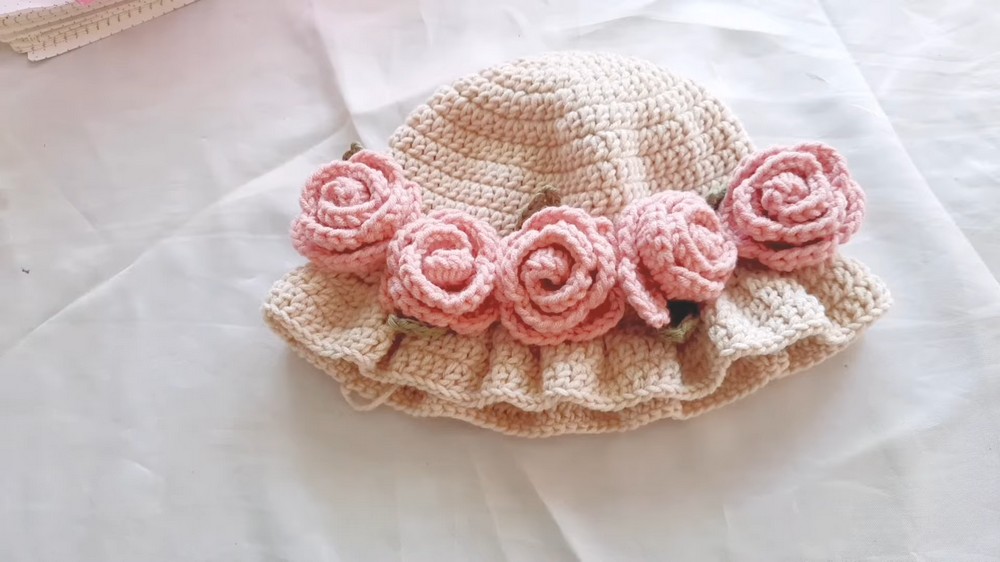
Decorative Roses (11 V-Stitches per Row)
- Use your rose pink (or any other) yarn to create a slipknot.
- Make a starting chain of 36 chains.
- Work 1DC into the sixth chain from the hook to create your first V-Stitch.
Row 1 (V-Stitch Base):
- Skip two chains and into the next chain, work:
- 1 DC
- CH 2
- 1 DC
- Repeat this process for 11 V-stitches.
Row 2 (Petals):
- CH 3 and turn your work (counts as the first stitch).
- Work 6 DC into the chain space of the first V-stitch to form the petal.
- Slip stitch in between the petals.
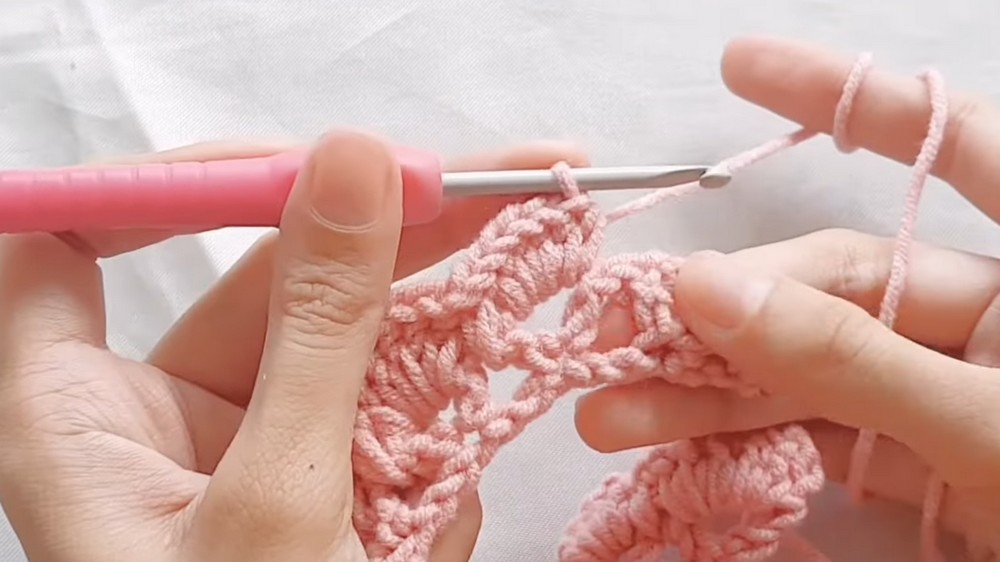
Repeat this row to create shell-like petal clusters.
Leaves
- Using green yarn, CH 8.
- Work the following sequence:
- SLST into the second chain.
- SC into the next chain.
- HDC into the next chain.
- DC into the remaining 4 chains.
Hair Strands Instructions
Cutting the Yarn Strands
- Below 1-year-old: Cut 90 pieces of yarn, each approximately 100 cm (39.5 inches) long.
- For 1–2 years old: Cut 108 pieces of yarn, each approximately 100 cm (39.5 inches) long.
Attaching the Yarn to the Hat
- Fold the Yarn Strands:
- Take two pieces of yarn and fold them in half.
- This will form a loop at the folded end.
- Attach to the Hat:
- Insert your crochet hook through the back loop of a stitch on the rows near the brim of the hat.
- Pull the loop of two folded yarn pieces through the back loop.
- Pull the tail ends of the yarn through the loop and tug gently to secure.
- Alternate Attachments:
- Attach two folded yarn pieces to one stitch.
- On the next stitch, attach one folded yarn piece.
- Continue alternating between two pieces and one piece per stitch until all strands are attached.
- Repeat the Process:
- Continue attaching strands in this alternating pattern across the designated back loops of stitches around the brim of the hat.
Braiding the Hair Strands
- Divide the Yarn Strands: Once all the strands are attached, take groups of yarn and divide them into three equal sections for braiding.
- Braid:
- Begin braiding by crossing the outer sections over the middle section, alternating sides as you go.
- Braid to your desired length, usually 14 to 15 inches for children ages 1–2 years old or 12–14 inches for those below 1 year old.
- Secure the Braids:
- Tie off the ends of each braid with a small piece of yarn, securing with a tight knot.
- Trim the Ends:
- Evenly trim the ends of the braids if needed for a neat appearance.
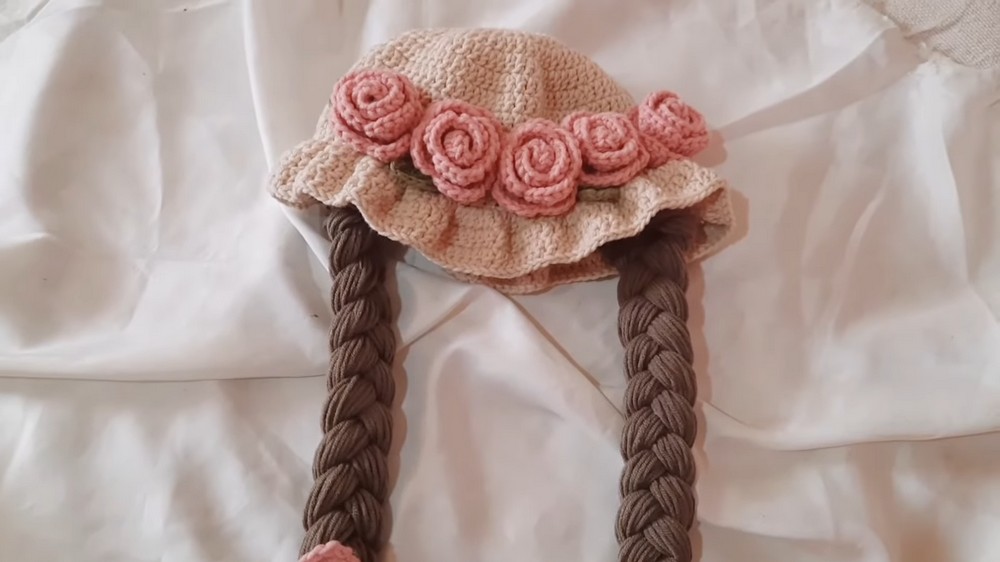
The final braided hair strands attached to the hat give it a playful and adorable finish, making the Blossom Bucket Hat truly unique and delightful.
Assembly & Finished Size
- Sew the roses and leaves onto the hat, arranging them creatively along the brim.
- Attach braids made from yarn strands to the back loops of the stitches along the brim.
Conclusion
Your Blossom Bucket Hat is complete. This charming crochet project is not only fun to make but also an adorable gift for little ones. Play with colors, add creative decorations, and enjoy crocheting a practical yet delightful accessory.
https://youtu.be/pXDYmzFEwOg