
Free Crochet Large Rose Pattern for Bags and Cushions
Spice up your bags with this free crochet large rose pattern that’s simple to follow and perfect for beginners to enjoy.
Soft yarn and a simple hook can work wonders, turning small stitches into something truly breathtaking. A large crochet rose is one of those charming projects that captivates not only the person making it but also everyone who sees it. With its lifelike layers of petals and graceful shape, it feels like holding a piece of nature in your hands. Whether you prefer vibrant reds or calming pastel shades, this artistic rose is perfect for brightening any space or adding a personal touch to special moments.
Free Crochet Rose Bag Pattern You’ll Love to Make
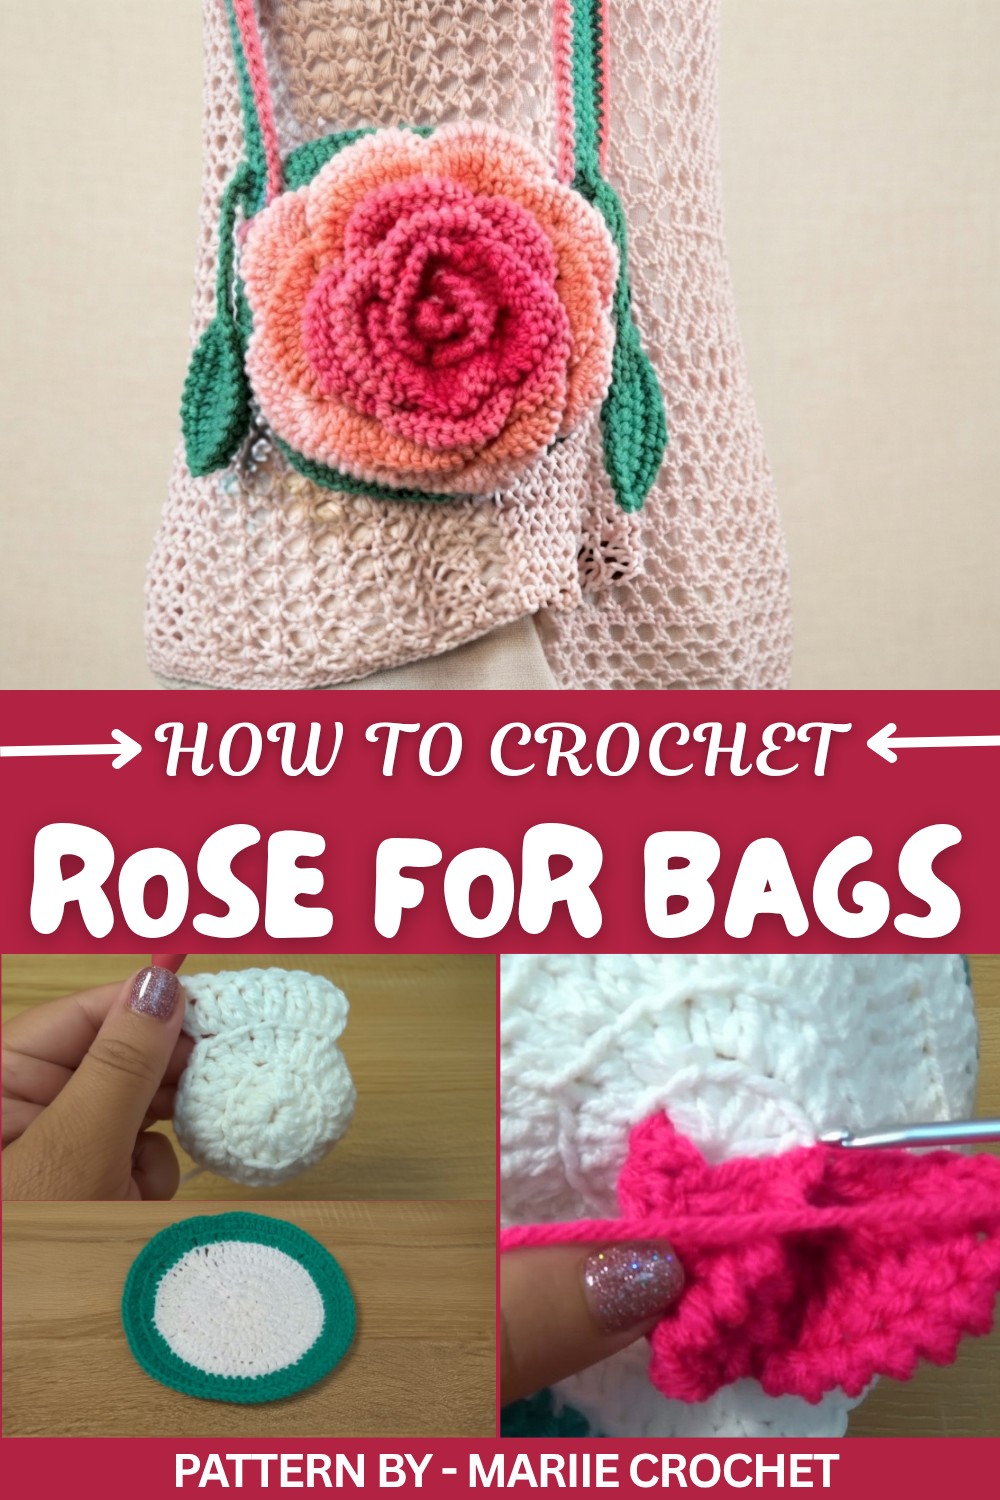
The rose stands out with its layered petals that form a gentle swirl, making it look as delicate as a real bloom. Its size and structure add a touch of elegance, making it a favorite for home decorations, such as vase arrangements or wall art. It can also be used on bags, scarves, or as a wedding bouquet for those moments that deserve something extra special. The process of constructing the petals requires patience, but the result is more than worth the effort, it’s beauty stitched with care.
Patterned by Mariie Crochet
This breathtaking crochet rose is brought to life by Mariie Crochet, a highly appreciated YouTube channel dedicated to guiding viewers through detailed and simplified tutorials. Her instructions for this rose focus on layering the petals with precision and creating a full, natural look. Mariie Crochet has turned this charming project into a timeless treasure for enthusiasts.
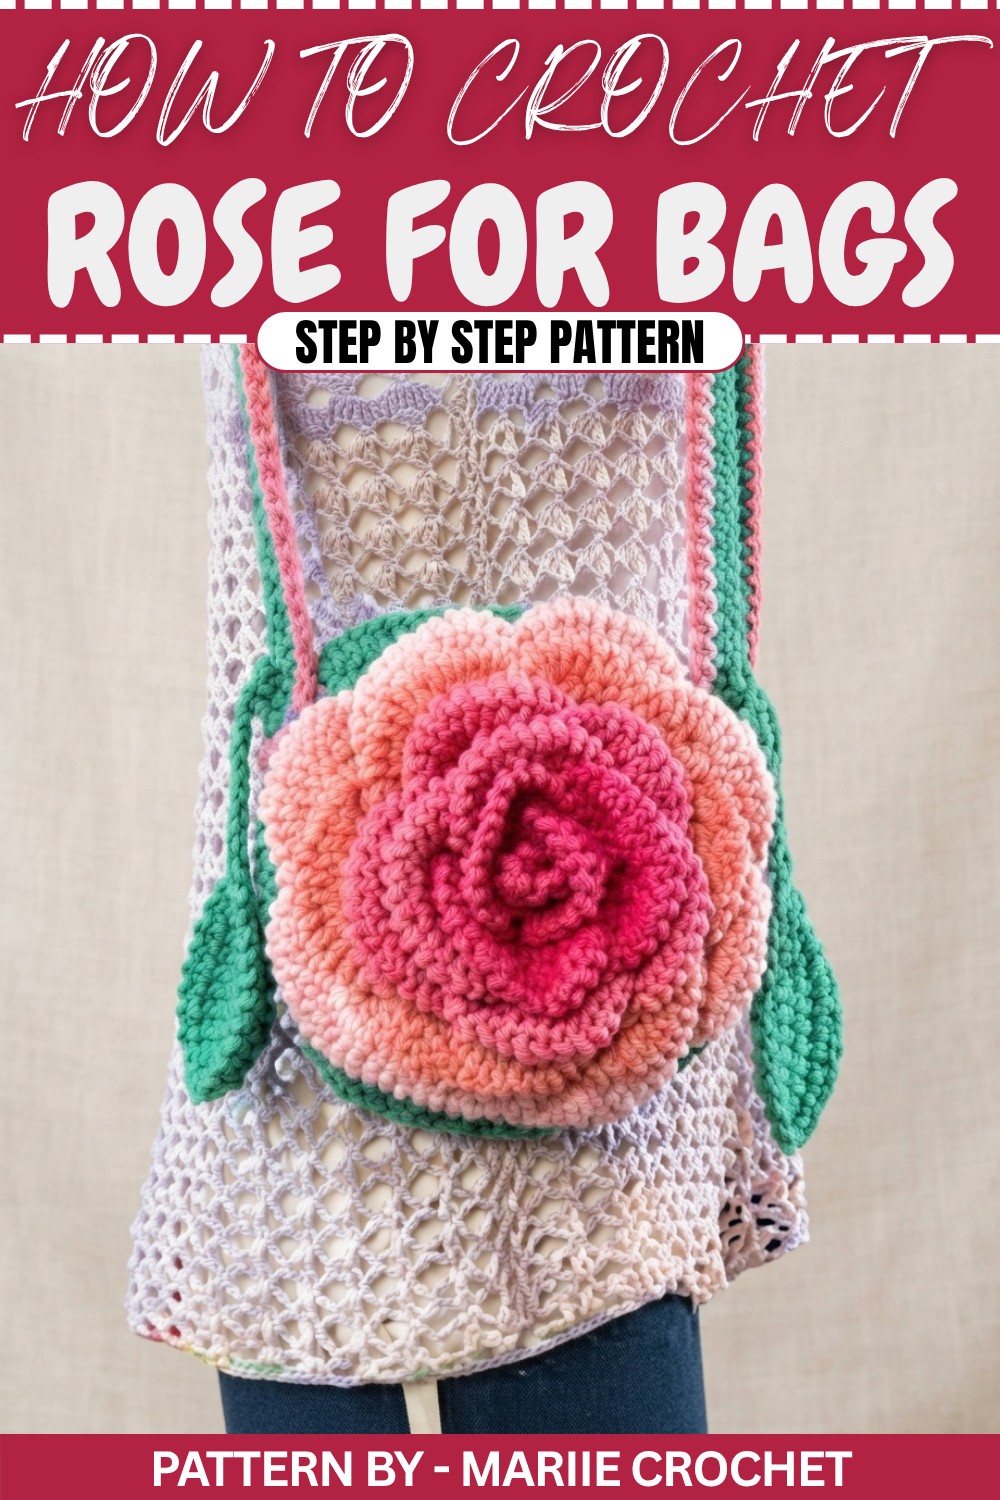
Crochet Pattern: 3D Rose Suitable for Bags or Cushions
This pattern is designed to create a stunning 3D rose that can be used as a decorative bag, cushion, or a stand-alone showpiece. Using a 3.5 mm hook and size 4 yarn, you will crochet a detailed rose complete with layers of realistic petals, straps, and leaves. Follow the step by step instructions below for clear and accurate construction.
Quick Overview of Pattern
- Start with a magic ring for the rose base.
- Build layers of petals on a circular base.
- Assemble the rose pieces and add decorative details.
- Crochet the leaves, strap, and final accents.
Notes
- Ensure consistent tension for the petals to maintain shape.
- Use a combination of colors for added visual appeal.
- Be patient when working on decorative elements like leaves and straps.
- The purse can be customized in size by increasing or decreasing stitches or rounds.
Skill Level
- Intermediate: Requires knowledge of basic stitches (SC, DC, slip stitch), working in rounds, and assembly techniques.
Materials
- Yarn Options:
- Medium weight yarn (number 4).
- Color suggestions: White, pink, green, or any desired shades.
- Hook Size:
- 3.5 mm crochet hook
- Accessories:
- A yarn needle for sewing and weaving.
- Stitch markers (optional for petal placement).
- Other Essentials:
- Scissors
- Decorative button for purse closure (optional).
Measurements / Sizing
- Rose Pieces: Diameter approximately 10–12 cm per rose.
- Leaves and Strap: Adjustable depending on your purse size preferences.
Gauge
Gauge is not critical for this pattern. Crochet tension should be comfortably tight but not overly restrictive.
Stitch Abbreviations
- CH: Chain
- SC: Single Crochet
- DC: Double Crochet
- SS: Slip Stitch
Special Stitches
Magic Ring
Used for making the circular base for the rose petals.
Reverse Single Crochet (Crab Stitch)
Creates a textured edging for the straps and petals to add detail and stability.
Base Construction
Work all rounds of the base in the back loop only to create a ribbing effect.
Round 1: Create the Magic Ring
- Make a magic ring.
- CH 2 (counts as the first DC).
- Work 12 DC into the ring.
- Pull the yarn tail to close the ring tightly.
- Slip stitch (SS) into the top of the starting chain to close the round.
Round 2: Ribbed Increase
- CH 2 to begin.
- Work 2 DC into each space around for a total of 24 DC stitches.
- SS into the top of the starting chain.
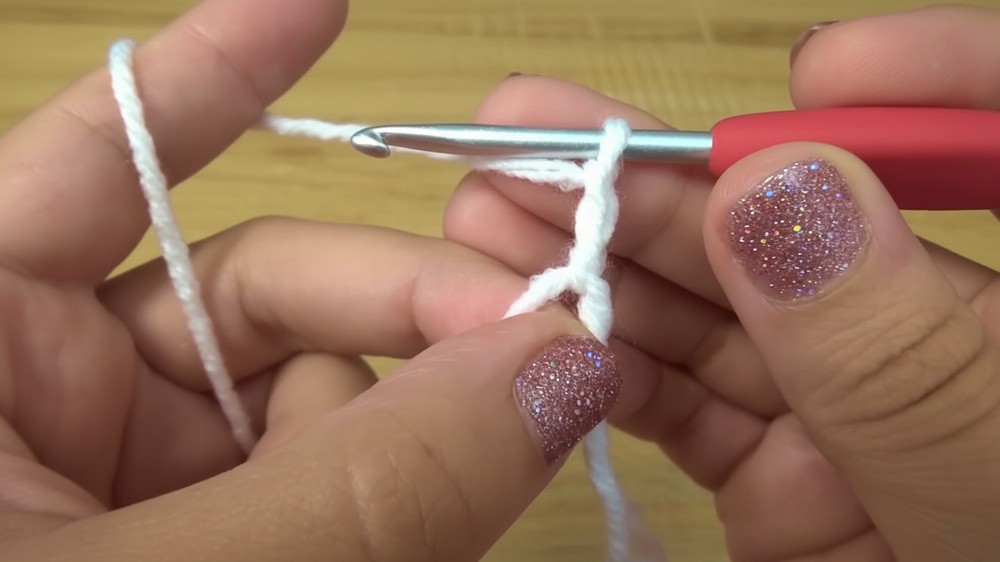
Round 3: Gradual Expansion
- CH 2 to start.
- Alternate between 2 DC in the next space and 1 DC in the next space. Repeat this pattern around.
- You will have a total of 36 DC stitches by the end of this round.
- SS to join.
Round 4: Further Expansion
- CH 2 to build height.
- Alternate between 2 DC in the next space and 1 DC in each of the next 2 spaces. Repeat this pattern to complete the round.
- You’ll finish with 48 DC stitches.
- SS to close the round.
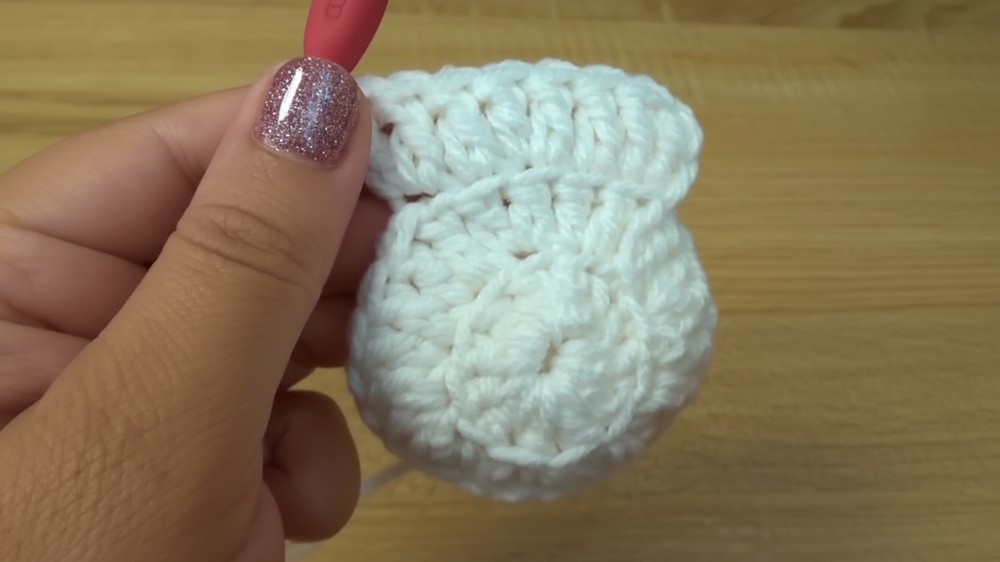
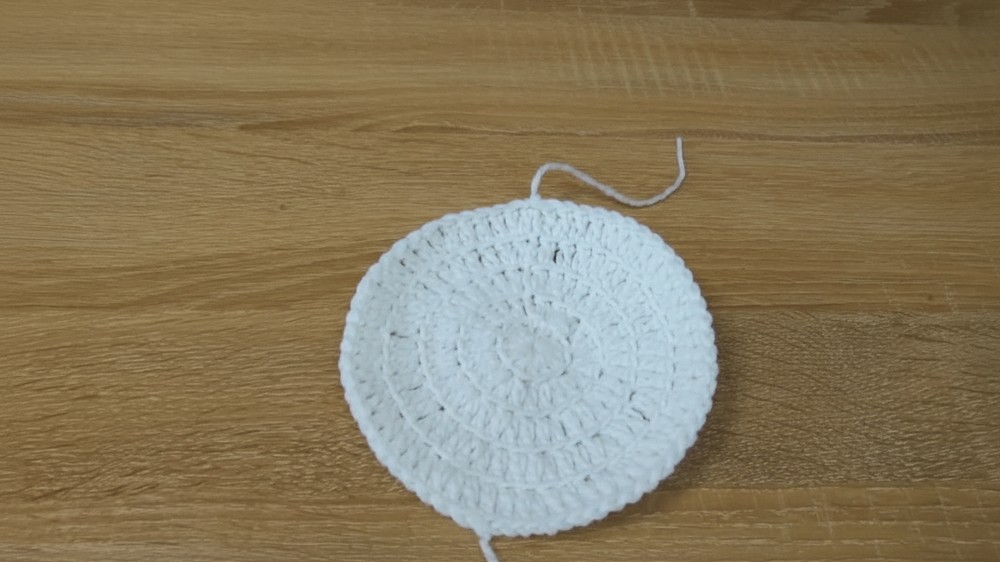
Round 5: Preparing for Larger Petals
- CH 2.
- Alternate between 2 DC in the next space and 1 DC in each of the next 3 spaces. Repeat this around for a total of 60 DC stitches.
- SS into the starting chain to complete the round.
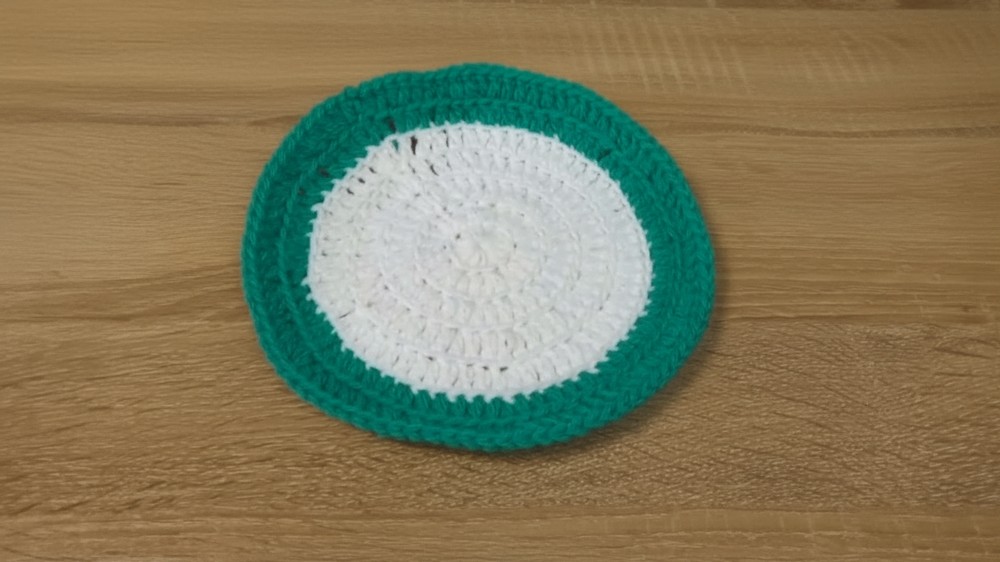
Round 6: Change Yarn Color (Optional)
- If you wish to add color variation to your rose, change to a new yarn color.
- CH 3 to begin the round.
- Alternate between 2 DC in the next space and 1 DC in each of the next 4 spaces. Repeat this pattern around to complete the round.
- You will finish with 72 DC stitches.
- SS into the starting chain to join.
Round 7: Final Expansion
- CH 2 at the start of the round.
- Alternate between 2 DC in the next space and 1 DC in each of the next 5 spaces. Repeat this pattern to finish the round.
- By the end, you will have 84 DC stitches.
- SS to close.
Creating the Rose Petals
Rose petals are added in layers, working outwards on the base.
First Layer of Petals
- Attach yarn to the first round of the base.
- Work clusters of 3 DC into adjacent spaces. Space these clusters evenly around the round, leaving some stitches between clusters.
- Finish each cluster with reverse single crochet (crab stitch) around the edges—this gives the petals a defined, textured finish.
Subsequent Petal Layers
- Move outward to the next round and begin creating more petals.
- Continue working in clusters of 3 DC, evenly spaced around the round.
- Adjust placement and spacing between clusters to ensure uniformity.
- Finish each petal with the crab stitch edge to match the earlier layers.
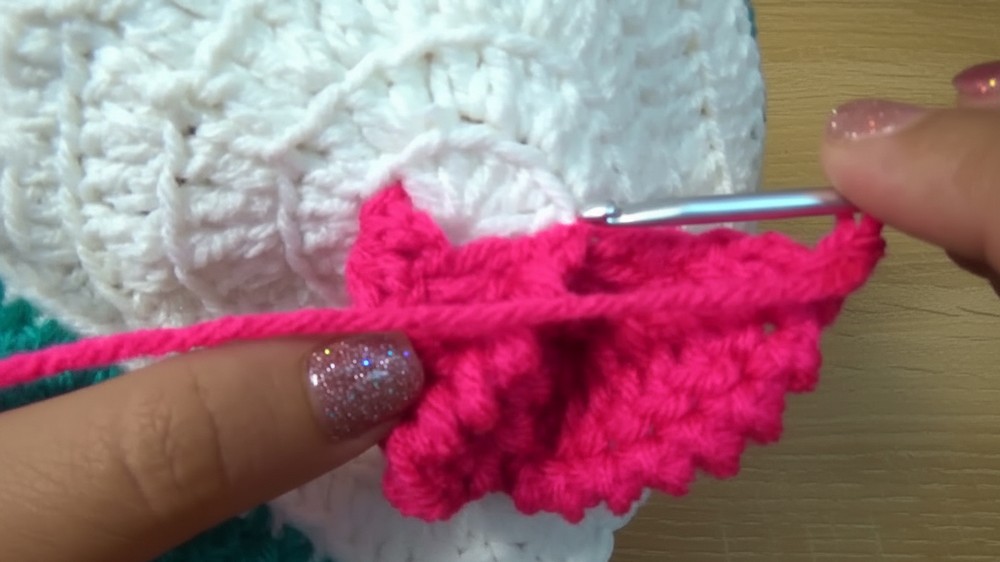
Repeat these steps for each subsequent layer until the base is covered with realistic, overlapping petals.
Finishing Touches
Border for Stability
- Once the petals are complete, add a final round of single crochet (SC) around the base.
- This will create a sturdy edge for attaching straps or sewing layers together.
Creating the Straps
- Crochet a long chain to reach the desired strap length (50 chains for short, 70 for medium, 100 for long).
- Work 1 row of DC along the chain to form a strap base.
- For a braided, decorative effect, work slip stitches across the top of the strap.
- Finish the strap edges with reverse single crochet (crab stitch) for strength and a textured border.
Crocheting Leaves
- Begin by chaining 12 stitches.
- Work the following sequence along the chain:
- SS into the second chain from the hook.
- SC into the next chain.
- Work 1 DC into each of the next 5 chains.
- SC into the next chain.
- SS into the last chain.
- Work reverse single crochet around the edge of the leaf for detail.
- Repeat these steps to make additional leaves as desired.
Assembly
Once all the components are complete, it’s time to assemble your rose bag or cushion:
- Align the two rose base pieces and sew them together using a yarn needle. Leave a portion open if making a bag.
- Attach the strap securely to either side of the rose base.
- Position and sew the leaves onto the rose for added charm.
- Add a button or clasp to the opening of the bag for functional closure.
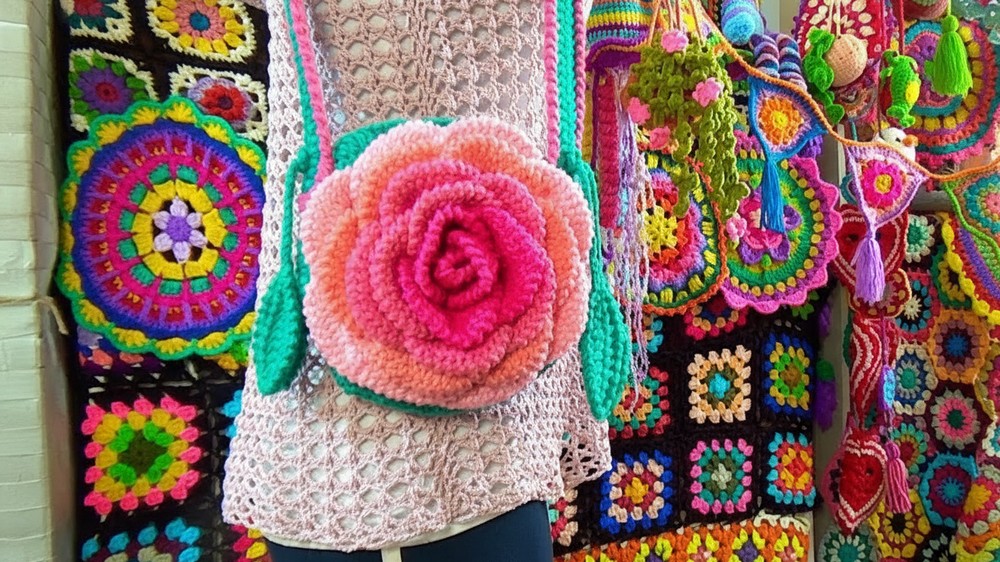
Finished Object Measurements
- Rose Diameter: Approximately 10–12 cm per rose.
- Strap Length: Adjustable based on chain length.
- Leaves: Customizable in size and number based on preference.
Conclusion
Congratulations, You’ve just finished a beautiful 3D Rose Crochet Creation, perfect for bags, cushions, or decorative displays. This project, with its intricate layers, vibrant colors, and practical functionality, is sure to impress others and make a statement.
Enjoy your masterpiece, and feel free to explore more creative variations by adding your own personal touches.