
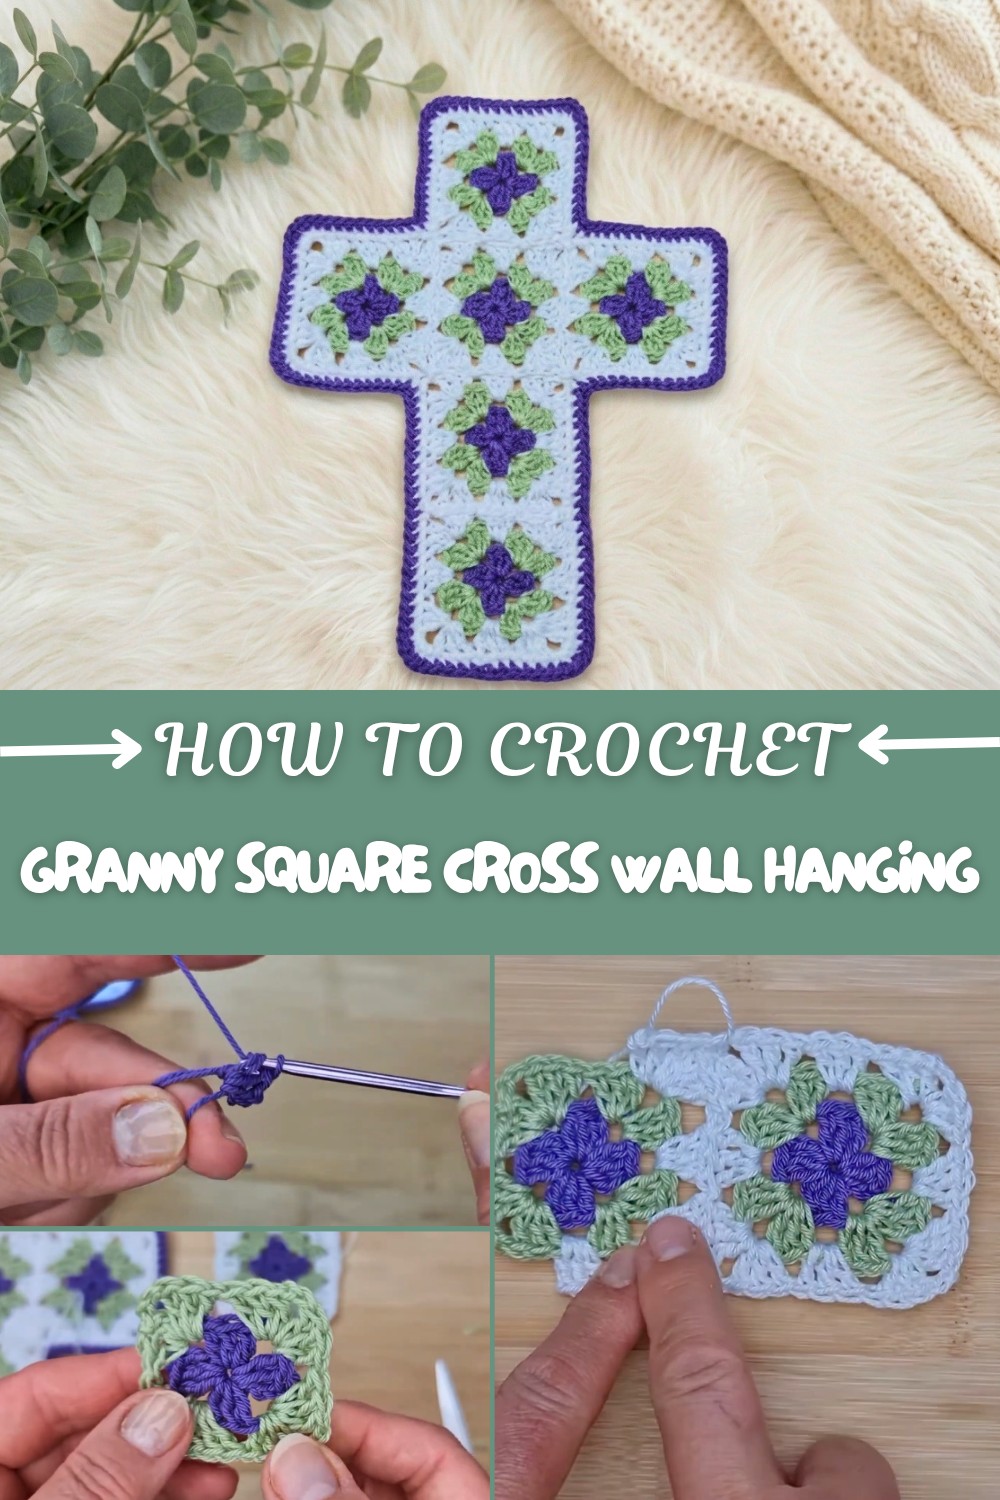
Crochet Cross Wall Hanging Step-by-Step With Free Pattern
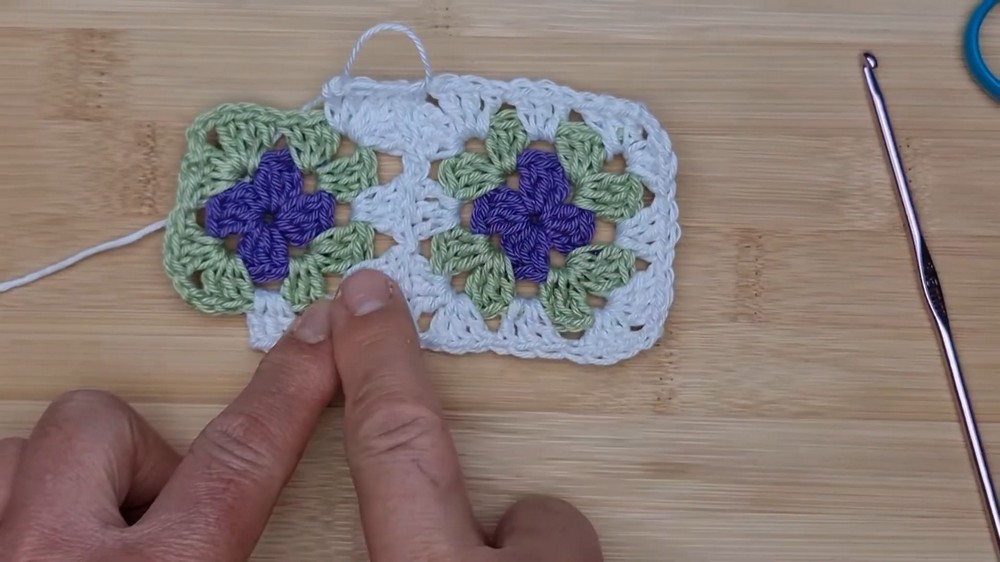
Granny squares hold endless possibilities, and the Free Crochet Cross Wall Hanging Pattern showcases their versatility in a fresh, meaningful way. This design starts by creating six compact squares, each with a floral touch at the center. The central flower, worked in deep purple and surrounded by kiwi green, is about 6 cm across when finished. The choice of Patons 100% DK mercerized cotton yarn offers a gentle sheen and durability, enhancing both the look and feel of the wall hanging.
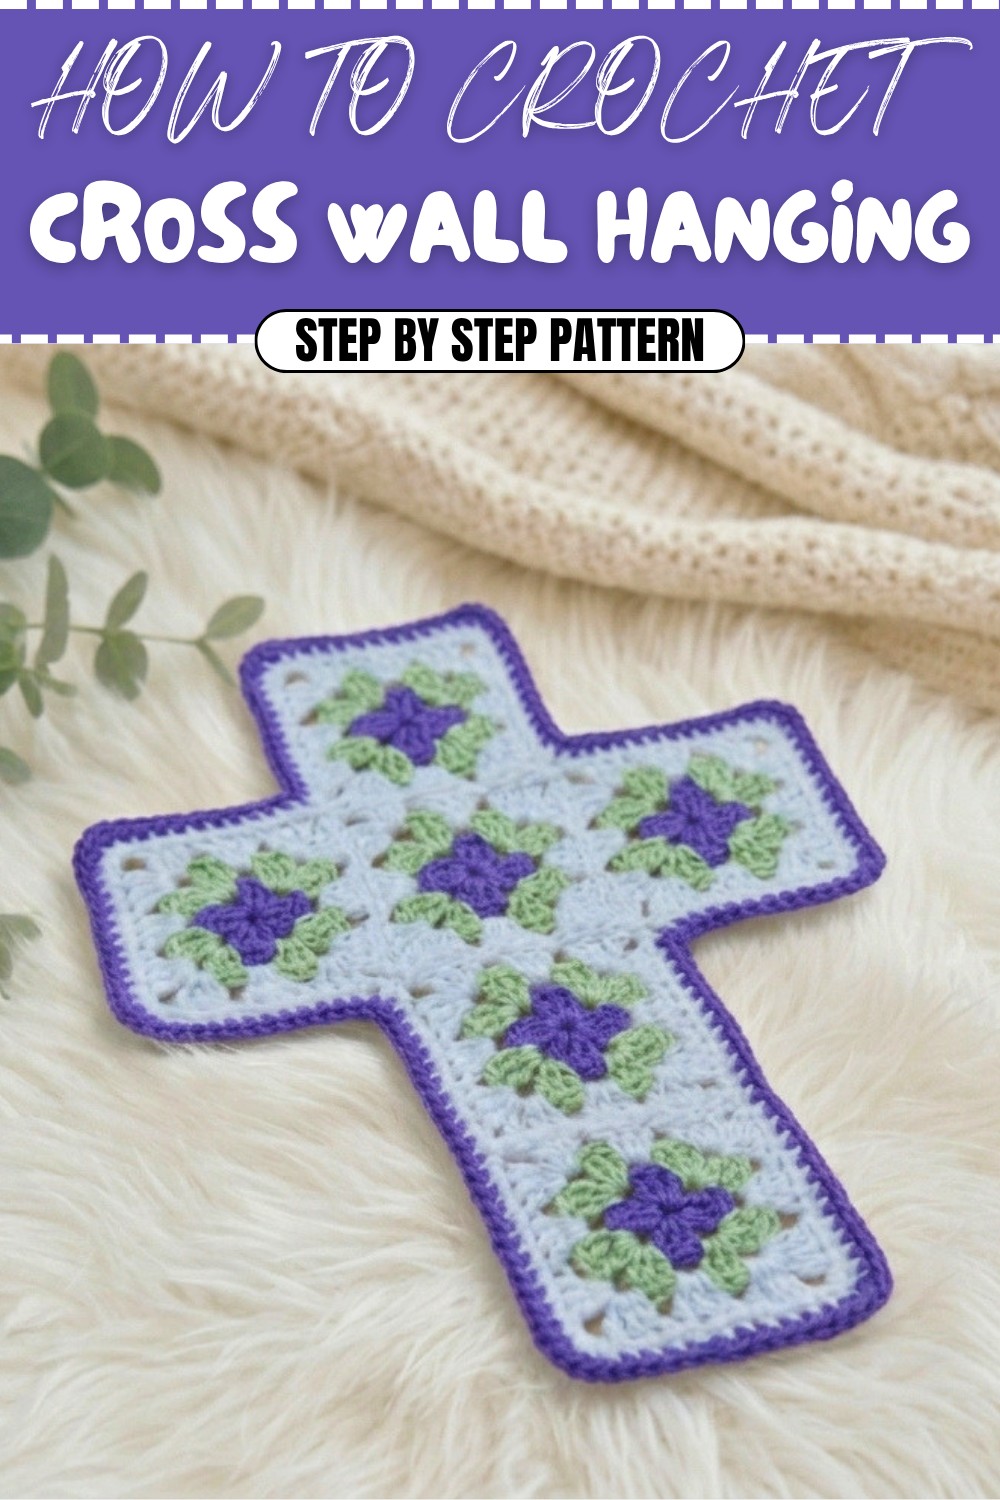
Stunning Free Crochet Cross Wall Hanging Pattern
Assembly is a highlight, here. Instead of sewing, the squares are linked using a join-as-you-go approach that relies on the standing double crochet stitch, ensuring crisp corners and strong connections. The process moves smoothly: one fully bordered square anchors the cross, while the remaining five, with just their colored centers, are joined around it. No needles required only a 3.5 mm hook makes crocheting and joining efficient and enjoyable.
Color customization stands out as a major advantage. The pattern adapts to any decor: swap out the purple for coral, blue for green, or try monochrome shades for a minimalist look. The floral centers evoke a delicate, inviting vibe, while the finished cross brings a personal touch to any room. Place the piece in a frame for a polished display, or let it shine solo as a wall hanging; blocking keeps it flat and neat.
Beyond wall decor, squares from this design can be repurposed. Use them for coasters, appliqués, or even as motifs for a gift. The standing double crochet stitch gives the edges a professional finish especially valuable for border work or joining motifs in larger projects. Overall, this Free Crochet Cross Wall Hanging Pattern blends creative expression, ease of making, and versatile use in a way that elevates the humble granny square.
Crocheted Cross Granny Square Wall Hanging
Skill Level
Intermediate to Advanced
This elegant wall hanging consists of joined granny squares forming a cross, bordered with contrasting rounds of single crochet. The project uses a stylish join-as-you-go method, offering a seamless and professional finish, and is designed to be framed or hung as a standalone decor piece. The motif-based construction and intricate borders make it a joyful creative process that steadily builds your motif and joining skills.
Materials
- Yarn: Patons 100% DK Mercerized Cotton (or any smooth DK cotton with some sheen). You will need three colors:
- Color A: Center/Petal (e.g., Purple)
- Color B: Leaf/Accent (e.g., Kiwi Green)
- Color C: Border/Background (White)
- Hook: 3.5 mm (US E)
- Tapestry Needle: For sewing in ends
- Scissors
- Blocking Mat or Heavy Books: For finishing and flattening
- Optional: 8"x10" picture frame for display
Key Abbreviations/Legend
- ch = chain
- dc = double crochet
- sc = single crochet
- sl st = slip stitch
- sp(s) = space(s)
- st(s) = stitch(es)
Special Notes
- All instructions use US crochet terms.
- Work border rounds with relaxed tension for the best edges.
- The join-as-you-go method avoids needles and creates a smooth, continuous join.
- At each color change, fasten off securely and weave in ends for a neat finish.
Finished Size
- Approximately 8” x 10” (adjustable by using thicker/thinner yarn or more/fewer squares)
Pattern
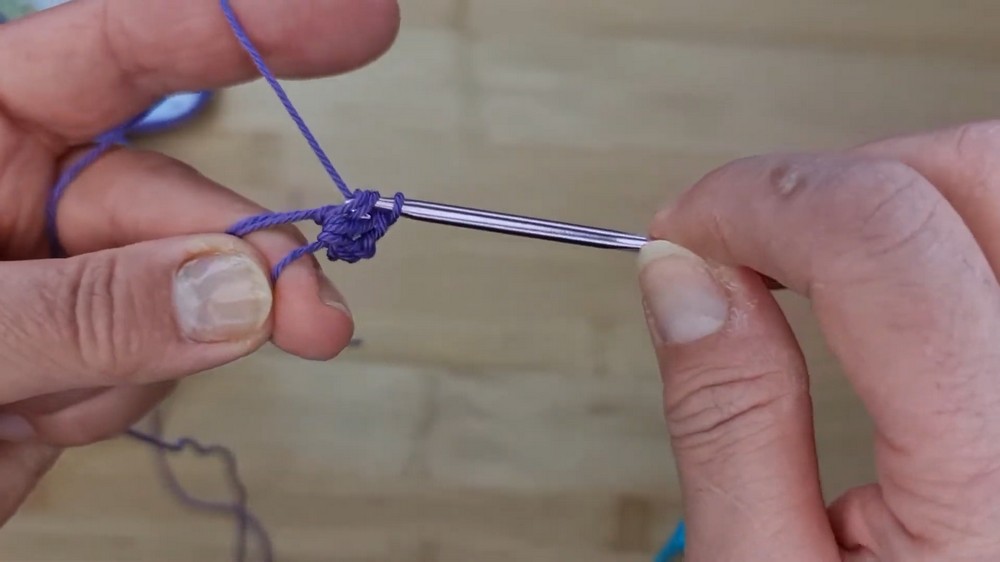
Step 1: Make the Center Granny Square (1 total)
With Color A (center):
- Magic ring
- Ch 3 (counts as first dc)
- 2 dc into ring
- Ch 2
- 3 dc into ring
- Ch 2
- 3 dc into ring
- Ch 2
- 3 dc into ring
- Ch 2
- Sl st to top of first ch-3 to close round
- Pull loop tight, fasten off
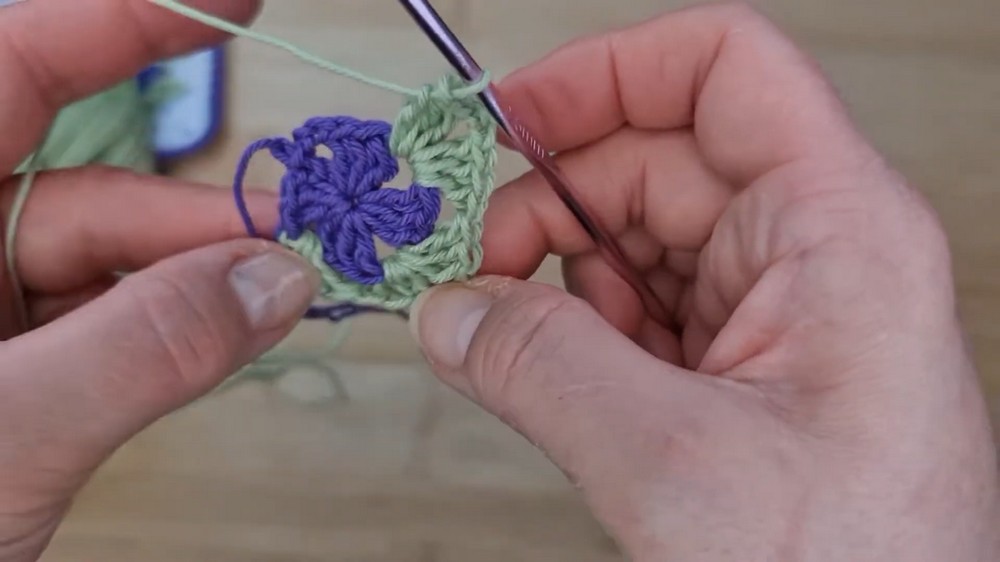
With Color B (leaves/accent):
- Join with standing dc or ch 3 in any corner ch-2 sp
- 2 dc in same sp
- Ch 2
- 3 dc in same sp
- In each of next 3 corner ch-2 sps, (3 dc, ch 2, 3 dc)
- Sl st to first dc or ch 3 to close, fasten off
With Color C (border/white):
- Join with standing dc or ch 3 in any corner
- 2 dc in the same sp
- Ch 2
- 3 dc in the same sp
- For each side: 3 dc in the side sp (between clusters)
- At each corner: 3 dc, ch 2, 3 dc in the corner sp
- Sl st to first dc/ch 3, fasten off
Summary:
You will have a motif with three soft bands of color: middle, leaf round, and a crisp border. This will form the anchor for your cross.
Step 2: Make 5 Additional Granny Squares (No Border Round)
For each of 5 small squares:
- Repeat the center and leaf rounds only, leaving off the third (white/border) round for now.
- Weave in ends after fastening off.

Summary:
Make five smaller flower squares with two color rounds only. The border will be added later as they’re joined into the cross.
Step 3: Weave in Ends
- Use your tapestry needle and sew all visible yarn tails into the back of each square at this stage.
Summary:
Tidying up your squares at this point prevents loose ends and makes the upcoming join-as-you-go step easier and cleaner.
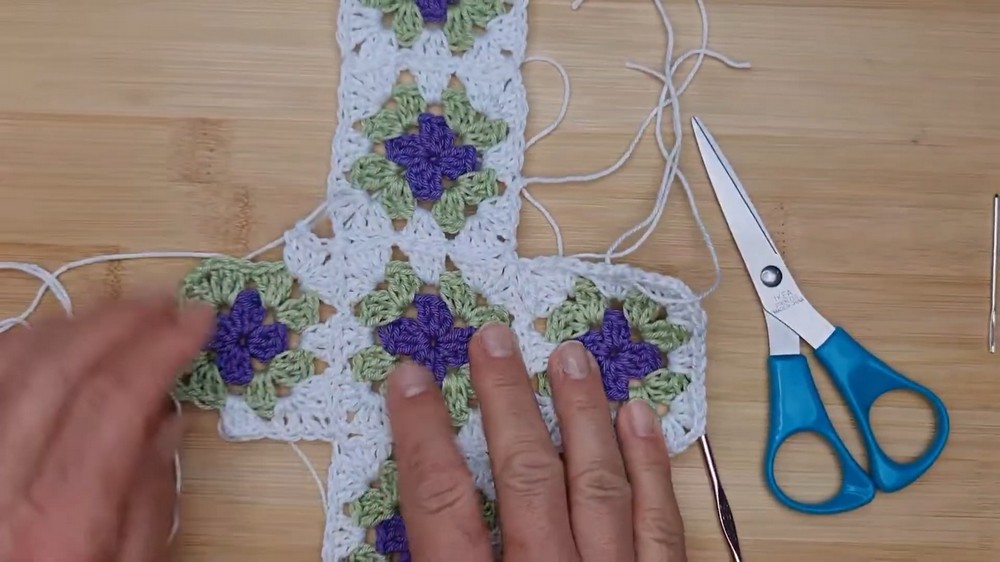
Step 4: Layout & Join-As-You-Go Cross Assembly
Lay out your pieces for the cross:
- Place the fully-bordered motif in the center.
- Four small squares go above, below, left, and right of the center.
- The final small square sits below the lower arm to elongate your cross.
Join each small square to the already-bordered motif or previously-joined squares using the white (border) round and a join-as-you-go method:
For each small square while joining:
- With Color C (white), join in any corner:
- Standing dc or ch 3, 2 dc, ch 1
- Hold to the neighbor motif and sl st in the corresponding corner ch-2 sp of the adjacent square.
- Ch 1, 3 dc in same corner of working square.
- For each joining side:
- Ch 1, sl st in adjacent motif’s side sp, 3 dc in your motif’s next sp
- For non-joining sides:
- 3 dc in sp, ch 2 at corners as usual.
- Continue joining sides and corners as you work around each square.
- Sl st to complete, fasten off.
Summary:
As you finish the white border round of each new square, you join it directly to the existing cross by connecting sides and corners with slip stitches—no sewing or whipstitching. This forms a seamless cross with open, neat joins.
Step 5: Single Crochet Border (White)
- Join Color C (white) anywhere along the outer edge.
- Ch 1, do not turn.
- Work sc in each stitch and space around all sides.
- At each major corner, work 4 sc to keep the edge crisp and square.
- At each inner “valley” (where arms meet body), work 1 sc in both motifs’ corner space.
- Continue until you reach your starting point, sl st to first sc, fasten off.
Summary:
A full round of white single crochet will anchor and stabilize your cross, helping it lay flat and giving a professional finish. Corners need extra stitches for structure.
Step 6: Single Crochet Border (Main Color)
- Join Color A (purple or your selected border color) in any stitch.
- Ch 1.
- Work sc in each stitch all around.
- At each group of 4 corner scs (from previous round), work 2 sc into each of the two middle scs (for 6 sc in total per corner).
- For all other stitches, work as normal.
- Sl st to first sc or finish with invisible join for absolute neatness.
- Weave in all final ends.
Summary:
This round frames the cross and finishes it with contrast. Doubling up on corner stitches keeps the cross’s edges sharp and prevents curling.
Step 7: Finishing and Blocking
- Gently steam block, mist, or press under heavy books to flatten and set.
- Mount in a frame, secure with glass or backing, or simply hang as-is.
Summary:
Blocking is essential! It relaxes the stitches, sets the shape, and ensures your cross hangs or frames beautifully.
Tips & Corrections
- When joining, keep a light/relaxed hand with slip stitches; do not pull too tight to avoid puckering.
- In corners, double check that all added stitches are present for a perfect square—this keeps borders flat.
- For best results, use a standing double crochet at the start of new rounds, or ch 3 if preferred.
Conclusion
This pattern elegantly combines motif-making, colorwork, join-as-you-go technique, and careful finishing, making it an enriching project for anyone looking to expand their motif and border skills. The step-by-step, join-on-the-go method means you never needle-sew motifs, resulting in a cleaner, more uniform piece. Whether you frame your creation or use it as a wall hanging, this cross will stand as both a testament to your skill and as a touch of inspiration in any room.