
Free Crochet Scarf Pattern for Warm and Stylish Looks
Spark your creativity with an easy crochet scarf pattern that helps you stitch a warm and fashionable accessory for any occasion.
On a chilly morning, there’s nothing cozier than wrapping yourself in a soft, handmade crochet scarf. It’s not just an accessory, it’s a piece of art you’ve created with your hands and yarn. In a recent video from the talented Focus x Luisa channel, viewers were treated to a step by step guide on making an elegant and textured scarf that works for any occasion. Her channel is a haven for learning timeless crochet projects with clear instructions and helpful tips.
Free Crochet Scarf Pattern for Pretty Fall Layering
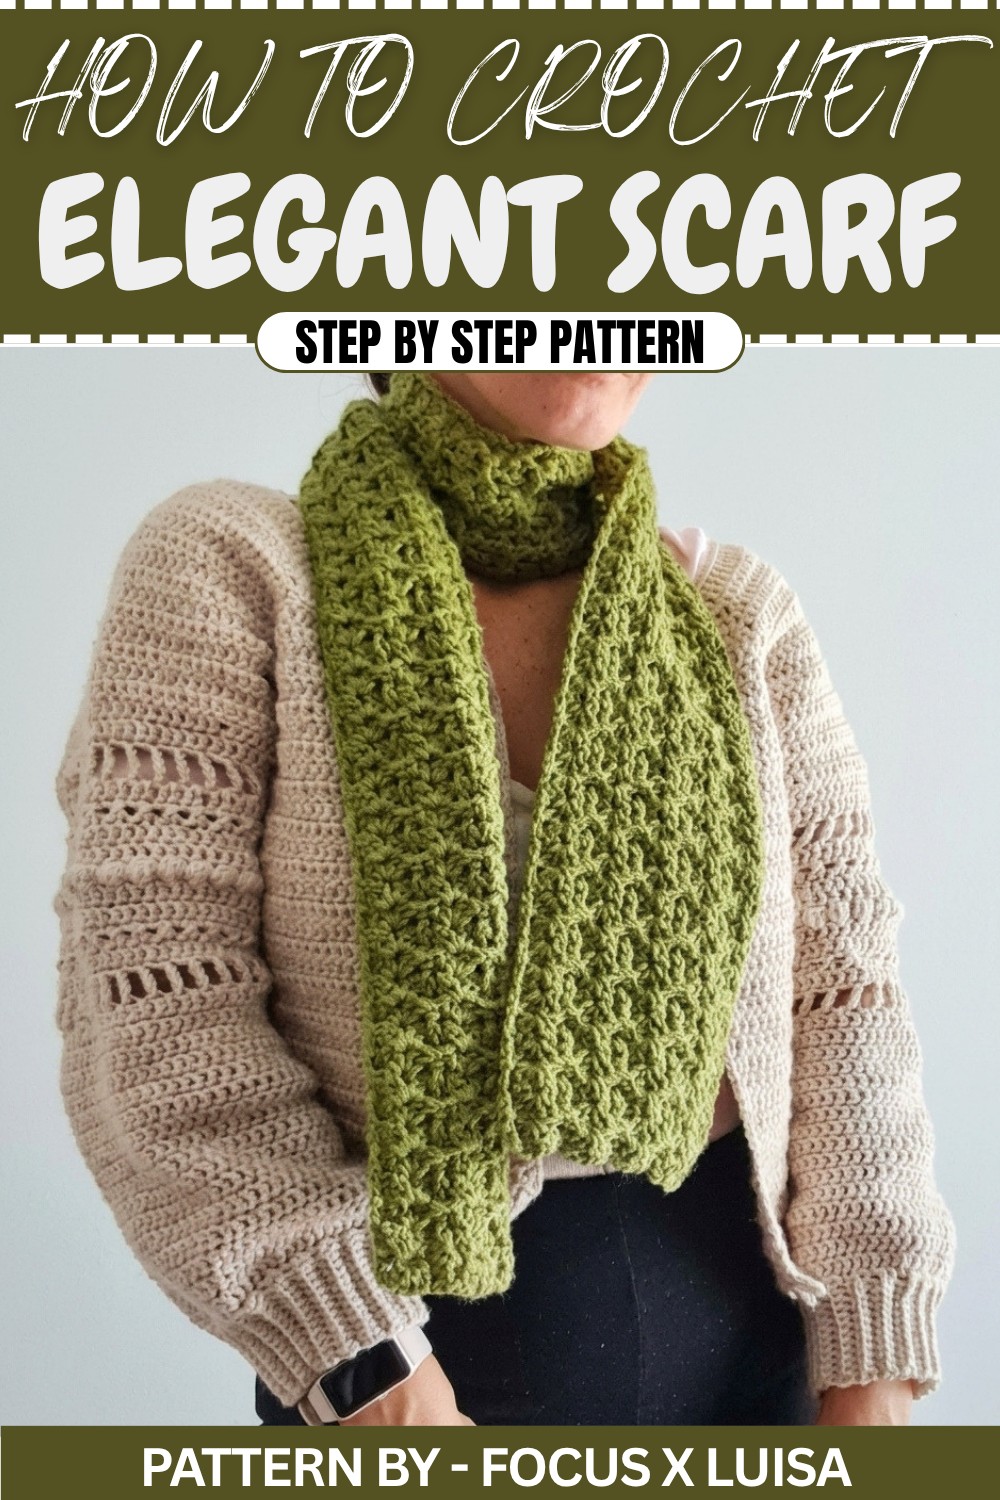
This scarf stands out because of its beautiful combination of style and practicality. Its signature lacy stitch adds a touch of elegance, while the textured relief details give it depth and warmth. The design is symmetrical and looks perfect from both sides, which means it doesn’t matter how you drape it, it’ll always look flawless. Plus, its soft, flowing shape with gentle curves at the edges makes it equally cozy and stylish.
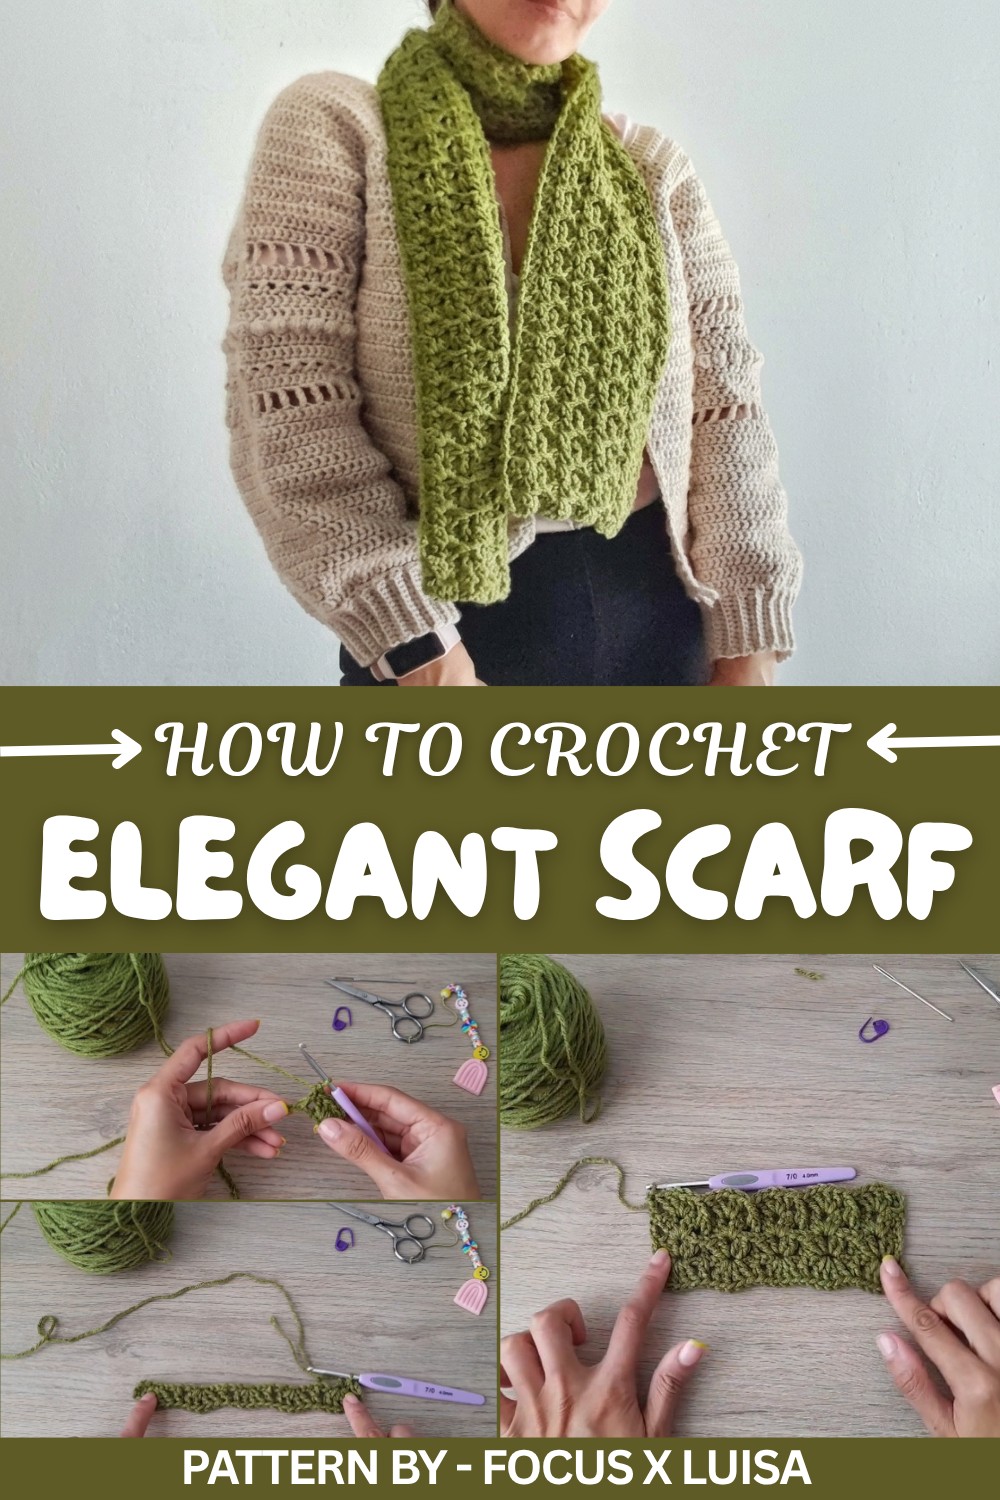
Whether you’re heading to a casual lunch or bundling up for a brisk walk, this scarf is the perfect addition to your outfit. It measures long enough to wrap around multiple times or can be left hanging loose for a more relaxed look. The versatility of the design makes it suitable for all genders and ages, while the choice of yarn colors allows everyone to personalize it to their taste.
This project isn’t just about making a scarf; it’s about creating something that combines comfort and beauty. If you’re looking for an accessible way to bring both warmth and elegance to your wardrobe, this design is the one to try.
Crochet Pattern: Openwork Textured Scarf
In this pattern we’ll learn how to make a beautiful openwork textured scarf. This scarf is perfect for keeping warm, thanks to its elongated design, intricate texture, and cozy pattern. We'll work with airy stitches and textured reliefs using double crochet (dc). This scarf is a great project if you're looking to add a touch of elegance to your wardrobe.
Quick Overview of the Pattern
- Project Type: Long, warm, and textured openwork scarf
- Techniques Used: Openwork stitches, relief stitches, and textured patterns using double crochet
- Main Features:
- Openwork V stitches interspersed with textured relief stitches
- Uniform design, reversible for easy styling from either side
- Simple construction with professional finishing techniques
Notes
- Use soft yarn for a cozy feel and lightweight texture.
- The width and length of the scarf can be easily adjusted by changing the chain length (base) and number of rows.
- The pattern is designed to produce an identical texture on both sides, ensuring the scarf looks great however it's styled.
Skill Level
Easy to Intermediate – Perfect for those who are comfortable with basic stitches and are ready to explore relief stitches and openwork patterns.
Materials
- Yarn:
- 200g of 100% acrylic yarn, recommended hook size: 5–6 mm (used in this video: "Cisne Amor" yarn)
- Tools:
- Crochet Hook: 5 mm
- Scissors
- Tapestry needle
- Stitch markers (optional for chaining and symmetry)
Measurements / Sizing
- Completed Scarf Dimensions:
- Length: 140 cm
- Width: 17 cm
- You can customize these dimensions:
- Width: Start with foundation chains in multiples of 6 + 3 extra chains.
- Length: Add or reduce the number of rows based on your preference.
Gauge
Not critical for this pattern. Aim for a consistent tension throughout to maintain a uniform texture.
Stitch Abbreviations
- ch: Chain
- sl st: Slip Stitch
- dc: Double Crochet
- fpdc: Front Post Double Crochet (relief stitch)
- sp: Space
Special Stitches
- Front Post Double Crochet (fpdc):
- Yarn over, insert the hook around the post of the designated stitch (from front to back to front), yarn over again, and pull up a loop.
- Yarn over, pull through two loops on the hook, yarn over, and pull through the remaining two loops.
- V Stitch (V Double Stitch):
- Work 2 dc into the same stitch or space, then ch 1. Both sets of stitches are made in the same spot.
The Crochet Pattern
Step 1: Foundation Chain
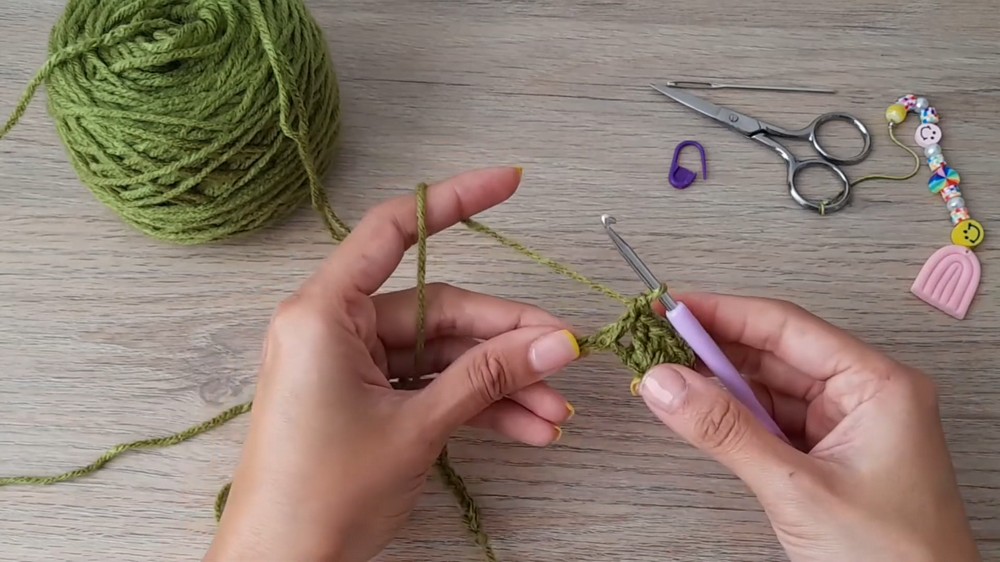
- Start by making a slip knot on your hook.
- Ch 30 (27 for the pattern base + 3 extra turning chains).
Step 2: Row 1 – Openwork Pattern
- In the 5th chain from the hook:
- Work 2 dc into the same chain, ch 1, then work 2 dc into the same chain again.
- This is a W-stitch (double V-stitch).
- Skip the next 2 chains.
- In the 3rd chain:
- Work 1 dc only.
- Skip 2 chains again. In the 3rd chain: Repeat the W stitch (2 dc, ch 1, 2 dc in the same chain).
- Continue this pattern: Alternate between 1 dc and W stitch, skipping 2 chains between each.
- When you reach the last chain of the row, work 1 dc only to create a neat edge.
- Ch 3, sl st into the last stitch to secure, and turn your work.
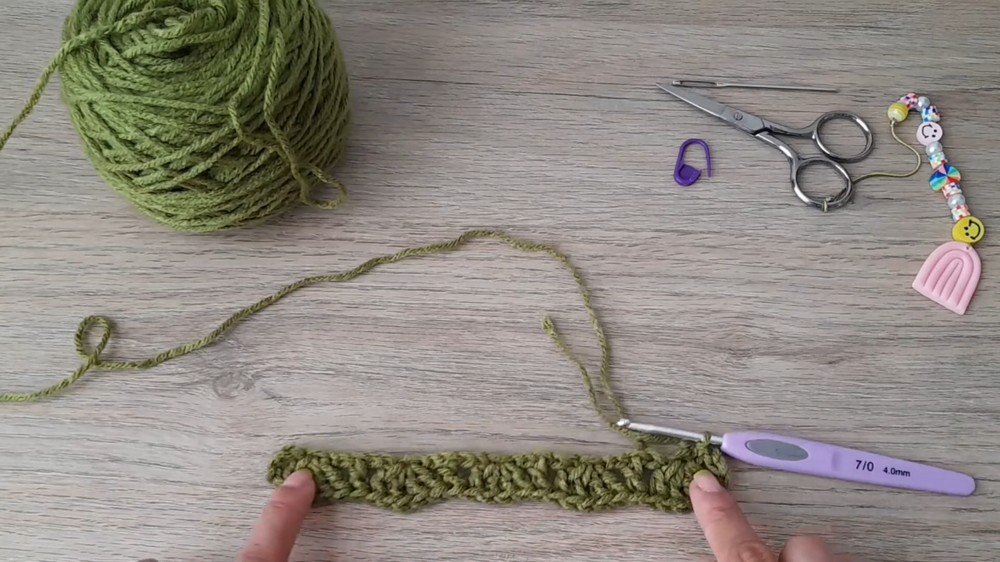
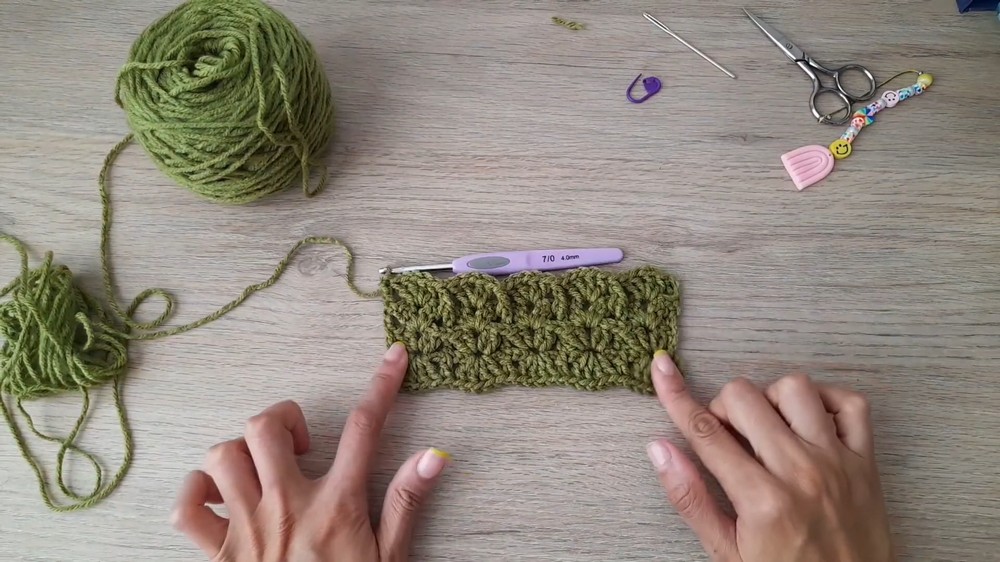
Step 3: Row 2 – Horizontal Pattern
- Ch 3 at the start of the row (counts as the first dc).
- In the center space of the previous row’s W stitch:
- Work a new W stitch in this space.
- Where you’ve worked a single dc, work a relief stitch as described below:
- Instead of working a regular dc, insert your hook around the post of the dc in the previous row (creating a fpdc), and complete it as a standard dc. This adds texture to the pattern.
- This stitch will slant slightly forward and is meant to add depth.
- Continue across the row, alternating between W stitches (placed in spaces of W stitches) and fpdc techniques over previous single dc rows.
- At the end of the row, finish with 1 normal dc in the last stitch of the row (top of the turning chain).
Step 4: Repeat Rows
- Repeat the sequence set in Row 2 to build texture and pattern.
- Each row should begin with a turning ch 3 and follow the same placement of stitches:
- W stitches in the W spaces
- Relief stitches over previous row’s single dc
- Always ensure to work the stitches loosely to retain flexibility and avoid puckering.
Step 5: Achieving Length
- Continue crocheting until your scarf reaches the desired length. The scarf featured in the pattern was 140 cm long.
- Cut the yarn, fasten off, and weave in the loose ends using a tapestry needle.
Assembly & Finished Size
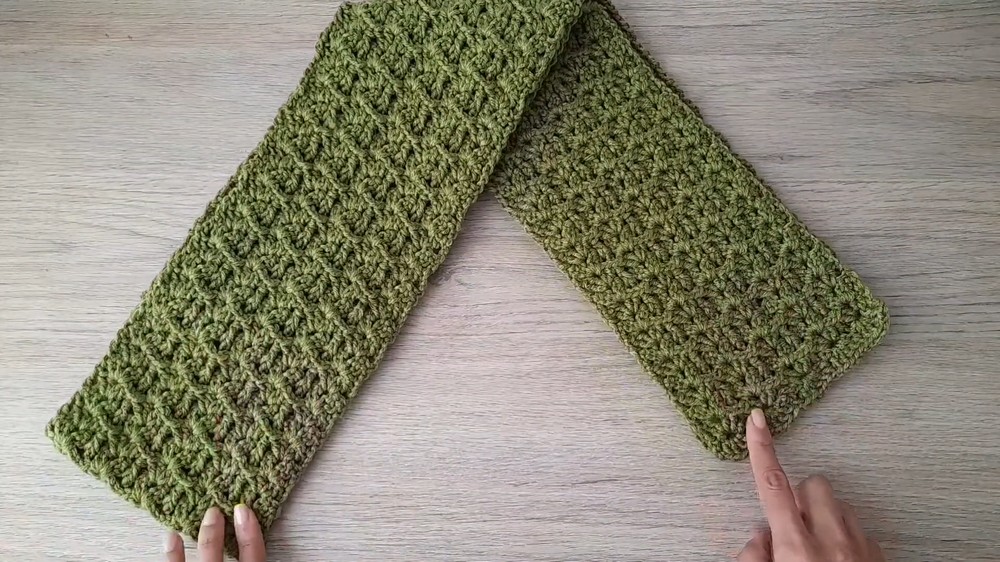
- Dimensions: 140 cm (length) x 17 cm (width).
- The scarf is reversible, with visible texture on both sides, making it ideal for wearing in any style.
- No further assembly is required beyond weaving ends and tidying up the edges.
Styling and Customization Tips
- Use gradient or variegated yarn for a unique color shift throughout the scarf.
- Add tassels or fringe for a playful touch.
- Adjust the width by increasing or decreasing starting chains (multiples of 6 + 3).
Conclusion
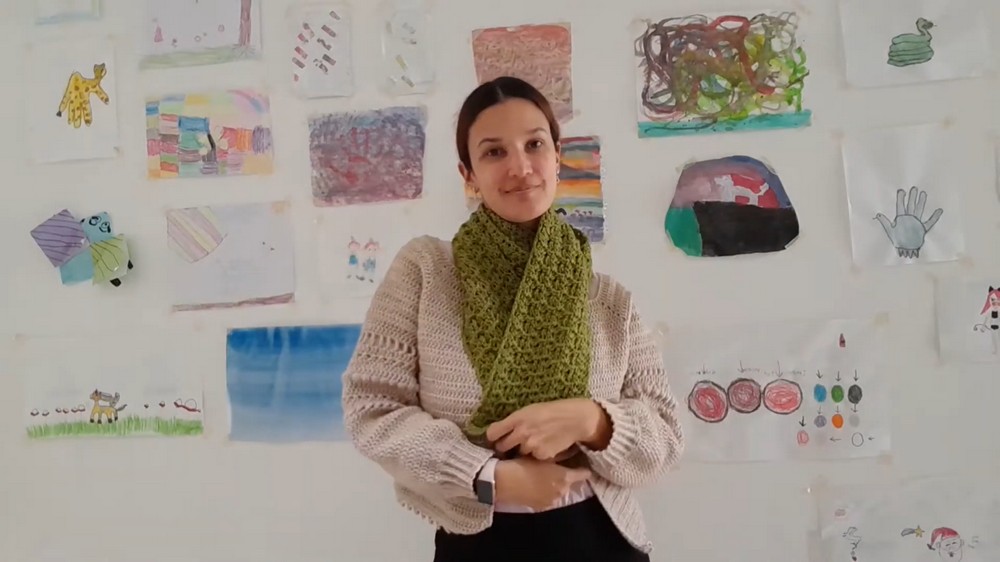
Congratulations on completing your openwork textured scarf. The vibrant interplay of relief stitches and openwork design provides warmth, flexibility, and elegance. With its reversible design and polished edges, this scarf is both functional for winter and stylish enough for any outfit. Whether you wrap it loosely around your shoulders or knot it snugly around your neck, this scarf is bound to elevate your look.