
Free Crochet Ladybug Pattern That’s Simple and Adorable
Find inspiration in this charming crochet pattern for ladybugs, a free and easy way to add a personal touch of color and style to everyday spaces.
Cute projects like this little ladybug can brighten up anyone’s day. It’s small, colorful, and absolutely charming with its playful googly eyes and tiny felt spots. Plus, you can make it in your favorite colors. Whether you choose classic red or something more vibrant like blue, this little bug is sure to stand out wherever it’s placed.
What makes this ladybug special is how easy it is to bring to life. The YouTube channel Anerom shows exactly how to make it with clear, step by step instructions that even beginners can follow. The process involves shaping its rounded body, adding its head, and finishing it off with cute felt spots to mimic a real ladybug. The result is a cheerful little creation that’s soft, lightweight, and perfect for a variety of uses.
Crochet the Cutest Ladybugs with This Free Amigurumi Pattern
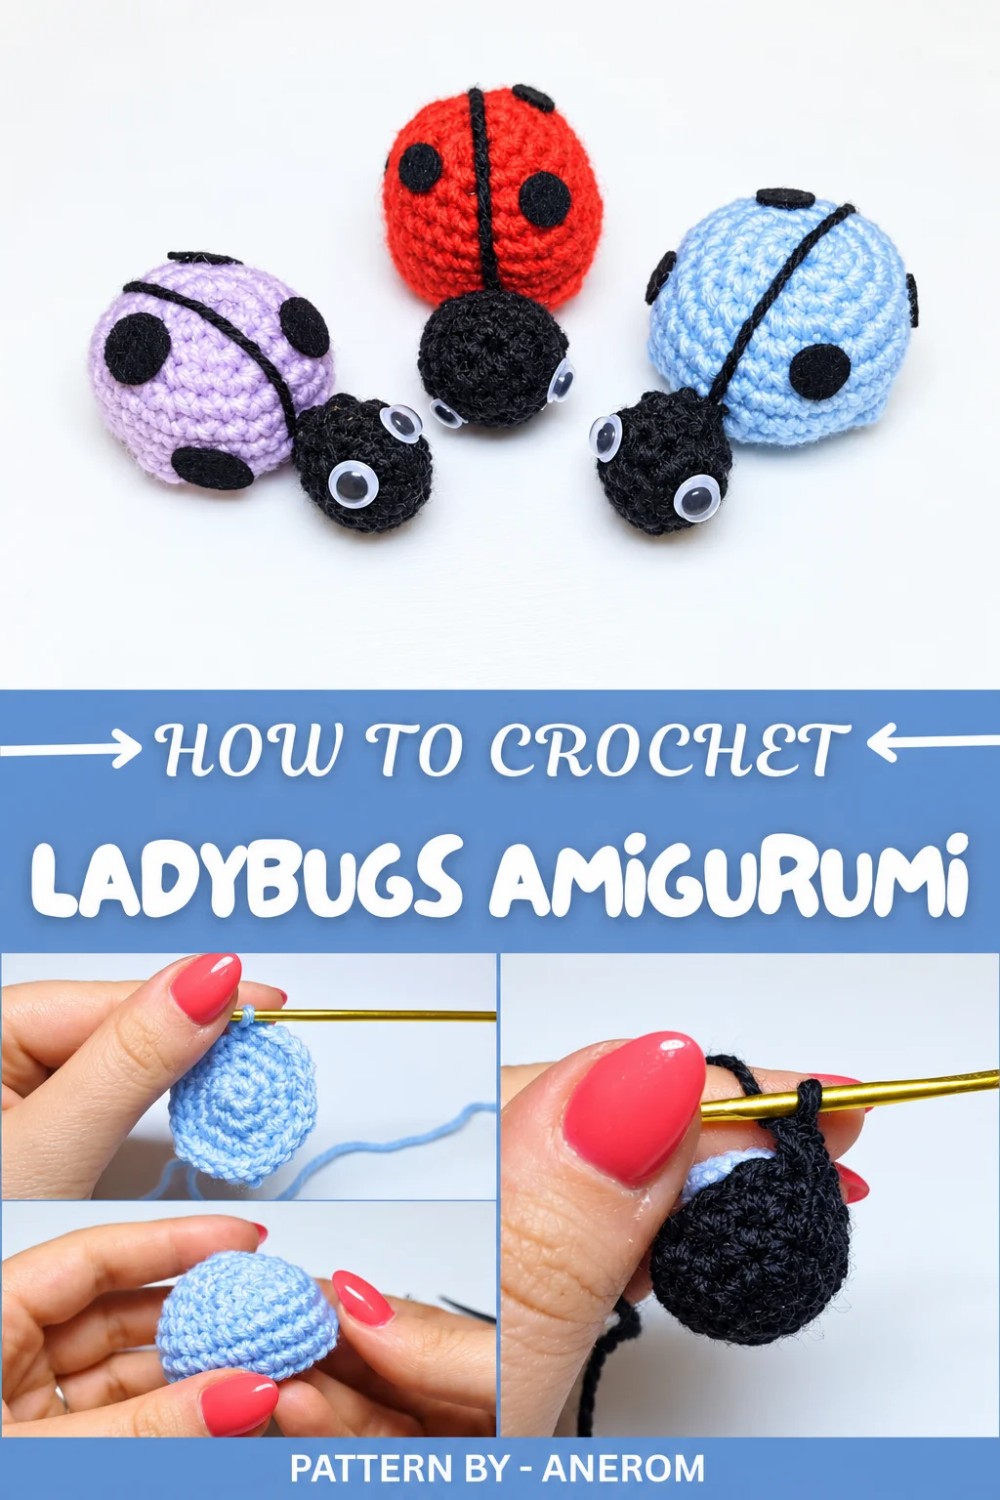
This adorable ladybug can brighten up shelves, desks, or even kids’ playrooms. It’s also great for giving as a gift to loved ones, they’ll adore its handmade charm. The small size makes it easy to carry or display anywhere as a sweet decoration. And since it uses minimal supplies, you don’t need much to get started, just yarn, stuffing, googly eyes, and a bit of felt.
This pattern offers a balance of creativity and fun, and teaches projects that make even beginners feel accomplished. Don’t miss the chance to make adorable ladybugs for yourself or your friends. These tiny creations are pure joy.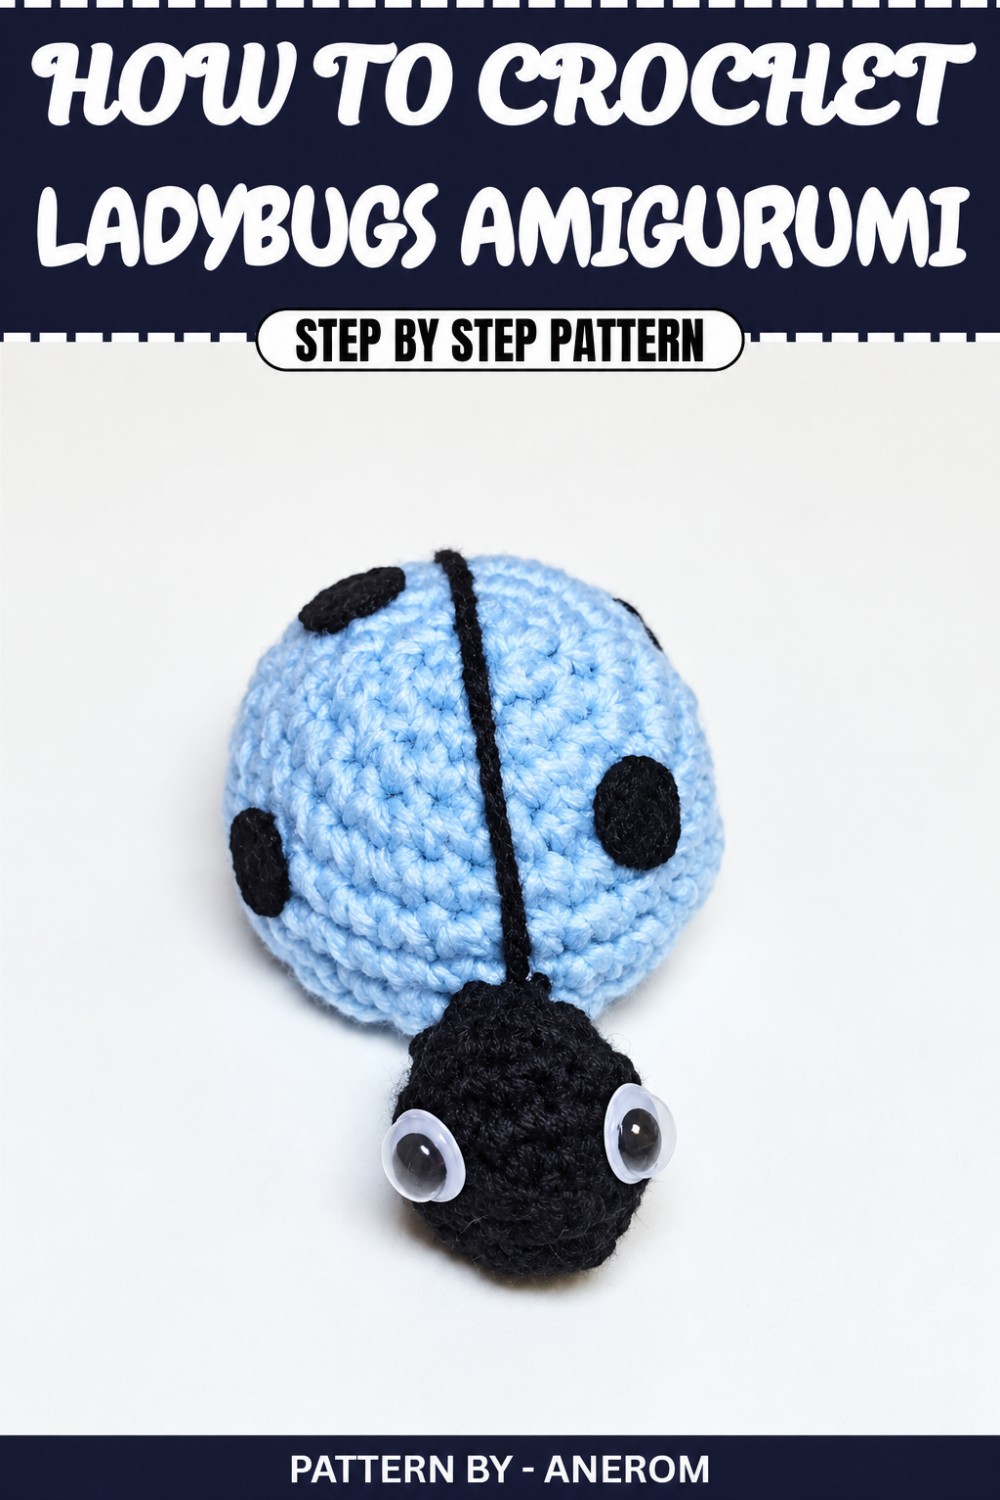
Crochet Ladybug Pattern: Step by Step Guide
In this tutorial, we will create a simple and adorable crochet ladybug. It’s a versatile project suitable for beginners or experienced crocheters looking for a fun, quick crochet project. The pattern can be customized with any color of your choice (such as the classic red or another favorite shade).
Quick Overview of the Pattern
- Project Type: Crochet ladybug (Amigurumi)
- Difficulty Level: Beginner
- Time Required: Approximately 1–2 hours
- Key Techniques: Magic ring, single crochet, increases, decreases, and assembly
Notes
- Use a stitch marker to track the start of each round.
- Adjust the number of spots and their placement for a personalized look.
- Stuff lightly to retain the ladybug’s shape.
Skill Level
Beginner Friendly: Perfect for crochet beginners and amigurumi enthusiasts.
Materials
- Yarn: Acrylic yarn, weight category 3 (light worsted), in two colors:
- Main color for the ladybug body (e.g., red or blue)
- Black for the ladybug’s head and spots
- Hook: 3 mm crochet hook
- Other Supplies:
- Yarn needle (for sewing and weaving ends)
- Stuffing (polyfill or cotton)
- Felt (small black pieces for spots or use black yarn)
- Liquid craft glue for the felt spots
- Movable eyes or small black beads for eyes
- Scissors
- Stitch marker
Measurements / Sizing
- Finished Size: Approximately 10 cm (4 inches) in length and 6 cm (2.5 inches) in height when following the instructions.
Gauge
Gauge is not important for this project, but ensure tight stitches to prevent stuffing from showing through.
Stitch Abbreviations
- sc: Single Crochet
- inc: Increase (two single crochets in the same stitch)
- dec: Decrease (crochet two stitches together)
- sl st: Slip Stitch
- mr: Magic Ring
Special Stitches
- Magic Ring (mr): Create a loop, crochet the specified number of stitches inside, then pull taut to close the loop.
Crochet Pattern
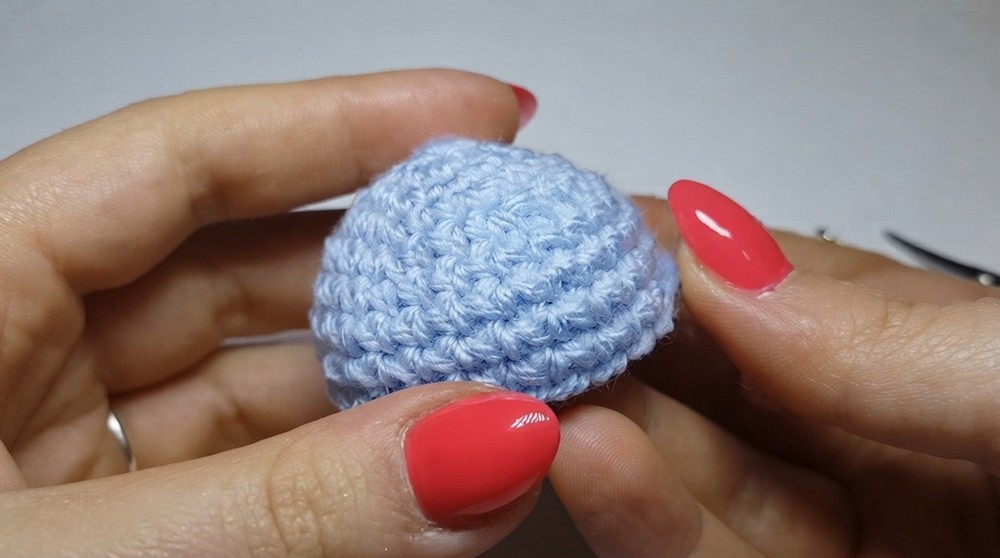
Body (Main Component)
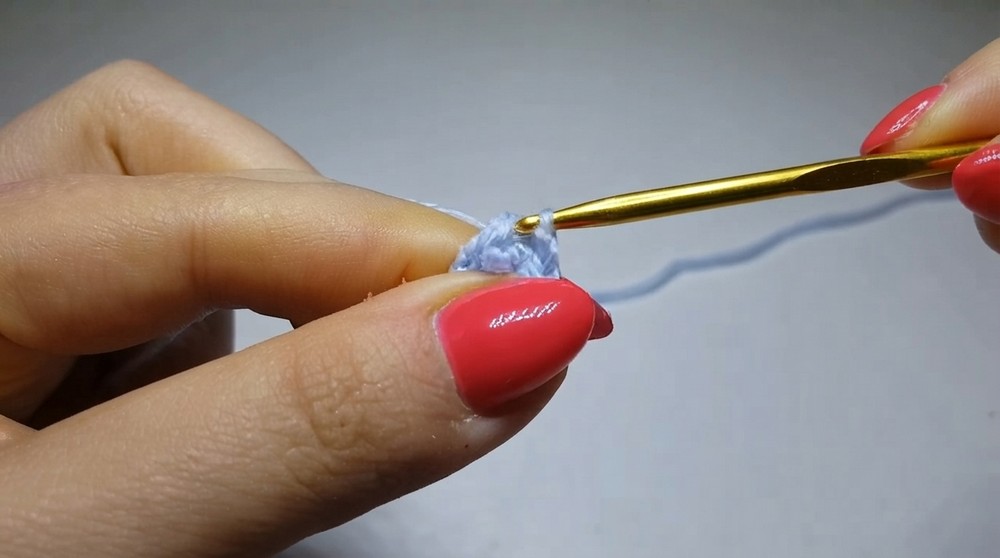
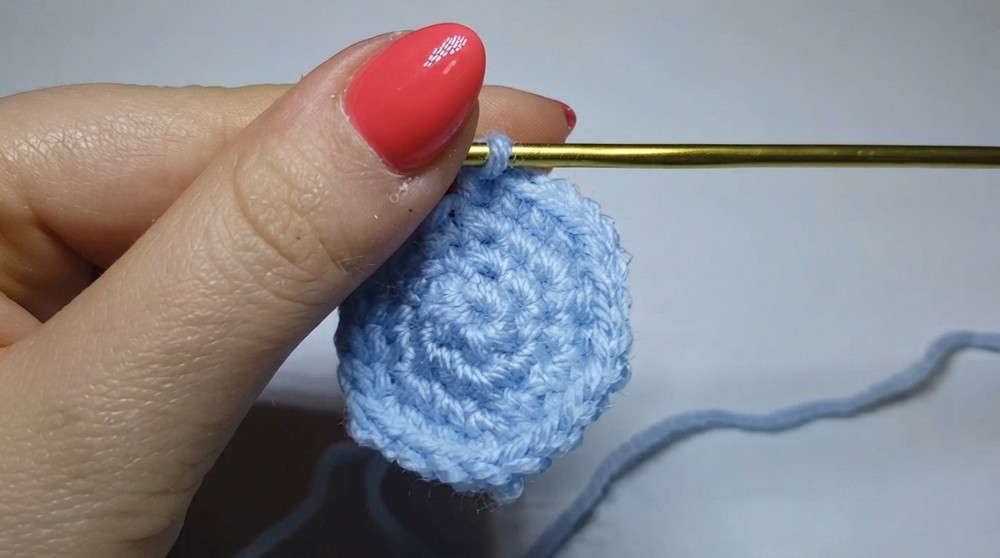
- Round 1: Create a magic ring (mr). Work 6 sc into the loop. Pull to close. (6 sts)
- Round 2: Work 2 sc in each stitch around. (12 sts)
- Round 3: [1 sc, 1 inc] repeat around. (18 sts)
- Round 4: [2 sc, 1 inc] repeat around. (24 sts)
- Round 5: [1 sc, 1 inc] repeat around. (36 sts)
- Rounds 6–9: Work 1 sc in each stitch around without increasing. (36 sts)
- Remove the stitch marker, sl st into the first stitch, fasten off, and weave in the ends.
Bottom Panel
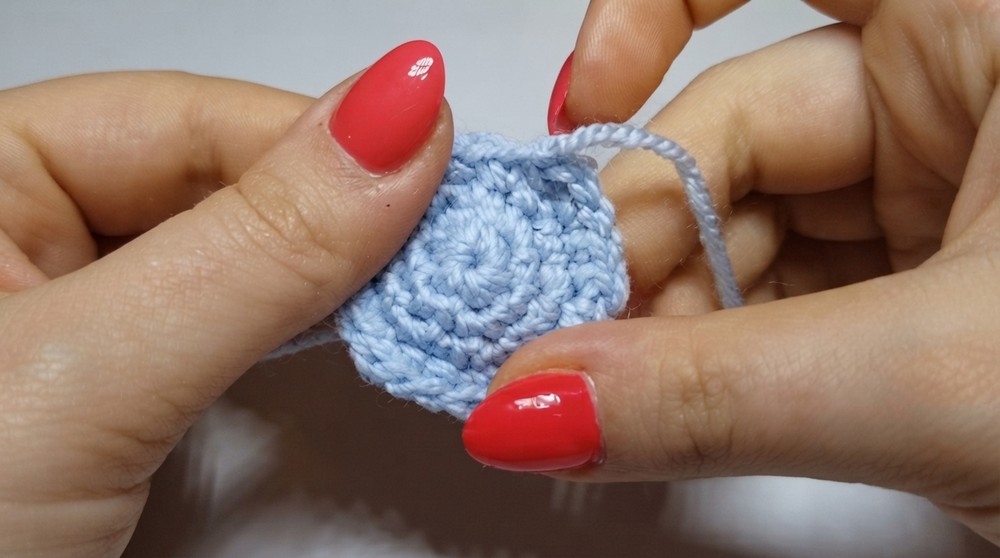
- Round 1: Create a magic ring (mr). Work 6 sc into the loop. Pull to close. (6 sts)
- Round 2: Work 2 sc in each stitch around. (12 sts)
- Round 3: [1 sc, 1 inc] repeat around. (18 sts)
- Round 4: [2 sc, 1 inc] repeat around. (24 sts)
- Fasten off, leaving a long tail for sewing.
Head
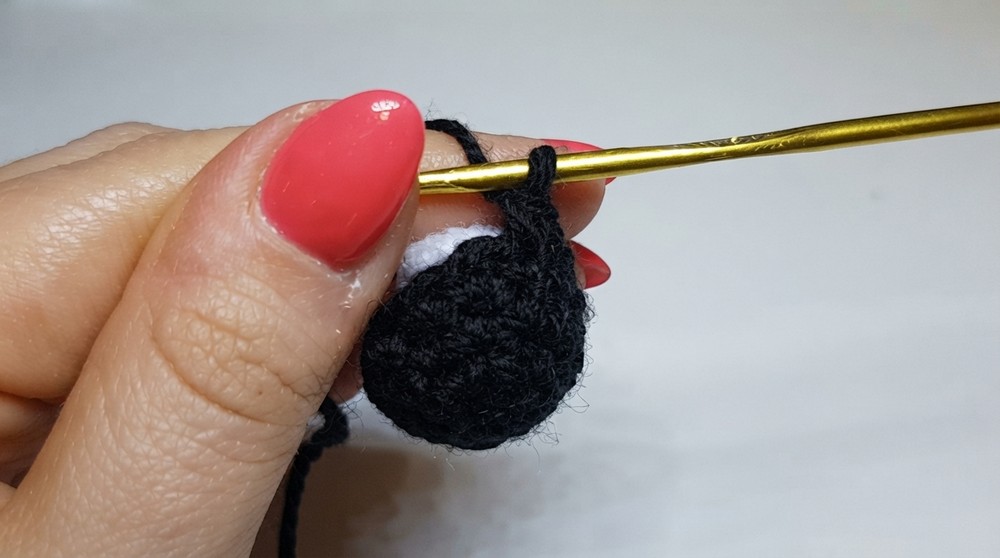
- Round 1: Using black yarn, create a magic ring (mr). Work 6 sc into the loop. (6 sts)
- Round 2: Work 2 sc in each stitch around. (12 sts)
- Rounds 3–4: Work 1 sc in each stitch around. (12 sts)
- Lightly stuff the head.
- Round 5: Work 6 dec. (6 sts)
- Fasten off, leaving a long tail for sewing.
Assembly
Step 1: Attach the Body and Bottom Panel
- Stuff the body section firmly with polyfill or cotton.
- Position the bottom panel beneath the body and use the long tail to sew the two pieces securely. Use small, tight stitches around the edges for a clean finish.
Step 2: Attach the Head
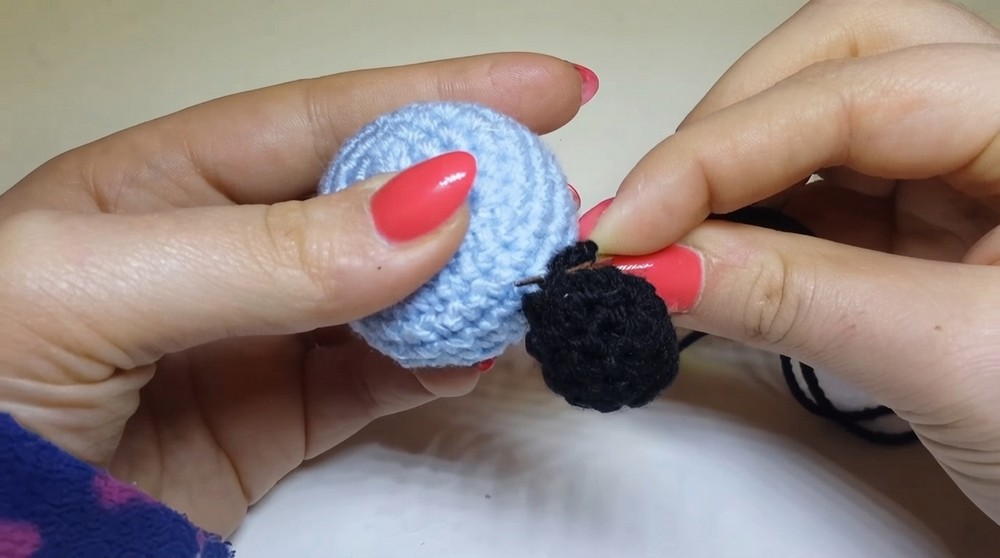
- Position the head on one end of the body (decide whether it sits upright or angled downward).
- Use the long tail from the head section to sew it securely to the body. Push the needle through the body and back into the head several times to ensure it’s firmly attached.
Step 3: Add Felt Spots
- Cut small black circles out of felt for the ladybug’s spots (4–6 depending on preference).
- Glue or sew the felt pieces evenly on the ladybug’s body. Avoid placing them near the edge for a clean look.
Step 4: Attach the Eyes
- Use craft glue to place movable eyes or sew beads onto the head.
- Position them either on the front or sides of the ladybug’s head, depending on your desired look.
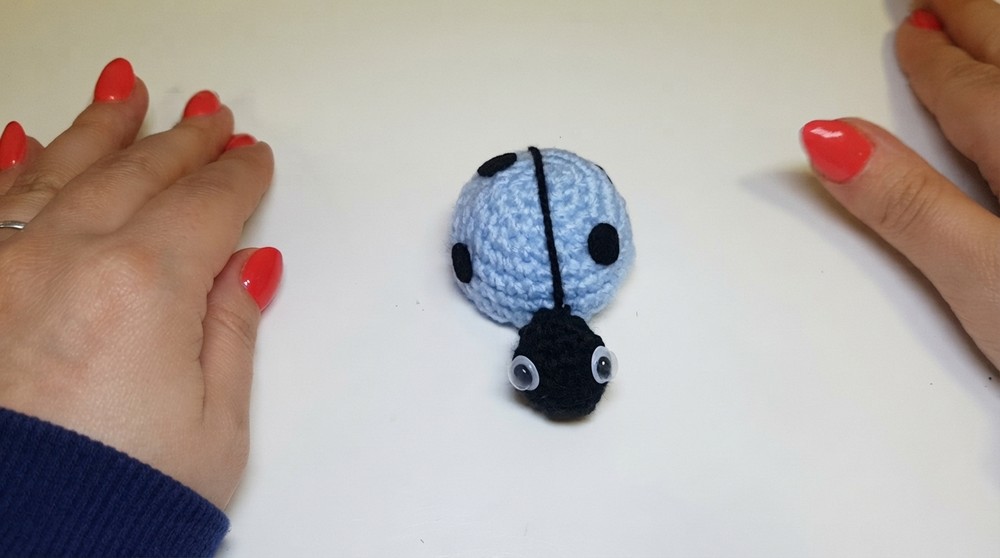
Finished Size
Once assembled, your ladybug should measure approximately 10 cm (4 inches) in length and 6 cm (2.5 inches) in height.
Conclusion
Congratulations, You’ve completed a sweet, customizable crochet ladybug. Whether you make it in classic red or fun, vibrant colors, this tiny insect is sure to charm everyone. Use it for decor, gifts, or even keychains. If you enjoyed this project, try experimenting with different yarns or embellishments to make each ladybug unique.