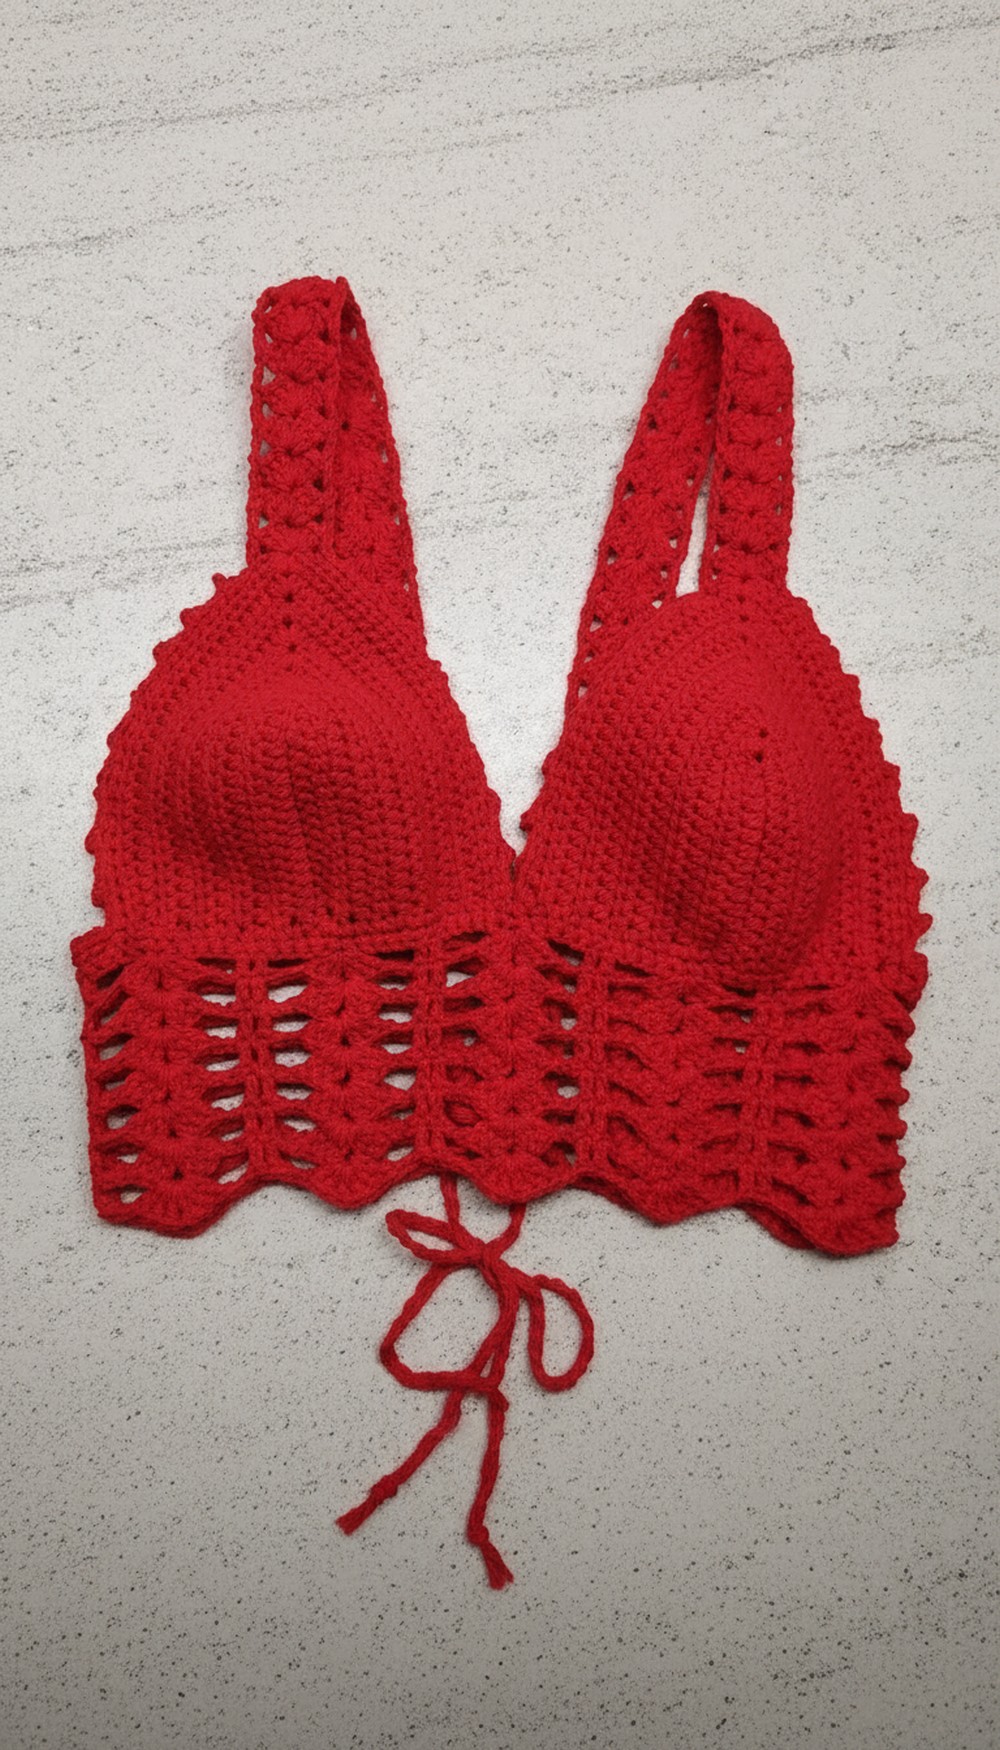
Trendy Free Crochet Red Bralette Pattern + Tutorial You’ll Love
Turn heads this season by making your own red crochet bralette using this free pattern that’s easy, trendy, and perfect for warm weather.
On a warm summer day, nothing feels better than wearing something lightweight, breathable, and stylish. And what could be better than a red bralette that you’ve created yourself? This design stands out not just for its vibrant color but also for its clean and elegant shape. It’s perfect for casual outings, lounging at home, or even layering with your favorite outfits. Whether paired with high-waisted jeans, a skirt, or worn as a beach top, this handmade piece brings both comfort and charm to your wardrobe.
Free Crochet Red Bralette Pattern for Handmade Elegance
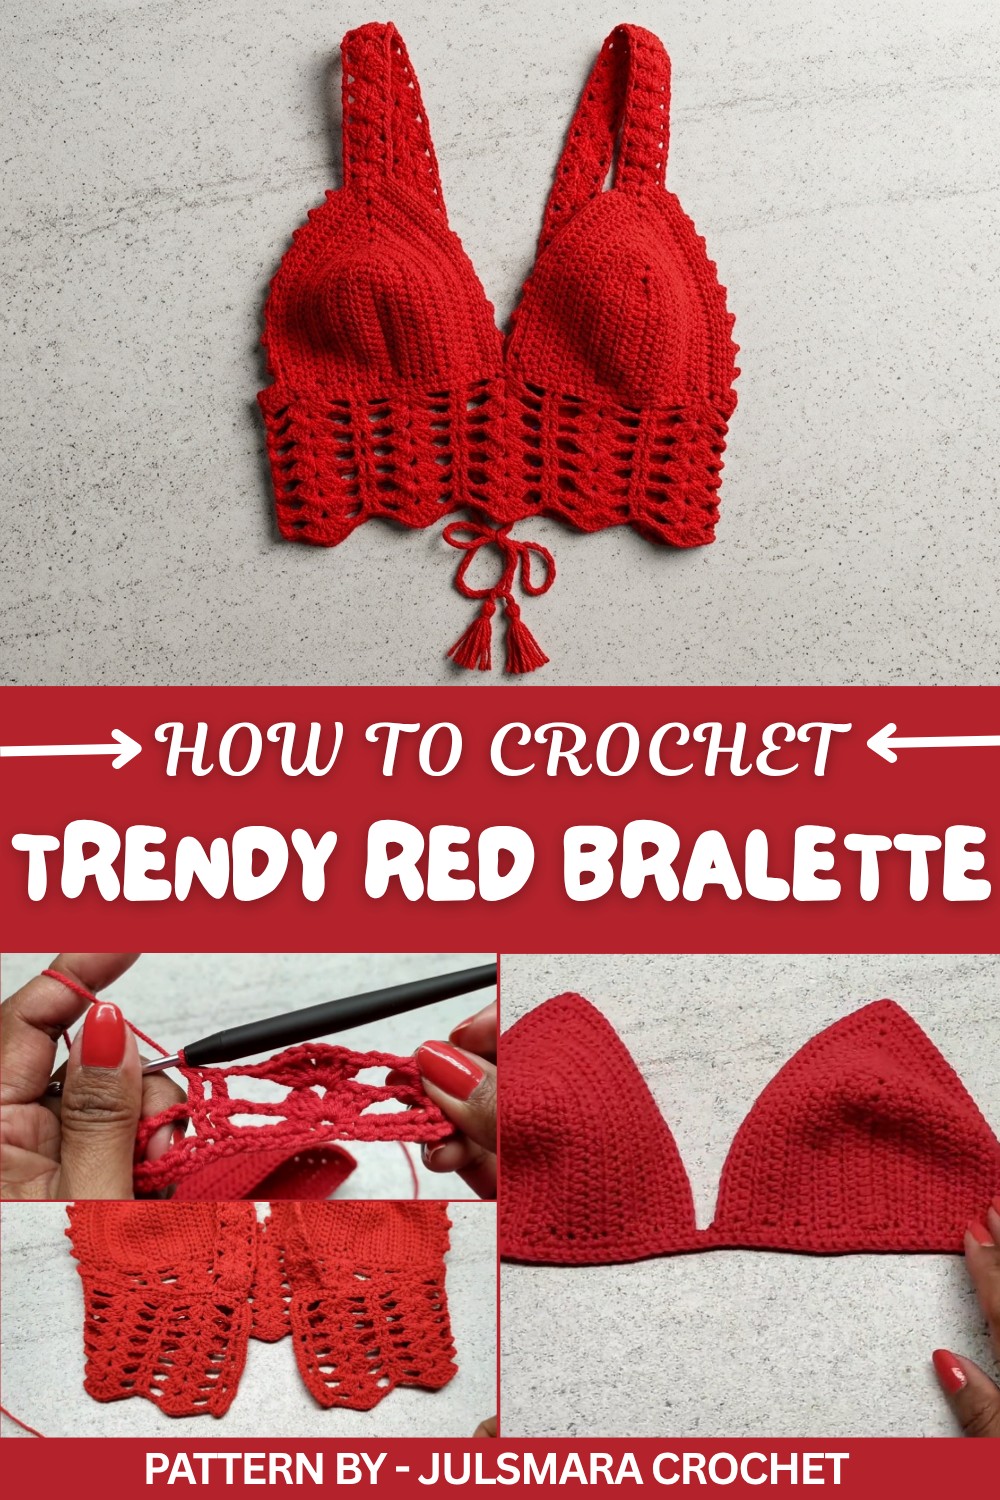
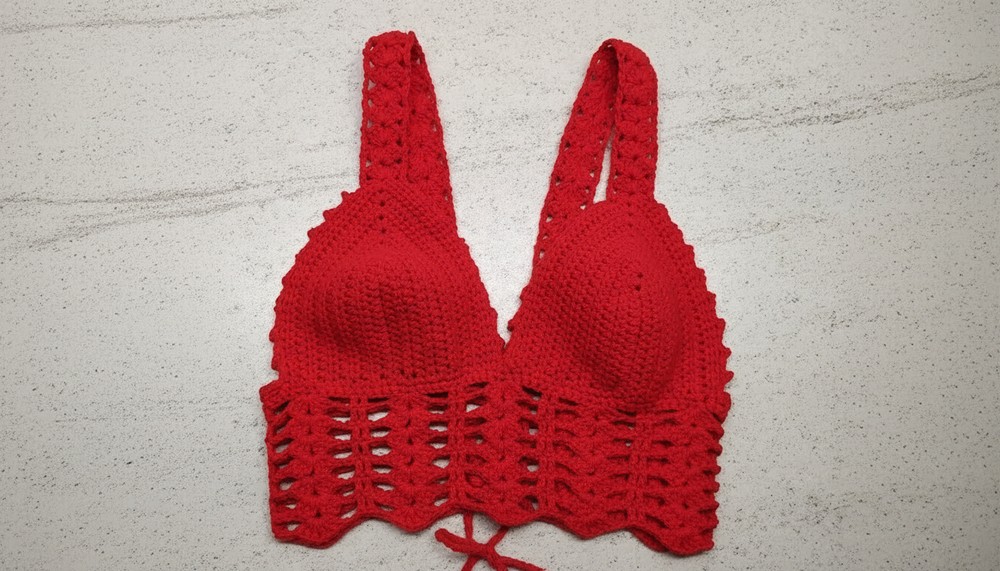
The red bralette has a simple yet stunning structure. The triangular cups are perfectly shaped to provide a flattering fit, with a soft curve that follows the body naturally. The band sitting underneath provides gentle support, while the straps are adjustable, ensuring it suits various body types and preferences. The open back, tied with laces or knots, adds an extra touch of sophistication and lets you customize it further for added comfort. Its minimalist design keeps it lightweight, while the neat stitchwork gives it a professional, polished appearance, effortlessly stylish yet practical enough for regular use.
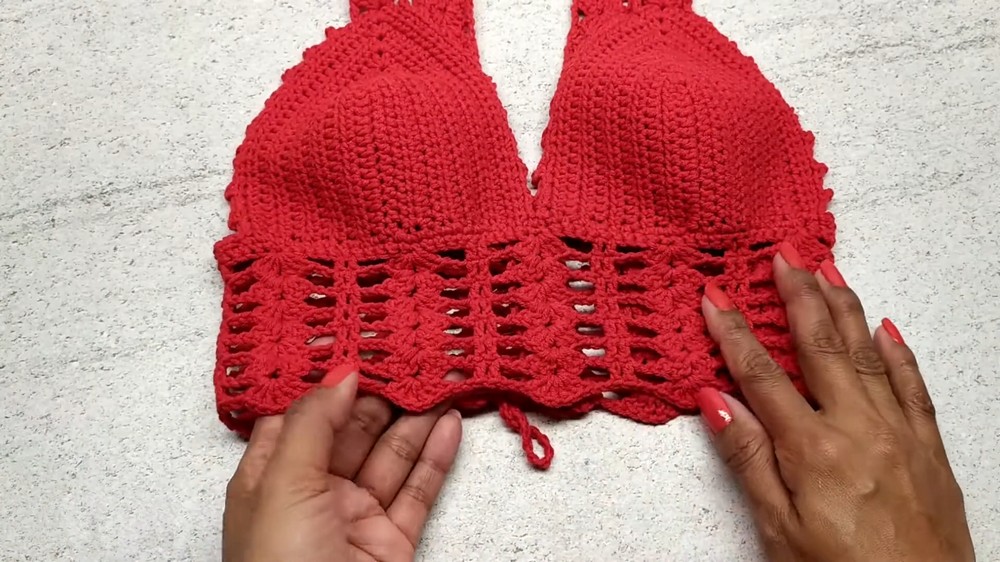
This design is user-friendly and flexible. You can modify it based on your size by making small changes, such as adjusting the cup size, strap length, or band width. The step-by-step guidance shared by Julsmara Crochet is clear and easy to follow, making the entire process smooth, even for beginners. Her detailed instructions and approachable teaching style ensure you can create this piece without feeling overwhelmed. This red bralette isn’t just a top—it’s a perfect balance of simplicity and beauty, suitable for anyone seeking a lightweight and stylish addition.
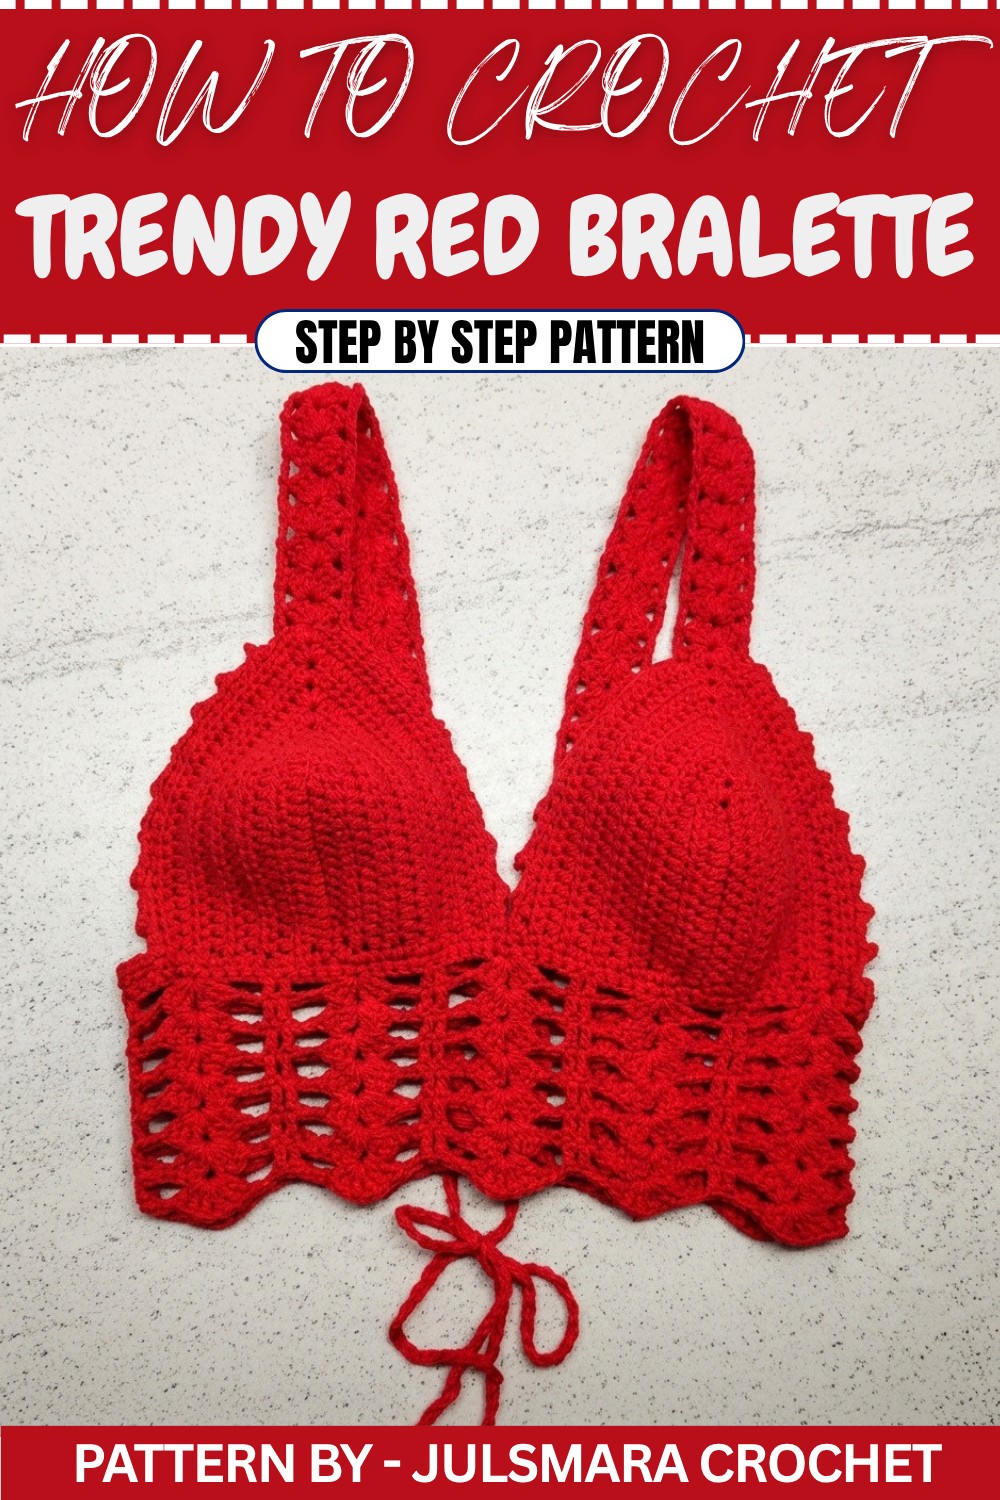
Crochet Bralette Pattern
This crochet bralette is designed to be a perfect pairing with a beach cover-up or as a standalone summer garment. Beautifully crafted using lightweight yarn, this bralette features half double crochet cups, flattering straps, and decorative picot stitches for added detail. It’s versatile, customizable, and suitable for various embellishments like fringe to complement the design.
Skill Level
Intermediate
This project requires knowledge of basic stitches, precise execution of picot and decorative stitches, and simple shaping techniques. The pattern suits crocheters who have experience with both increases and decreases.
Materials
- Yarn:
- Alize Cotton Gold yarn in color #56 (lightweight yarn).
- Hook:
- 3.5 mm crochet hook.
- Additional Tools and Supplies:
- Cutter or scissors.
- Tape measure (for ensuring proper fit).
- Stitch markers.
Special Stitches
1. Half Double Crochet (HDC):
Yarn over, insert the hook into the stitch, yarn over and pull through a loop (three loops on the hook). Yarn over and pull through all three loops on the hook to complete the stitch.
2. Picot Stitch:
The picot stitch involves chaining three, inserting the hook into the first chain, pulling through a loop to create a small triangular bump.
3. Double Crochet (DC):
Yarn over, insert the hook into the stitch, yarn over and pull through a loop (three loops on the hook). Yarn over and pull through two loops (two loops remain). Yarn over again and pull through the last two loops to complete the stitch.
4. Cluster Double Crochet:
Yarn over, insert hook into the stitch and pull through a loop. Yarn over, pull through two loops. Repeat the same process in one stitch or chain space until there are multiple loops on the hook; yarn over and pull through all loops on the hook at once.
Stitch Abbreviations
- HDC: Half Double Crochet
- DC: Double Crochet
- SL ST: Slip Stitch
- CH: Chain
- SC: Single Crochet
- Picot ST: Picot Stitch
Useful Tips
- Choose Lightweight Yarn: This pattern works best with a lightweight cotton yarn, ensuring the final bralette remains breathable and comfortable for sunny weather.
- Stitch Marker: Use stitch markers to keep track of corner stitches and key sections such as the chain one spaces, strap placement, and cup attachment points.
- Picot Stitch Placement: Be precise when counting the number of skipped stitches for your picot clusters.
- Customization: Modify the strap length, body width, or decoration details to suit your preferred style and fit. You can also add fringe or other embellishments to the bralette’s bottom edge.
- Fitting: Measure accurately using a tape measure and test fit the bralette throughout the process to ensure it matches your desired size.
Pattern Instructions
Bra Cups
Foundation Chain:
- Begin by CH 15 to create the foundation chain for one bra cup.
Row 1:
- Skip the 15th chain and work HDC in the 14th chain.
- Continue working HDC in each chain across until the last chain is reached (14 HDC total).
- In the final chain, work 2 HDC, CH 1, and 2 HDC to form the center of the cup.
- Turn the work and continue back along the opposite side of the foundation chain, working HDC in each stitch until the last stitch is reached (14 HDC total).
Row 2:
- Begin by CH 1, turn the work, and place one HDC into each stitch until reaching the chain one space.
- At the chain one space, work 2 HDC, CH 1, and 2 HDC into the space.
- Continue working HDC in each stitch along the edge until the row is complete.
Rows 3–10:
- Repeat the process described for Row 2 for all subsequent rows until 10 rows are completed. With each row, the bra cup will grow wider at the top due to the increases made in the chain one space.
Once you’ve completed 10 rows, repeat the above instructions to create the second bra cup.
Joining Bra Cups
Join with CH:
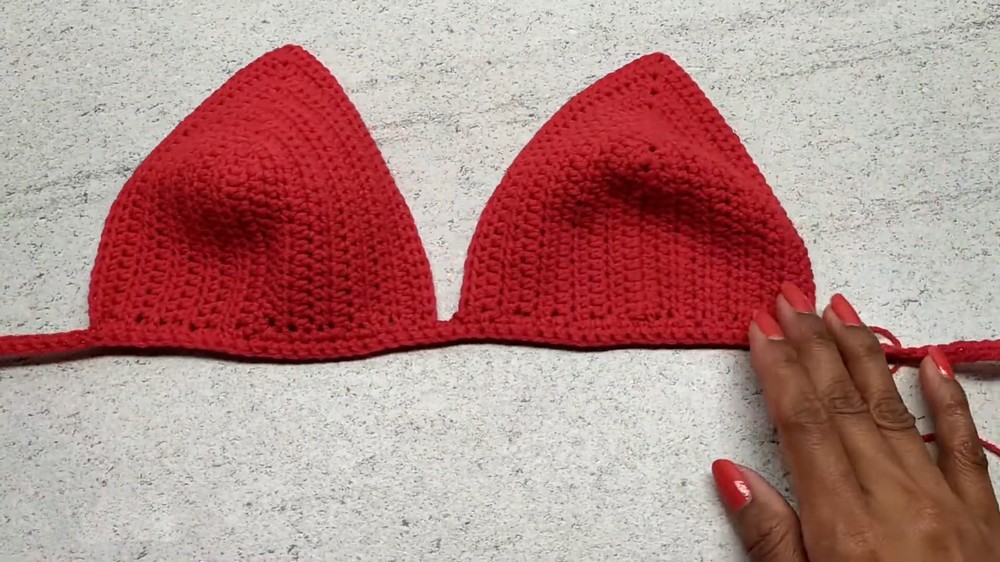
- CH 2 from the edge of the first bra cup.
- Insert the hook into the first stitch of the second bra cup and pull through both pieces.
- CH 1, then cut your yarn to secure the join.
Base Row
Chain and Single Crochet Base:**
- From one side of the first bra cup, CH 28 stitches.
- Work SL ST into the first stitch of the bra cup and proceed to work 28 SC across the bottom edge.
- At the join between the two bra cups, work 2 SC.
- On the second bra cup, work 28 SC across the bottom edge and finish with CH 28 to create the second strap loop.
Body Pattern
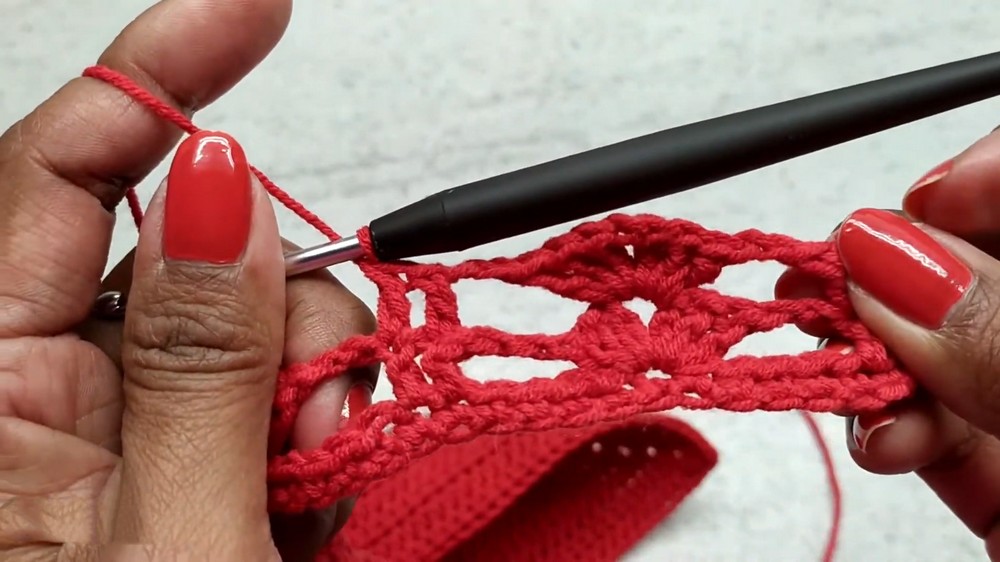
Row 1 – Decorative Shells:
- CH 3 and turn your work.
- Work 1 SC into the next stitch, then CH 2 and skip four stitches.
- In the fifth stitch, work 3 DC, CH 1, and 3 DC into the same stitch (this forms a shell).
- Alternate the shell pattern with DC into two consecutive stitches, chaining two and skipping four stitches between patterns.
Rows 2–7:
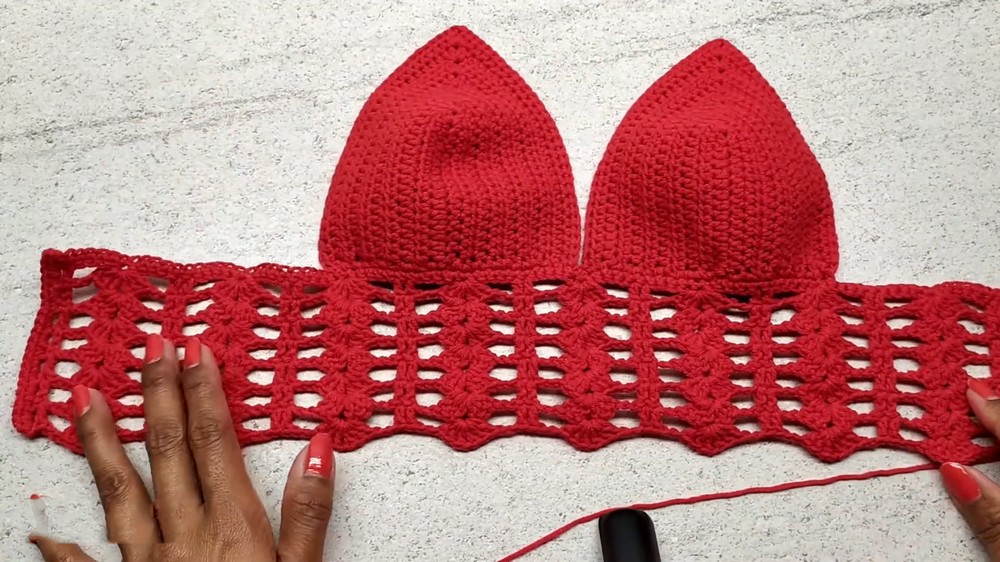
- Repeat the process for Row 1, maintaining the decorative pattern. The shells should align with the chain one spaces from the previous row.
- To continue increasing, follow the instructions to join new rows and work the stitches in alternating sequence.
Picot Finishing Row
Final Decorative Edging:**
- Once the desired number of pattern rows is completed, work a single crochet row across the edges to create a clean border.
- For the picot edging, work CH 3, insert the hook into the first chain, and pull through to form a single crochet.
- Skip the next stitch and work SC in the following stitch. Continue this sequence across the edge of the bralette for a finished decorative look.
Strap Creation and Attachment
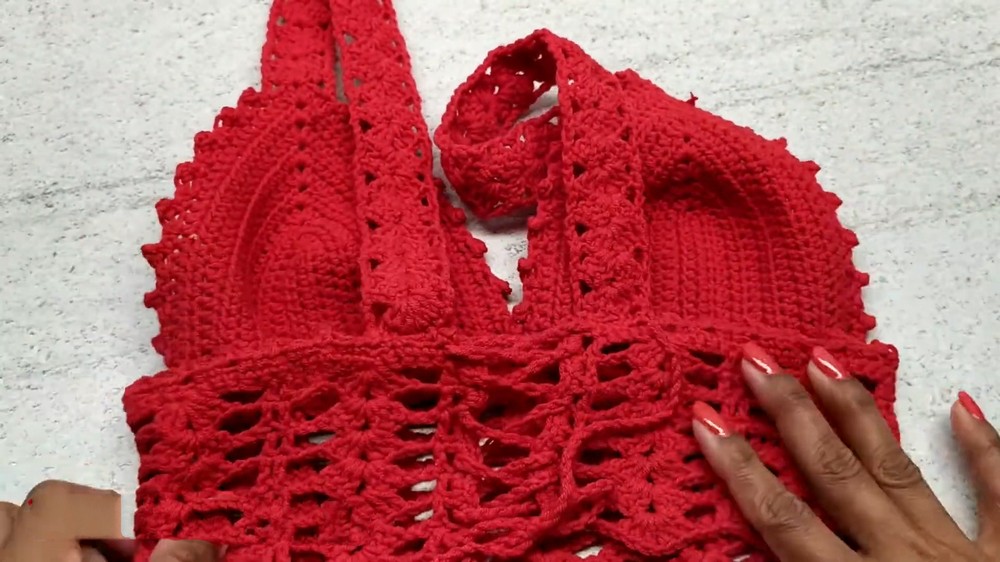
Straps:
- Start a foundation chain of 150 CH (or adjust as needed for a longer or shorter strap).
- Work the decorative shell pattern for the strap, following the steps from Row 1, and continue until the strap reaches your desired length.
Attachment:
- Securely sew each strap to the top of the bra cups. Test the fit and make adjustments to the straps as necessary.
Assembly and Sizing
- Final Connections: Ensure the straps are positioned evenly and aligned with the bra cups. Attach securely at the top of each cup with a yarn needle.
- Adding Chain Closures: To finish the back closure tie, CH 150 and attach these chains to the back edges of the bralette to create adjustable ties.
- Optional Features: Add fringe or tassels to the bottom edge for a boho-inspired look. This addition can be customized in length and placement according to personal preference.
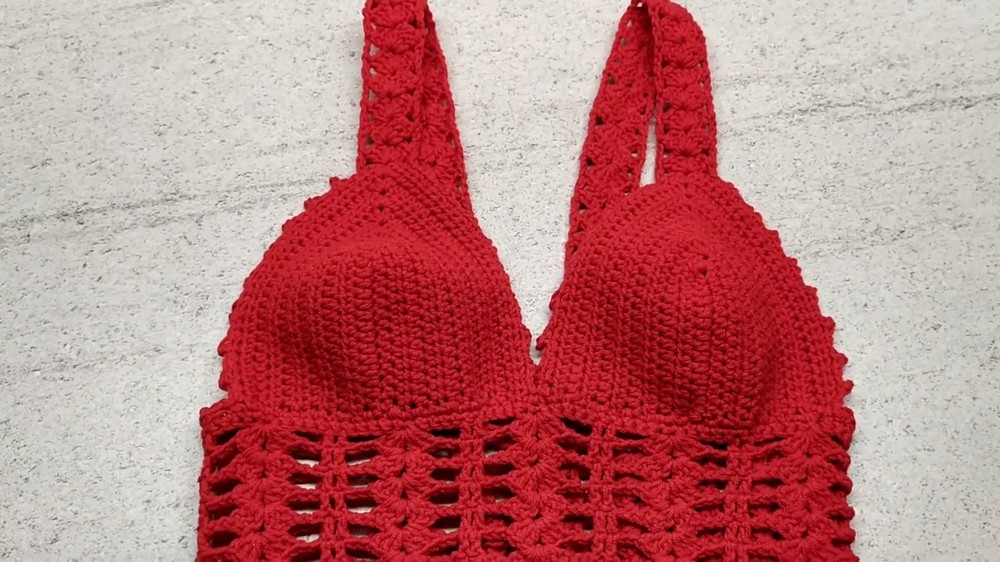
The completed bralette fits a small size, with optional adjustments for strap or body length as needed.
Conclusion
This crochet bralette is an eye-catching piece that combines creativity and practicality. With its shell and picot stitch detailing, it balances elegance and simplicity while offering room for customization. Ideal for summer wear, it pairs wonderfully with matching beach cover-ups or standalone outfits. Personalize the pattern further with unique embellishments to create a truly one-of-a-kind garment.