
Easy and Cute Free Crochet Gingerbread Cookie Amigurumi Pattern
Add festive charm to your holiday decor with a Free Crochet Gingerbread Cookie Amigurumi Pattern that inspires warmth and spreads seasonal cheer.
I’ve always loved making adorable holiday-themed crochet projects, and nothing feels cozier than creating little festive decorations you can cherish year after year. One of my favorite projects is a sweet amigurumi that looks just like a classic treat, perfect for adding charm to your home or gifting to loved ones. The free crochet gingerbread cookie amigurumi pattern is a delight to make and brings that warm holiday spirit into your hands.
Unique Free Crochet Gingerbread Cookie Amigurumi Pattern for Christmas

This project is a small, soft stuffed toy designed to mimic a gingerbread cookie, complete with cute “icing” details stitched right onto its surface. Its style is playful and nostalgic, featuring rounded edges and a simple shape that’s instantly recognizable. The texture is smooth yet slightly firm, thanks to tight crochet stitches that help the amigurumi hold its shape beautifully. It’s typically made in a size that fits perfectly on shelves or as a fun keychain accessory, but you can easily customize the size to be larger or smaller by swapping yarn weight or hook size.
Construction mainly involves working in rounds using single crochet stitches, which create a dense and even fabric ideal for this kind of stuffed toy. When choosing yarn, I recommend a soft acrylic or cotton blend because it shows stitch definition well and is easy to clean, important for seasonal decorations that get handled a lot.

The design was inspired by the joyful feel of holiday baking and sharing sweet treats with family and friends. Whether you want to make a set for your own home, create a heartfelt handmade gift, or simply enjoy the relaxing process of crochet, this gingerbread amigurumi is sure to bring smiles. Feel free to get creative with colors and embellishments to make each cookie uniquely yours.
Donut-Themed Amigurumi Crochet Pattern
This pattern creates a delightful donut-themed amigurumi using a 3mm crochet hook and 3mm yarn in brown, white, and red. The project includes instructions for a plush donut body, a textured “glaze,” an adorable bow, and arms. Follow the precise steps below for a sweet, decorative plushie.
Quick Overview Of Pattern
- Work the donut body in continuous spirals of single crochet, with even increases and decreases to form a plump, rounded shape.
- Crochet the white glaze piece in the same manner as the body base, then add loops and fan motifs as decorative icing drips.
- Create a playful bow with simple double crochet and magic circle technique.
- Crochet the arms, including color changes and shaping, then sew them to the donut body for character.
- Finish with thoughtful assembly for a neat, charming result.
Notes
- Pattern uses standard US crochet terminology.
- Stuff body firmly but shape gently for best results.
- Use safety eyes or embroidered eyes as desired.
- Colorwork in arms and bow can be personalized.
- Use stitch marker to keep track of rounds, especially for the body.
- Take care to maintain tension for a uniform finished piece.
Skill Level
Intermediate.
- Must be comfortable with working in the round (magic circle), increases, invisible decreases, decorative stitches, multiple color changes, and assembly techniques.
Materials
- 3mm crochet hook
- 3mm yarn in brown (body), white (glaze), and red (bow and accents); small amounts required for each
- Polyester stuffing
- Yarn needle (for assembling details)
- Scissors
- Optional: safety eyes or black embroidery floss for eyes
Measurements / Sizing
- Finished donut measures approximately 8–10 cm (3–4 in) across, depending on tension and stuffing level.
- Schematic: Small, rounded donut plush with drippy glaze and bow at top.
Gauge
- Gauge is not critical for amigurumi, but stitches should be tight enough to prevent stuffing from showing. Aim for a dense but flexible fabric.
Stitch Abbreviations
- ch: chain
- sc: single crochet
- inc: increase (2 sc in one stitch)
- dec: decrease (sc two together)
- hdc: half double crochet
- dc: double crochet
- sl st: slip stitch
- MC: magic circle/ring
Special Stitches
- Invisible decrease: Insert hook into front loop of next two stitches, yarn over, pull through, yarn over, pull through both loops.
- Fan motif: 1 sc, 1 hdc, 2 dc in the same stitch/space, 1 hdc, 1 sc in the next space (for decorative glaze).
- Color change: When finishing the last sc of one color, pull through the new color on the last yarn over.
The Crochet Pattern
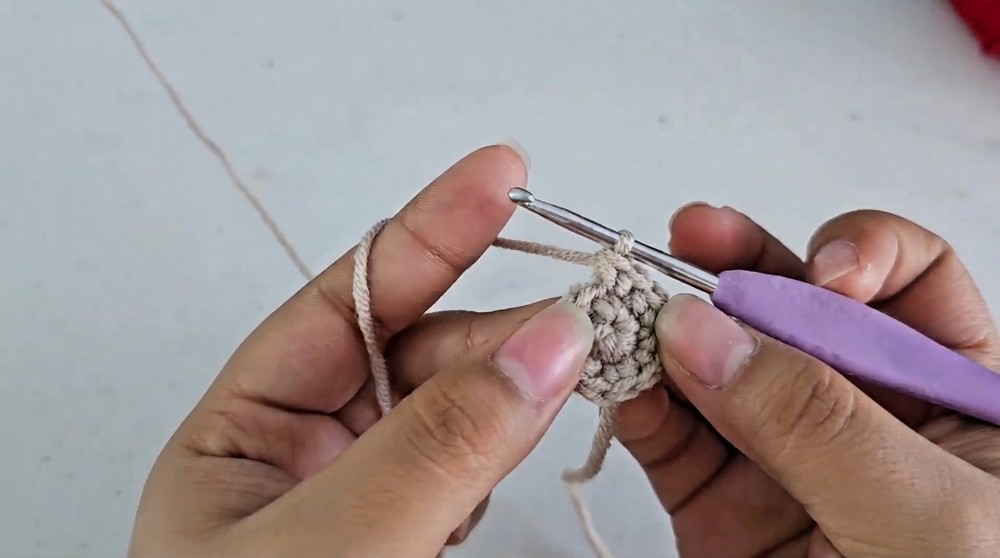
1. Head (Body) – Brown Yarn
- Round 1:
Start with a magic circle, work 6 sc into the circle. (6) - Round 2:
6 inc (2 sc in each stitch) = 12 sc - Round 3:
(1 sc, inc) repeat to end = 18 sc - Round 4:
(2 sc, inc) repeat to end = 24 sc - Round 5:
(3 sc, inc) repeat to end = 30 sc - Round 6:
(4 sc, inc) repeat to end = 36 sc - Round 7:
(5 sc, inc) repeat to end = 42 sc - Round 8:
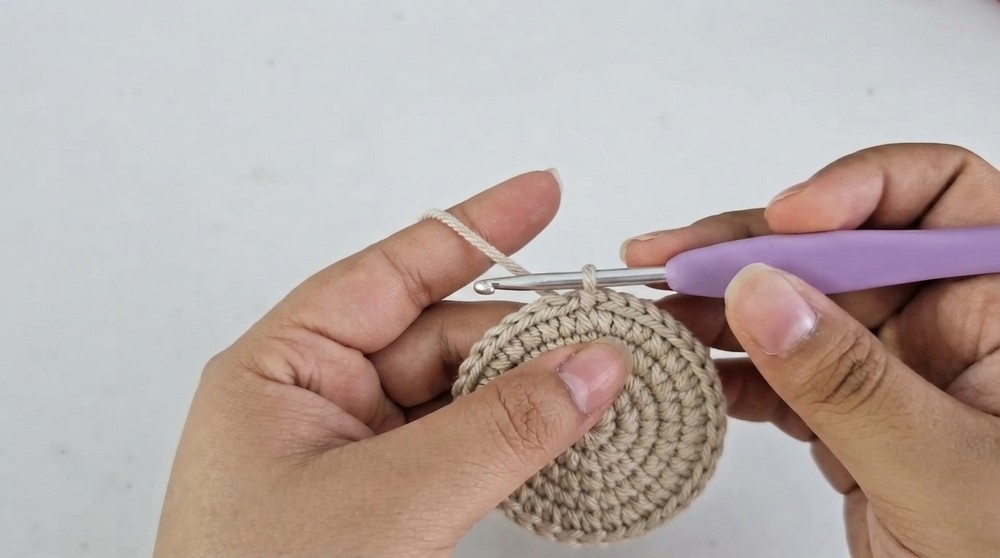
(6 sc, inc) repeat to end = 48 sc - Rounds 9–21:
1 sc in each stitch (12–13 rounds) to build height - Eye Placement:
Add safety eyes or embroider eyes between rounds 5 and 6, spacing them 6 stitches apart. - Round 22:
(6 sc, dec) repeat to end - Round 23:
(2 sc, dec, 5 sc, dec) repeat to end - Round 24:
(4 sc, dec) repeat to end - Round 25:
(1 sc, dec, 3 sc, dec) repeat to end - Round 26:
(2 sc, dec) repeat to end - Stuff firmly with filling.
Finish with a slip stitch and weave in end.


2. Glaze (White Yarn)
- Rounds 1–8:
Work exactly as for body:- Round 1: MC, 6 sc
- Round 2: inc in each (12 sc)
- Round 3: (1 sc, inc) around (18)
- Round 4: (2 sc, inc) around (24)
- Round 5: (3 sc, inc) around (30)
- Round 6: (4 sc, inc) around (36)
- Round 7: (5 sc, inc) around (42)
- Round 8: (6 sc, inc) around (48)
- Decorative Edging:
Work around the edge, alternating these sequences:- Loop 1: ch 5, 4 sc down the chains, skip 1 st on the edge, sl st in next
- Loop 2: ch 4, 3 sc down, skip 1 st, sl st in next
- Fan Detail: (1 sc, 1 hdc, 2 dc in same space, 1 hdc, 1 sc in next st)
- Repeat these motifs all the way around for a drippy, icing look.

3. Bow (Red Yarn)
- Center:
Magic ring (MC), ch 2. - First Side of Bow:
5 dc into the ring, ch 2, sl st to MC. - Second Side of Bow:
Repeat 5 dc, ch 2, sl st all into the MC. - Pull MC tight to form bow shape.
- Assembly:
Wrap yarn tightly several times around the bow’s center and tie/secure at the back.
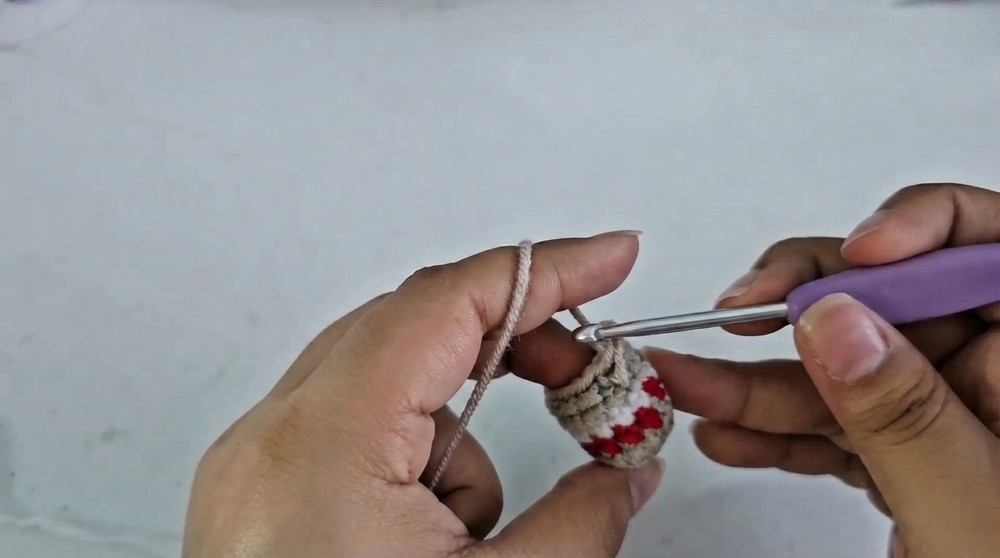
4. Arms (Make 2)
- Round 1:
6 sc in MC (start with brown or red/white/brown as desired) - Round 2:
6 inc = 12 sc - Round 3:
1 sc in each stitch - Color Change:
Switch to red or white or desired color segment. - Shaping:
(2 sc, dec) repeat around. - Final Rounds:
2 rounds of 1 sc in each stitch - Closing:
Flatten piece and crochet through both layers to close.
Assembly & Finished Size
- Stuff the donut body and close.
- Sew white glaze on top of donut, arranging “drips” attractively at the front.
- Attach the bow, sewing or tying securely at the top of the donut.
- Position and sew arms to the sides of the donut for a huggable look.
- Add any finishing touches: embroidery details, attach eyes if not already added, neat up all ends.
- The finished donut plush measures about 8–10 cm across depending on stuffing and adjustments.
Conclusion
Your adorable donut-themed amigurumi is now complete! With its inviting icing drips, cheerful bow, and sweet expression, this plushie is sure to charm and delight. The pattern’s clear structure makes it easy to adapt for color and style, so feel free to create your own donut “flavor” variations.