
Free and Easy Crochet Jellyfish Amigurumi Pattern for Beginners
Add vibrant fun effortlessly with a free crochet jellyfish amigurumi pattern designed for soft, colorful décor and smiles.
One day, I found a super soft and fluffy yarn that reminded me of a jellyfish floating gently in the ocean. I thought it would be fun to crochet a little jellyfish toy with it! This pattern is not only cute but also very soft to touch, making it perfect for kids to play with or to decorate your room. You can even give it as a sweet gift to friends or family. The pattern uses easy crochet stitches called single crochets, worked in circles, to make the jellyfish’s round body. These stitches are perfect for beginners because they help shape the jellyfish slowly and nicely.
More Fun Things to Crochet with This Pattern
Once you get the hang of making your jellyfish, you can use the same ideas to crochet other sea animals like octopuses or starfish. You can change the size by adding or taking away stitches to make big or small toys. Try using different colors or different yarns for fun effects. You could even add some beads or little decorations to make your sea creatures extra special. This jellyfish pattern is a great way to start making a whole ocean of soft, squishy friends!
Learn this Quick Crochet Jellyfish Amigurumi Pattern for Gifts or Decor
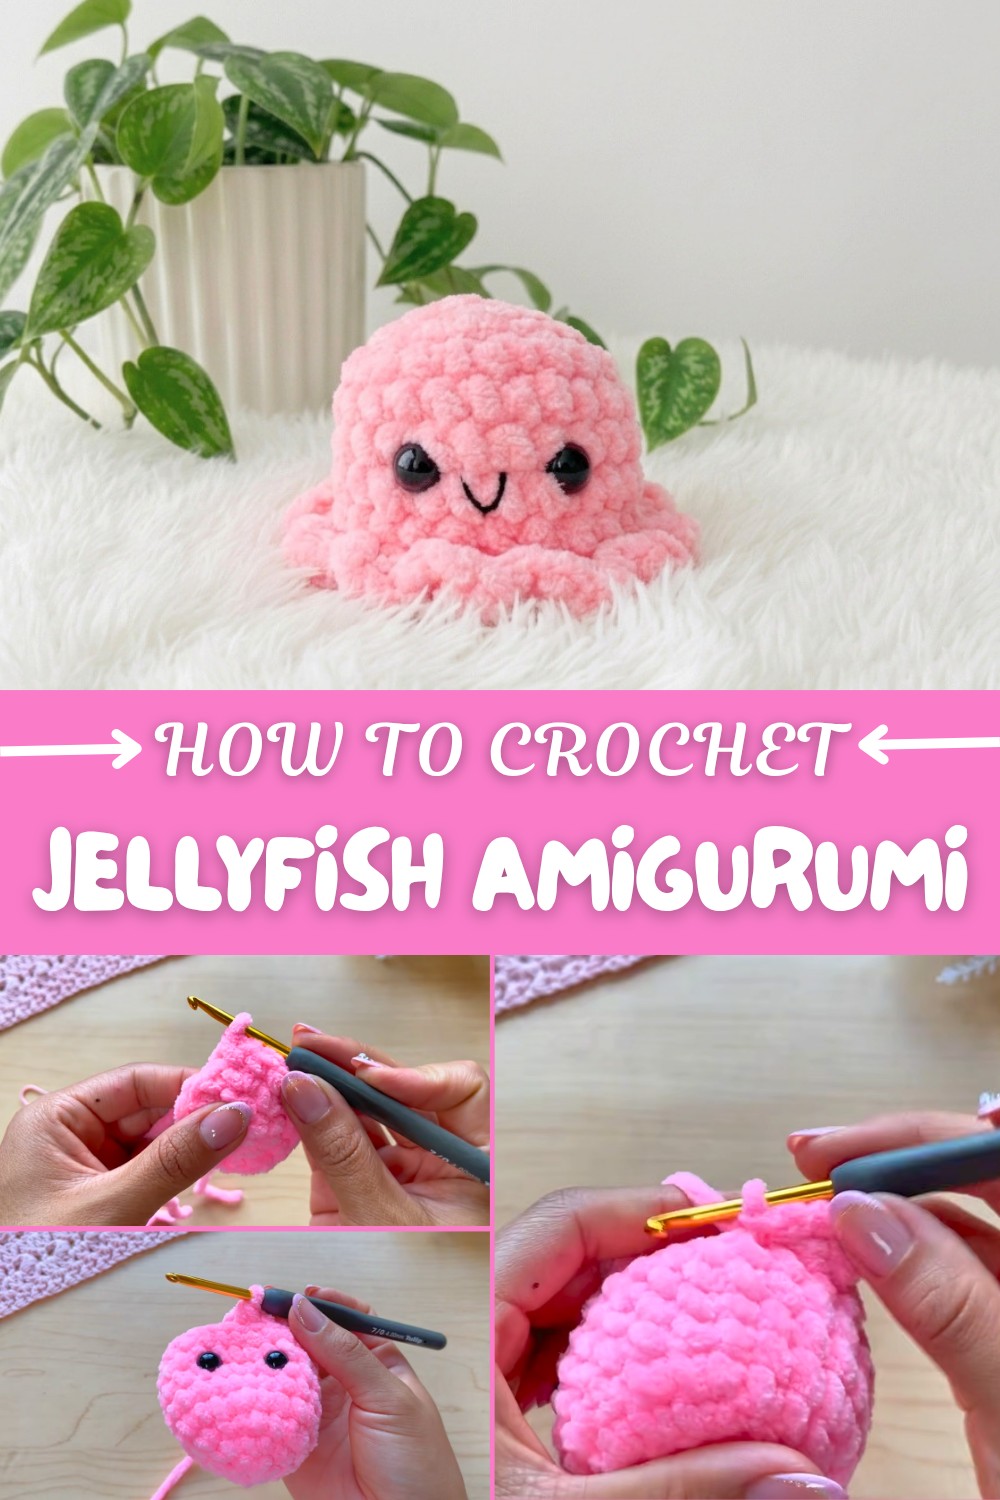
The jellyfish pattern starts with a magic ring, which is like making a little circle to work in. Then, you add stitches to make the body bigger and later take some away to close the bottom. The soft tentacles are made with simple chain stitches and taller stitches to look like little waves that float in the water. For the face, you can sew little eyes and a smile with some thread to give your jellyfish a happy expression. The fluffy yarn may feel a bit tricky to work with at first, but don’t worry! Just take it slow and soon you’ll be making the cutest jellyfish ever.
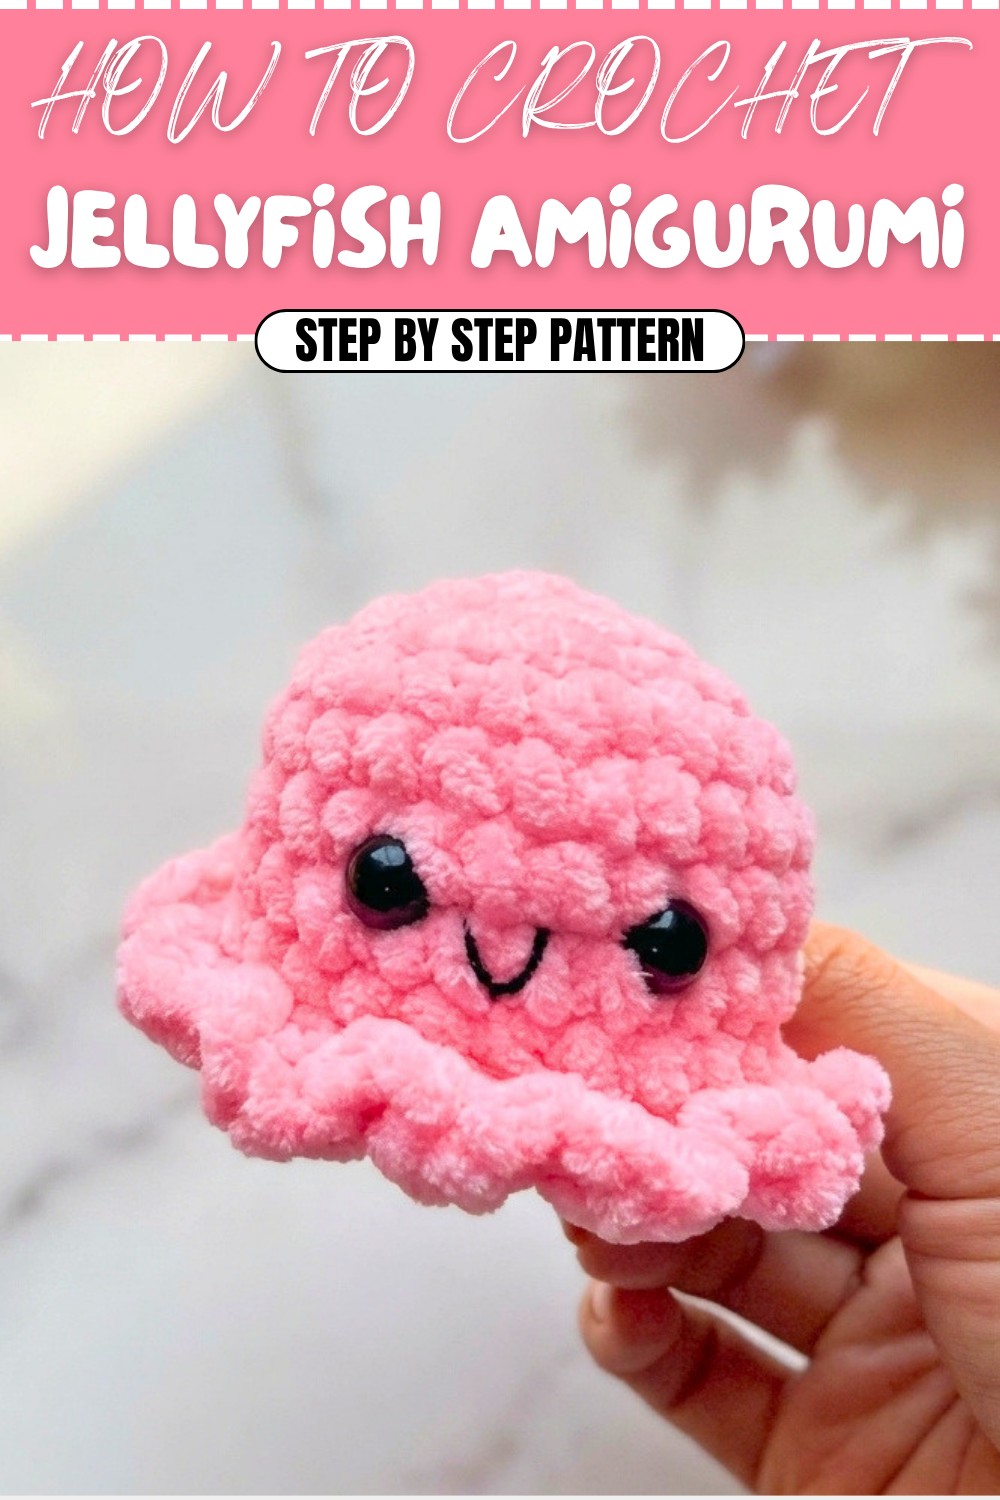
Fluffy Amigurumi Jellyfish Pattern – Step-by-Step Guide
Crochet this adorable Fluffy Jellyfish Amigurumi using plush yarn! Perfect for beginners looking for a soft and cuddly crochet project, this jellyfish makes an ideal toy, nursery decor, or cute desk companion. Working with fluffy yarn can be tricky, but with the included tips and detailed instructions, you’ll have a beautiful jellyfish in no time.
This project is beginner-friendly and can help you gain confidence working with specialty yarns.
Uses of This Pattern
- Toys: A wonderful plush friend for kids.
- Decoration: A charming decorative piece for nurseries, desks, or living spaces.
- Gifts: A handmade gift that adds personal and cozy warmth.
Skill Level & Terminology
- Skill Level: Beginner
- While the pattern is simple, working with fluffy yarn requires patience and attention to detail.
- Terminology: US Crochet Terms
Materials & Tools
To crochet your jellyfish, you’ll need:
- Yarn:
- Plush yarn: Suggested brands include Kartopu Yumurcak or any velvety, soft yarn. Depending on availability, choose one that does not easily pull apart for easier handling.
- Hook Size:
- 4 mm crochet hook (recommended for tight stitches).
- Eyes:
- 10 mm safety eyes with backings (optional for younger children – replace with embroidered eyes).
- Additional Tools:
- Tapestry needle (large-eyed plastic needle for thicker yarn).
- Stuffing: Polyester fiberfill for the jellyfish body.
- Scissors for cutting yarn.
- Stitch marker for marking rounds (a contrasting strand of yarn may also work).
Gauge
Gauge isn’t critical for this amigurumi project, but ensure your stitches are tightly packed to avoid any stuffing showing through.
Finished Size
The completed jellyfish measures approximately 4–5 inches (10–12 cm) in height, depending on the yarn and tension.
Abbreviations
| Abbreviation | Meaning |
|---|---|
| ch | Chain |
| sc | Single Crochet |
| sl st | Slip Stitch |
| inc | Increase (2 sc in one stitch) |
| dec | Decrease (single crochet 2 stitches together) |
| FLO | Front Loop Only |
Special Stitch Instructions
Magic Ring:
Form a loop with the yarn (cross the yarn over itself to form an X). Insert the hook into the loop, pull up a loop, yarn over, and pull through the first loop on the hook to secure. Crochet stitches into the ring, then pull the tail to close the circle.
Invisible Decrease (Optional):
Insert the hook under the front loop only of the next two stitches. Yarn over, pull through both loops (two loops on hook), yarn over again, and pull through both loops.
What You’ll Learn From This Pattern
- How to work in rounds with plush yarn.
- Techniques for sewing small parts together.
- Creating a seamless finish while maintaining the fluffy texture.
The Pattern
Body of the Jellyfish
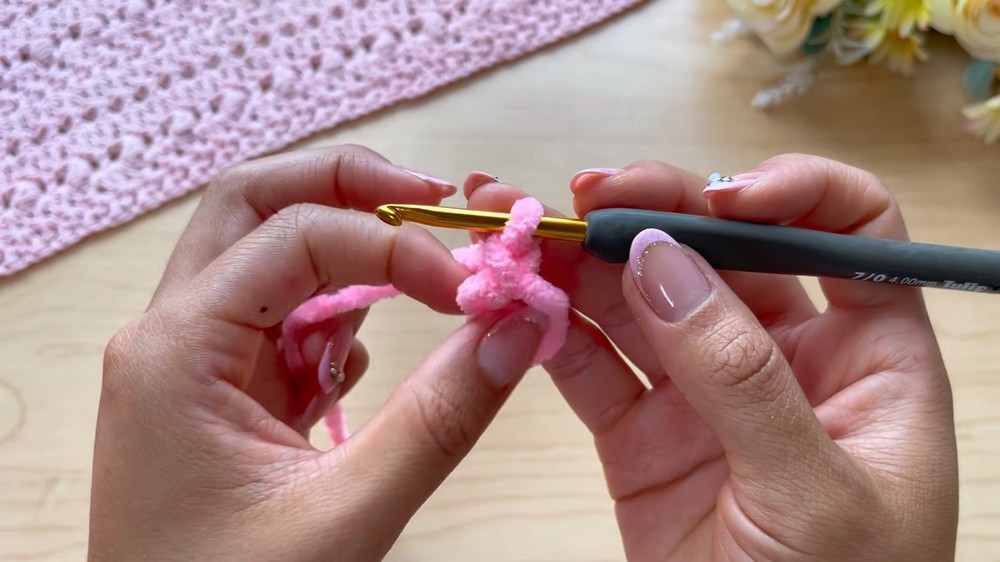
Round 1: Magic Ring
- Make a magic ring and crochet 6 sc into the ring. (6 sts)
- Pull the tail to close the ring tightly.
Round 2: Increase Round
- Work 2 sc in each stitch around. (12 sts)
Round 3: 1 sc, 1 inc
- Alternate 1 sc in the first stitch and 1 inc in the next stitch. Repeat around. (18 sts)
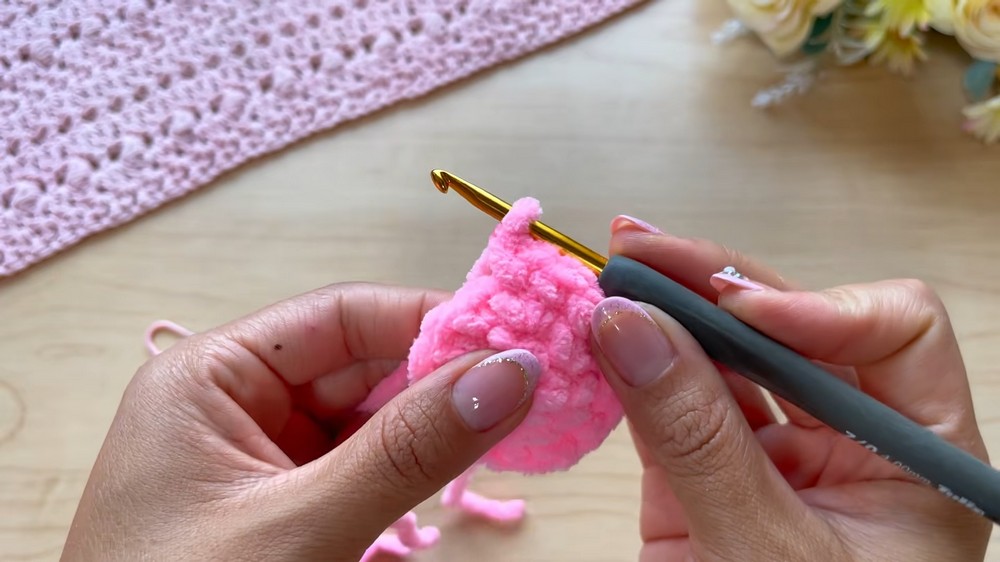
Round 4: 2 sc, 1 inc
- Alternate 2 sc and 1 inc. Repeat around. (24 sts)
These rounds create a growing circle, which will form the top of your jellyfish. Make sure to count your stitches after every round to ensure the correct shape.
Rounds 5–8: Work Even
- Work 1 sc in each stitch around (no increases). (24 sts per round)
These rounds build the height of the jellyfish body. Keep your stitches relaxed and consistent.
Eye Placement:
- Between rounds 6–7, place the safety eyes. Leave 4 stitches of space between the eyes. Snap the safety eye backing into place securely.
This step gives the jellyfish its personality. If you prefer, embroider sleepy eyes or stars instead of using safety eyes.
Decreases & Closing the Body
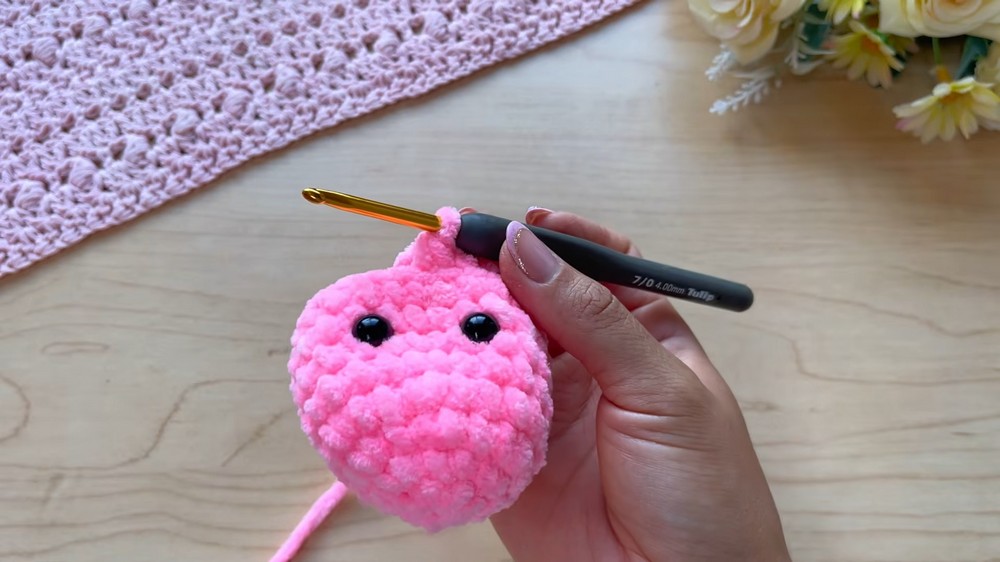
Round 9: 2 sc, 1 dec
- Work 2 sc, then 1 dec. Repeat around. (18 sts)
Round 10: 1 sc, 1 dec
- Alternate 1 sc and 1 dec. (12 sts)
Round 11: 6 dec
- Work dec all the way around. (6 sts)
- Stuff the jellyfish body with fiberfill but leave it a little loose to maintain the soft, plush look.
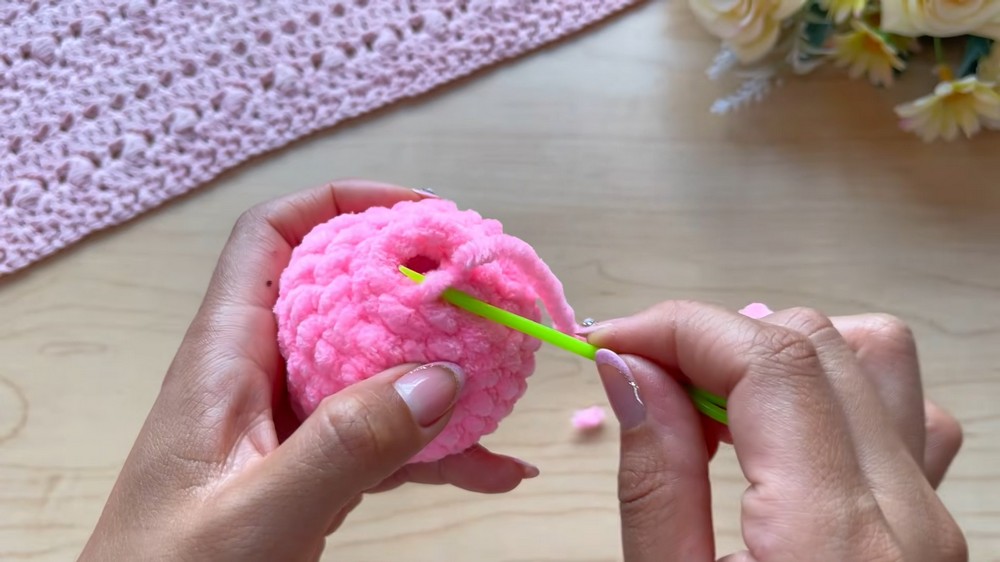
Decreasing rounds close the jellyfish body. Stuff gently to avoid overfilling since plush yarn creates a smooth look naturally.
Finishing the Body
- Use a tapestry needle to sew the magic ring at the bottom closed. Insert the needle under the front loop of each remaining stitch and pull tightly to gather. Secure with knots and weave in the end.
Waves Along the Bottom
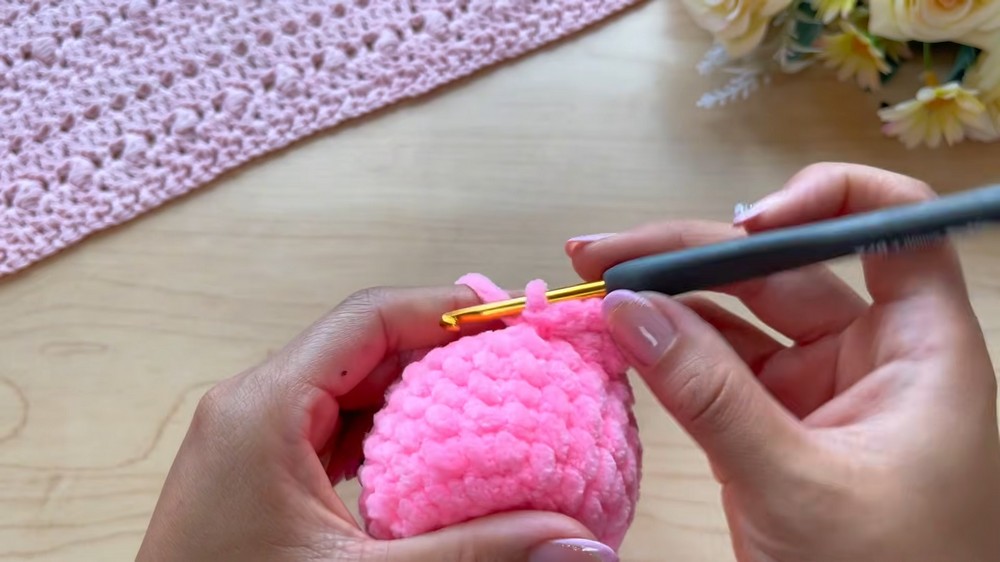
- Attach yarn to the front loops left from Round 8.
- Wave Pattern:
- Ch 2, 2 dc in the same stitch, skip 1 stitch, sl st in next stitch.
- Repeat this sequence around the entire bottom edge of the jellyfish.
- Fasten off and weave in the ends.
Plain Explanation:
These waves add playful detail, making the jellyfish look soft and lively. Working in the front loops creates a slight ruffled effect for added flair.
Details & Smile
- Use a thinner yarn to embroider a small smile below the eyes.
- Pull the yarn through one side, curve it slightly, and secure the ends.
- Knot and weave in the ends.
This small smile adds charm to the jellyfish. The step is entirely optional, depending on the character you want for your project.
Why You’ll Love This Pattern
The Fluffy Jellyfish Amigurumi pattern is a joy to create. The texture of plush yarn gives it a luxurious feel, while its playful design brings a sense of whimsy. Whether you’re making this for a loved one or using it as decor, this project is guaranteed to bring a smile!