
Free Crochet Bunny or Cat Hat Pattern for Dress Up Fun
Add a touch of cuteness to any outfit with this free crochet bunny or cat hat pattern that is easy to make, cozy to wear, and perfect for kids, gifts, or fun moments.
When I first picked up my crochet hook as a beginner, I wanted to make items that were not only fun but easy to follow. That’s why this bunny or cat hat made it to the list of my favorite projects. It’s playful, cozy, and perfect for kids or adults who love a touch of charm and cuteness in their wardrobe. This hat catches everyone’s attention with its adorable floppy bunny ears or pointy cat ears.
Made using the half double crochet stitch, this project offers the right balance of texture and structure. It’s a great choice for cooler weather or costumes and is something you can make in no time at all. By working through this hat, you’ll practice using a magic ring technique, build confidence in shaping a round object with increases, and understand how to add fun elements like ears. You’ll also polish your finishing skills, like sewing pieces together tidily, to give your hat a professional appearance.
Cute Free Crochet Bunny or Cat Hat Pattern for Kids Costumes

Speaking of future works, the skills gained from this project can be used to crochet items like animal inspired headbands, small amigurumi toys with ears, or even simple bags with similar features. You can mix and match colors to make hats that suit any occasion or personality, whether it’s a pastel colored bunny hat for Easter or a black cat hat for Halloween.
Featured By happyknitbyCit
Sometimes, beginners struggle with adjusting tension or positioning detailed features like ears. Don’t worry, keep track of your stitches with a marker to maintain your starting points and recheck ear placement before sewing. This project offers a delightful way to build skills while making something that’s sure to bring a smile to everyone who sees it.
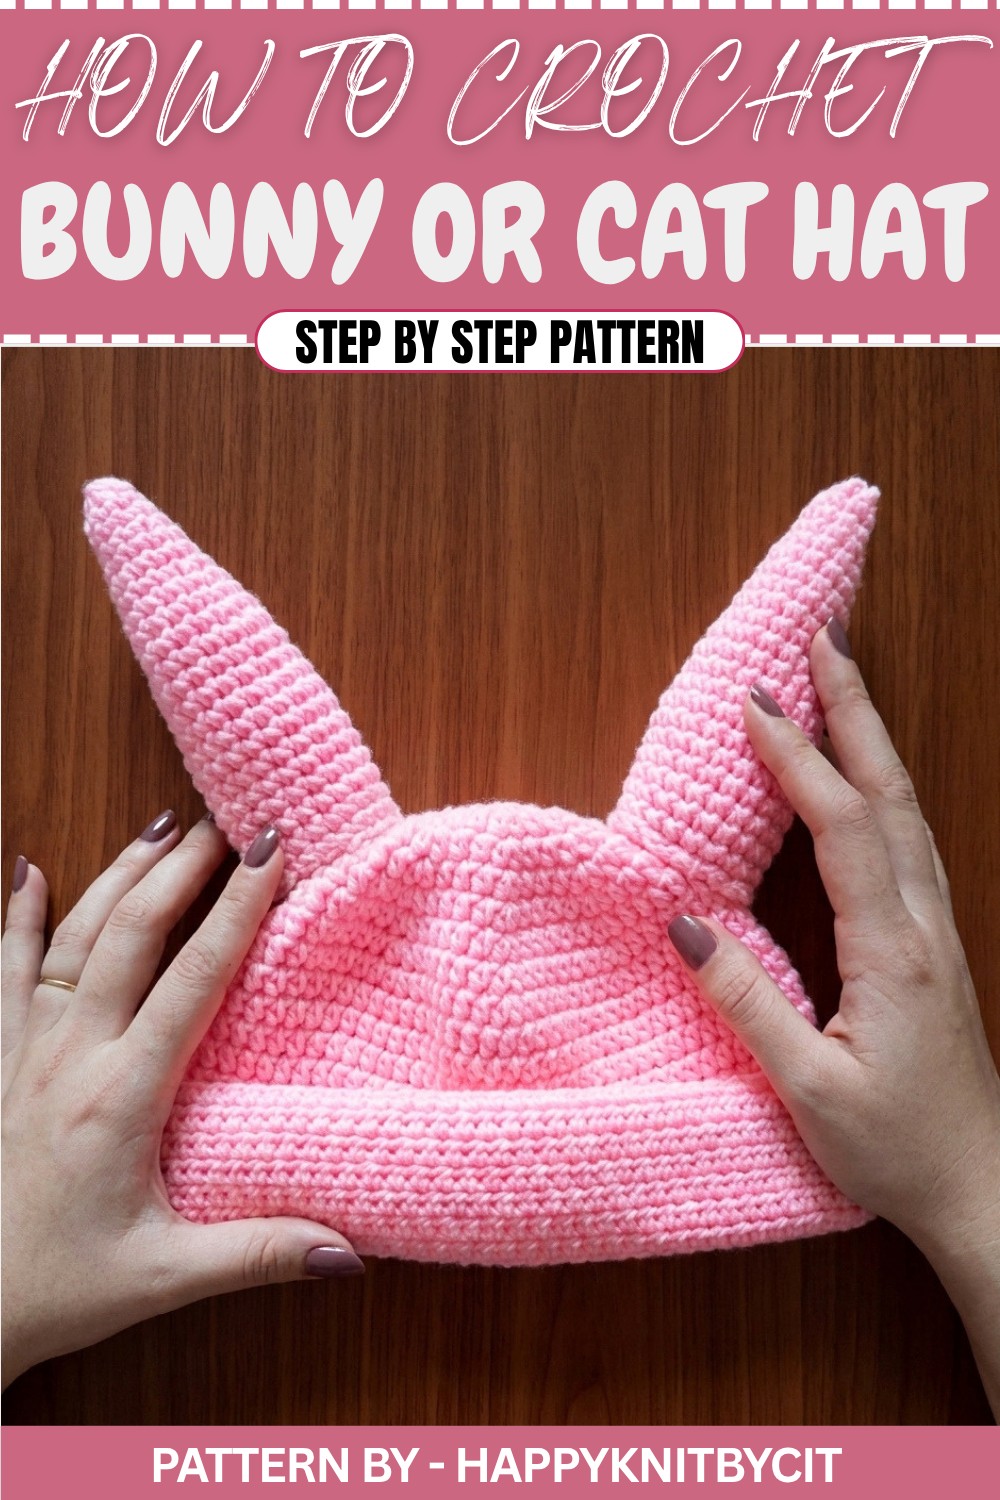
Crochet Bunny or Cat Hat Pattern
This crochet pattern guides you step by step in creating a charming Crochet Bunny or Cat Hat Pattern. Whether you’re a beginner or intermediate crocheter, this pattern is fun to follow and ideal for making gifts or stylish headwear for yourself. You’ll use milk cotton yarn and simple crochet stitches to create the components of the hat: the crown, main body, and ears. The added fiberfill in the ears gives them a 3D look, making this hat uniquely cute and fun.
Quick Overview of Pattern
- What You’ll Create: A playful Lily-style bucket hat.
- Parts:
- Crown (Top of the hat).
- Body of the hat.
- Two separate bunny ears.
- Skill Level: Beginner with some experience or intermediate.
- Special Techniques Used: Magic Ring, working in continuous rounds, single and half double crochet, and increasing.
Notes
- Ensure even tension throughout to avoid uneven stitches.
- Use a stitch marker at the start of each round, especially for the ears, which are worked in continuous rounds without slip stitches.
- If you want a larger or smaller hat, adjust the number of rows in the hat body. Similarly, ear height can also be adjusted.
- Be mindful of exact placement while attaching bunny ears. Test different positions before permanently sewing them to the hat.
Skill Level
Confident Beginner — Suitable for those comfortable with basic stitches like single crochet, half double crochet, and slip stitch.
Materials
- Milk Cotton Yarn (Big Ply) — Recommended color: White or color of choice.
- Crochet Hook — 5.0 mm (can substitute with 4.0 mm for a tighter gauge).
- Polyester Fiberfill (Dacron) — For filling the ears.
- Tapestry Needle — For weaving ends and sewing ears.
- Scissors — For cutting yarn.
Measurements / Sizing
- Hat Diameter (after 9 rounds): Approximately 18 to 20 cm.
- Hat Height: Approximately 30 cm after 34 rounds.
- Ear Length: Customizable but ideally around 12 to 14 cm.
Stitch Abbreviations
| Abbreviation | Stitch Name |
|---|---|
| ch | Chain |
| sc | Single Crochet |
| hdc | Half Double Crochet |
| inc | Increase (2 stitches in one) |
| sl st | Slip Stitch |
Special Stitches
Magic Ring
- Wrap the yarn around two fingers to create a loop (crossing over the yarn forms an "X").
- Insert the hook under the loop and grab the working yarn.
- Pull up a loop, chain 1 to secure the ring, and begin your stitches within the loop.
- Tighten the ring by pulling on the tail end of the yarn after adding stitches.
Increase (2 hdc or 2 sc in one stitch)
- Insert the hook into the indicated stitch.
- Yarn over and pull up a loop. Yarn over again and pull through all loops on the hook.
- Repeat in the same stitch to add one more hdc or sc.
The Crochet Pattern
Part 1: The Hat Top (Crown)
Row 1:
- Begin with a Magic Ring.
- Chain 1, work 9 hdc into the ring.
- Pull the ring closed tightly and slip stitch (sl st) to the first hdc to join.
Stitch Count: 9 hdc.
Row 2:
- Chain 1, work 2 hdc into each stitch around (this is an increase).
- At the end of the round, slip stitch to the starting stitch.
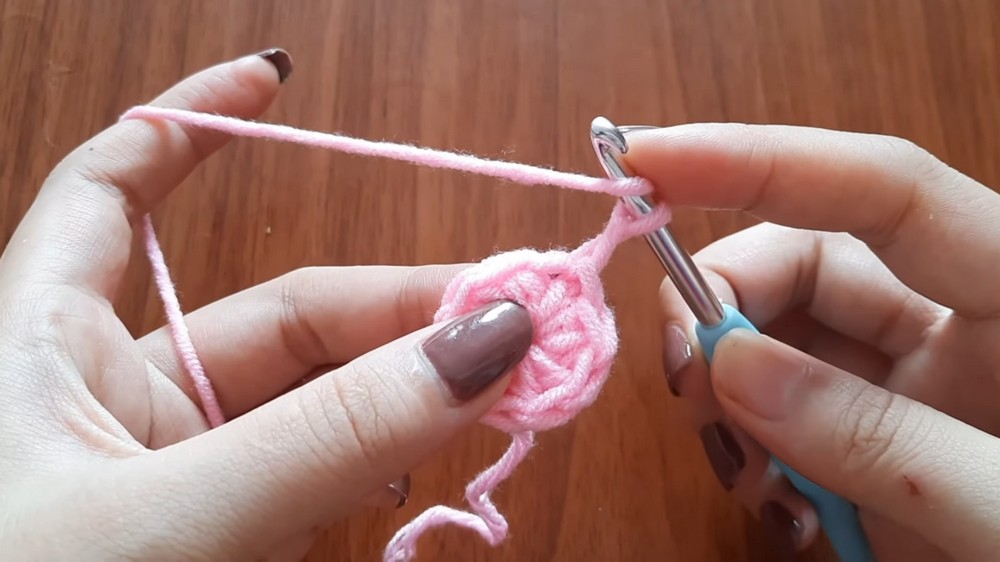
Stitch Count: 18 hdc.
Row 3:
- Chain 1, work 1 hdc, 1 increase (2 hdc in the same stitch).
- Repeat the pattern 1 hdc, 1 increase around the row. Slip stitch to join at the first stitch.
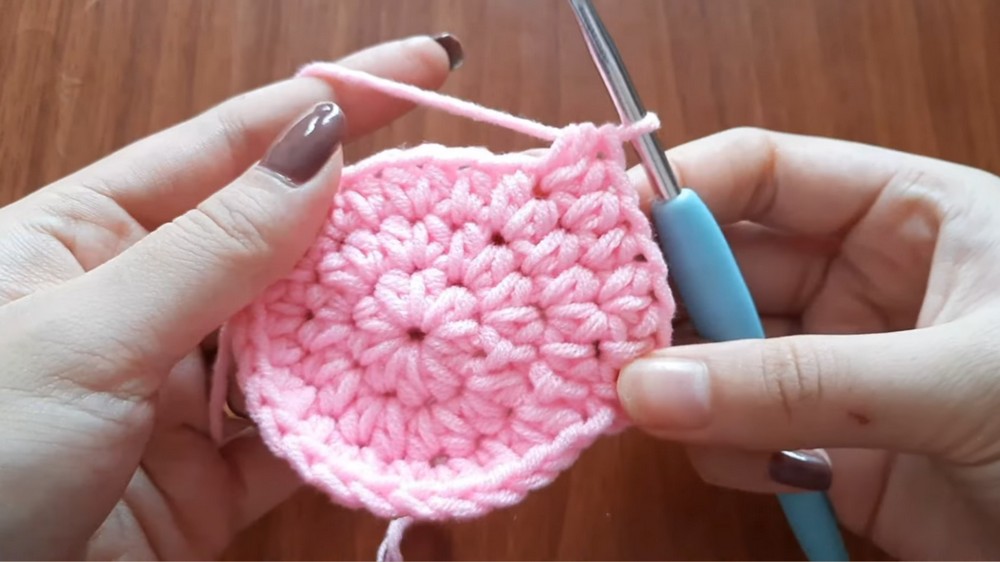
Stitch Count: 27 hdc.
Row 4:
- Chain 1, work 2 hdc, 1 increase.
- Repeat the pattern 2 hdc, 1 increase around the row. Slip stitch to join.
Stitch Count: 36 hdc.
Row 5:
- Chain 1, work 3 hdc, 1 increase.
- Repeat the pattern 3 hdc, 1 increase around. Slip stitch to join.
Stitch Count: 45 hdc.
Row 6:
- Chain 1, work 4 hdc, 1 increase.
- Repeat the pattern 4 hdc, 1 increase around the round. Slip stitch to join.
Stitch Count: 54 hdc.
Rows 7–9:
- Continue increasing in the same pattern:
- Row 7: 5 hdc, 1 increase.
- Row 8: 6 hdc, 1 increase.
- Row 9: 7 hdc, 1 increase.
- Slip stitch to join at the end of each round.
Stitch Count after Row 9: 72 hdc.
Part 2: The Hat Body
- Rows 10–34: Chain 1, work 1 hdc in every stitch around without increasing.
- Slip stitch to join at the end of each round.
- Finish by cutting the yarn and weaving in the ends neatly.
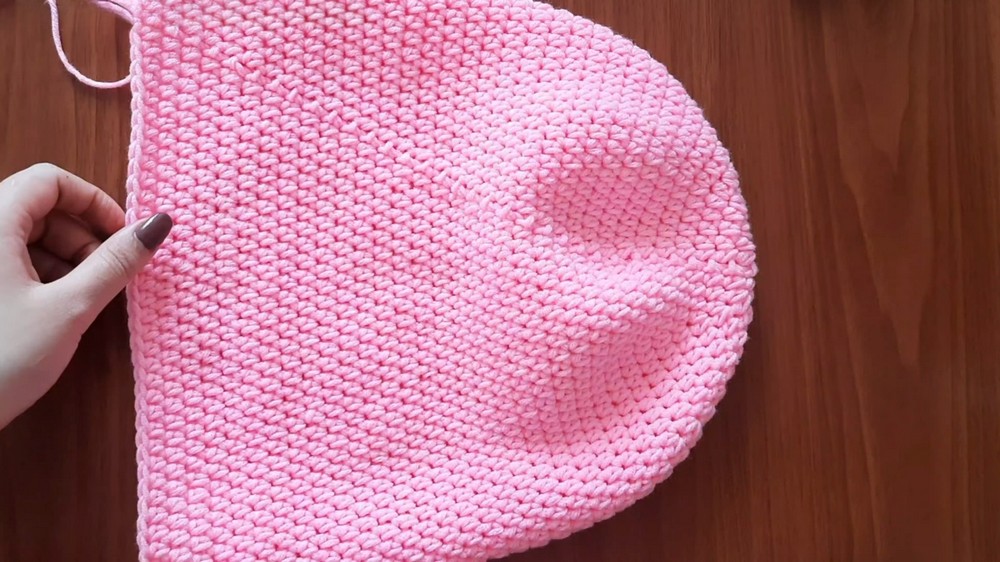
Part 3: The Ears (Make 2)
- Work in a continuous spiral using single crochet (sc). Place a stitch marker in the first stitch of each round for reference.
Row 1:
- Make a Magic Ring, work 6 sc into the ring.
Row 2:
- Work 1 sc, 1 increase. Repeat this pattern around the row.
Rows 3–4:
- Work 1 sc in each stitch.
Row 5:
- Work 2 sc, 1 increase. Repeat this pattern around.
Rows 6–7:
- Work 1 sc in each stitch.
Row 8:
- Work 3 sc, 1 increase.
- Repeat this pattern around.

Rows 9–10:
- Work 1 sc in each stitch.
Row 11:
- Work 4 sc, 1 increase. Repeat this pattern around.
Rows 12–13:
- Work 1 sc in each stitch.
Row 14:
- Work 5 sc, 1 increase. Repeat this pattern around.
Rows 15–22:
- Work 1 sc in each stitch for 8 rows.
- Finish with a round of slip stitches, leaving a long tail for sewing.
Assembly & Finished Size
Assembly Instructions
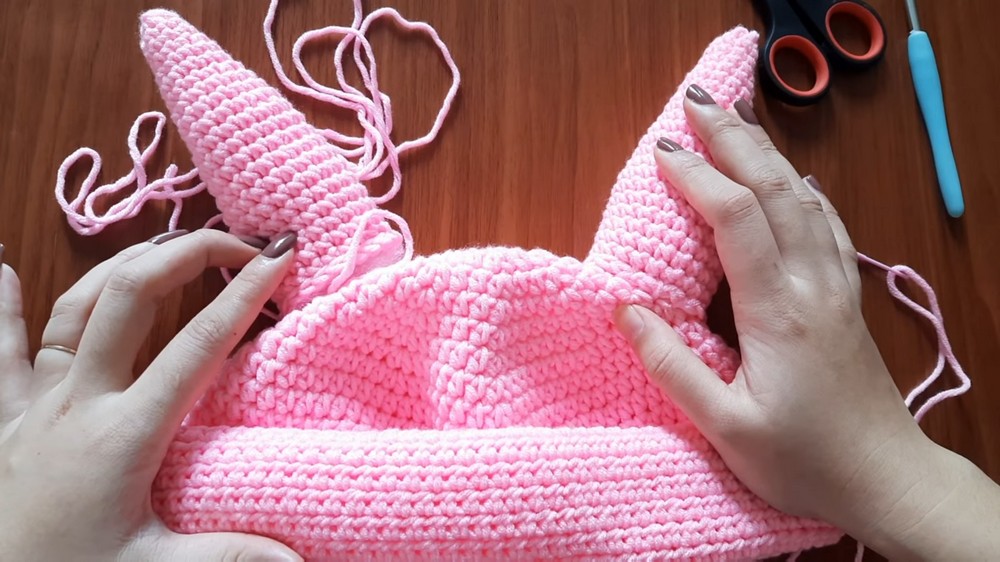
- Stuff Ears: Fill the ears with fiberfill or dacron to give them a 3D look. (32:36)
- Attach the Ears: Using your darning needle:
- Position the ears symmetrically on the hat body.
- Sew them securely to the hat along the seam. Ensure they are securely attached.
- Final Adjustments: Shape the hat, adjust the ears, and weave in any remaining yarn ends for a polished finish.
Conclusion
And that’s it, you’ve completed your cozy, charming Crochet Bunny or Cat Hat Pattern. With floppy, playful ears and a modern bucket design, it’s cute, functional, and makes the perfect gift or accessory.