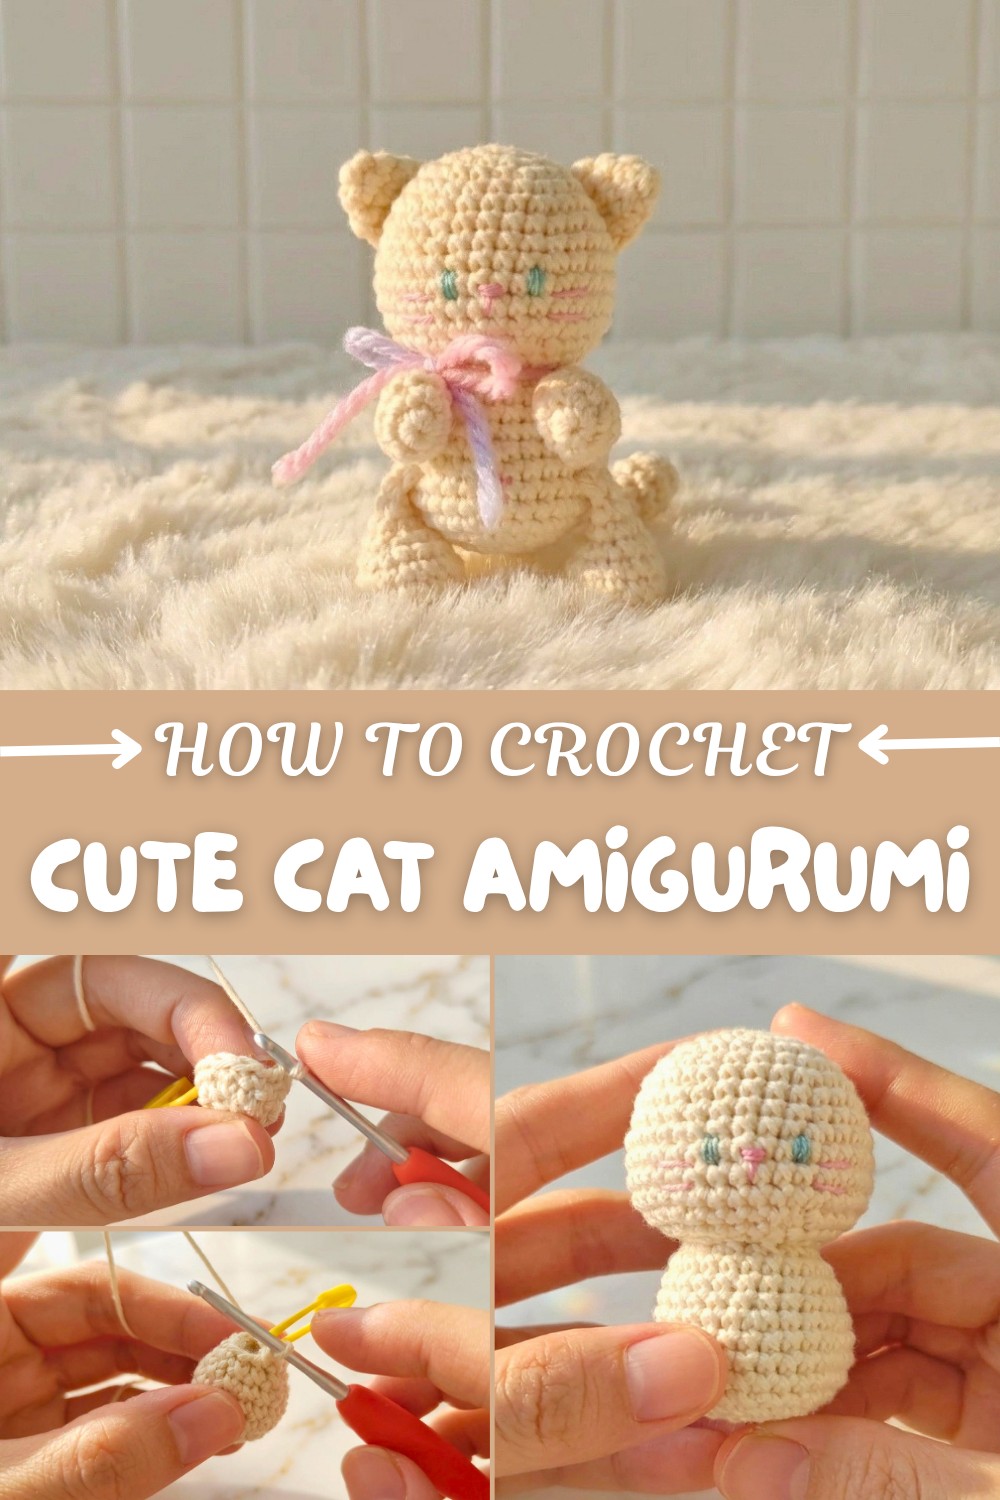
Beginner-Friendly Free Crochet Cat Amigurumi Pattern
The first time I tried making a crochet cat amigurumi, it felt like bringing a soft, friendly character to life using only yarn and a hook. This project isn’t just fun, it’s simple enough for someone learning crochet for the first time. Plus, the finished cat makes a thoughtful handmade gift or a cheerful bit of decoration for a shelf or backpack.
Free Crochet Cat Amigurumi Pattern for Beginners
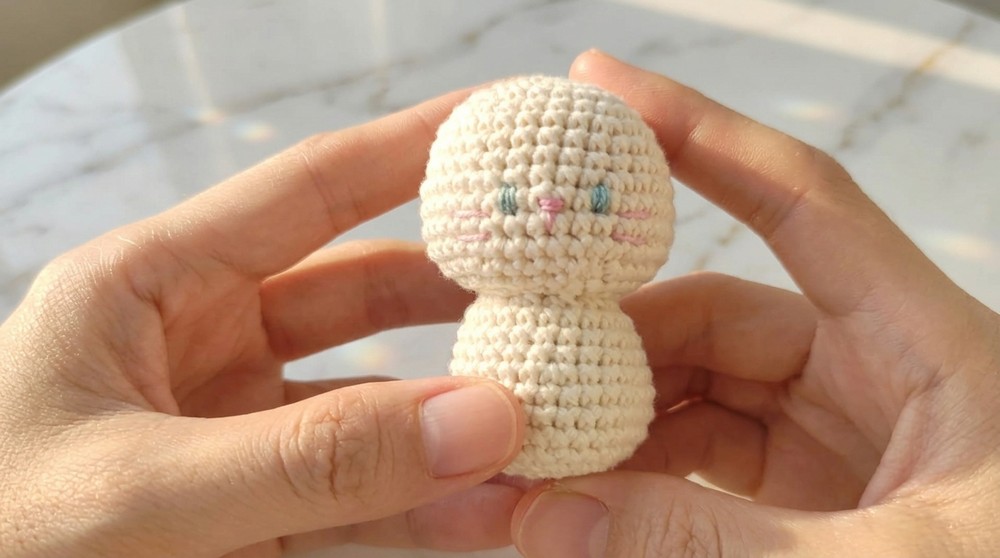
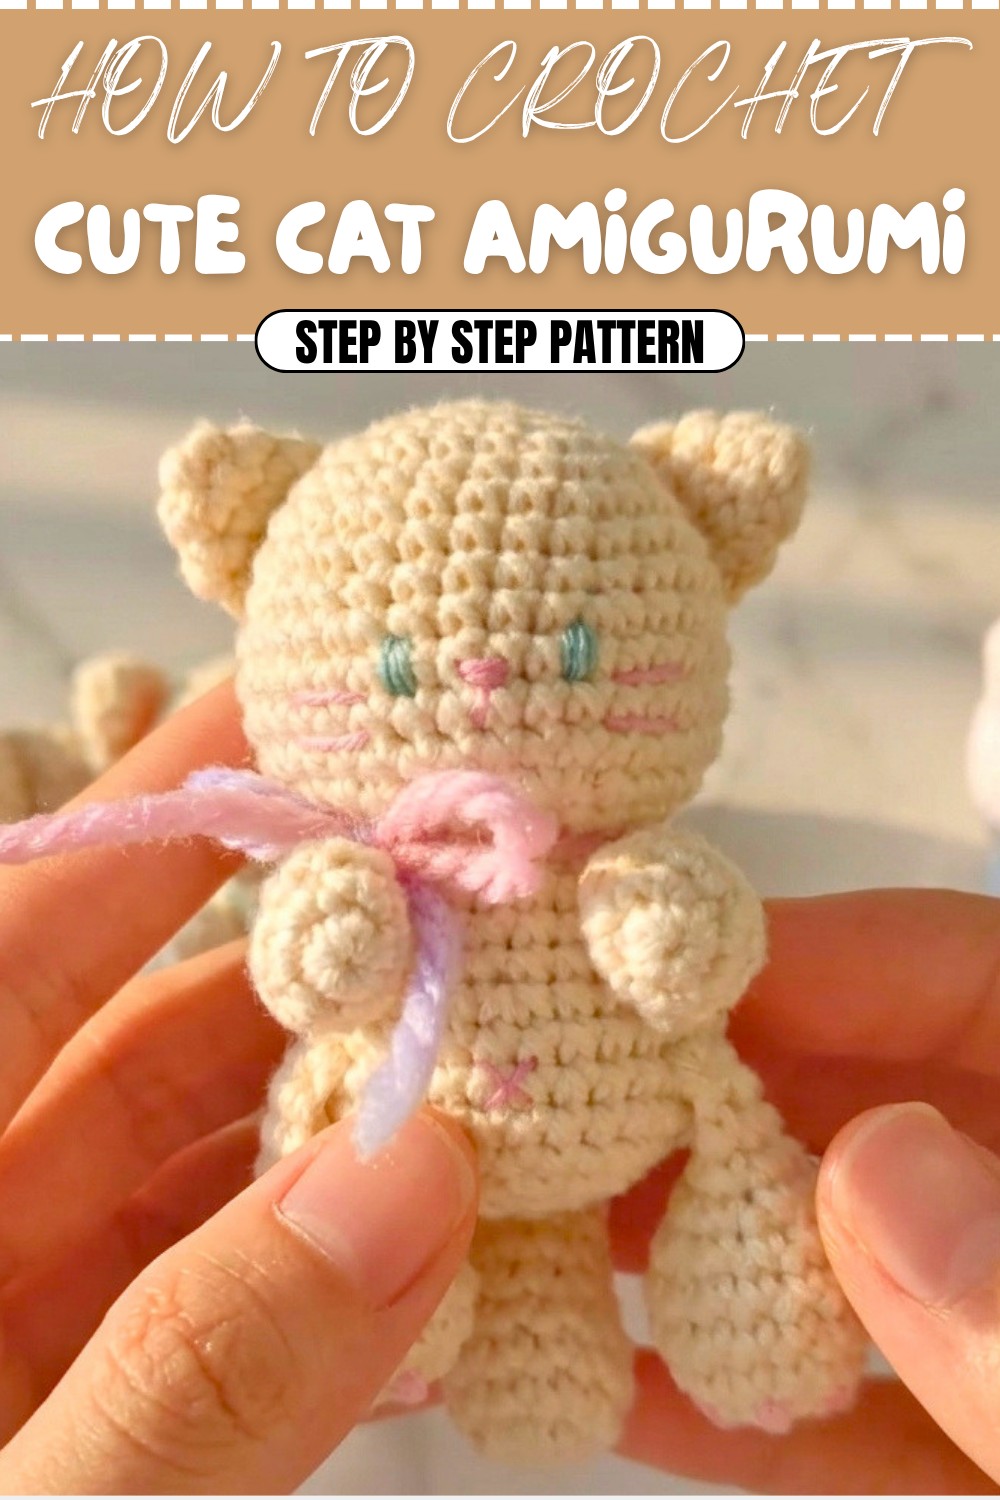
This little cat looks friendly with its upright ears, curly tail, and expressive face all easy to customize using eyes, a little nose, and whiskers made from yarn or buttons. There are endless color options, like classic gray, playful orange, bold stripes, or any favorite shade. The single crochet is the main stitch, which is easy to repeat and gives the cat a smooth, tidy shape.
What's you can make
By making small changes, you can use the same steps to make:
- Bunnies (just make the ears longer and thinner)
- Bears (switch to shorter, rounded ears)
- Puppies (adjust the tail and change the face)
- Mice (make the body smaller and the tail thinner)
- Other stuffed animals—just play with colors and features
Color and Size Choices:
- Use any yarn color—solids, patterns, or even mix different colors for stripes or patches
- The finished size is usually 4–6 inches tall, but can be adjusted by using thicker or thinner yarn and changing the size of your hook
Some common problems are stitches that are too loose or too tight, making the toy floppy or stiff. Keep your hand relaxed and your stitches even for the best result. To avoid losing your place, use a stitch marker so you know where each new round begins. If features don’t look right, gently remove and resew them until you’re happy with how the cat looks.
Sweet Plush Amigurumi
An easy step-by-step crochet pattern for beginners
Introduction
Welcome to your new favorite project! This simple amigurumi is perfect as a keychain, bag charm, or gift. The design is playful, soft, and totally customizable with your favorite colors and accents. No pattern-reading experience necessary—just follow along!
Skill Level & Terminology
Skill Level: Beginner
Terms Used: US crochet terminology
Materials & Tools
- Worsted weight yarn in main and accent colors
- 2.75 - 3.5 mm crochet hook
- Yarn needle (for sewing pieces)
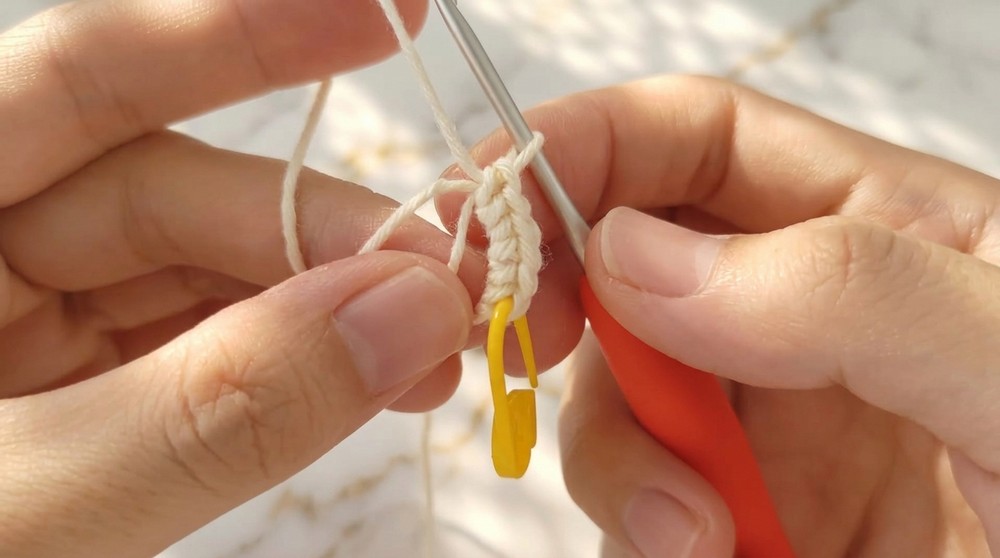
- Stitch marker (optional)
- Fiberfill or cotton stuffing
- Scissors
- Optional: Keychain findings, mini bow/flower for decoration, fabric paint/blush
Gauge
Gauge isn’t critical for amigurumi, but stitches should be tight enough to keep stuffing from peeking out. Sample: 6 sc x 7 rows = 1 inch (2.5 cm).
Finished Size
Approx. 4–5 inches (10–13 cm) tall when finished, depending on your yarn and hook.
Abbreviations
| Abbr | Meaning |
|---|---|
| MR | Magic Ring |
| sc | Single Crochet |
| inc | Increase (2 sc in one stitch) |
| dec | Decrease (sc 2 together) |
| slst | Slip Stitch |
| ch | Chain |
Special Stitch Instructions
- Magic Ring (MR): Make a loop, insert hook, yarn over, and pull up a loop. Continue as pattern says, then pull ring tight to close.
- Increase (inc): Work 2 sc in the same stitch.
- Decrease (dec): Single crochet 2 stitches together to slowly close up your round.
The Pattern
EARS (make 2)
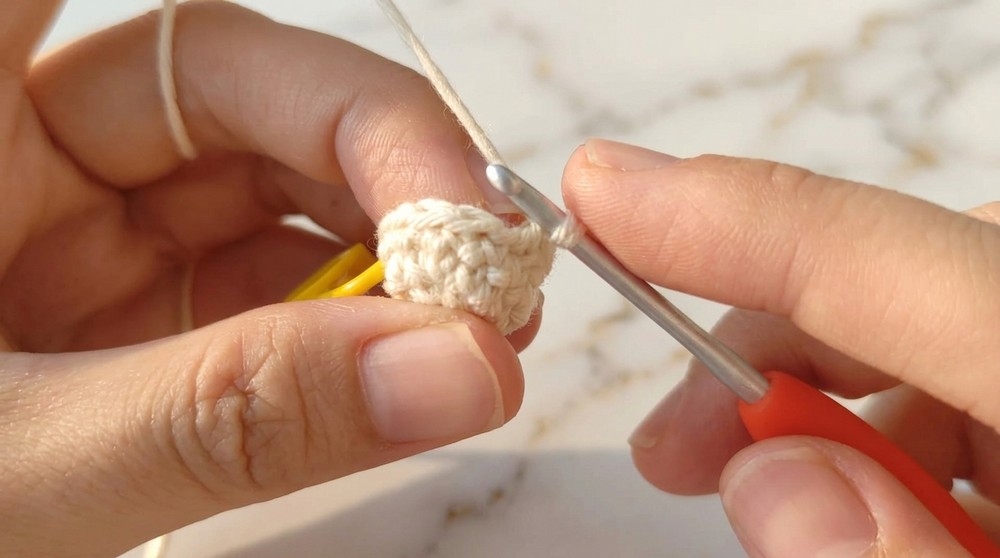
Round 1: 6 sc in a magic ring (6)
Round 2: sc in each st around (6)
Round 3: (inc, sc) repeat 3 times (9)
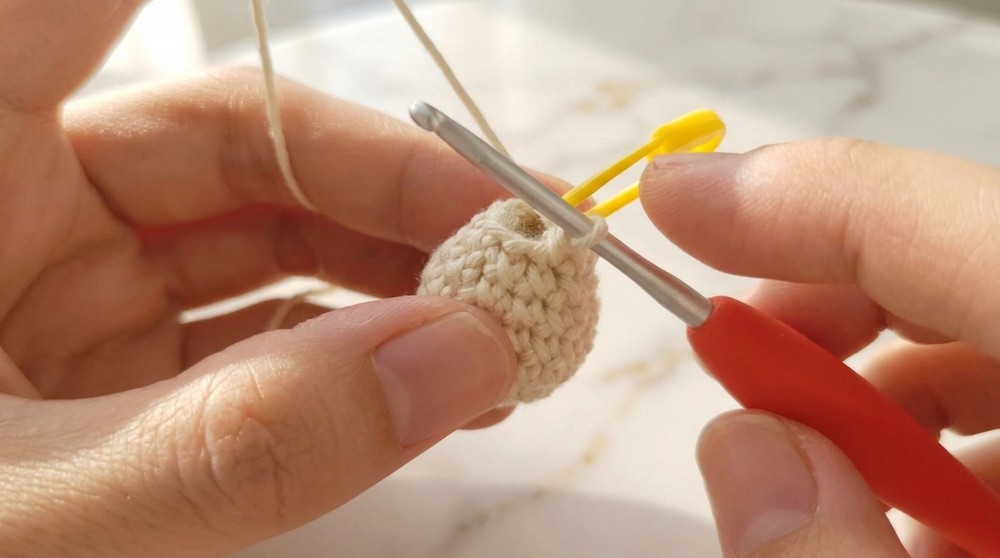
Finish with a slst. Cut yarn, leaving a sewing tail.
Use the tail to close and shape the ears neatly by pulling and sewing.
Your ears are like little soft ovals. Don’t worry about perfection—shape as you sew on! They’ll give your plush friend its cute “personality.”
ARMS (make 2)
Round 1: 6 sc in a magic ring (6)
Round 2: 6 inc (12)
Round 3: sc in each st around (12)
Round 4: (2 sc, dec) repeat 3 times (9)
Round 5: sc in each st around (9)
Round 6: (sc, dec) repeat 3 times (6)
Close arm end with 2 sc, ch 1, cut yarn, leave long tail for sewing.
The arms are short and rounded. Don’t overstuff them to keep them flexible for posing! The long tail makes sewing to the body very easy.
LEGS (make 2)
Round 1: 6 sc in a magic ring (6)
Round 2: 6 inc (12)
Round 3: (2 sc, inc) repeat 4 times (16)
Rounds 4–5: sc in each st around (16)
Round 6: (2 sc, dec) repeat 4 times (12)
Round 7: (2 sc, dec) repeat 3 times (9)
Stuff the leg lightly.
Rounds 8–9: sc in each st around (9)
Close the end with 4 sc, ch 1, cut yarn, leave long tail for sewing.
These legs are a little longer so your friend can sit or dangle. Light stuffing keeps them soft and wobbly—don’t pack too much!
TAIL
Round 1: 6 sc in a magic ring (6)
Round 2: 6 inc (12)
Rounds 3–4: sc in each st around (12)
Round 5: (2 sc, dec) repeat 3 times (9)
Rounds 6–9: sc in each st around (9)
Stuff tail lightly.
Round 10: (sc, dec) repeat 3 times (6)
Close tip with 2 sc, ch 1, cut yarn, leave tail for sewing.
A puffy little tail adds to your plushie’s charm! Taper it off so it looks nice and neat. Light stuffing gives it a soft finish.
Assembly & Finishing
- Sew ears to the head (between rounds 4 and 8):
Place ears evenly, then sew them on. Adjust the curve as you go—they should look symmetrical and cute. - Sew arms to body sides (between rounds 17–19):
Pin arms in place to check positioning, then sew securely. - Sew legs to body bottom (between rounds 22–23):
Check your plush props up evenly before sewing both legs on the underside. - Sew tail on back (between rounds 24–25):
Make sure the tail is straight and firmly attached. - Decorate:
- Sew on a bow or flower to one ear/head.
- Attach a keychain loop if desired.
- Add blush with fabric paint or a makeup brush for sweet cheeks.