
Cute Crochet Miffy Bunny Pattern for Cuddly Creations
Solve your gift dilemma using the Free Crochet Miffy Bunny Pattern, perfect for soft, lovable friends kids and adults cherish.
There’s a special joy in making a cuddly friend stitch by stitch, especially when it’s as sweet and timeless as a bunny. This project helps you create an adorable bunny doll that captures the charm of simplicity with an emphasis on the single crochet stitch, a foundational technique perfect for beginners. You’ll also use increases and decreases to shape the head, body, ears, arms, and legs, which sharpens your understanding of how to contour amigurumi pieces.
Ready to Crochet Try This Free Miffy Bunny Pattern for Joyful Gifts
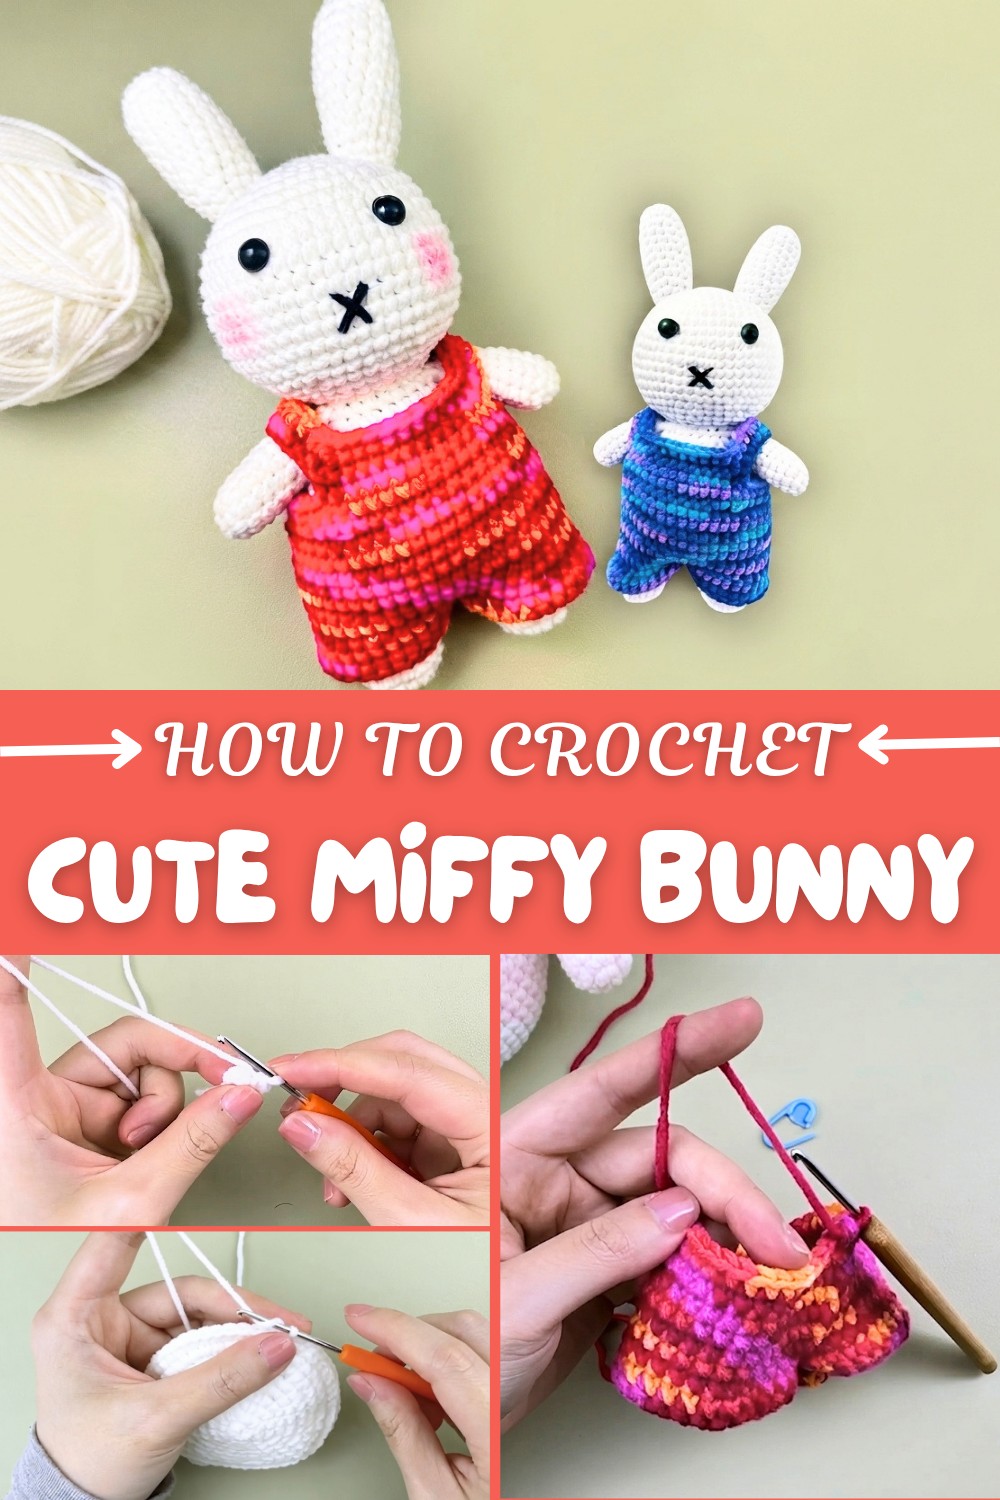
Starting with a magic ring, the pattern takes you through each step with clear instructions, helping you build confidence while forming smooth, rounded shapes. Working in rounds gives the bunny a lovely soft texture that’s fun to crochet and perfect for stuffing, making it a delightful toy or room decoration. The finishing touches, like sewing on ears and adding embroidered facial features, bring your bunny to life with personality and charm.
This pattern is wonderful for beginners because it uses approachable stitches and repeats simple patterns to create detailed parts without overwhelming complexity. The combination of single crochet, slip stitches, and chain stitches allows you to practice essential crochet skills while producing a cuddly figure you’ll be proud of.
Once you’ve mastered this pattern, the skills and techniques you’ve learned can be expanded to make other cute amigurumi animals, like bears, cats, or even fantasy creatures. By tweaking yarn colors and stitch counts, you can endlessly customize your creations. This pattern is not just about making a bunny—it’s a gentle introduction into the delightful world of crochet toys that sparks creativity and joy for crocheters of all ages.
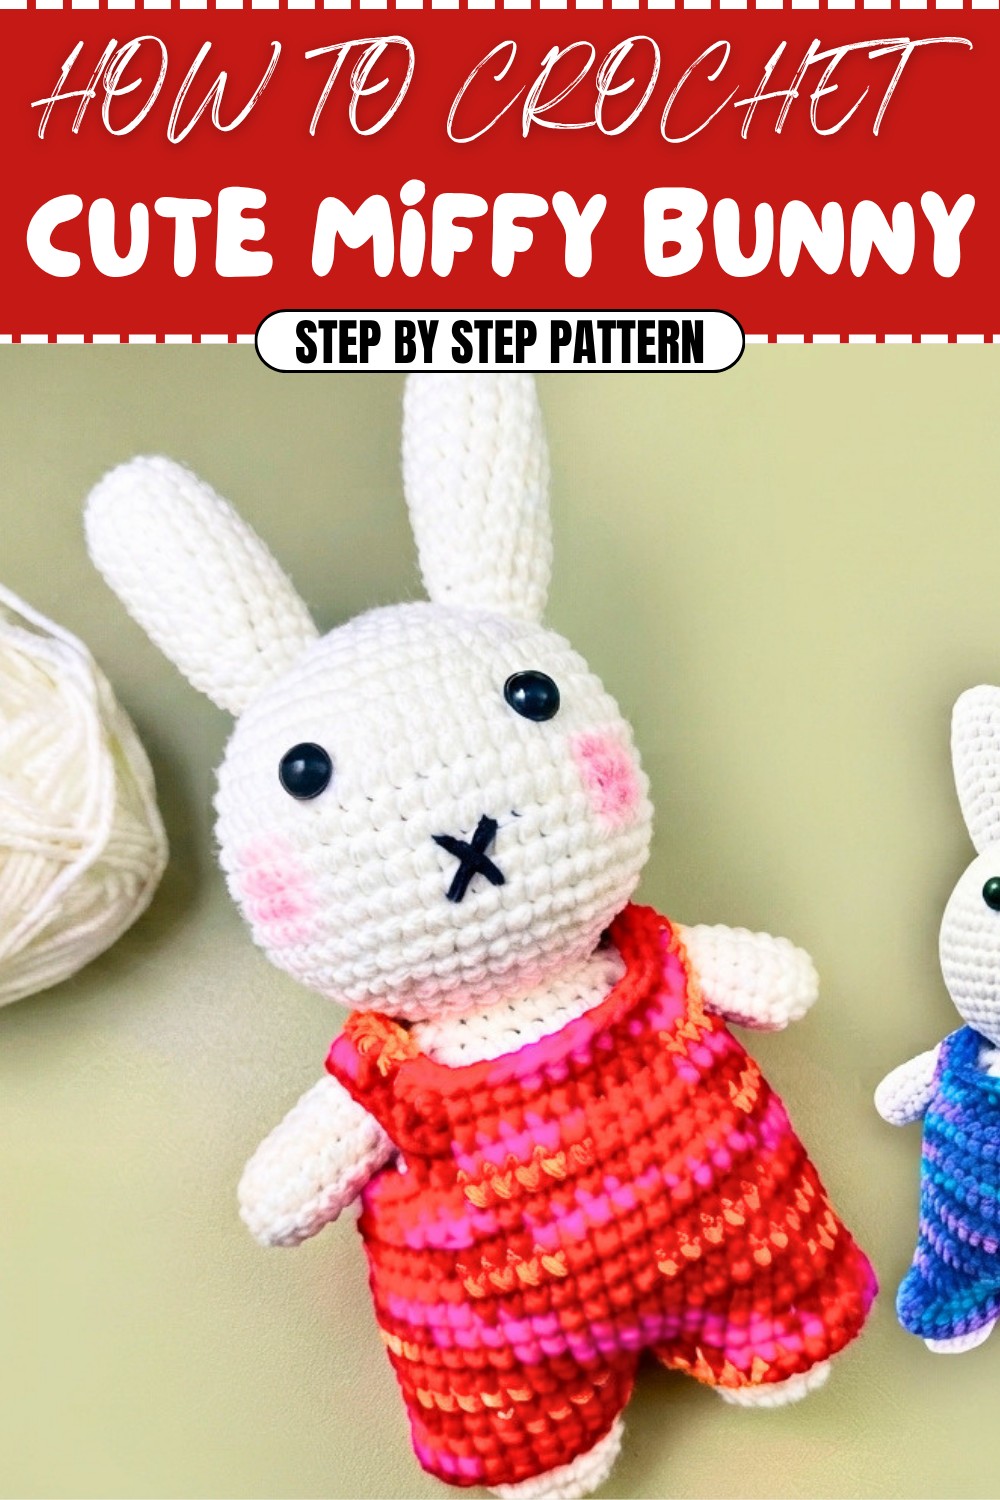
Bunny Crochet Pattern
This delightful crochet pattern guides you step-by-step to create a cute bunny with a shirt. It’s perfect for decorative purposes or a handmade gift. The construction includes crafting the head, body, arms, ears, legs, and assembling all together. Each part is described thoroughly for ease of following along, making this pattern suitable for crocheters seeking an intermediate-level challenge.
Skill Level & Terminology:
Skill Level: Intermediate.
Terminology: This pattern uses US crochet terms.
Materials & Tools:
- Yarn: Worsted-weight yarn in white (bunny), pink (shirt), and black (nose embroidery).
- Hook: US size E (3.5mm) crochet hook.
- Stuffing: Polyester fiberfill for stuffing the body, head, ears, arms, and legs.
- Accessories: Safety eyes (10mm).
- Tools: Yarn needle, stitch markers (optional), scissors, and fabric glue.
Gauge:
While gauge isn’t critical for this pattern, ensure the stitches are tight enough so that stuffing doesn’t show through.
Abbreviations List:
- MR: Magic Ring.
- SC: Single Crochet.
- Inc: Increase (2 SC into the same stitch).
- Dec: Decrease (single crochet two stitches together).
- Sl St: Slip Stitch.
- Ch: Chain.
Special Stitch Instructions:
Magic Ring (MR):
- Hold the yarn and loop it around your fingers to form a ring.
- Insert your hook into the ring, pull up a loop, and chain one to secure. Begin crocheting into the ring.
Finished Size:
Approximately 7 inches tall, excluding the ears.
What You'll Learn From This Pattern:
You’ll learn how to work in rounds, join separate parts, and shape and stuff a project. The straightforward increases and decreases will help improve your ability to sculpt crochet designs, while the shirt introduces simple garment construction.
Why We Love This Pattern:
Crafting this bunny incorporates all the fun aspects of crochet—creating individual parts, assembling them, and adding personal touches like clothing and embroidered features. The sense of accomplishment when finishing it is rewarding, as this bunny is both adorable and functional!
The Pattern Itself:
Head
Round 1: Create a MR, work 6 SC into the ring. Sl St into the first SC, Ch 1.
Round 2: Work 2 SC in each stitch (Inc) around. Repeat 6 times (12 stitches). Sl St to join, Ch 1.
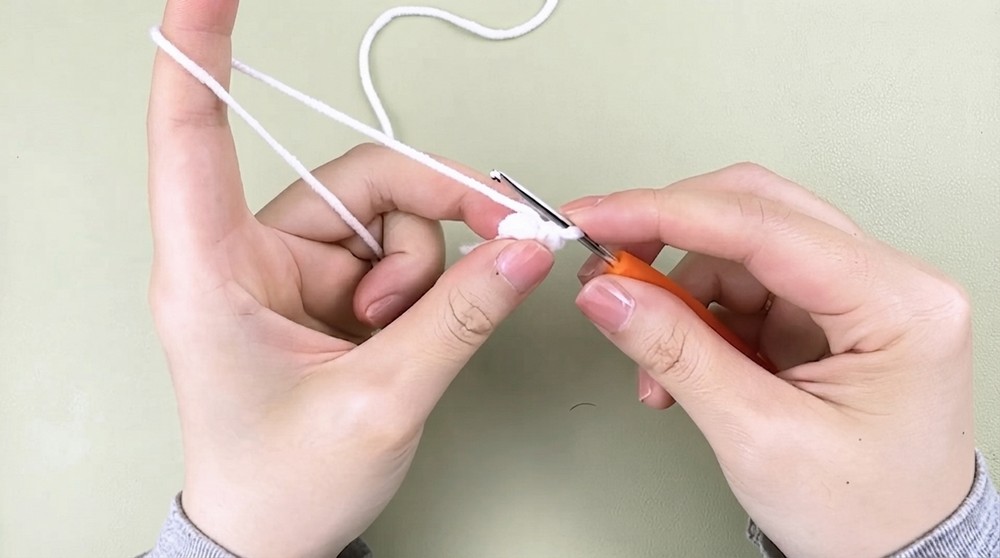
Round 3: Work 1 SC, 1 Inc. Repeat 6 times (18 stitches). Sl St, Ch 1.
Round 4: Work 1 SC, 1 Inc, 1 SC. Repeat 6 times (24 stitches). Sl St, Ch 1.
Continue increasing following the pattern until Round 9 reaches 54 stitches.
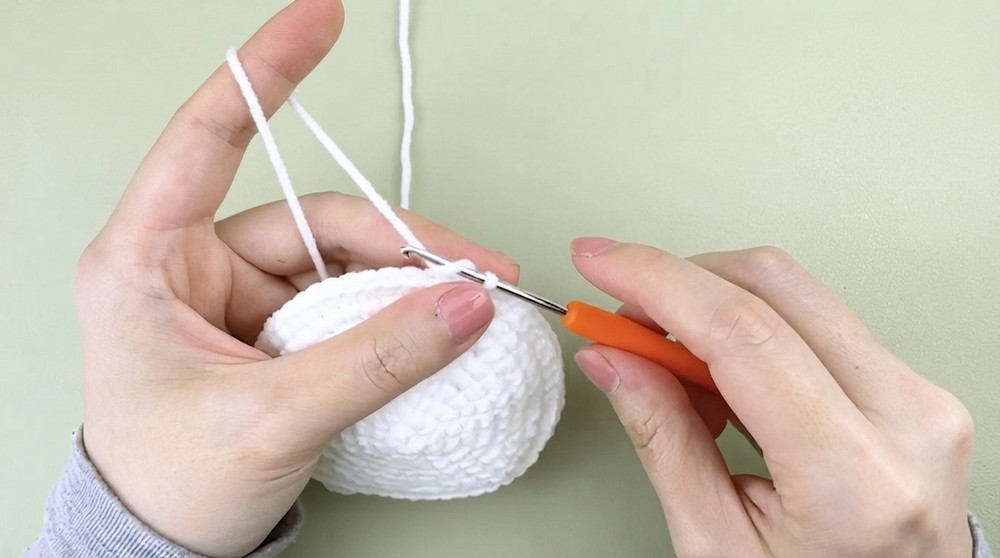
Rounds 10–16: Work 54 SC without increasing (maintain stitch count).
Round 17: Work 7 SC, 1 Dec. Repeat 6 times (48 stitches).
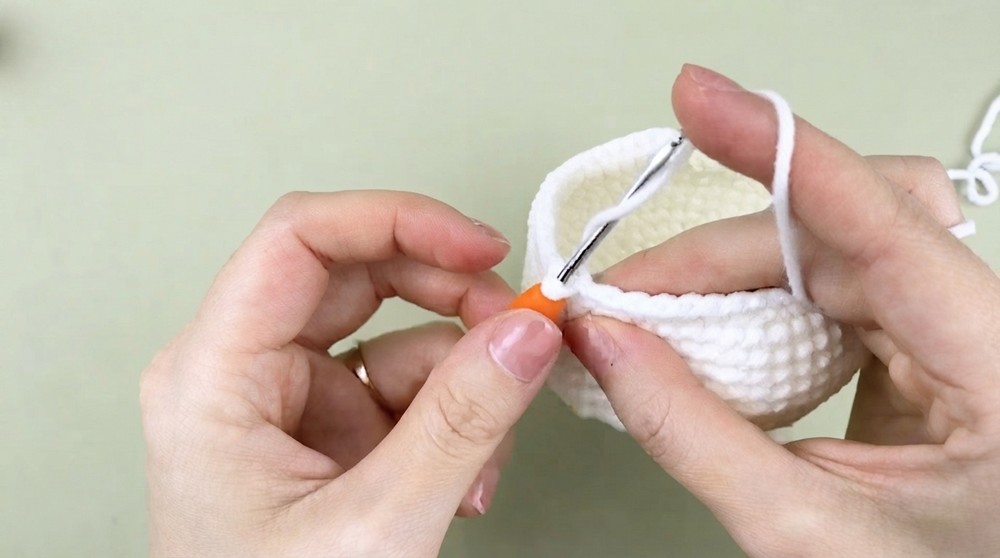
Round 18: Work 3 SC, 1 Dec. Repeat 6 times (42 stitches).
Round 19: Work 5 SC, 1 Dec. Repeat 6 times (36 stitches).
Round 20: Work 2 SC, 1 Dec, 2 SC. Repeat 6 times (30 stitches).
Round 21: Work 3 SC, 1 Dec. Repeat 6 times (24 stitches).
Round 22: Work 1 SC, 1 Dec, 1 SC. Repeat 6 times (18 stitches).
Fasten off, leaving a tail for sewing, and stuff firmly with fiberfill.
Note: In this section, you’ll create the rounded bunny head, which forms the foundation of this project. Beginners, take care to count accurately!
Ears
Round 1: Create a MR, Work 6 SC, tighten the ring, Sl St, Ch 1.
Round 2: Work 2 SC in each stitch (6 Inc) (12 stitches). Sl St, Ch 1.
Round 3: Work 3 SC, 1 Inc. Repeat 3 times (15 stitches). Sl St, Ch 1.
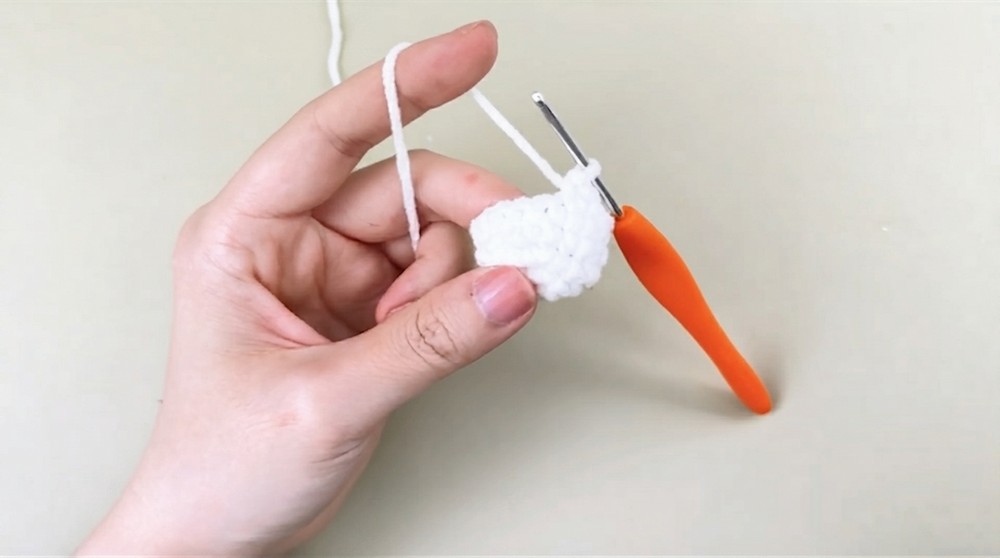
Rounds 4–11: Work 15 SC without increasing.
Round 12: Work 3 SC, 1 Dec. Repeat 3 times (12 stitches).
Round 13: Work 12 SC. Fasten off and stuff lightly. Create the second ear using identical steps.
Note: The ears add charm and personality to the bunny. Be sure they are symmetrical when sewing.
Arms
Round 1: Create a MR with 5 SC, Sl St, Ch 1.
Round 2: Work 2 SC in each stitch (Inc) around (10 stitches). Sl St, Ch 1.
Rounds 3–10: Work 10 SC without changing stitch count (no increases or decreases).
Round 11: Work 8 SC, 1 Dec. Fasten off and stuff. Create the second arm following the same process.
Note: These small arms are simple to crochet and bring life to the bunny’s personality.
Legs
Round 1: Create a MR with 6 SC, Sl St, Ch 1.
Round 2: Work 2 SC in each stitch (Inc) round (12 stitches). Sl St, Ch 1.
Round 3: Work 1 SC, 1 Inc. Repeat 6 times (18 stitches). Sl St, Ch 1.
Rounds 4–5: Work 18 SC without increasing.
Round 6: 5 SC, 1 Dec, 5 SC.
Rounds 7–8: Work 14 SC without increasing or decreasing.
Fasten off for one leg; leave the yarn attached for the second.
Note: You’ll join the legs with chains later on, forming the base of the bunny’s body.
Body
Join the legs with 3 chains and begin crocheting around both legs using SC stitches. Crochet as follows:
Rounds 1–10: Work 48 SC without increasing or decreasing.
Round 11: 11 SC, 1 Dec, repeat across the round. (46 stitches).
Round 12–18: Work evenly without increases or decreases.
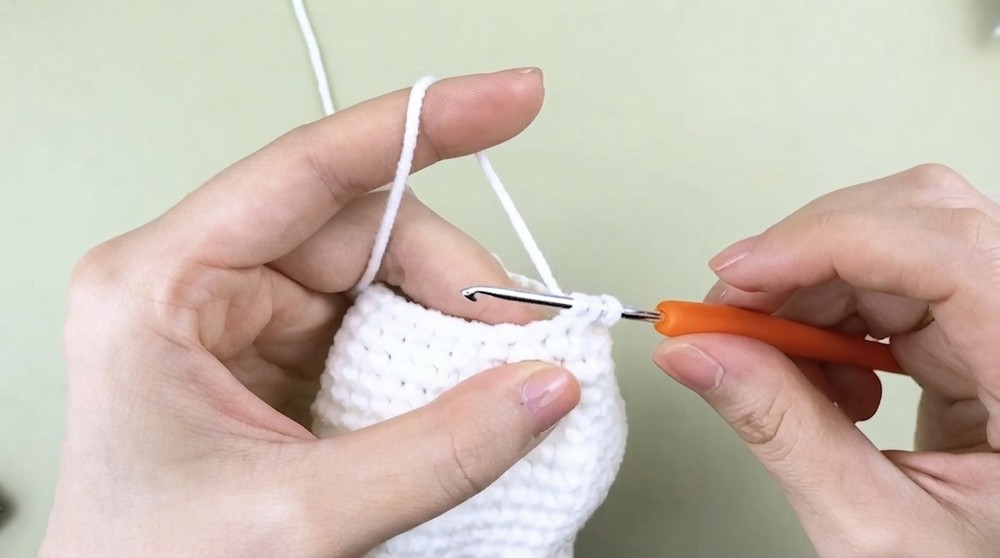
Stuff firmly and attach the arms in Round 26, slipping the stitches through the arm edges symmetrically.
Note: The transition from legs to body creates a seamless structure.
Shirt:
Row 1: Ch 24, join with a Sl St to form a loop.
Rows 2–10: Work SC in each stitch across (24 stitches).
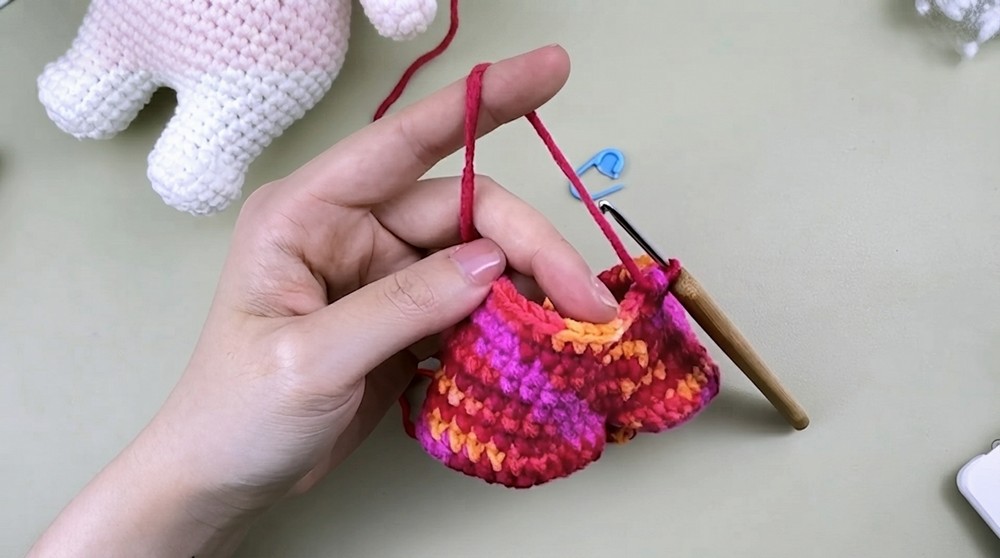
Note: This simple shirt adds an adorable decorative touch. You can customize the colors for variety.
Assembly & Finishing:
- Sew the Head and Body Together: Align seams and sew with a yarn needle.
- Attach the Ears: Position them symmetrically and glue them in place or sew securely.
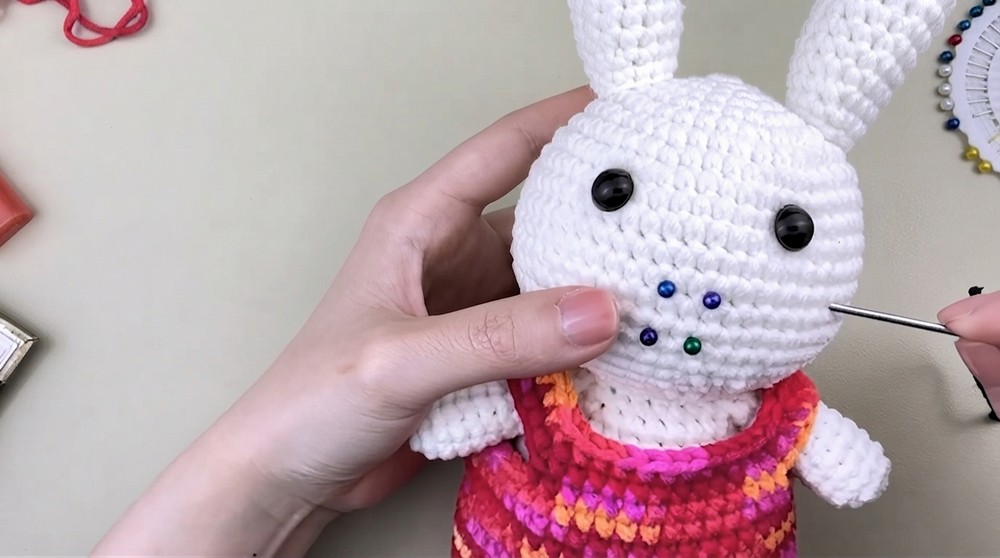
- Add the Face Details: Attach safety eyes and embroider the nose using black yarn.
- Add the Shirt: Slip the shirt over the bunny's body.
Why You’ll Love It:
This bunny is a timeless, adorable piece, infused with your creativity and effort. The process teaches fundamental artistry for amigurumi crafting, making it endlessly satisfying to complete. Enjoy creating your bunny masterpiece!