
Cute Crochet Owl Earrings Pattern for Charming Outfits
Add whimsical energy and update your outfit using a Free Crochet Owl Earrings Pattern made for bold, creative spirits.
When I think about owls, I imagine their big, curious eyes and the soft, intricate patterns of their feathers. Creating these charming owl earrings brings a touch of nature’s wisdom right into your jewelry collection. The pattern mainly uses single crochet and double crochet stitches, combined with picot stitch details to add texture and shape. Starting with a magic ring sets a neat foundation, and then work in rounds builds the owl's body in a way that’s easy for beginners to follow.
Other Fun Projects Using This Pattern
This owl design can inspire more than just earrings. You can adapt the shapes to create small keychains, appliques for bags or hats, or cute fridge magnets. With a few alterations, larger versions could become playful coasters or even part of a cozy blanket pattern featuring forest animals. These little owls bring a lot of personality to various crochet projects.
Learn to Croche Owl Earrings Pattern for Boho Chic
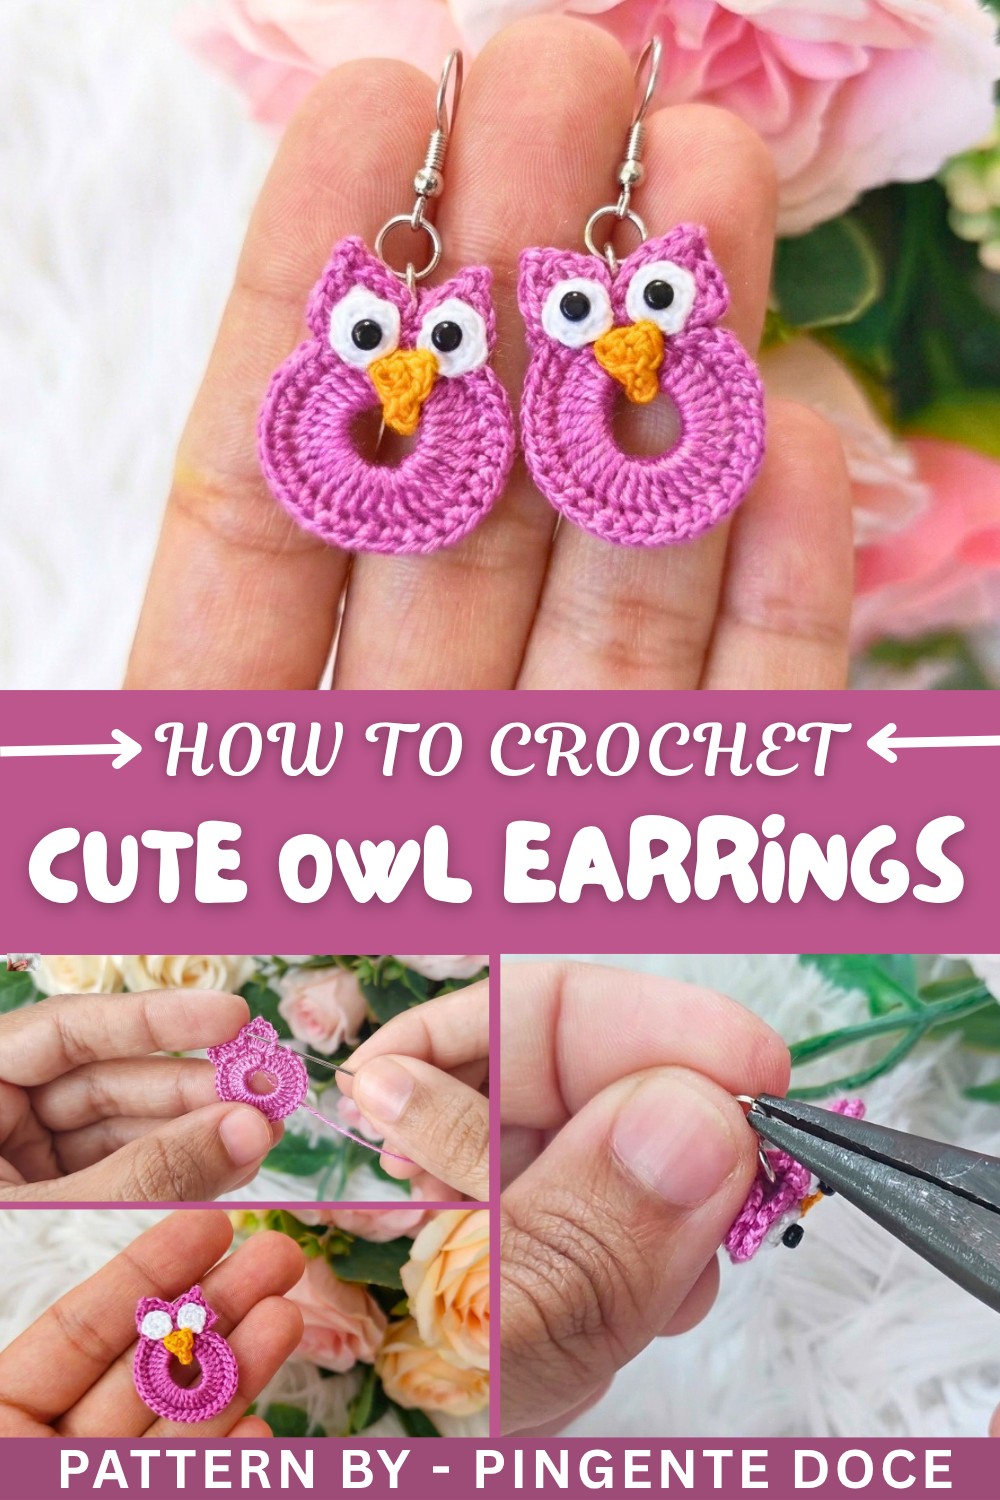
The pattern guides you through crafting two small, identical pieces which you then glue together, creating a lightweight and sturdy earring base. Adding simple bead eyes brings the owl to life, giving it a cute and expressive look. These earrings are perfect for everyday wear or as playful accessories for nature lovers and anyone who enjoys handmade crochets. The bright colors and little details make them stand out, while the sturdy stitches make sure they hold their shape over time.
These owl earrings pattern offer a delightful mix of creativity and technique. They are quick enough to make when you want a fun project but detailed enough to teach new stitches and finishing methods. Using fabric glue helps the pieces stay secure and smooth, making your work look polished and professional. Whether as a gift or for yourself, these earrings add a whimsical charm to any outfit.

Crochet Owl Earrings Pattern
Owl-themed accessories are always a charming choice, and these crochet owl earrings are no exception! This pattern combines intricate details with adorable design to create lightweight and fun earrings. Perfect as gifts, fashion embellishments, or even keychains, this project allows you to explore various crochet techniques in a small yet rewarding design.
Uses of This Pattern:
- Accessories: A perfect pair of earrings to complement your quirky style or add a festive touch.
- Decorations: Turn the motif into keychains, bag charms, or even appliqués for projects like blankets or hats.
- Gifts and Crafts: Handmade gifts your friends and loved ones will cherish.
What You'll Learn:
- How to crochet a magic ring to start a circular design.
- Techniques like picots, double crochet clusters, and incorporating color changes.
- Assembling components into a final, polished owl design with embellishments.
Skill Level & Terminology
Skill Level: Beginner-Friendly to Intermediate
Terminology: US Crochet Terms
Materials & Tools
- Thread: Anchor thread No. 8 in white, orange, and accent colors.
- Hook Size: 1 mm crochet hook.
- Other Tools:
- Sewing needle
- Scissors
- Fabric glue
- Earring hooks and jump rings
- Small beads (for eyes)
Gauge
Gauge is not critical for this pattern. However, tight and consistent stitches ensure that the motif holds its shape properly.
Abbreviations
- MR: Magic Ring
- CH: Chain
- SC: Single Crochet
- DC: Double Crochet
- TR: Treble Crochet
- SLST: Slip Stitch
- Picot: A decorative loop made with chains and a slip stitch
Special Stitch Instructions
- Magic Ring (MR): Wrap the thread into a circle and crochet into the loop. Pull it tight after completing the first round.
- Picot: Chain 2, then insert the hook into the top of the previous stitch, yarn over, and pull through.
- Double Crochet Cluster: Multiple double crochet stitches worked into the same space, separated by chains or slip stitches for texture.
Finished Size
The completed owl measures approximately 2 inches in height and 1.5 inches in width, depending on your thread and tension.
Owl Earring Pattern
Part 1: Creating the Owl Body
- Start with a Magic Ring:
- Create a magic ring.
- Chain 2 CH (counts as the first DC).
- Work Within the Magic Ring:
- Crochet 30 DC into the ring.
- Do 1 SLST into the first DC to close the round.
- Leave the magic ring slightly open to maintain a circular shape.

This step forms the body of the owl. The tightly worked double crochets create a rigid base for embellishments.
Part 2: Forming the Owl’s Head
- Build the Head:
- Chain 2 CH (counts as the first DC).
- Work 1 DC in the same stitch.
- Add Double Treble Crochets:
- Yarn over twice, insert the hook into the same stitch, and pull through two loops three times to form a treble crochet (TR).
- Add Picot Stitch and Continue:
- After the TR, chain 2 CH, and slip stitch into the top of the TR to form a picot.
- Repeat the pattern (DC, TR, Picot) in the same space for a total of three repetitions in this stitch.
Repeating these textured clusters adds visual interest and creates an owl’s "feathered" look at the top of its head.
Part 3: Adding the Owl’s Wings
- Crochet into Next Stitches:
- Work 1 DC into the next stitch.
- Work 1 SLST into the following stitch.
- Wing Shape:
- Into the next stitch:
- Work 1 DC, yarn over twice, and work 2 TR into the same stitch.
- Add a picot after the second TR by making 2 CH and slip stitching into the stitch below.
- Continue with 2 more TR in the same space.
- Into the next stitch:
- Repeat for Both Sides:
- Follow symmetrical clusters on each side of the motif to form the wings.
The structured "wing" clusters use picots and treble crochets for dimension and help define the owl's recognizable shape.
Part 4: Adding the Tail and Belly
- Finish the Body:
- After completing the wings, start crocheting around the bottom of the design.
- Crochet 1 SC into every stitch across the lower edge to form the base of the body.
- Add the Tail Feathers:
- At the center of the magic ring, work a series of SC, MC, and DC stitches in the chain spaces.

This final step refines the bottom of the owl and completes the motif’s shape.
Part 5: Creating Decorative Elements
- Crochet the Owl’s Eyes (Using White Thread):
- Start a magic ring, and work 6 SC into the magic ring.
- Close with a SLST into the first SC, then fasten off.
- Crochet the Beak (Using Orange Thread):
- Create a magic ring, and crochet 2 SC into the ring.
- Chain 2 CH, slip stitch into both loops to create the tip of the beak.
Assembly & Finishing
- Attach the Eyes and Beak:
- Use fabric glue to attach the crocheted eyes and beak to the body of the owl.
- Add small beads in the center of each eye for a lifelike touch.
- Reinforce the Design:
- Apply the fabric glue and water mixture lightly on the back of the owl design and let it dry completely.
- Add Hardware:
- Attach a jump ring at the top of the owl’s head and secure an earring hook to the jump ring.
- Double-check that all attachments are tight and secure.
- Finish Loose Ends:
- Use a sewing needle to carefully weave in and trim thread ends for a clean finish.
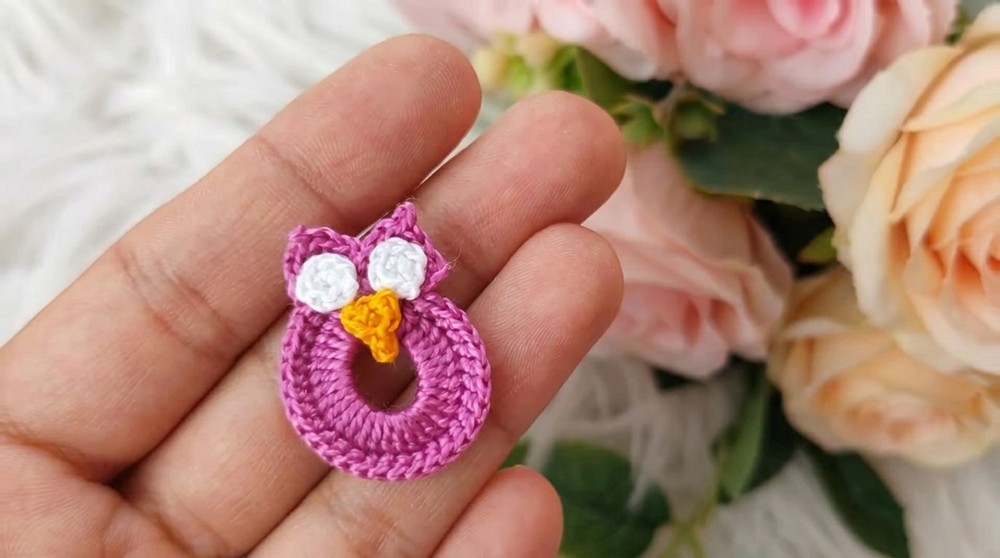


This final step makes the owl sturdy and ready for wear.
Troubleshooting and Solutions
Challenge: Keeping the magic ring and cluster stitches clean.
Solution: Ensure thread tension is consistent and use stitch markers to guide repetitions.
Challenge: Properly gluing parts together.
Solution: Use a very small amount of fabric glue, and allow the parts to dry completely before assembling.
Final Thoughts
These adorable crochet owl earrings are a versatile accessory that would look great for any season, but they’re especially whimsical for festivals and events. With its customizable appearance, you can create owls in various designs and colors. This project offers a fun way to engage with detailed techniques without being overly complex.
Why I Love This Pattern:
I’m enchanted by the texture and detail packed into such a tiny design. It’s a perfect mix of practicality and artistry, and I love sharing these cute creations with friends and family!