
How to Crochet Mandala Earrings Pattern for Trendy Outfits
Add playful flair and breathe new life into your style using a Free Crochet Mandala Earrings Pattern for unique, vibrant statements.
Crocheting a small mandala can bring a wonderful sense of calm and creativity to your day. The delicate, circular design naturally draws the eye with its repeating patterns and beautifully spaced stitches. Using double crochet and treble crochet stitches, this pattern forms a lovely openwork mandala that looks intricate but is surprisingly easy to make. Starting with a magic ring helps create a neat, tight center, perfect for building the symmetrical rounds that give the mandala its classic look.
Learn to Crochet Mandala Earrings Pattern for Boho Festivals

Each round adds new texture and shape by combining high stitches and chains. This layering creates a floral or star-like effect that feels both modern and timeless. Working on small, smooth rounds makes the project manageable even for beginners while teaching valuable stitch techniques. Finishing by joining two identical pieces together and attaching them to an earring base makes for charming jewelry that is lightweight and graceful.
This pattern is great for casual wear, special occasions, or even gifts for friends who appreciate handmade accessories. Adding a little fabric glue helps the pieces hold their shape nicely, so they don’t flop when worn. The open spaces in the pattern allow glimpses of skin or other clothing beneath, adding a delicate, airy feel. Plus, the repetitive stitch patterns provide a relaxing experience as you create something beautiful step by step.
Other Ideas You Can Crochet From This Pattern
This mandala design is very versatile. You can enlarge it to create coasters, decorative doilies, or even small wall hangings. By experimenting with different yarn colors, you can make vibrant mandalas for home décor or gifts. Smaller versions can be sewn onto bags or cushions as pretty appliques. This pattern’s balanced, circular layout really sparks creativity for many types of crochet projects.
Crochet Mandala Earrings Pattern
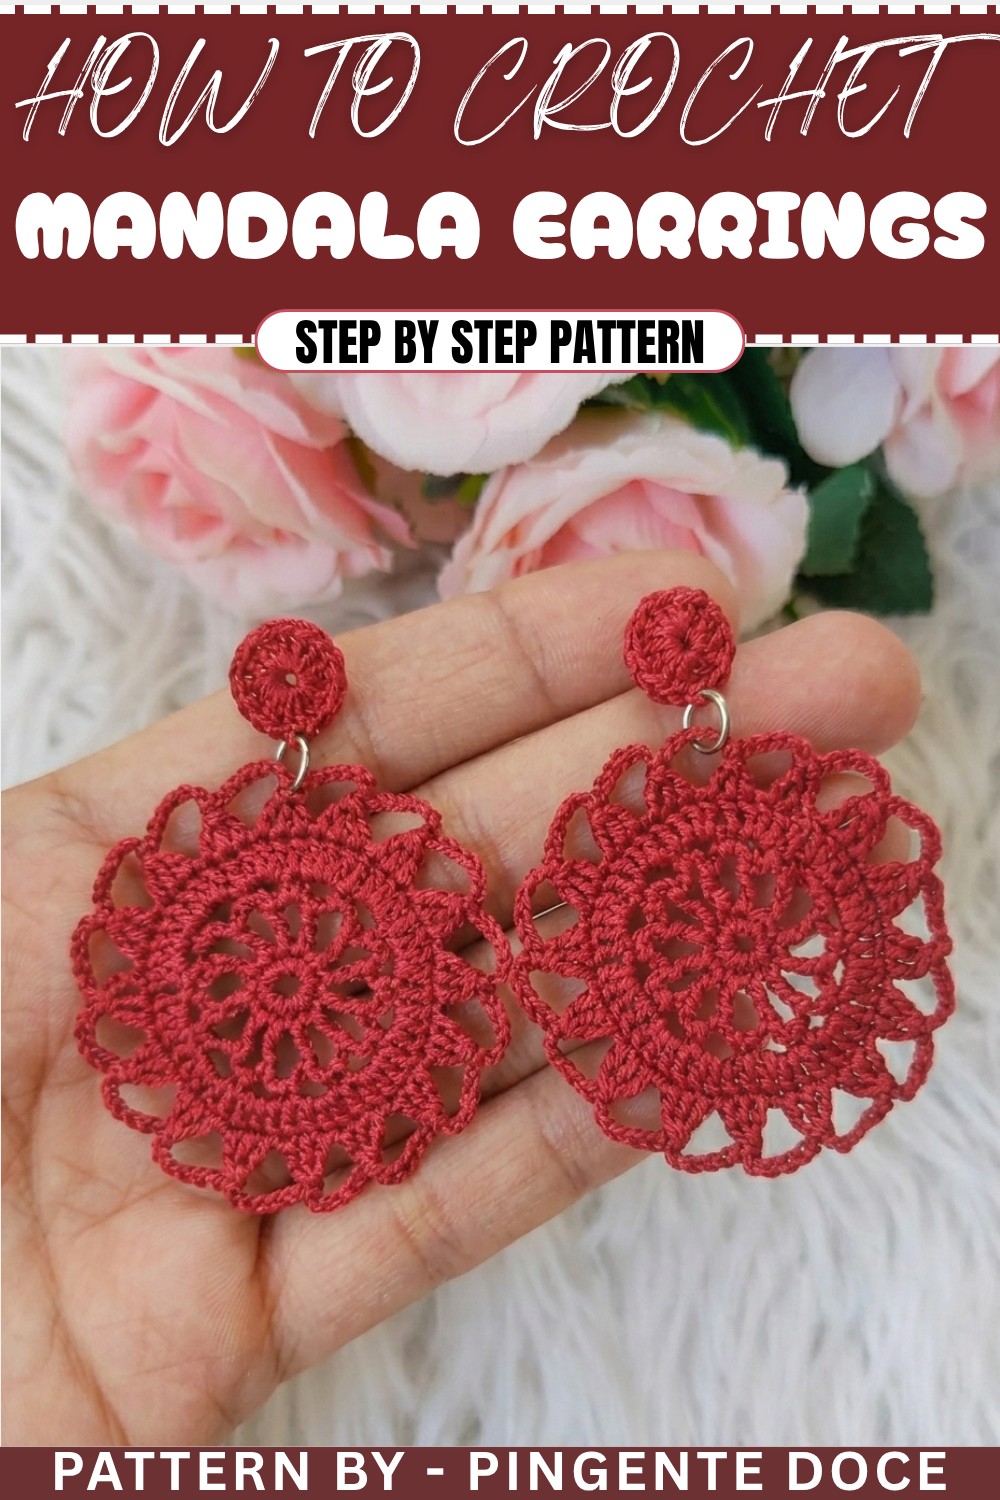
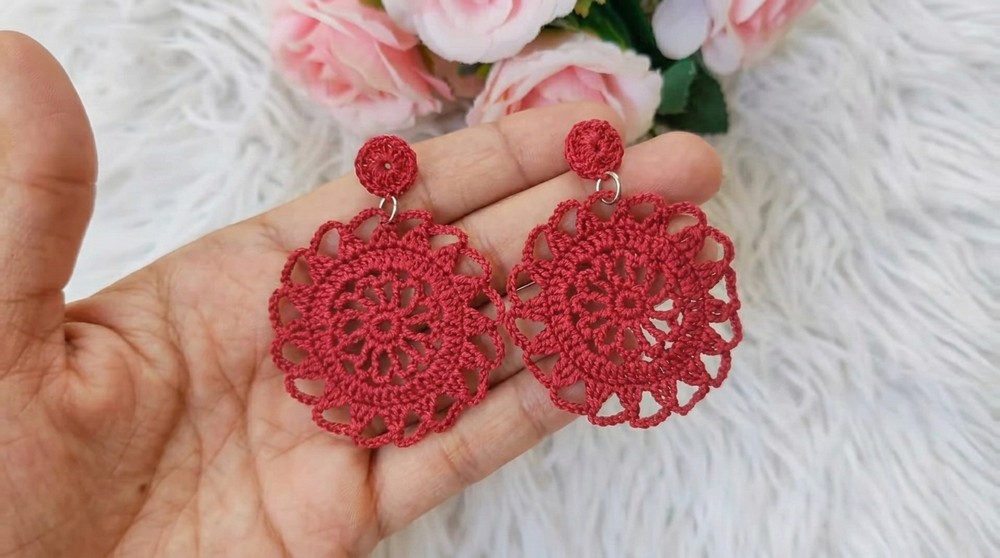
This crochet mandala earring pattern creates a stunning circular design that is light, elegant, and perfect as a stylish accessory or a thoughtful gift. Its intricate pattern gives the earrings an artistic flair and distinctly handmade look. Whether you’re new to crocheting or experienced, this step-by-step pattern is easy to follow, quick to make, and perfect for accessorizing.
Uses of This Pattern:
- Accessories: Use as everyday earrings or jazz up your outfit for a special occasion.
- Decorative Embellishments: Convert the mandala motif into pendants, ornaments, or accents for home decor.
- Gifts and Crafts: Make beautiful earrings as personalized gifts or for craft fairs.
What You'll Learn:
- How to start with a magic ring.
- Working rounds with single crochet (SC), double crochet (DC), and treble crochet (TR).
- Techniques for combining stitches for texture and design, including working incomplete stitches together.
- Polishing your work with assembly and decorative hardware like earring hooks.
Skill Level & Terminology
Skill Level: Beginner-Friendly
Terminology: US Terms
Materials & Tools
- Thread: Anchor thread No. 8 in your choice of colors.
- Hook Size: 1 mm crochet hook.
- Other Tools:
- Scissors
- Sewing needle
- Fabric glue (for assembly reinforcement)
- Earring hooks and jump rings
Gauge
Gauge is not critical for this project since the finishing size depends on personal preferences and tension. However, tight and consistent stitches ensure the design holds its shape.
Abbreviations
Below is the list of abbreviations used in the pattern:
- MR: Magic Ring
- CH: Chain
- SC: Single Crochet
- DC: Double Crochet
- TR: Treble Crochet
- SLST: Slip Stitch
Special Stitch Instructions
- Magic Ring (MR): Start by wrapping the thread around your fingers to create a circle, insert the hook through the circle, pull yarn through, and secure with a chain. Work stitches into the ring and tighten it after completing the round.
- Incomplete Treble Crochet: Yarn over twice, insert hook, yarn over, pull through, yarn over, pull through two loops twice (leave the last loop on the hook). Repeat for the remaining stitches and pull through all loops at the end for joined stitches.
Finished Size
The final mandala motif measures approximately 1.5 inches in diameter, depending on your thread and tension.
Mandala Earring Pattern
Part 1: Creating the Center of the Mandala
- Start with a Magic Ring:
- Create a magic ring and crochet 12 SC directly into the ring.
- Pull the ring tight to close.
- Finish the round by making a SLST into the first SC.
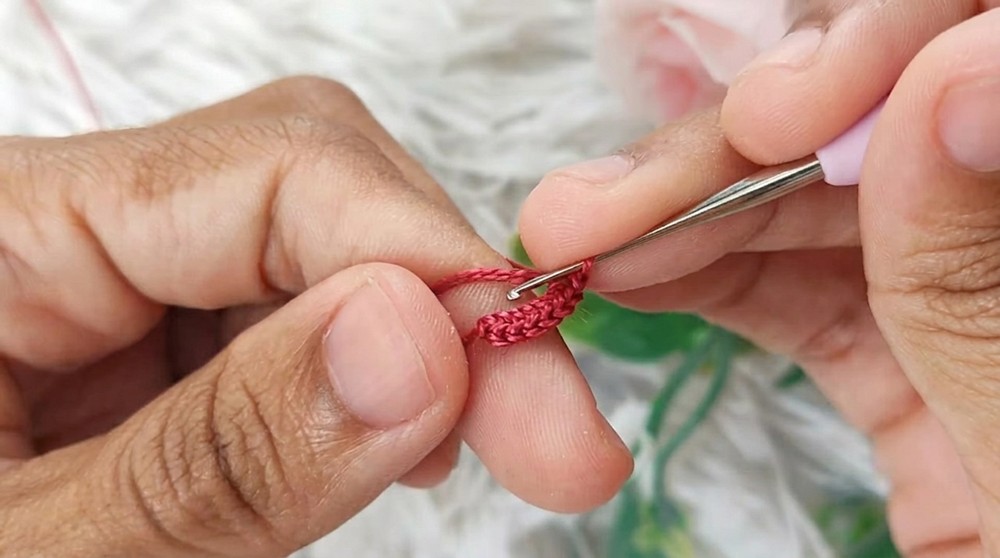
This step creates the base of the mandala, forming a tight, circular center.
Part 2: Adding the First Layer of Loops
- Form Chain Loops Around:
- Make 7 CH, skip to the next stitch, and work 1 TR.
- Follow it with 4 CH, and in the next stitch, work 1 TR.
- Repeat this pattern (4 CH + 1 TR) until you complete the round. (You’ll have 12 chain loops.)
- Finish the round with a SLST into the 3rd chain of the first loop.

This layer forms the base for the decorative outer rows and creates the mandala’s lacy structure.
Part 3: Adding Decorative Layers
- Work into Chain Spaces:
- In the first chain space, work:
- 1 SC, followed by 3 CH.
- Move to the next chain space and work:
- 1 DC, then 3 CH.
- Repeat this pattern (1 SC + 3 CH, 1 DC + 3 CH) across all chain spaces.
- Close the round with a SLST into the first DC.
- In the first chain space, work:
This step starts shaping the mandala’s expanding texture.
Part 4: Building the Solid Rounds
- Next Round – Adding Double Crochets:
- Begin with 3 CH (counts as a DC).
- In the first chain space, work 3 DC.
- On top of the single crochet stitch from the previous row, work 1 DC.
- Continue:
- In each chain space, work 3 DC, and in each DC from the previous row, work 1 DC.
- Finish with a SLST into the 3rd chain from the starting stitch.

These rounds give structure to the mandala, making it firmer and thicker for earrings.
Part 5: Final Layer with 3-DC Clusters
- Crochet Joined Clusters:
- Begin by chaining 3 CH.
- In the next three consecutive stitches, work incomplete TR (keeping the last loop of each TR on the hook).
- Once you have four loops on the hook, yarn over and pull through all loops.
- Chain 6 CH as a spacer.
- Repeat this pattern:
- Work 3 incomplete TR across 3 stitches, yarn over, and pull through all loops on hook. Then, chain 6 CH.
- Continue around and finish with a SLST into the first set of joined TR.
This final step creates the outermost decorative edge and completes the mandala’s lacy, circular shape.
Assembly & Finishing
- Create the Back:
- Make a second identical mandala piece if you want a reversible look.
- Glue the Pieces Together:
- Use fabric glue to adhere the two pieces back-to-back for a thick, polished design.
- Attach Jewelry Hardware:
- Insert a jump ring through one of the chain spaces at the top of the earring and secure it to an earring hook.
- Weave in Loose Ends:
- Using the sewing needle, hide and secure any excess thread, trimming as needed.
Troubleshooting and Solutions
Challenge: Keeping tension even to maintain consistent loops.
Solution: Practice consistency in pulling yarn through and avoid tightening loops too much. Using stitch markers can also help identify key points.
Challenge: Attaching hardware securely to delicate thread.
Solution: Double check that jump rings are tightly closed and reinforce the top loop with a knot or additional glue if needed.
Final Thoughts
This crochet mandala earring pattern is a great project to refine your skills, create beautiful accessories, and enjoy the satisfaction of quick creations. Its lacy, festive look can be customized for different seasons, making it endlessly versatile.
Why I Love This Pattern:
This elegant pattern is a representation of how small details can make a big impact. Light, stylish, and unique, it’s perfect for anyone who loves handmade, one-of-a-kind accessories.