
Easy Adorable Crochet Pikachu Amigurumi Pattern for Beginners
Power up your gift game using a Free Crochet Pikachu Amigurumi Pattern, perfect for fans, kids, or quirky room decor upgrades.
Bringing your favorite characters to life through crochet can be such a rewarding and fun experience. This pattern guides you step-by-step in creating an adorable little Pikachu, perfect for adding a touch of joy to any space or gifting to someone special. Using simple and well-loved crochet techniques like the magic ring, single crochet, increases, and decreases, you’ll shape Pikachu’s charming body, ears, and legs with ease. These basic stitches are great building blocks, allowing you to create clean, rounded shapes and add all the cute details that make this character so lovable.
Learn Crochet Pikachu Amigurumi Free Pattern for Playful Creations
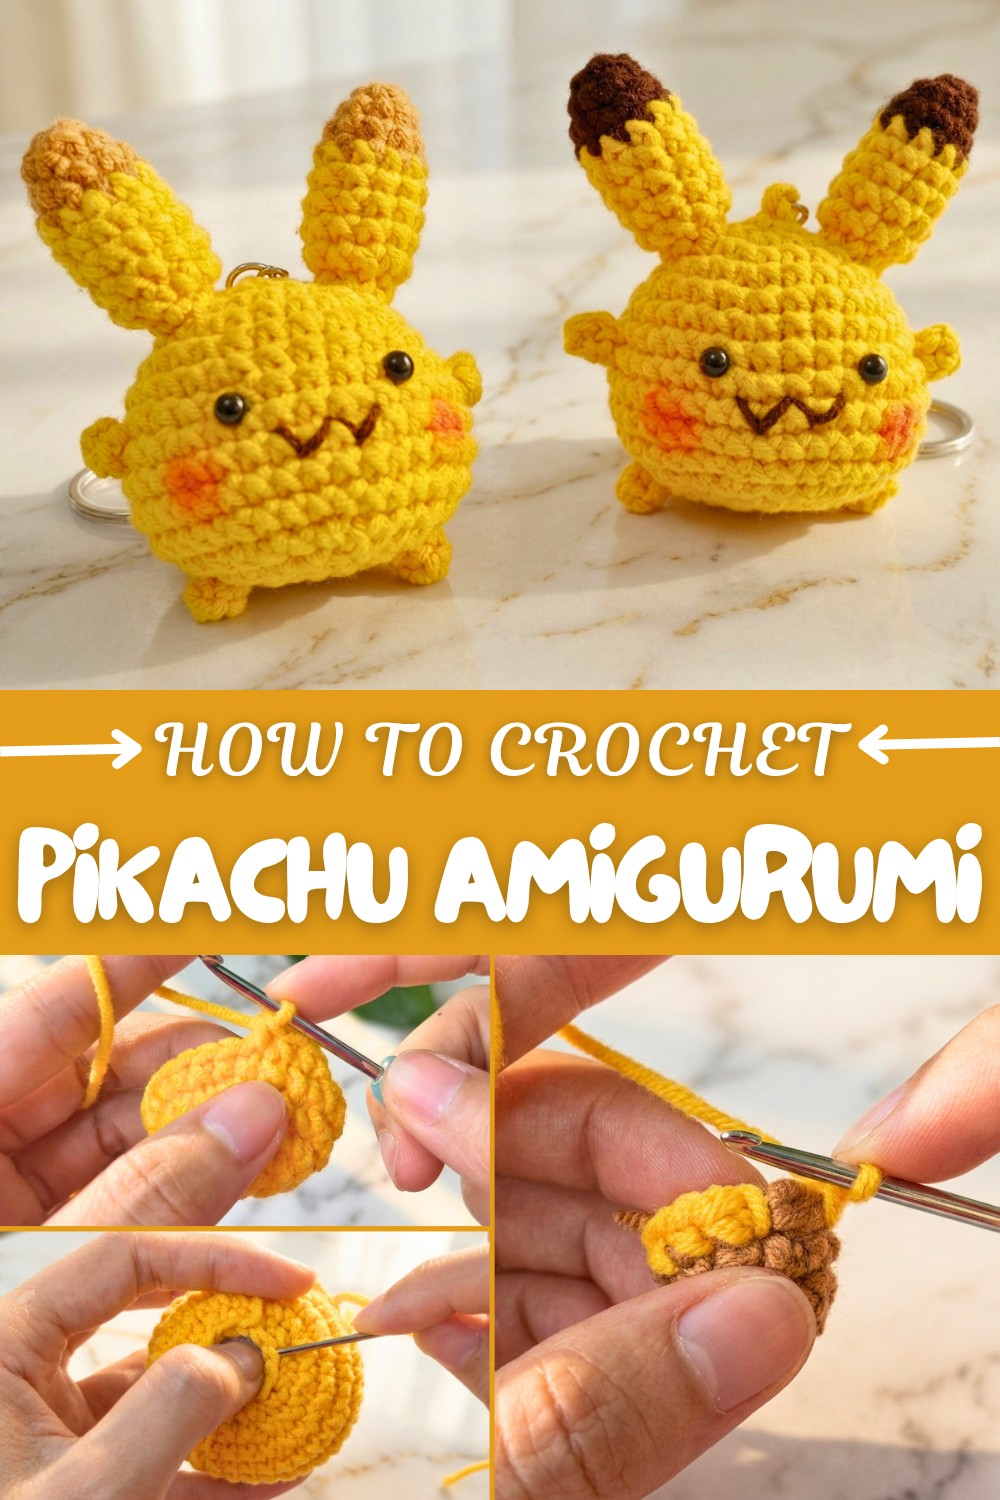
The magic ring is especially helpful at the start for making neat, tight circles which form the base of Pikachu’s body and head, ensuring no holes in your work. As you increase and decrease stitches around these circles, you’ll sculpt the form to give it dimension and fullness. Finishing touches such as attaching small crocheted ears, sewing on glued safety eyes, and embroidering the cheerful mouth bring Pikachu to life. This project is perfect for beginners and experienced crocheters alike because of its friendly pace and clear instructions.
Once you’re comfortable with this pattern, it opens up a whole world of possibilities. You can experiment with making other amigurumi characters using the same techniques — like crocheting different Pokémon, cute animals, or even tiny dolls. Learning to shape pieces with increases and decreases, join parts securely, and weave in yarn ends neatly sets you up for a variety of creative crochet projects. This pattern not only makes a delightful handmade toy but also builds skills that help you explore endless adorable creations!
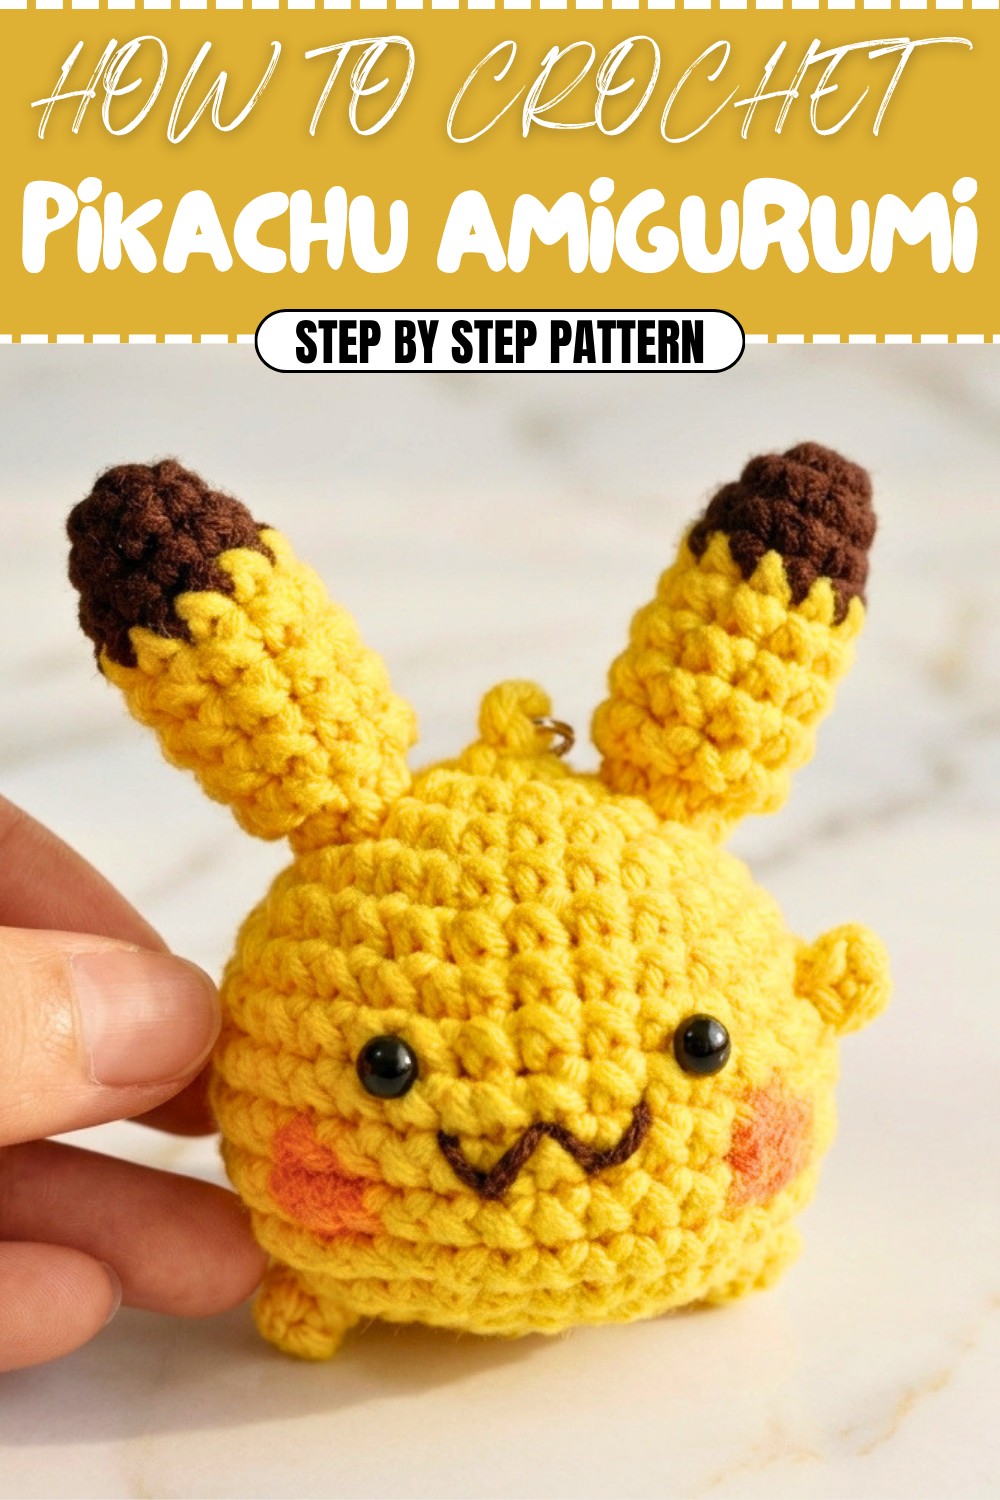
Crochet Pikachu Amigurumi Pattern
Welcome to this step-by-step pattern to crocheting your very own adorable Pikachu! This simple and easy pattern is designed for beginner and intermediate crocheters, making it perfect for Pokémon fans who want to create a cute version of their favorite character. Using basic crochet techniques like magic rings, increases, and decreases, you can bring Pikachu to life in no time.
Skill Level & Terminology
- Skill Level: Beginner to Intermediate
- Terminology: US Crochet Terms
This project involves working in the round and includes basic shaping with single crochets. If you know how to start a magic ring, work single crochet, and sew components together, this pattern will be a breeze!
Materials & Tools
- Yarn (100% Acrylic, DK or Worsted Weight):
- Yellow: For the body and ears.
- Black or Brown: For the tips of Pikachu's ears.
- Red or Pink: For optional cheeks.
- Hook Size: 2.5 mm or 3.00 mm, depending on your tension.
- Stuffing: Polyester fiberfill for shaping.
- Glue or Black Thread: For attaching eyes and embroidery.
- Eyes: 4 mm safety eyes (or glue-on eyes).
- Scissors.
- Tapestry Needle: For sewing parts together and weaving in loose ends.
Gauge
Gauge is not critical for this project, but ensure that your stitches are tight enough to prevent stuffing from showing.
Abbreviations
| Abbreviation | Explanation |
|---|---|
| mr | Magic Ring |
| ch | Chain |
| sc | Single Crochet |
| inc | Increase (2 sc in one stitch) |
| dec | Decrease (crochet 2 stitches together) |
| sl st | Slip Stitch |
Special Stitch Instructions
Magic Ring (mr)
To form a magic ring: wrap the yarn around two fingers forming an "X," insert the hook under the first loop, pull up the second loop, and crochet into the circle. Pull the tail tight to close.
Finished Size
The final Pikachu measures approximately 4–5 inches (10–13 cm) tall, depending on yarn weight and hook size used.
The Pattern Itself
The pattern is divided into:
- Body
- Legs
- Ears
- Assembly (Adding the mouth, eyes, and legs).
Part 1: Body
Yarn: Yellow
Round 1:
- Start with a magic ring.
- Work 6 sc into the magic ring. (6 sts)
Round 2:
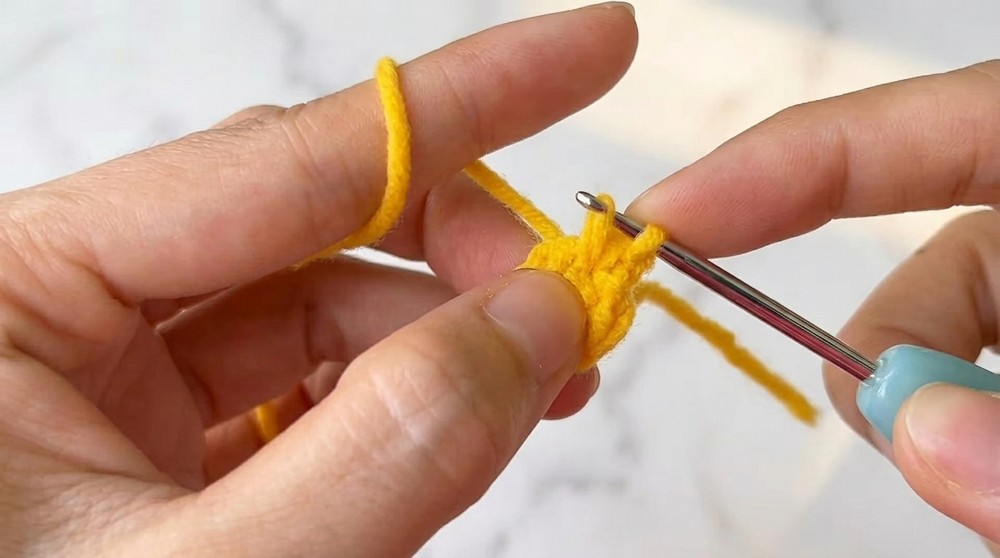
- Ch 1. Inc in every st (2 sc in each) → (12 sts).
Round 3:
- Ch 1. (1 sc, 1 inc) repeat 6 times → (18 sts).
Round 4:
- Ch 1. (2 sc, 1 inc) repeat 6 times → (24 sts).
Round 5:
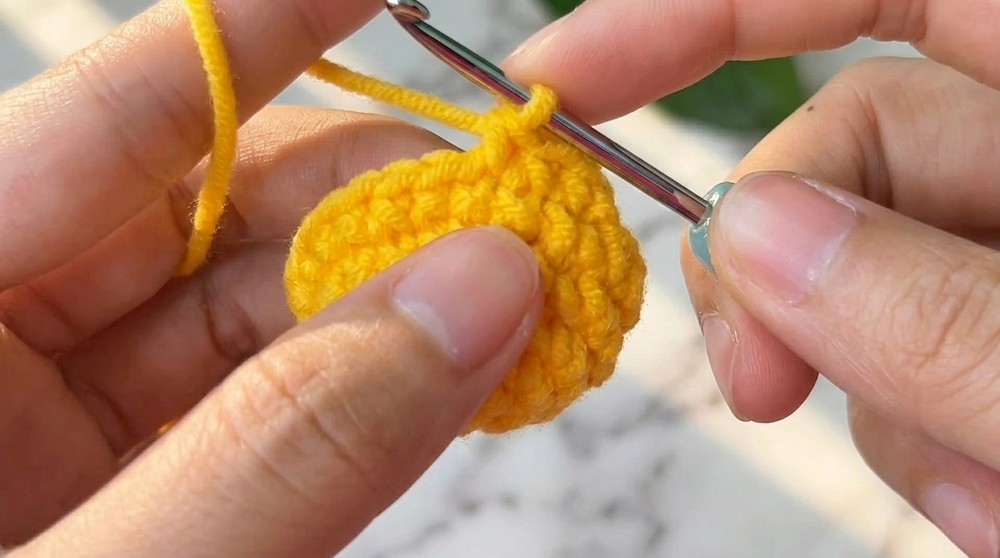
- Ch 1. 1 sc in each st → (24 sts).
Round 6:
- Ch 1. (3 sc, 1 inc) repeat 6 times → (30 sts).
Round 7:
- Ch 1. 1 sc in each st → (30 sts).
Round 8:
- Ch 1. (4 sc, 1 inc) repeat 6 times → (36 sts).
Rounds 9-11:
- Ch 1. 1 sc in each st (36 sts per round).
Round 12 (Decrease):
- Ch 1. (4 sc, 1 dec) repeat 6 times → (30 sts).
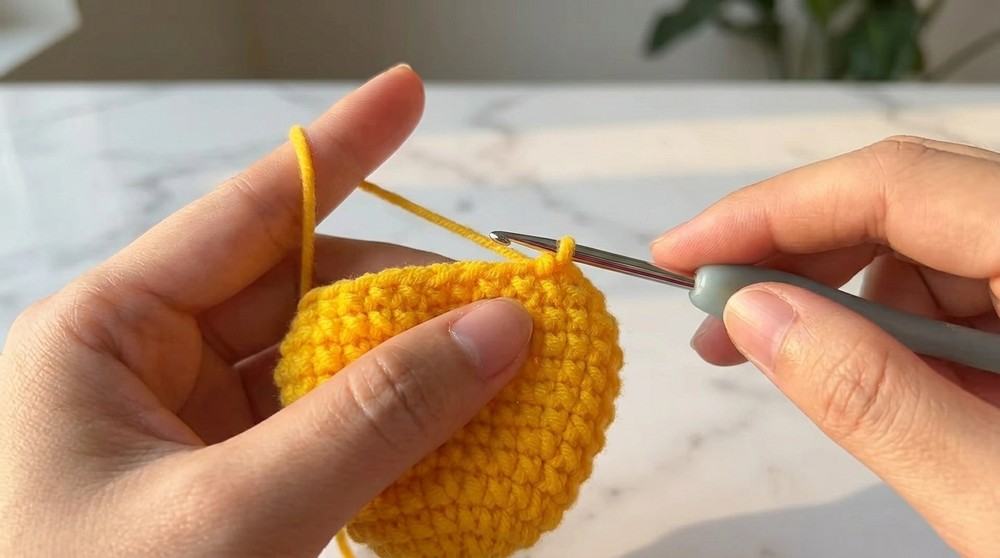
Round 13 (Decrease):
- Ch 1. (2 sc, 1 dec) repeat 6 times → (24 sts).
Tip for Beginners: Start stuffing the body firmly at this stage to maintain its shape.
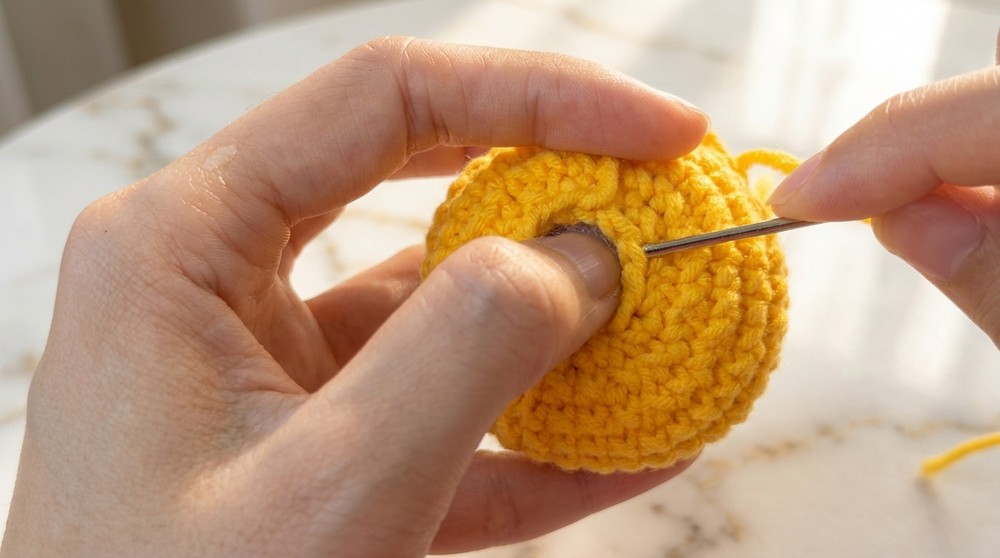
Final Round (Round 14):
- Ch 1. (3 sc, 2 dec) repeat 6 times → (12 sts).
- Leave a long tail, fasten off, and close the bottom with a tapestry needle using the front loops of the last round.
Part 2: Legs (Make 4)
Yarn: Yellow
Round 1:
- Start with a magic ring.
- Work 5 sc into the magic ring. (5 sts)
Round 2:
- Ch 1. 1 sc in each st → (5 sts).
- Fasten off and leave a long tail for sewing.
Part 3: Ears (Make 2)
Ears Tip (Black or Brown Yarn):
Round 1:
- Start with a magic ring.
- Work 6 sc into the magic ring. (6 sts)
Round 2:
- Ch 1. 1 sc in each st → (6 sts).
Round 3:
- Ch 1. (1 sc, 1 inc) repeat 3 times → (9 sts).
Switch to Yellow Yarn:
Rounds 4-8:
- Ch 1. 1 sc in each st → (9 sts per round).
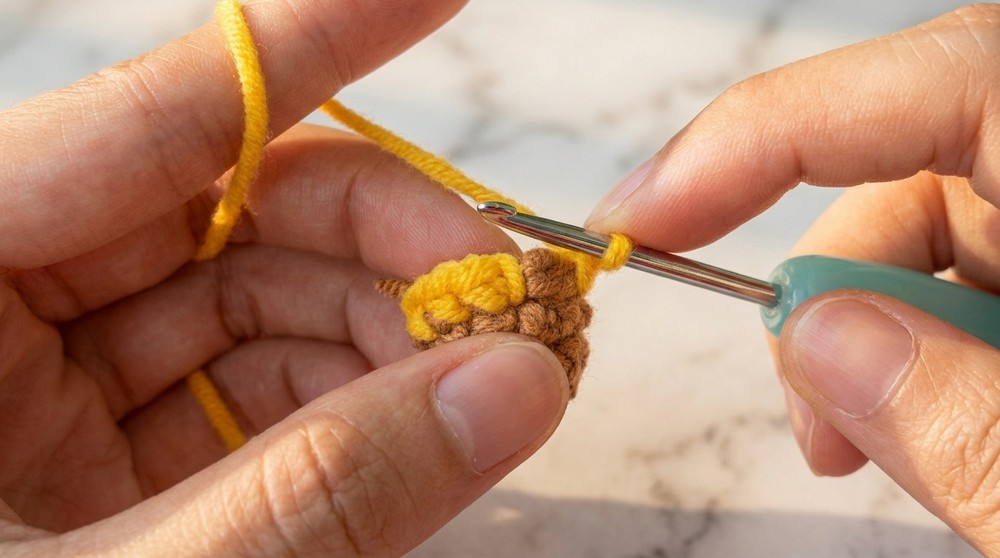
Fasten off, leaving a long tail for sewing.
Assembly & Finishing
1. Attach the Ears:
- Flatten the ears' openings and sew them onto the top of the head between Rounds 3–4. Space them evenly apart, ensuring they curve slightly outward.
Tip for Beginners: Position the ears before sewing to ensure symmetry.
2. Attach the Legs:
- Flatten the legs and sew them to the lower part of the body. Ensure the placement gives Pikachu proper balance to stand upright.
3. Add the Face (Eyes, Mouth, and Cheeks):
Eyes:
- Attach/glue 4 mm safety eyes between Rounds 6–7, approximately 6 stitches apart.
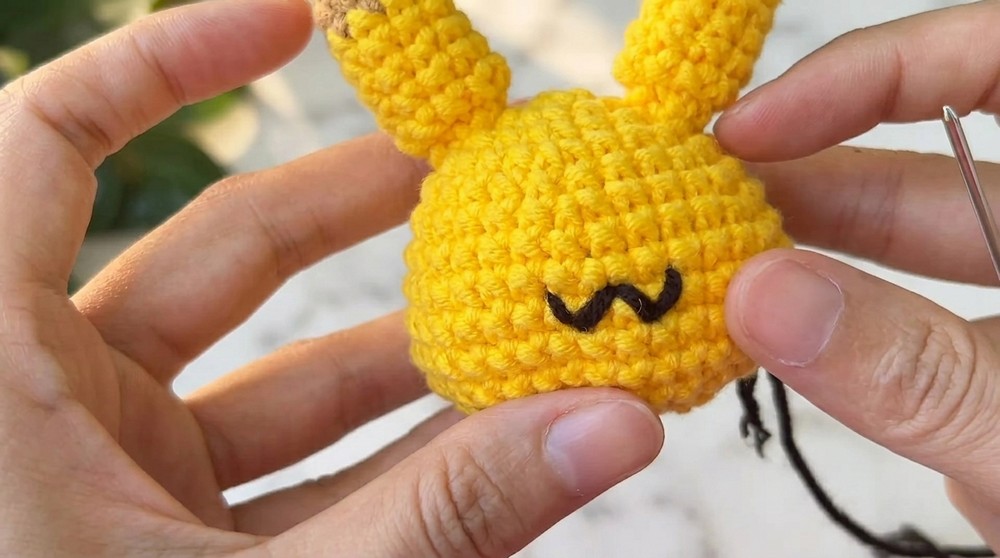
Mouth:
- Using black thread or yarn and a tapestry needle, embroider a gentle “U” shape below the eyes.
Cheeks (Optional):
- Use small red felt pieces or embroidered circles with red yarn. Sew or glue them just below the eyes.
4. Final Touches:
- Weave in and secure all loose ends.
- Adjust the stuffing as needed.
How to Start & What Stitches Are Used
This adorable Pikachu is worked from the bottom (body) to the top, using predominantly single crochet (sc) stitches. You’ll also use magic rings, increases, and decreases to give the structure its rounded shapes. After crocheting all pieces, the assembly is straightforward using sewing and embroidery techniques.
Conclusion
Congratulations! You've created your own handmade Pikachu Amigurumi. This project is perfect for gifting, displaying, or adding to your Pokémon collection. If you enjoyed this tutorial, try customizing your Pikachu with different poses or sizes using varying yarn weights and hook sizes.
Difficulties and Solutions
While this pattern is straightforward, beginners may encounter a few challenges:
- Magic Ring Troubles: If forming a magic ring feels difficult, you can replace it by chaining 3 or 4, joining into a circle with a slip stitch, and working your stitches into the center.
- Counting Stitches: Keeping track of stitch counts can be tricky, particularly during increasing and decreasing rounds. Using a stitch marker to mark the first stitch of each round and counting your stitches after every row can prevent errors.
- Assembly Alignment: Ensuring symmetrical placement of ears, legs, and facial features may feel daunting. A good solution is to pin pieces in place before sewing, allowing adjustments for symmetry.
With careful attention to the steps and helpful tools like stitch markers, these challenges can be easily managed!