
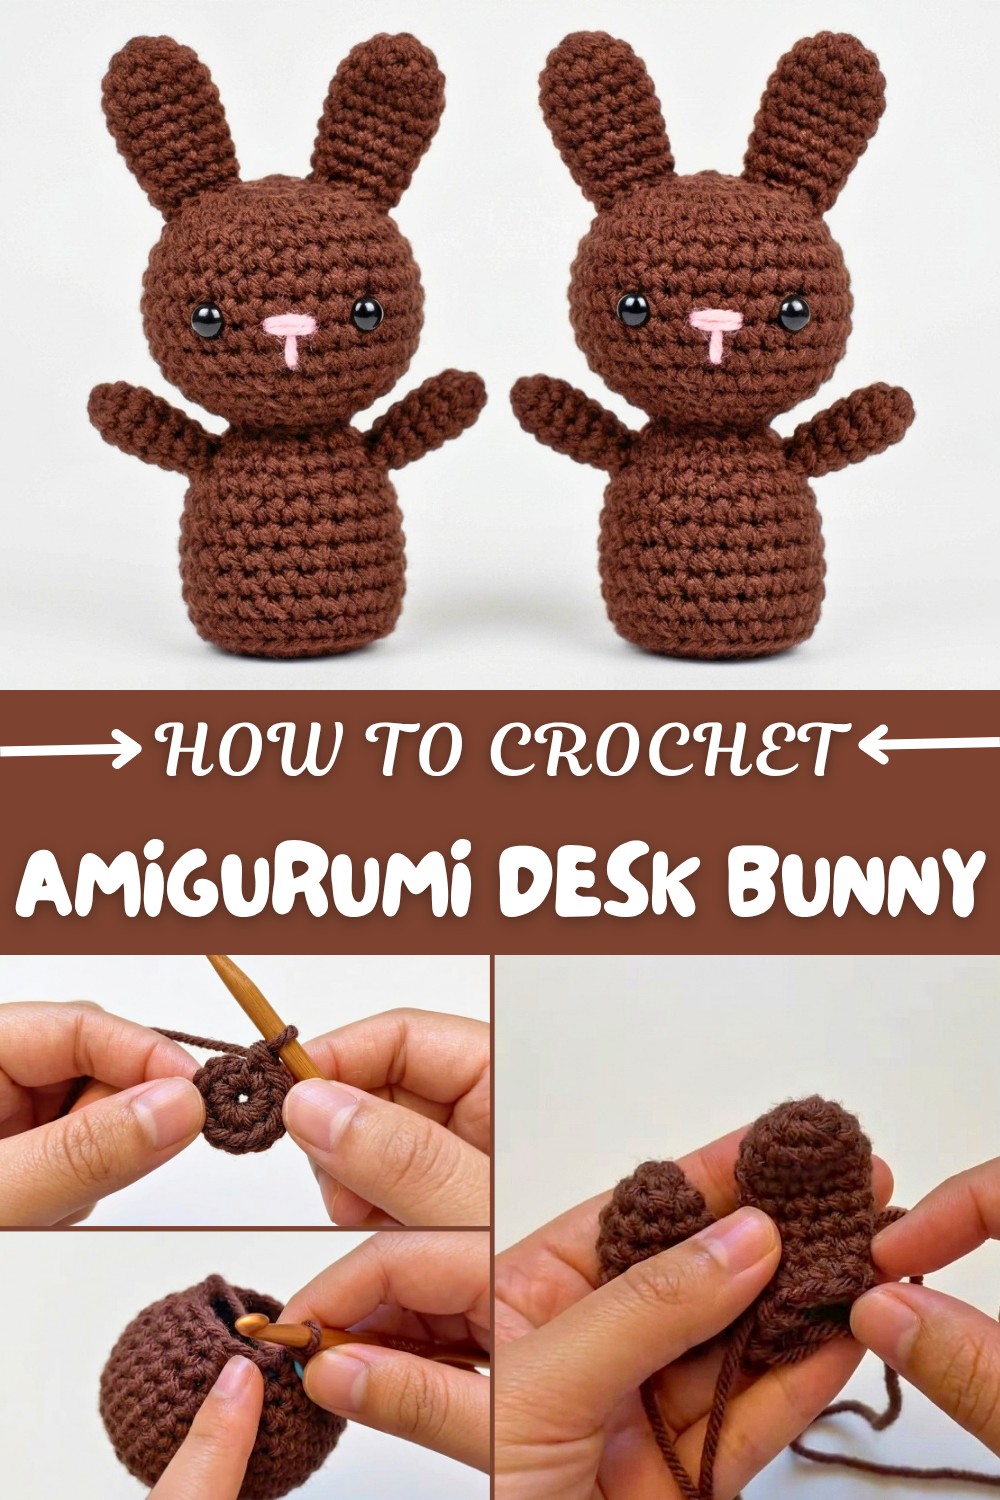
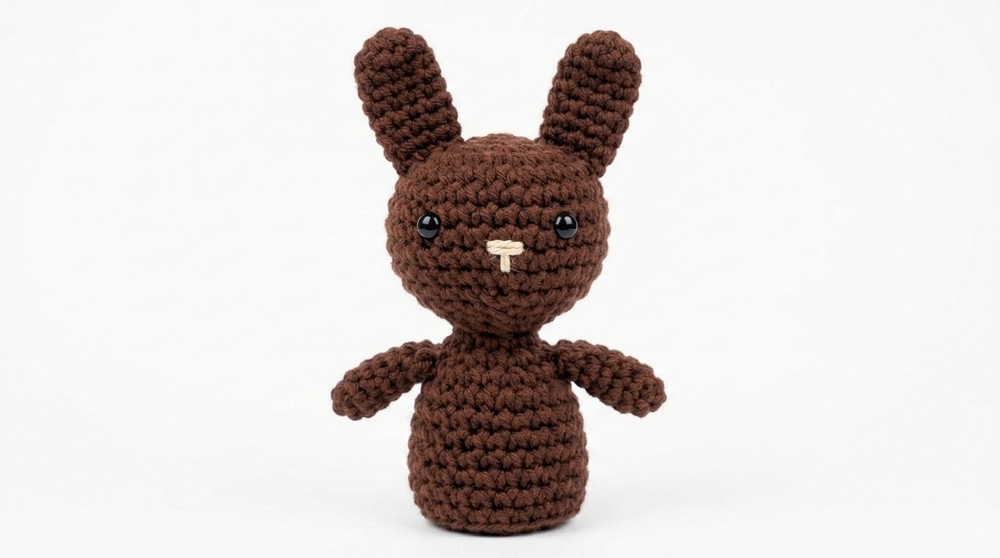
Trendy Crochet Desk Bunny Amigurumi Pattern for Handmade Gifts
Bring a smile to your table using a Free Crochet Amigurumi Desk Bunny Pattern that anyone can follow for a playful touch.
Adding a little handmade charm to your workspace can brighten any day, and this adorable crochet bunny is just the perfect companion for your desk! This sweet project uses basic crochet skills that are perfect for beginners and experienced crocheters alike. The main stitch used throughout is the single crochet stitch, which is simple to learn and perfect for creating tight, neat stitches that help give this cute bunny its shape. Single crochet is a versatile stitch that you might have also seen in scarves, amigurumi toys, and cozy hats.
Lovely Crochet Desk Bunny Amigurumi Pattern for Creative Crocheters
This bunny pattern stands out because it comes together quickly, due to clever shaping techniques like increases and decreases, along with working into just the front or back loops to create neat edges and a smooth finish. It includes fun details like safety eyes and a stitched nose that add personality to your little buddy. The choice to crochet the head and body together means fewer seams to sew, making it an easier and faster project. Plus, skipping the feet gives it a unique “sitting” look, perfect for perching on your computer desk or bookshelf without taking up too much room.
Once finished, this cute desk bunny makes a lovely decoration, a thoughtful handmade gift, or even a soft friend to keep close while you work or study. You can customize it by using any color yarn you prefer—maybe a Cocoa Bean, classic white, or even bright fun colors for a cheerful pop!
More Creative Ideas from This Pattern
The stitches and techniques you learn while making this bunny can easily be used to create other small amigurumi animals or figures. For example, by changing the shape slightly or adjusting the number of rows, you could make little bears, cats, or even tiny fruits. The magic circle, single crochet, and neat decreases you practice here form the foundation for all kinds of fun crochet projects that bring lots of joy and creativity into your crocheting!
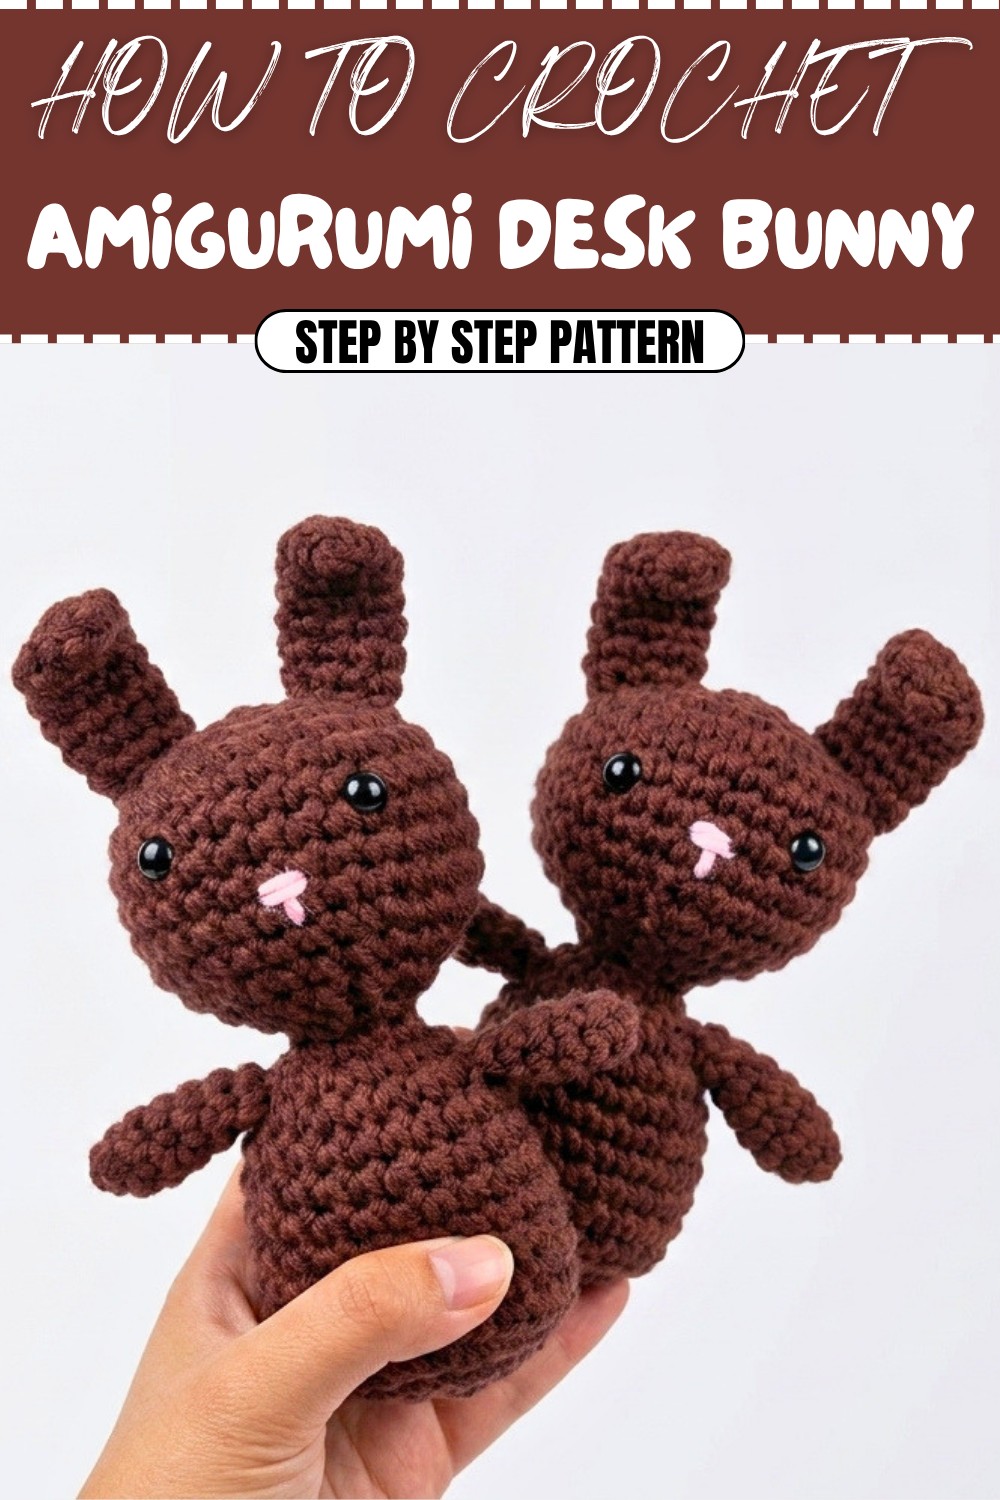
Crochet Pattern: Adorable Sitting Bunny
This crochet bunny pattern is a fun and simple project perfect for beginners who are comfortable with basic stitches. The pattern does not include feet, allowing the bunny to sit adorably on desks or shelves. Its minimalist yet charming design is suitable for crocheters of all levels, and slight modifications (e.g., adding rows or choosing different yarn colors) allow for personalization. This project primarily uses single crochet (sc) and incorporates techniques such as increasing, decreasing, and working in tight spaces. Let's begin!
Skill Level & Terminology
- Skill Level: Beginner
- Crochet Terminology: US terms
Materials & Tools
- Yarn: Medium-weight yarn
- Main color for body and head (e.g., Cocoa Bean)
- Contrasting yarn for the nose (e.g., pink)
- Hooks:
- 5.5 mm crochet hook (for head and body)
- 4.25 mm crochet hook (for arms and ears)
- Stitch Marker: To track rounds
- Safety Eyes: For the face (size can vary but usually 9-12mm works best)
- Tapestry Needle: For attaching pieces and weaving in ends
- Stuffing: Fiberfill or any soft stuffing material
- Scissors: For cutting yarn
Gauge
Gauge is not essential for this pattern as the final product can be scaled up or down depending on your tension and yarn used. However, a tight tension when crocheting is recommended to prevent stuffing from showing through the stitches.
Abbreviations List
- ch: Chain
- sc: Single Crochet
- inc: Increase (2 single crochet in the same stitch)
- dec: Decrease
- blo: Back Loop Only
Special Stitch Instructions
Invisible Decrease:
- Work in the front loops of the next two stitches. Pull up a loop in each of the front loops, then pull through all loops on the hook. This creates a neat and less noticeable decrease.
Finished Size
With the suggested yarn and hook sizes, the bunny will measure approximately 7–9 inches tall, depending on individual tension and stuffing firmness.
The Pattern Itself
Bunny Head (Main Color Yarn, 5.5 mm Hook)
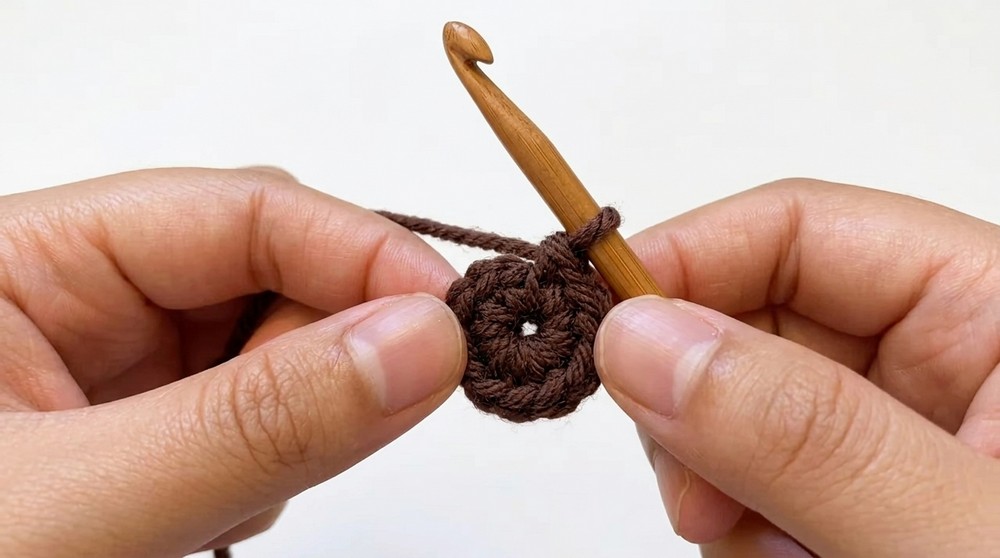
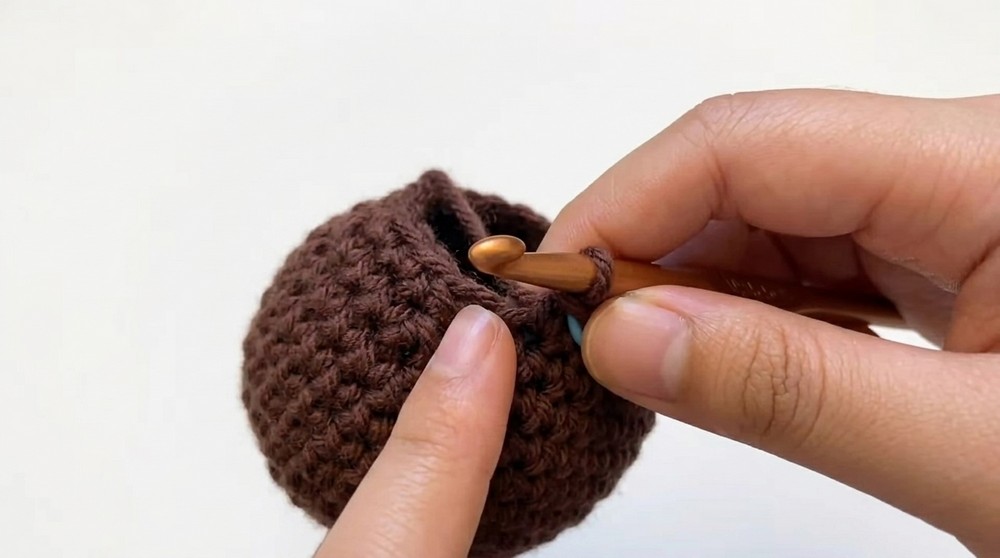
- Magic Circle:
- Begin with a magic circle and work 6 sc into the circle. Pull the tail to tighten.
- Join with a slip stitch (sl st) to the first stitch. [6 stitches total]
This forms the base of your bunny’s head.
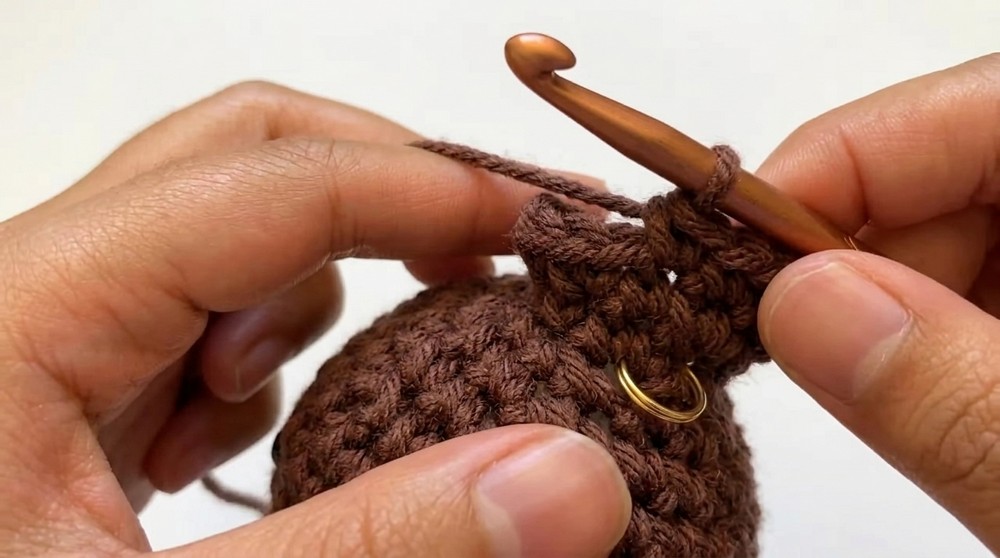
- Round 2:
- Inc in each stitch around. [12 stitches]
- Round 3:
- Repeat: 1 inc, 1 sc around. [18 stitches]
- Round 4:
- Repeat: 1 inc, 2 sc around. [24 stitches]
- Round 5:
- Repeat: 1 inc, 3 sc around. [30 stitches]
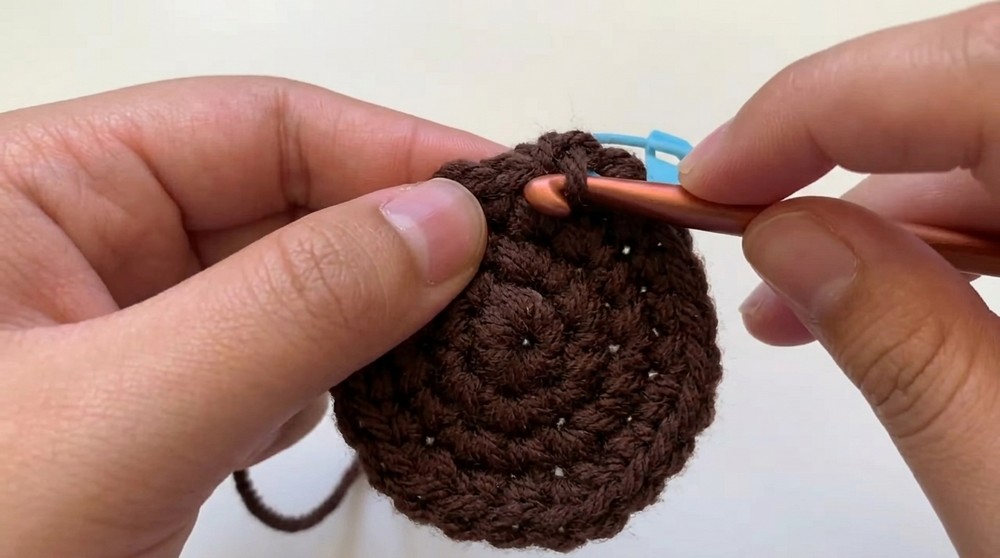
- Rounds 6-10 (No Increase):
- Work 1 sc in each stitch for 5 rounds to add height to the head.
At this point, your head will start looking rounded and proportionate for the bunny’s cute face.
- Work 1 sc in each stitch for 5 rounds to add height to the head.
- Round 11 (Decreasing Begins):
- Repeat: 1 dec, 3 sc, working an invisible decrease. [24 stitches]
- Round 12:
- Repeat: 1 dec, 2 sc. [18 stitches]
- Round 13:
- Repeat: 1 dec, 1 sc. [12 stitches]
- Add Safety Eyes and Nose:
- Position the safety eyes evenly about 3 stitches apart at the front of the head, midway down.
- Embroider a nose using pink yarn in a small "T" shape.
- Round 14 (Closing the Head):
- Work 1 dec in every stitch. [6 stitches]
- Stuff the Head:
- Firmly stuff the head at this point. Close the opening with a tapestry needle if needed.
Hooray! Your bunny now has its head complete with adorable features.
Bunny Body (Main Color and 5.5 mm Hook)
- Round 15:
- Attach yarn to the base of the head. Work 1 sc in each stitch, increasing in each stitch. [12 stitches]
- Round 16:
- Repeat: 1 inc, 1 sc. [18 stitches]
- Round 17:
- Repeat: 1 inc, 2 sc. [24 stitches]
- Rounds 18-23:
- Work 1 sc in each stitch for 6 rounds to form the body’s height.
- Round 24 (Start Closing):
- Work 1 dec, 2 sc into the blo (back loop only). [18 stitches]
- Round 25:
- Repeat: 1 dec, 1 sc. [12 stitches]
- Begin stuffing the body.
- Round 26:
- Work 1 dec in every stitch. [6 stitches]
- Fasten off and securely close the body using your tapestry needle.
You’ve now completed the bunny’s adorable head and body.
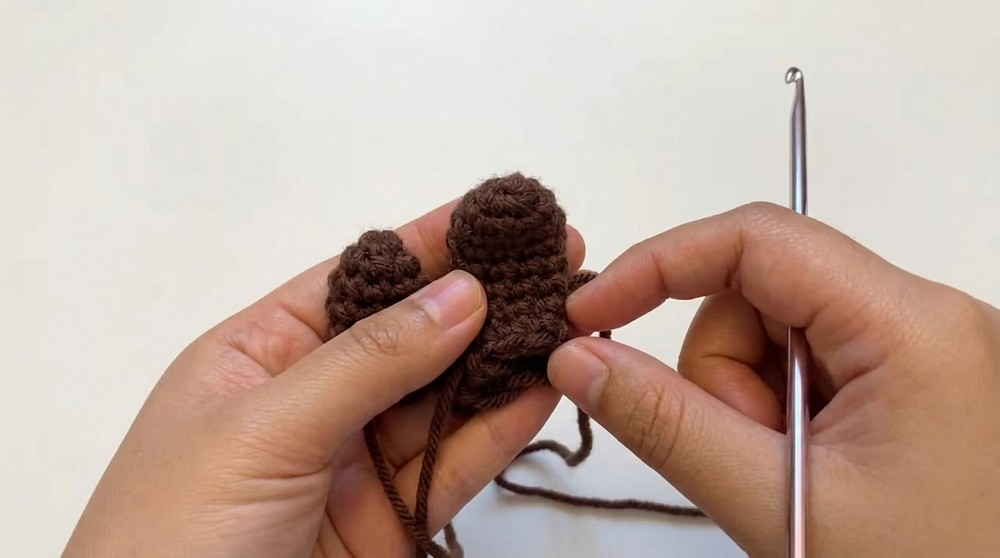
Bunny Arms and Ears (Main Color Yarn, 4.25 mm Hook)
The arms and ears follow the same pattern, with the ears being slightly longer.
Arms (Make 2):
- Round 1:
- Begin with a magic circle and work 4 sc into the circle. [4 stitches]
- Round 2:
- Increase: 2 sc in each stitch. [8 stitches]
- Rounds 3-7:
- Work 1 sc in each stitch to create the length.
- Finish:
- Fasten off, leaving a long tail for attaching.
Ears (Make 2, Longer Version):
- Follow the same pattern as the arms (Rounds 1-7).
- Add 2 more rounds of sc (Rounds 8-9) for added length.
- Finish:
- Fasten off and leave a long tail for attaching to the head.
Assembly & Finishing
- Attach Arms and Ears:
- Position the arms symmetrically on each side of the body. Sew them securely using your tapestry needle.
- Sew the ears to the top sides of the bunny’s head. Adjust the positioning to achieve your preferred look (e.g., floppy, upright).
- Secure Loose Ends:
- Weave in any loose yarn tails with a tapestry needle.
What You'll Learn from This Pattern
- How to create a magic circle to form the base of amigurumi.
- Techniques for increasing and decreasing to shape your project.
- The use of invisible decrease for clean, professional-looking decreases.
- Basic sewing techniques to attach ears and arms securely.
Why I Love This Pattern
This bunny is a beginner-friendly yet versatile project that introduces key amigurumi techniques while providing room for customization. I love this pattern because it’s quick, adorable, and makes for a thoughtful gift or desk companion. Plus, its quirky pattern without feet makes it unique and personality-filled!
Enjoy crocheting this lovable bunny, and don’t forget to share your creations!